
As I was browsing through social media, a dessert caught my eye—Oreo sushi! This playful and creative take on sushi turns classic Oreo cookies into whimsical sushi-like rolls that are perfect for any gathering. The best part? This Oreo sushi recipe is no-bake, making it a quick and easy treat to whip up with minimal ingredients. Whether you’re parenting kiddos, hosting a party, or just want a fun twist on dessert, these Oreo sushi rolls will delight everyone. Plus, the versatility in flavors means you can experiment with different Oreo varieties, ensuring a custom creation every time. Curious about how to make this adorable dessert that’s sure to be the star of the buffet? Let’s dive in!
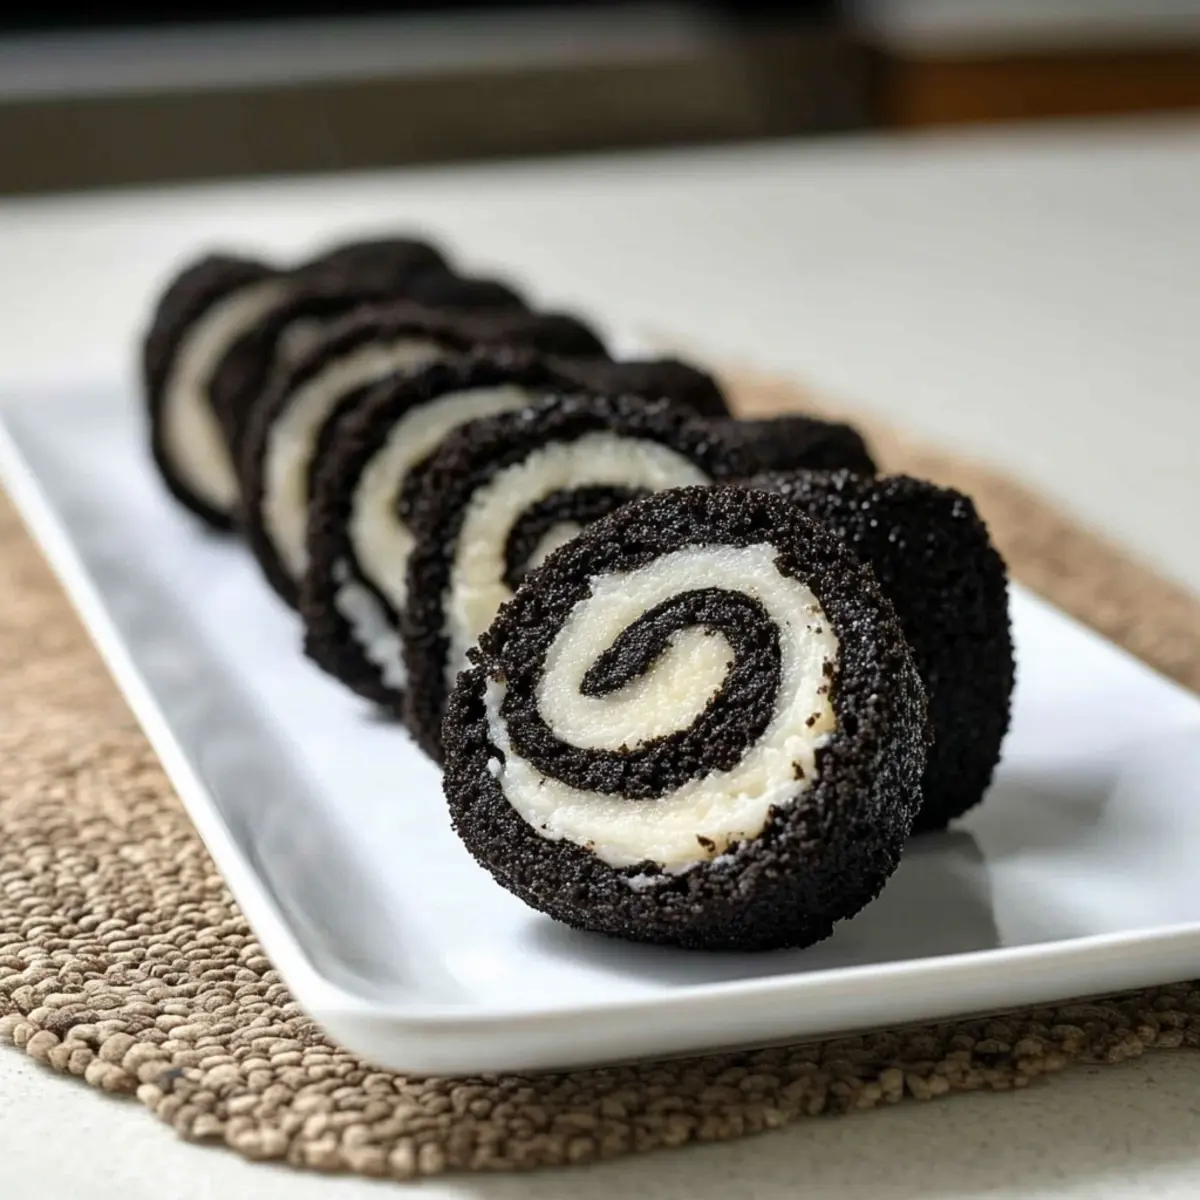
Why is Oreo Sushi a Must-Try?
Creativity at Its Peak: Transforming classic Oreo cookies into sushi rolls is not only fun but also a creative culinary adventure that impresses friends and family alike.
No-Bake Convenience: This Oreo sushi recipe is quick and simple, requiring no baking—perfect for those last-minute dessert needs!
Versatile Flavors: With countless Oreo flavors available, you can easily customize your rolls to suit any taste, from classic chocolate to vibrant birthday cake.
Crowd-Pleasing Treat: These adorable sushi rolls are bound to be a hit at parties, kids’ gatherings, or even as a unique dessert for a cozy night in.
Minimal Ingredients: With just a few basic ingredients, you can whip up something memorable without the fuss. If you enjoy simple, delightful recipes, check out my Slow Cooker Beef for another crowd-pleaser!
Oreo Sushi Recipe Ingredients
• Get ready to make these delightful rolls with just a few simple items!
For the Dough
- Oreo Cookies – Main ingredient; they form the base of your sushi. Don’t hesitate to try unique flavors to mix things up!
- Milk – Binds the crushed cookies; adds moisture. Use dairy-free alternatives like almond or oat milk for a vegan approach.
For the Filling
- Cream Filling – The reserved filling from the Oreo cookies creates a rich, sweet center that enhances your Oreo sushi rolls.
With these minimal ingredients, you’re on your way to creating a fun and delightful treat that everyone will adore!
Step‑by‑Step Instructions for Oreo Sushi Recipe
Step 1: Prepare Cookies
Start by separating your Oreo cookies, gently twisting each to remove the cream filling. Place the filling aside in a small bowl; you’ll use it later for the filling. Make sure you have 12 Oreo cookies ready, as this will provide a fun base for your Oreo sushi rolls.
Step 2: Crush Cookies
Next, place the chocolate parts of the Oreo cookies into a food processor. Pulse the cookies until they turn into fine crumbs, resembling coarse sand. This process should take about 30 seconds, depending on your food processor’s power. A fine consistency will ensure easy dough formation in the upcoming steps.
Step 3: Form Dough
Pour most of the milk into the Oreo crumbs while the processor runs, gradually blending until the mixture comes together into a soft dough. You may need about 2 tablespoons of milk initially. If it feels too crumbly, add a little more milk until it holds its shape well, which typically takes another 30 seconds of processing.
Step 4: Shape Dough
Lay a large piece of plastic wrap on your work surface and transfer the dough onto it. With clean hands, flatten the dough into a rectangle about 1/4-inch thick. Aim for an even surface to ensure good rolling later. The rectangle should be large enough to spread the filling, offering a delightful surprise in every slice of your Oreo sushi.
Step 5: Prepare Filling
In the bowl with the reserved cream filling, mix in the remaining milk until the mixture is smooth and creamy. This should only take a minute of stirring. Once ready, spread this luscious cream filling evenly over the rectangle of Oreo dough, covering the surface completely for that irresistible taste in every bite.
Step 6: Roll Log
Using the edges of the plastic wrap, gently lift and roll the dough away from you, forming a tight log shape. Be careful not to squish the filling out. Continue rolling until you reach the end of the rectangle. This step should take about 1-2 minutes, and don’t worry if there are a few creases; that just adds to the homemade charm.
Step 7: Slice & Serve
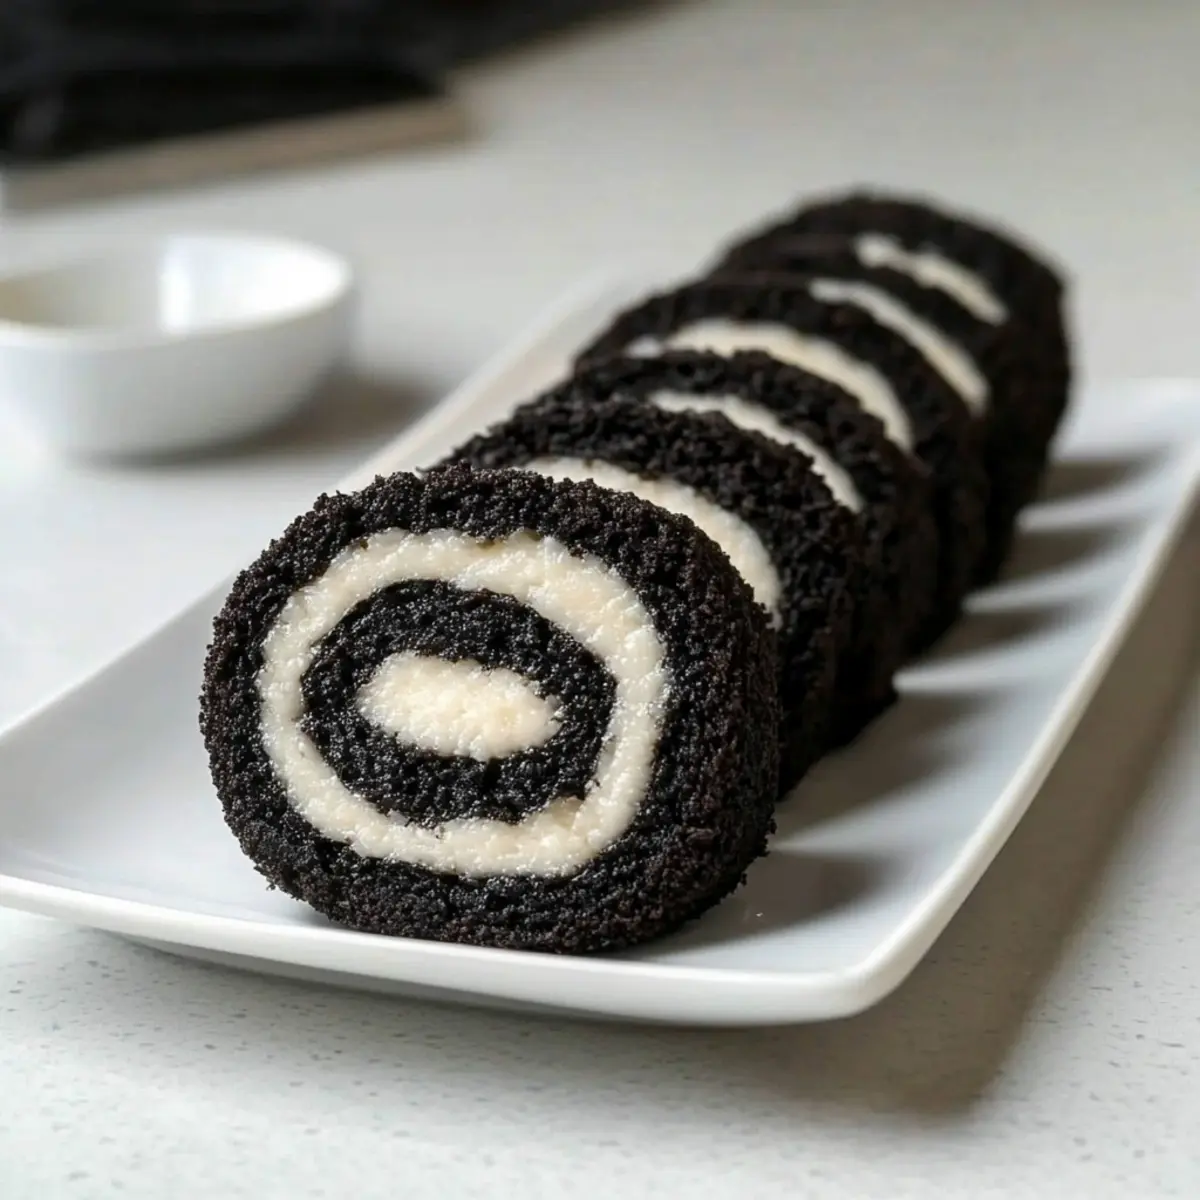
Chill the rolled log in the refrigerator for about 30 minutes to help it firm up before slicing. When ready, remove from the fridge and slice into sushi-style pieces using a sharp knife with a gentle sawing motion to keep the rounds intact. Each piece should reveal a colorful cross-section of Oreo goodness, ready to wow your friends and family.
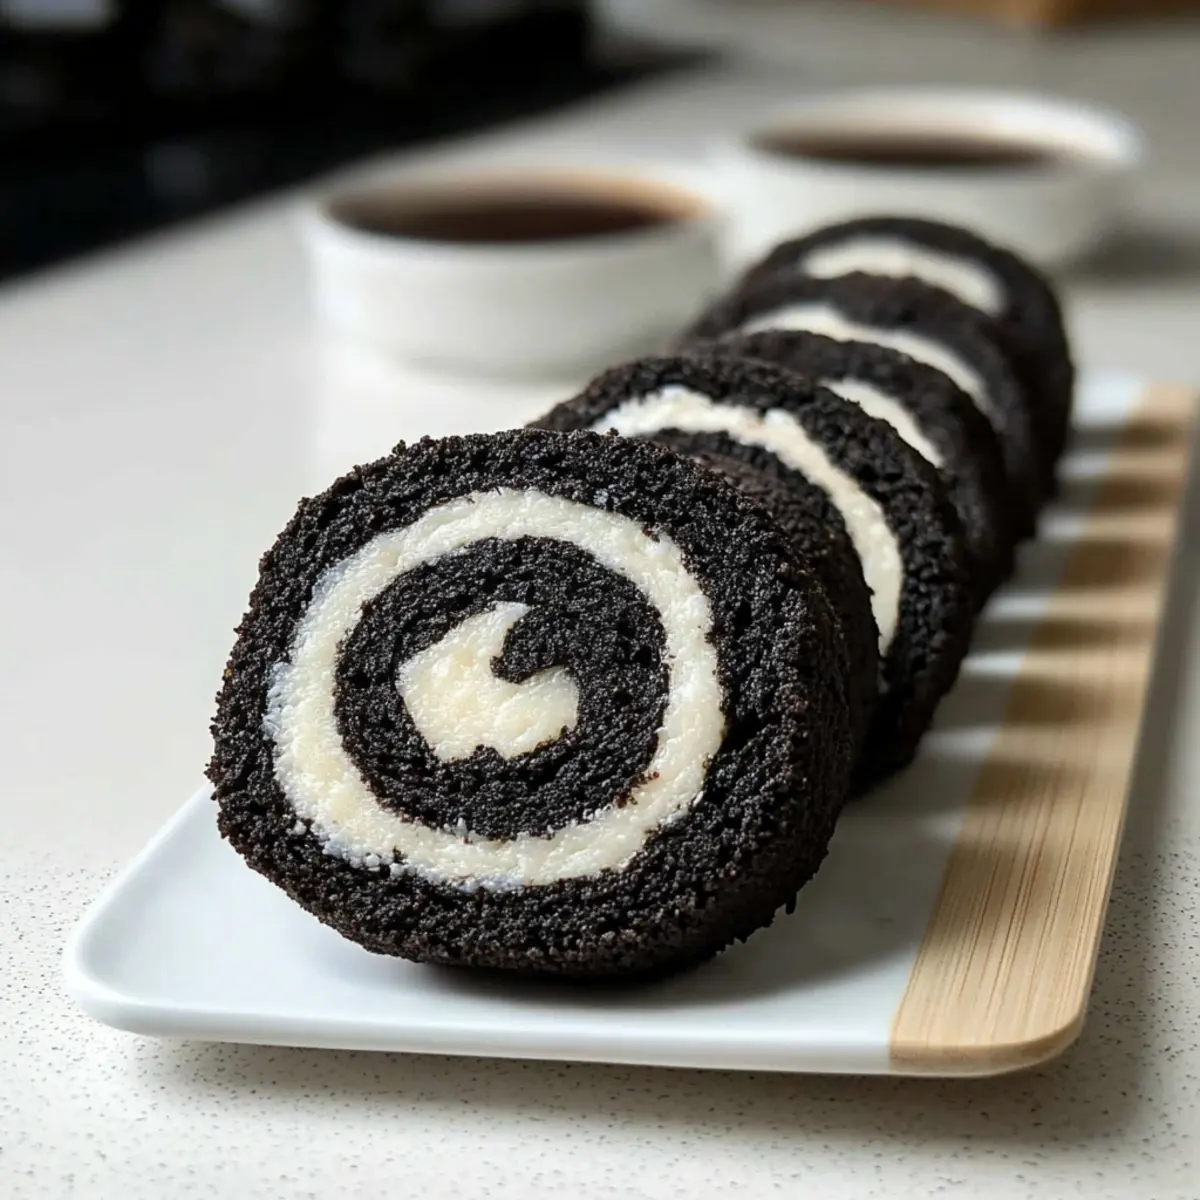
What to Serve with Oreo Sushi?
Elevate your dessert game by pairing these whimsical rolls with delightful sides and treats that will tantalize your taste buds.
-
Creamy Vanilla Ice Cream: The cool creaminess contrasts beautifully with the chewy Oreo sushi, creating a blissful texture experience.
-
Fresh Berries Medley: A mix of strawberries, blueberries, and raspberries adds a refreshing, tangy note, perfectly balancing the sweetness of the rolls.
-
Chocolate Dipping Sauce: Drizzle warm chocolate sauce over the sushi for an indulgent twist that chocolate lovers will adore.
-
Coconut Whipped Cream: This light and airy topping enhances the dessert feel, adding tropical vibes to your sweet platter.
-
Sparkling Lemonade: This refreshing drink is a great complement, cutting through the sweetness while offering a lively citrus punch.
-
Mini Fruit Cups: Bright and colorful fruit cups not only bring freshness but also bring a fun visual appeal to your dessert table.
-
Candy Sprinkles Garnish: A sprinkle of festive candy can make your Oreo sushi pop with color, enticing kids and adults alike.
-
Iced Matcha Latte: For an intriguing twist, pair your Oreo sushi with the earthy flavors of matcha; its slight bitterness offers a unique contrast to the sweetness.
-
Chocolate Fondue: An interactive treat where guests can dip their sushi into a warm, melted chocolate river—absolute bliss!
How to Store and Freeze Oreo Sushi
Fridge: Store your Oreo sushi rolls in an airtight container in the refrigerator for up to 3 days. This will help maintain their freshness and creamy filling.
Freezer: If you need to keep them longer, you can freeze the sliced Oreo sushi in an airtight container. They can last for up to a month, but it’s best to enjoy them fresh!
Reheating: For a delightful texture, let the frozen slices thaw in the fridge overnight before serving. This will bring them back to that perfect chewy consistency while keeping the flavor intact.
Make Ahead: Feel free to prepare the Oreo sushi recipe ahead of time for parties or gatherings, allowing more time to enjoy your company!
Oreo Sushi Recipe Variations
Feel free to get creative with this delightful Oreo sushi and make it your own with these fun twists!
-
Minty Fresh: Use Mint Oreo cookies for a cool and refreshing flavor. The minty crunch adds a zesty twist that pairs perfectly with the sweetness.
-
Golden Delight: Swap regular Oreos for Golden Oreos to create a lighter flavor profile. Perfect for those who prefer a vanilla undertone.
-
Dairy-Free: Substitute dairy milk with almond or oat milk and ensure your Oreo choice is dairy-free. This way, everyone can indulge without worry!
-
Chocolate Overload: Add a drizzle of chocolate or a sprinkle of cocoa powder on top for an extra chocolatey kick. It takes these rolls to a whole new level of decadence.
-
Spicy Kick: For the adventurous, blend in a pinch of cayenne pepper or hot chili flakes within the cream filling. This unexpected heat makes a fun surprise bite!
-
Fruit Fusion: Add finely chopped fruits like strawberries or bananas inside the roll for a refreshing twist. The fruity flavor beautifully complements the creamy filling.
-
Nutty Crunch: Mix in finely chopped nuts, such as almonds or peanuts, into the dough for a delightful crunch that contrasts with the smooth filling.
-
Caramel Drizzle: Top your sliced sushi rolls with a drizzle of caramel sauce. This sweet addition will make them truly indulgent, perfect for a special dessert moment.
For more delightful recipes, you might enjoy my German Potato Pancakes that are easy to whip up for any gathering!
Make Ahead Options
These Oreo Sushi rolls are a fantastic choice for meal prep! You can create the dough and rolling assembly up to 24 hours in advance, simply refrigerate it wrapped in plastic wrap to maintain freshness. The cream filling can also be prepared and stored separately in an airtight container for up to 3 days before assembly. When you’re ready to serve, just roll it up and slice it after a quick chill—this will ensure the flavors meld beautifully, and the rolls remain firm for slicing. By prepping ahead, you save valuable time on busy days, allowing you to enjoy these creative treats with ease!
Expert Tips for Oreo Sushi Recipe
-
Use a Food Processor: A food processor helps achieve fine cookie crumbs quickly. If you don’t have one, a zip-top bag with a rolling pin works, too!
-
Check Dough Consistency: If your dough feels too crumbly, add more milk gradually until it sticks together. Too sticky? Pop it in the fridge for a bit.
-
Slicing Technique: Gently saw through the rolls with a sharp knife to avoid squashing them. This ensures your Oreo sushi pieces remain beautifully intact.
-
Experiment with Flavors: Don’t hesitate to try different Oreo varieties for unique flavors—like mint or red velvet—for an exciting twist on your Oreo sushi experience.
-
Chill Before Serving: Allow your roll to chill for optimal slicing and presentation. Cool slices reveal that delightful cream-filled center, sure to impress your guests!
Oreo Sushi Recipe FAQs
How do I choose the right Oreo cookies for the recipe?
Absolutely! Choosing the right Oreo flavor can elevate your sushi rolls! You can stick with classic chocolate, or get creative with other flavors like mint, birthday cake, or even red velvet. Just make sure to account for any dietary preferences of your guests.
How should I store leftover Oreo sushi?
Store your Oreo sushi rolls in an airtight container in the refrigerator for up to 3 days. This helps maintain their creamy filling and sweet flavor. If you want to enjoy them later, make sure to keep them chilled to prevent the dough from getting too soft.
Can I freeze Oreo sushi, and if so, how?
Yes! Freezing is a great option if you want to save some for later. Simply slice your Oreo sushi rolls and place them in an airtight container, ensuring there’s space between layers or use parchment paper to separate them. They can be stored in the freezer for up to 3 months. When you’re ready to enjoy, just let them thaw in the fridge overnight for that perfect chewy texture.
What if the dough is too crumbly?
Very! If you find your Oreo dough to be crumbly, don’t worry! Add a little more milk, about a tablespoon at a time, and continue processing until the mixture holds together. Aim for a soft dough that is easy to flatten without falling apart—this usually takes about a minute more in the food processor.
Are Oreos safe for pets, especially dogs?
No, it’s best to avoid giving Oreos to pets. The chocolate and sugar present in Oreos can be harmful to dogs and some other pets. If you’re looking for a treat to share with your furry friend, consider making a simple peanut butter or pumpkin puree treat that is safe for them!
How can I customize the filling for my Oreo sushi?
Certainly! If you want to add a unique twist, experiment by mixing flavored cream cheese or whipped cream with the reserved cream filling. You can even add a splash of vanilla, peppermint extract, or sprinkles for extra fun! Just remember to adjust the quantity of milk accordingly for the best consistency.
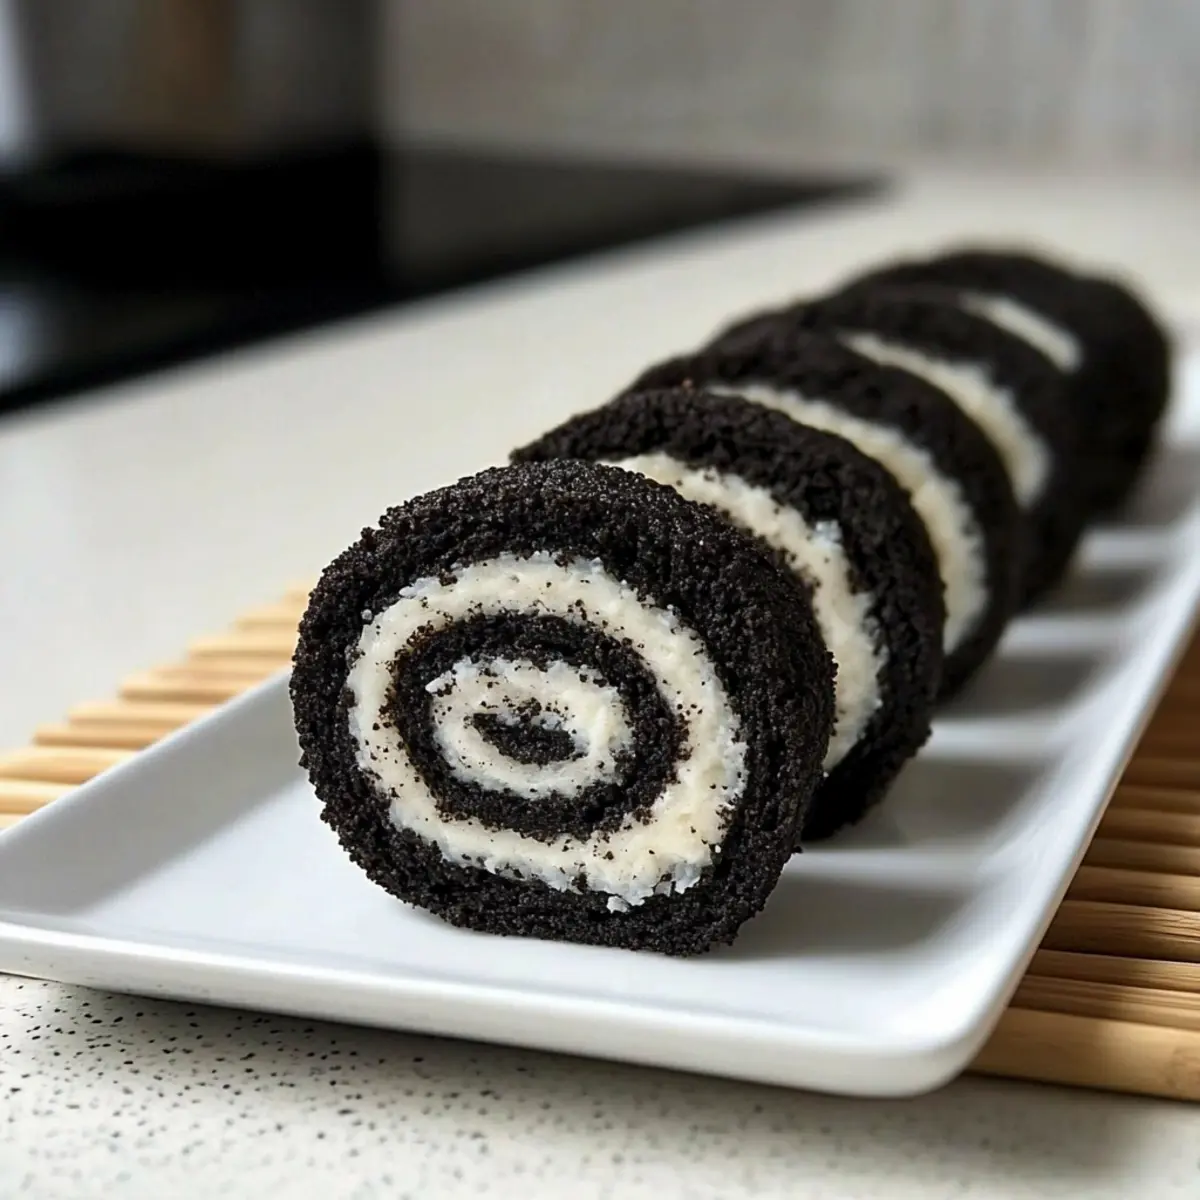
Oreo Sushi Recipe: A Fun No-Bake Treat for All Ages
Ingredients
Equipment
Method
- Separate the Oreo cookies and reserve the cream filling.
- Crush the chocolate parts of the Oreo cookies in a food processor until fine crumbs.
- Mix most of the milk into the Oreo crumbs to form a soft dough.
- Flatten the dough into a rectangle on plastic wrap.
- Mix the reserved cream filling with remaining milk until smooth, then spread over dough.
- Roll the dough tightly into a log using plastic wrap.
- Chill the log in the fridge for 30 minutes before slicing.
- Slice into pieces and serve.
Leave a Reply