
Just picture this: the sun is shining, and you’re craving something sweet, yet delightfully easy to make. How about a treat that requires only three simple ingredients? These Chocolate Peanut Butter Crunch Cups are the answer to your dessert dreams and are sure to impress both the kids and the adults alike! Not only are they gluten-free and dairy-free, making them a thoughtful choice for various dietary needs, but they also come together in mere minutes without the need for baking. With their enticing salty-sweet combination and satisfying crunch, these cups are perfect for a quick snack or an after-school treat. Curious how to whip up these delightful delights? Let’s dive in!
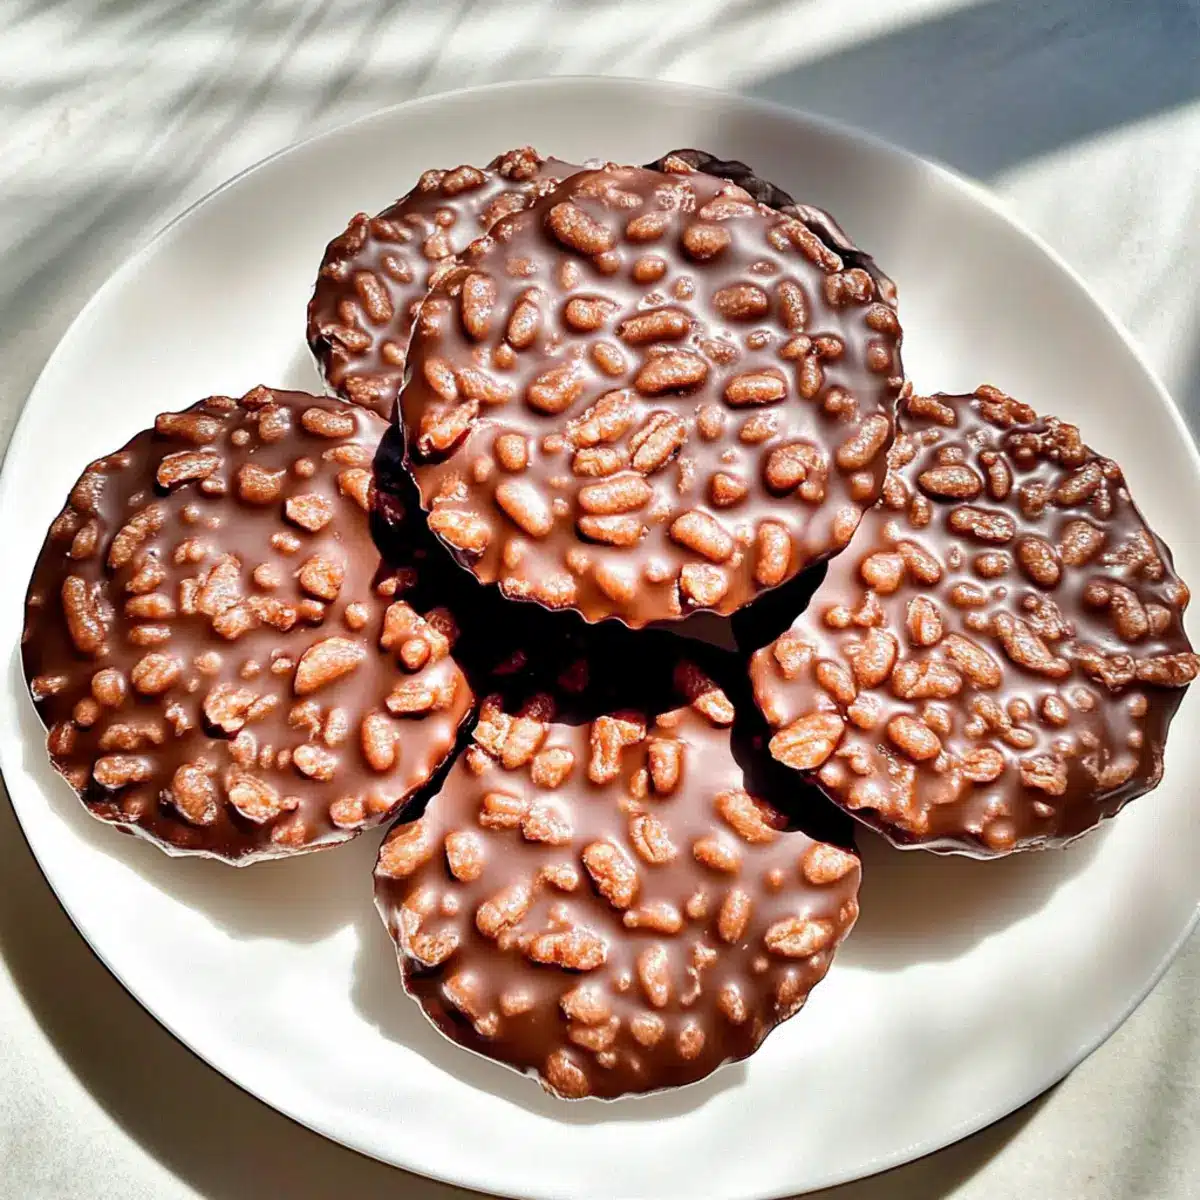
Why are these cups a must-try?
Simplicity at Its Best: With just three ingredients, you can create a dessert that’s easy enough for kids to help with, making it a fun family activity!
Rich, Irresistible Flavor: The peanut butter and chocolate combination enriches every bite, delivering a crave-worthy taste that satisfies any sweet tooth.
No Bake Convenience: Skip the oven! These no-bake cups come together in minutes, perfect for those busy days when you still crave something homemade.
Crowd-Pleasing Snack: Whether it’s a school event or a family gathering, these treats are sure to impress guests of all ages – who can resist chocolate?
Versatility: Feel free to mix and match the ingredients, using almond butter or adding crunchy toppings for extra flair. Pair them with a glass of milk or enjoy alongside a warm cup of coffee for a delightful treat!
Healthy Indulgence: Naturally gluten-free and dairy-free, these cups are a thoughtful choice for guests with dietary restrictions, making them a win-win for everyone!
Chocolate Peanut Butter Crunch Cups Ingredients
• A delightful trio of essentials for a creamy, crunchy treat!
For the Cups
- Peanut Butter – Provides rich creaminess; creamy peanut butter is best for a smooth texture.
- Chocolate Chips – Acts as the sweet binding; feel free to use your favorite variety like milk, dark, or semi-sweet.
- Rice Crisps – Adds that signature crunch; for a gluten-free option, brown rice crisp cereal works beautifully!
Step‑by‑Step Instructions for Chocolate Peanut Butter Crunch Cups
Step 1: Gather Your Ingredients
Begin by collecting your three essential ingredients for Chocolate Peanut Butter Crunch Cups: creamy peanut butter, your choice of chocolate chips, and rice crisps. Make sure to have everything ready before you start, as this will make the process smoother and more enjoyable. A medium mixing bowl and a microwave-safe dish or double boiler will also be needed.
Step 2: Melt the Chocolate
In a microwave-safe bowl, add the chocolate chips and heat them in the microwave. Start by microwaving for 30 seconds, then stir and heat in additional 15-second intervals until smooth and completely melted. The chocolate should be shiny and fluid—this usually takes about 1 to 1.5 minutes total. If using a double boiler, place it over simmering water until melted, stirring occasionally.
Step 3: Combine Chocolate and Peanut Butter
Once the chocolate is melted and glistening, add the creamy peanut butter to the bowl. Using a spatula, blend the two ingredients together until they form a smooth, even mixture with a rich, velvety texture. This combination creates the delightful base for your Chocolate Peanut Butter Crunch Cups. Make sure no streaks remain, as thorough mixing ensures every bite is delicious!
Step 4: Mix in the Rice Crisps
Now, gently fold in the rice crisps into the peanut butter and chocolate mixture. Stir carefully until each rice crisp is evenly coated, allowing the crunch to blend beautifully with the creamy richness. This step is crucial as it creates the signature textural contrast of your Chocolate Peanut Butter Crunch Cups. Aim for a uniform distribution for the best final result.
Step 5: Mold Your Cups
Prepare your cupcake liners or mini muffin tins by placing them on a tray for ease of handling. Spoon the mixture into each liner, filling them about three-quarters full. Use the back of a spoon to press the mixture down slightly, compacting it to ensure that your cups hold their shape when set. This will help create the perfect bite-sized treats.
Step 6: Chill to Set
Now it’s time to let your Chocolate Peanut Butter Crunch Cups set! Place the tray in the refrigerator and chill for about one hour until they are firm to the touch. For quicker results, you can also pop them in the freezer for around 20-30 minutes. This step allows the chocolate coating to harden, creating that delightful contrast in texture.
Step 7: Serve and Enjoy
After your cups are set and firm, they’re ready to be enjoyed! Simply remove them from the refrigerator or freezer and gently peel away the liners. Serve them chilled for the best taste and texture. These Chocolate Peanut Butter Crunch Cups are perfect for snacking, parties, or a sweet treat at any time of the day!
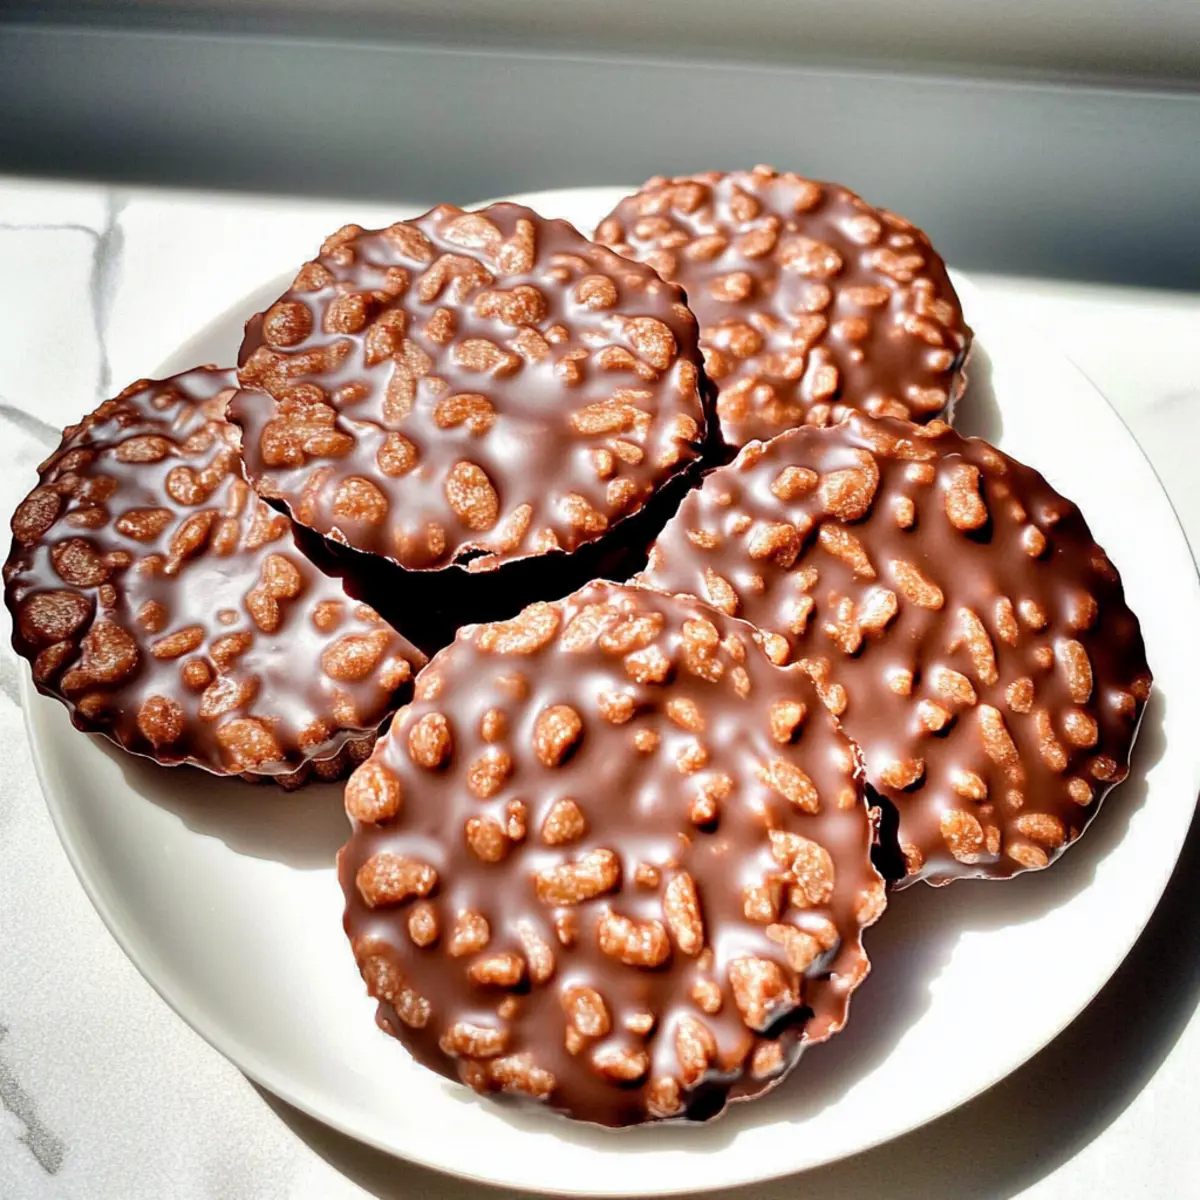
How to Store and Freeze Chocolate Peanut Butter Crunch Cups
Fridge: Store your Chocolate Peanut Butter Crunch Cups in an airtight container in the fridge for up to 1 week. This keeps them deliciously chilled and ready to snack on!
Freezer: For long-term storage, place the cups in an airtight container or freezer bag and store them in the freezer for up to 2 months. They stay firm without melting.
Thawing: When you’re ready to enjoy, take out the desired amount and allow them to thaw for about 5-10 minutes at room temperature for the best texture.
Serving: They taste amazing straight from the freezer for a refreshing treat! Enjoy them as an on-the-go snack or a delightful dessert that’s sure to please everyone.
Make Ahead Options
These Chocolate Peanut Butter Crunch Cups are perfect for meal prep enthusiasts! You can prepare the mixture up to 24 hours in advance, allowing you to save time during busy weeknights. Simply follow the first five steps and spoon the mixture into your cupcake liners or mini muffin tins. Cover the tray with plastic wrap and refrigerate until you’re ready to set them. When you’re ready to finish, just chill the cups in the refrigerator for about one hour to firm up, or for a quicker option, pop them in the freezer for 20-30 minutes. This method ensures they taste just as delicious when serving, and you’ll have delightful treats ready for any occasion!
What to Serve with Chocolate Peanut Butter Crunch Cups
These delightful treats create the perfect canvas for a scrumptious meal bonding time or a sweet gathering!
- Creamy Vanilla Ice Cream: A scoop of creamy vanilla pairs beautifully with the crunchy cups, adding a delightful contrast of textures and flavors.
- Fresh Strawberries: Juicy, ripe strawberries bring a burst of freshness that complements the rich goodness of the cups, creating a sweet harmony.
- Chocolate Drizzle: Elevate your snack by drizzling additional melted chocolate over the cups for an indulgent, dessert-shop touch.
- Lightly Salted Pretzels: Crunchy, salty pretzels provide a wonderful counterbalance to the sweet chocolate and peanut butter, enhancing the experience with each bite.
- Nutty Granola: Serve alongside a handful of nutty granola for a delightful textural contrast and a wholesome twist to your treat.
- Charcuterie Board: Add these cups to a charcuterie board for a unique sweet option among cheeses, meats, and fruits, perfect for entertaining.
- Cold Brew Coffee: Pair with a refreshing cup of cold brew coffee to enhance the sweet, nutty flavors of your cups and provide a lovely café-style treat.
- Whipped Coconut Cream: Light, airy coconut cream adds a tropical flair while harmonizing with the flavors of chocolate and peanut butter.
- Banana Slices: Sliced bananas can elevate your dessert table and add a fruity, creamy layer that marries well with the crunchy delights.
This varied selection ensures that every bite of Chocolate Peanut Butter Crunch Cups can be enjoyed with complementary bursts of flavor and texture!
Expert Tips for Chocolate Peanut Butter Crunch Cups
-
Choose Quality Ingredients: Use high-quality chocolate chips and natural peanut butter for the best flavor—trust me, it makes a difference!
-
Avoid Sticky Cups: If you find your cups sticking to the liners, try using silicone molds instead; they make for easy removal and ensure clean edges.
-
Mix it Up: Experiment with add-ins like shredded coconut or dried fruit for unexpected flavors in your Chocolate Peanut Butter Crunch Cups—get creative!
-
Perfect Consistency: Ensure the chocolate is fully melted and smoothly combined with the peanut butter to prevent graininess; this guarantees a luscious texture.
-
Short Chill Times: If you’re in a hurry, the freezer works wonders! Just be cautious not to freeze them too long, as they can become too hard to bite into.
-
Storage Considerations: Keep your Chocolate Peanut Butter Crunch Cups in an airtight container in the freezer, which helps maintain their texture and prevents melting.
Chocolate Peanut Butter Crunch Cups Variations
Feel free to let your creativity shine and customize these treats to suit your taste buds!
-
Nut Swap: Use almond or cashew butter for a unique nutty flavor that still satisfies your craving for creaminess. Each nut brings its own charm, creating a delightful twist to these classic cups.
-
Sea Salt Finish: Sprinkle sea salt on top right before they set for an irresistible sweet and salty contrast. The tiny crystals of salt will amplify flavors and elevate your treat to gourmet status.
-
Mini Marshmallow Mix: Fold in mini marshmallows for a chewy surprise in every bite. The marshmallows add a whimsical twist, making the texture even more enjoyable for kids and adults alike.
-
Dried Fruit Addition: Incorporate chopped dried fruits like cranberries or raisins for a touch of natural sweetness and chewiness. This not only adds flavor but also a pop of color, making your cups aesthetically pleasing.
-
Flavor Infusion: Add a splash of vanilla extract to enhance the flavors of the peanut butter and chocolate. A little goes a long way, giving a wonderful depth to every crunch.
-
Crispy Rice Variation: Switch your rice crisps for cornflakes or even granola for different textures and added flavors. The variety will keep things exciting, and you might discover a new favorite combination.
-
Boost the Heat: Add a pinch of cayenne pepper for a surprising kick. Just a touch can infuse warmth and excitement into your Chocolate Peanut Butter Crunch Cups, making them a conversation starter at any gathering.
-
Chocolate Blend: Use a mix of dark and milk chocolate chips for a rich chocolate depth. Combining chocolates not only provides a balance of sweetness and bitterness but also enhances the overall flavor profile.
Once you’ve tried your favorite variations, you might want to explore even more delectable options, like adding coconut from my Cheesy Garlic Butter recipe or flavoring these with the zest from my Lemon Garlic Butter dish! The possibilities are endless! Enjoy experimenting!
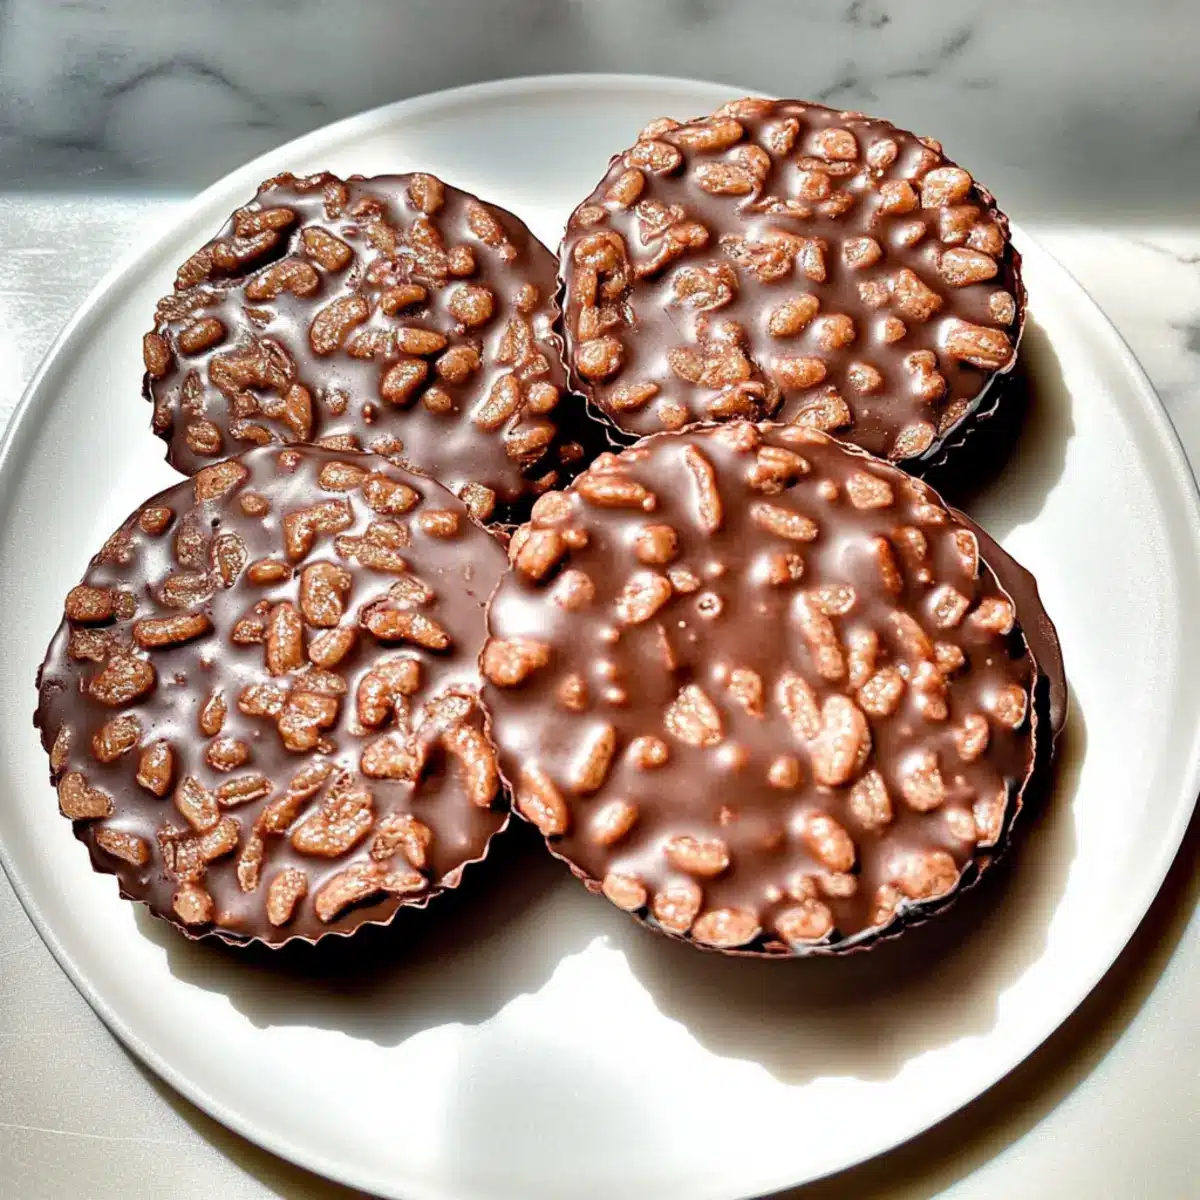
Chocolate Peanut Butter Crunch Cups Recipe FAQs
What type of peanut butter should I use?
I recommend using creamy peanut butter for the best texture; it blends beautifully with chocolate. Chunky peanut butter can disrupt the crunch of the rice cereal, so if you want that satisfying bite, stick with creamy!
How should I store Chocolate Peanut Butter Crunch Cups?
Store your Chocolate Peanut Butter Crunch Cups in an airtight container in the fridge for up to 1 week. For longer storage, place them in the freezer in an airtight container or freezer bag for up to 2 months. Just remember to let them thaw for 5-10 minutes before enjoying for the best texture!
Can I freeze these cups? How do I do it?
Absolutely! To freeze your Chocolate Peanut Butter Crunch Cups, simply place them in a single layer in an airtight container or freezer bag, ensuring they don’t touch to prevent sticking. They should stay fresh for up to 2 months. When you’re ready to enjoy, just take out the desired amount and allow them to thaw for 5-10 minutes at room temperature.
What should I do if my mixture is too sticky?
If your mixture becomes too sticky while combining the chocolate and peanut butter, it’s likely that the chocolate isn’t completely melted or they were heated too quickly. Make sure to thoroughly melt your chocolate before mixing, and if it feels too thick, you can add a little more peanut butter to help smooth it out, then mix in the rice crisps carefully until evenly coated.
Are these cups safe for people with allergies?
These Chocolate Peanut Butter Crunch Cups are naturally gluten-free and dairy-free! However, if someone in your family has a peanut allergy, you can substitute peanut butter with almond or sunflower seed butter. Just be sure to check the labels on all ingredients for potential allergens.
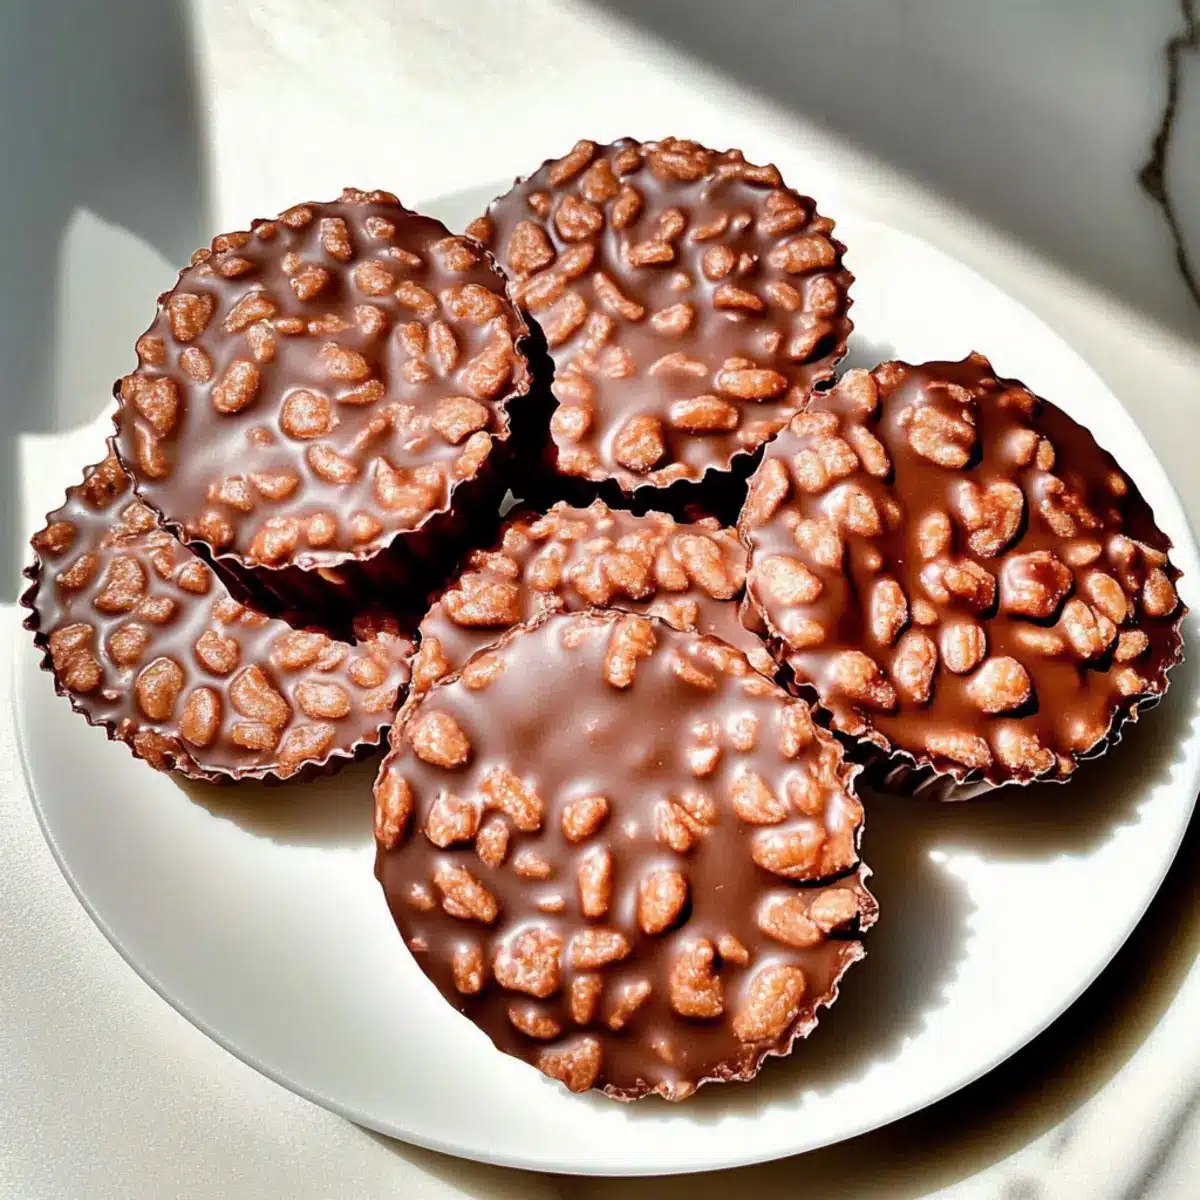
Decadent Chocolate Peanut Butter Crunch Cups You’ll Love
Ingredients
Equipment
Method
- Gather Your Ingredients: Collect the creamy peanut butter, chocolate chips, and rice crisps. Prepare a medium mixing bowl and a microwave-safe dish.
- Melt the Chocolate: Heat chocolate chips in a microwave-safe bowl for about 1 to 1.5 minutes until smooth and melted.
- Combine Chocolate and Peanut Butter: Add melted chocolate to the peanut butter and mix until smooth and even.
- Mix in the Rice Crisps: Gently fold in the rice crisps until evenly coated.
- Mold Your Cups: Spoon the mixture into cupcake liners, filling them three-quarters full and compacting slightly.
- Chill to Set: Refrigerate for about one hour or freeze for 20-30 minutes until firm.
- Serve and Enjoy: Once set, remove from liners and serve chilled for the best taste.
Leave a Reply