
As I pulled the warm, golden honeycomb cake from the oven, the sweet, comforting aroma of pandan and coconut instantly transported me to a bustling market in Vietnam. This Easy Vietnamese Honeycomb Cake is not just a treat for the senses; it’s a gluten-free, dairy-free masterpiece that can be made with just a handful of ingredients. The light, fluffy texture makes it an absolute crowd-pleaser, perfect for gatherings where everyone can indulge without worry. Plus, it’s a breeze to whip up, ensuring you spend more time enjoying the company of loved ones rather than stuck in the kitchen. Curious how to create this tropical delight? Let’s dive into the recipe together!
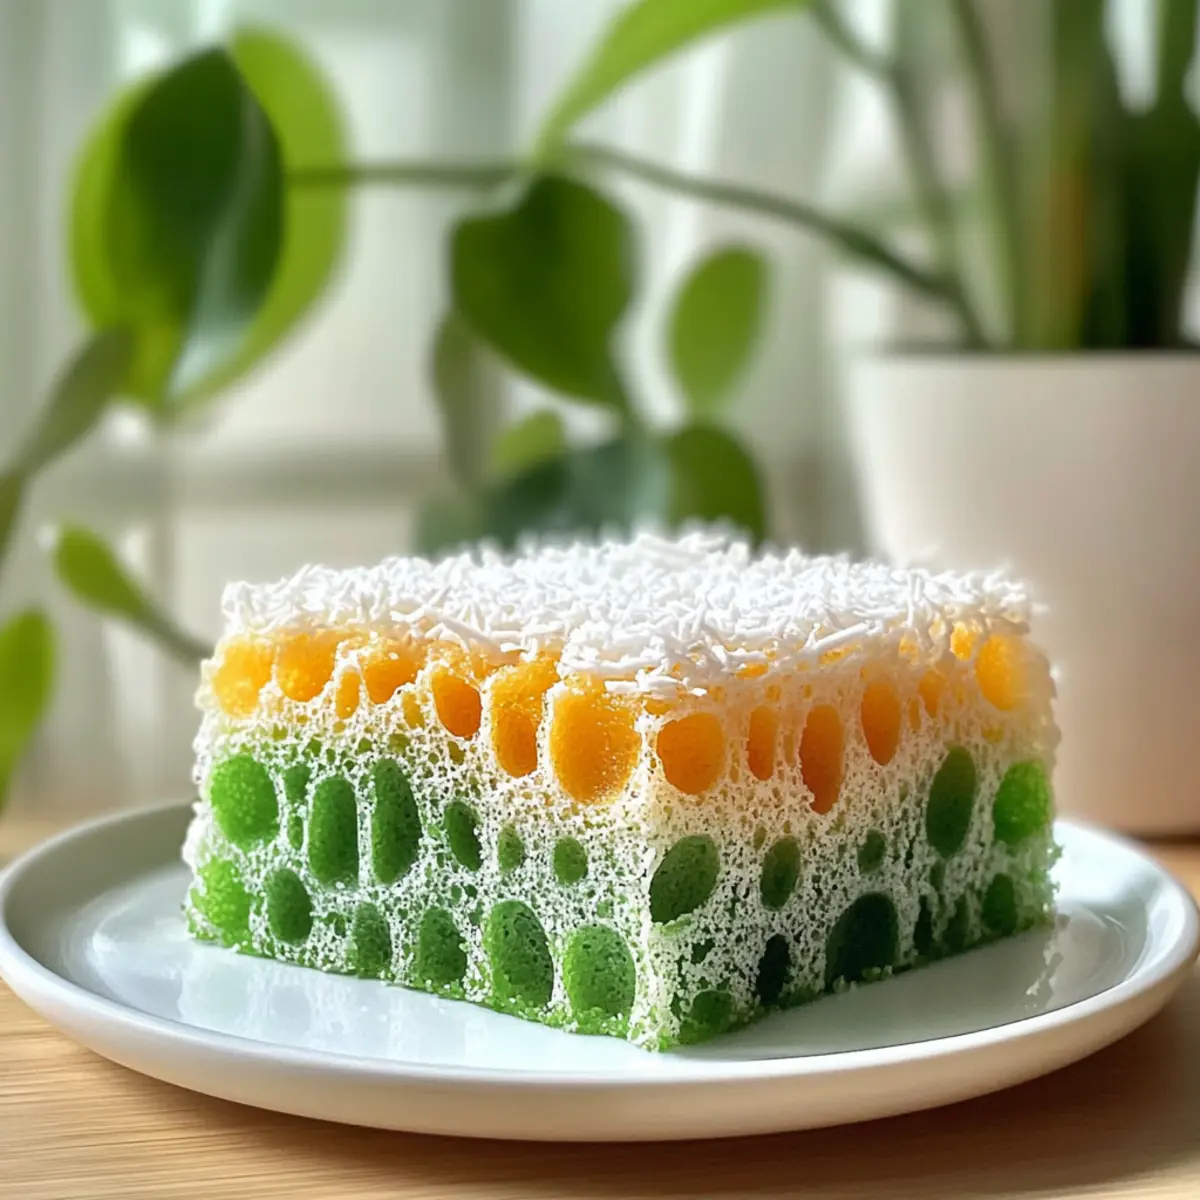
Why is Vietnamese Honeycomb Cake so special?
Delightful Texture: With a unique honeycomb pattern, this cake offers a light and airy vape that feels like a gentle cloud in every bite.
Tropical Flavors: Infused with aromatic pandan and creamy coconut, each slice transports you to a sunny beach, making it a perfect escape from your daily routine.
Gluten-Free & Dairy-Free: This recipe caters to dietary needs without compromising on taste, allowing everyone to join in on the fun, just like with my Gingerbread Pancakes Cozy.
Quick & Easy: You’ll be amazed at how simple it is to prepare this stunning dessert, freeing up more time for hosting and celebrating with friends.
Endless Variations: Personalize your cake with toppings! Fresh fruits or a coconut glaze can elevate the dessert to new heights—similar to the delightful servings of Mini Sausage Pancake Muffins that please all palates.
Vietnamese Honeycomb Cake Ingredients
• Here’s what you need to create this delightful dessert!
For the Cake
- Coconut Milk – provides richness and moisture; using full-fat will give you the best flavor and texture.
- Pandan Leaves – contributes a unique tropical flavor; you can substitute with 1 tsp of pandan extract if needed.
- Eggs – essential for binding and structure; using large eggs yields the best results.
- Granulated Sugar – adds sweetness; adjust according to your taste preference.
- Pandan Extract – enhances the pandan flavor; double the amount if substituting for fresh pandan leaves.
- Vanilla Extract – adds depth and complements the cake’s flavors beautifully.
- Tapioca Starch – crucial for creating the cake’s signature honeycomb texture and body.
- Baking Powder – ensures proper rise; make sure it’s fresh for the best results.
- Salt – balances the sweetness and enhances overall flavor.
Optional Toppings
- Fresh Fruits – like mango slices for added freshness and flavor enhancement.
- Coconut Glaze – drizzle over the top for an extra layer of sweetness.
- Toasted Coconut Flakes – sprinkle for added texture and a delightful crunch.
Creating this Vietnamese Honeycomb Cake is not just about baking; it’s about blending flavors that tell a story!
Step‑by‑Step Instructions for Vietnamese Honeycomb Cake
Step 1: Preheat and Prepare the Pan
Begin by preheating your oven to 350°F (177°C). To ensure the perfect release of your Vietnamese Honeycomb Cake, warm your bundt pan in the oven for about 10 minutes. This step helps the batter flow easily and achieve that beautiful, honeycomb design once baked.
Step 2: Blend Coconut and Pandan
In a blender, combine the full-fat coconut milk and the fresh pandan leaves. Blend until smooth, then strain the mixture through a fine sieve into a mixing bowl, discarding any solids. This process infuses the tropical flavor into the cake while ensuring a light, airy texture, crucial for creating the lovely honeycomb effect.
Step 3: Mix Wet Ingredients
Add the eggs and granulated sugar to the strained coconut-pandan mixture in the mixing bowl. Whisk together until well combined and frothy, about 2-3 minutes. This step incorporates air into the mixture, giving your Vietnamese Honeycomb Cake a fluffy texture that everyone will love.
Step 4: Incorporate Flavorings
Gently stir in the pandan extract and vanilla extract into the egg-sugar mixture. Mixing these flavorings in now will ensure that the tropical essence permeates the entire cake, enhancing the overall flavor profile and creating that delightful aroma as it bakes.
Step 5: Combine Dry Ingredients
In a separate bowl, whisk together the tapioca starch, baking powder, and salt. Once mixed, carefully fold this dry mixture into the wet ingredients until just combined, avoiding overmixing. This step is vital for retaining the cake’s delicate structure, which contributes to its unique texture.
Step 6: Pour and Bake
Pour the batter into the prepared bundt pan, ensuring it spreads evenly. Place it in the preheated oven and bake for 50-55 minutes, or until the edges turn golden and a toothpick inserted into the center comes out clean. The anticipation builds as your Vietnamese Honeycomb Cake rises beautifully in the oven!
Step 7: Cool and Invert
Once baked, allow the cake to cool in the bundt pan for about 60 minutes. This cooling period is essential for the cake to set properly and prevents breakage when you invert it. After this time, gently flip the pan onto a serving plate and let it release the cake, revealing its stunning honeycomb design.
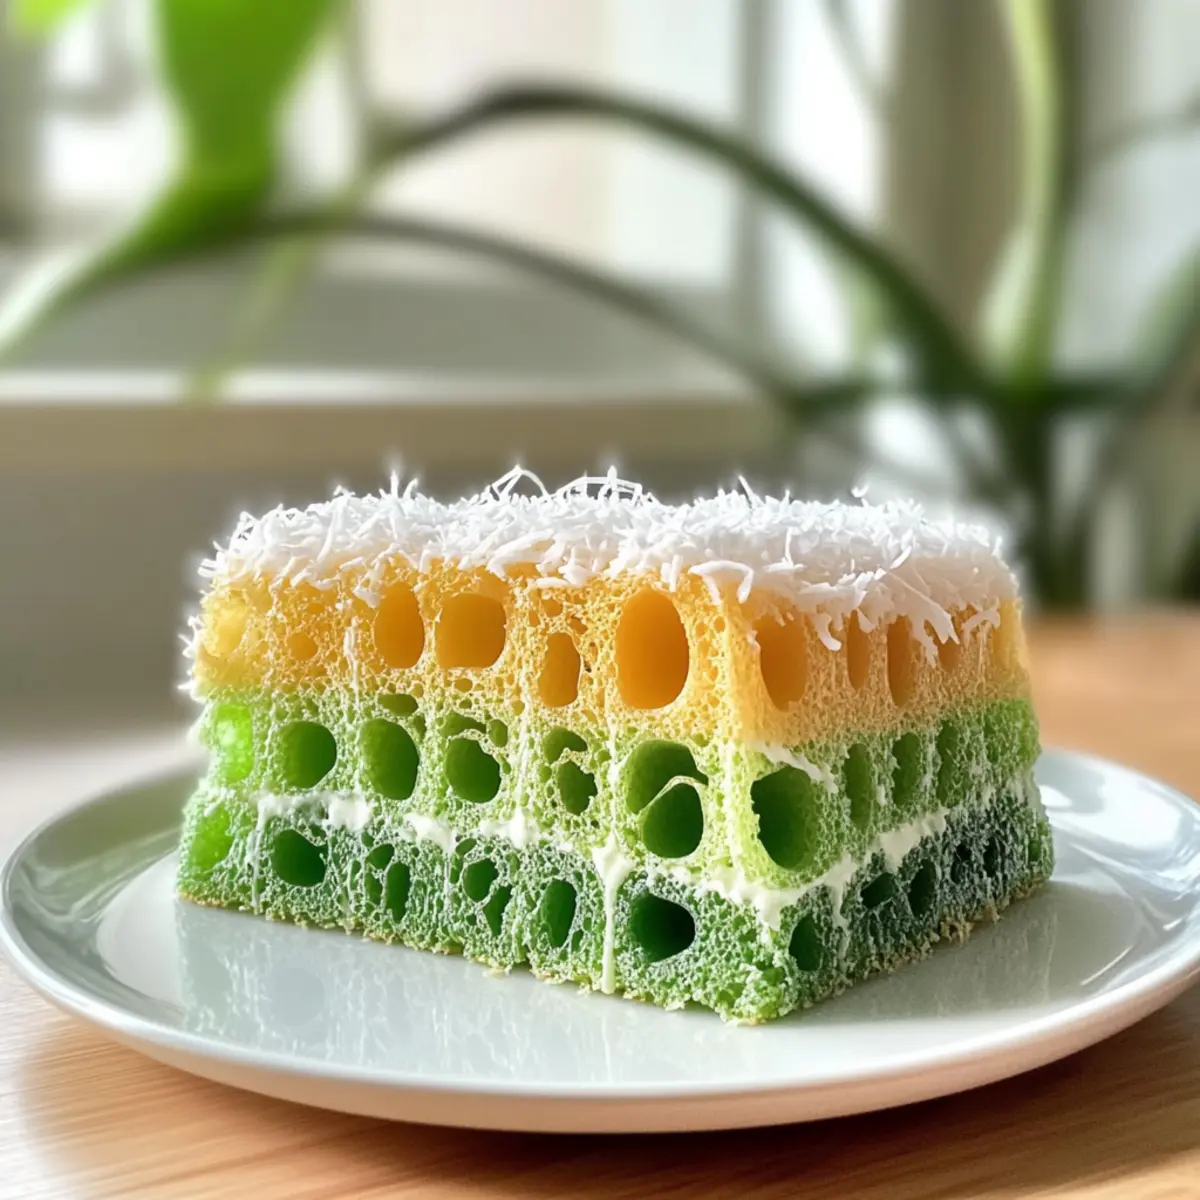
How to Store and Freeze Vietnamese Honeycomb Cake
Room Temperature: Store the cake in an airtight container at room temperature for up to 3 days. This keeps it fresh while maintaining its delightful texture.
Fridge: In warm climates, it’s best to refrigerate it to maintain freshness for about a week. Just make sure it’s in an airtight container to prevent it from drying out.
Freezer: For longer storage, wrap the Vietnamese Honeycomb Cake tightly in plastic wrap and then aluminum foil. Freeze for up to 2 months to enjoy the cake at a later date.
Reheating: When ready to enjoy, thaw in the fridge overnight, then let it reach room temperature before serving. A quick warm-up in the microwave for a few seconds can also revive its fluffy texture.
Expert Tips for Vietnamese Honeycomb Cake
-
Preheat Properly: Ensure your oven is fully preheated for even baking and proper cake release. This step is crucial for your Vietnamese Honeycomb Cake to rise beautifully.
-
Strain Thoroughly: Strain the coconut-pandan mixture multiple times to eliminate lumps. This will guarantee a fluffy texture and that signature honeycomb design.
-
Cool Completely: Allow the cake to cool fully in the pan before inverting. This prevents breakage and ensures your cake maintains its stunning shape.
-
Adjust Sugar Levels: Taste and adjust sugar according to preference. Traditional recipes may call for less sweetness, so feel free to modify it to suit your palate.
-
Check Ingredients Freshness: Use fresh tapioca starch and baking powder to achieve the ideal cake texture, preventing any unwanted density.
-
Gentle Folding: When combining wet and dry ingredients, fold gently to preserve the airy quality of your batter, which is key for that fluffy delight everyone loves.
Make Ahead Options
These Easy Vietnamese Honeycomb Cakes are a great option for meal prep enthusiasts! You can prepare the batter up to 24 hours in advance by mixing your coconut, pandan, eggs, and dry ingredients, then refrigerate it in an airtight container. To maintain its airy texture, avoid overmixing once combined, and ensure you refrigerate it properly. When you’re ready to bake, just pour the batter into your prepared bundt pan and pop it in the oven. This way, you’ll achieve that delightful, fluffy cake with minimal effort on the day of serving, making it perfect for busy weeknights or gatherings!
Vietnamese Honeycomb Cake Variations
Feel free to get creative with this delightful recipe and customize your Vietnamese Honeycomb Cake to suit your taste!
- Dairy-Free: For a completely dairy-free version, use coconut milk instead of regular milk, retaining the creamy richness.
- Gluten-Free: Use tapioca flour instead of all-purpose flour for a naturally gluten-free treat that everyone can enjoy.
- Flavored Coconut Cream: Whip coconut cream and blend with vanilla for a lovely topping, adding a whipped layer of tropical sweetness.
- Sweetener Varieties: Experiment with honey or maple syrup instead of sugar for a unique, earthy sweetness that enhances the cake.
- Fruit Infusion: Add fresh mango or passion fruit puree to the batter for a burst of fruity goodness, making every bite exciting.
- Layered Delight: Try slicing the cooled cake in half, spreading a coconut cream layer or your favorite jam between the halves for an extra sweet twist.
- Textured Crunch: Top with toasted nuts or seeds for delightful crunch—think of the satisfying contrast they offer alongside the fluffy cake.
- Fruity Glaze: Drizzle a simple glaze made from fruit puree mixed with powdered sugar over the cake for a vibrant and zesty finish.
Not only can you personalize this cake, but it also pairs beautifully with a scoop of coconut ice cream or a side of fresh fruit, just like with my perfect Peach Bellini Cupcakes. The options are endless, inviting you to explore new flavors and combinations!
What to Serve with Easy Banh Bo Nuong
Pairing this fluffy wonder with delightful accompaniments will elevate your dessert experience to new heights.
-
Coconut Ice Cream: The creamy texture of coconut ice cream mirrors the cake’s tropical flavors, creating a blissful harmony in each bite. It’s like a vacation in your mouth!
-
Fresh Mango Slices: Juicy and sweet, fresh mango adds a refreshing contrast to the cake’s airy feel and enhances its tropical essence. The bright color also adds visual appeal to your presentation.
-
Toasted Coconut Flakes: These add a delightful crunch and depth of flavor, accentuating the cake’s coconut notes while providing a beautiful final touch to the plate.
-
Coconut Glaze: Drizzling a sweet coconut glaze over your slices introduces a luscious sweetness that complements the cake perfectly, creating a delightful experience for your taste buds.
-
Pineapple Chunks: Tangy and vibrant, fresh pineapple cubes can add an exciting burst of flavor, balancing the sweetness of the cake while enhancing its tropical vibe.
-
Jasmine Tea: Pairing the cake with fragrant jasmine tea will amplify its lightness, evoking the calming essence of a sunny afternoon in a Vietnamese garden.
-
Matcha Latte: The earthy flavors of a matcha latte create an intriguing contrast with the cake’s sweetness, offering a touch of sophistication to your dessert experience.
-
Chocolate Sauce: For the chocolate lovers, a drizzle of rich chocolate sauce can be a delightful indulgence that turns your honeycomb cake into a decadent dessert.
-
Lychee Sorbet: Light and floral, lychee sorbet offers a unique, refreshing counterpart, bringing another layer of tropical delight to your dessert spread.
-
Coconut Macaroons: A double coconut treat, these chewy snacks mirror the cake’s textures while giving your guests an extra nibble to enjoy.
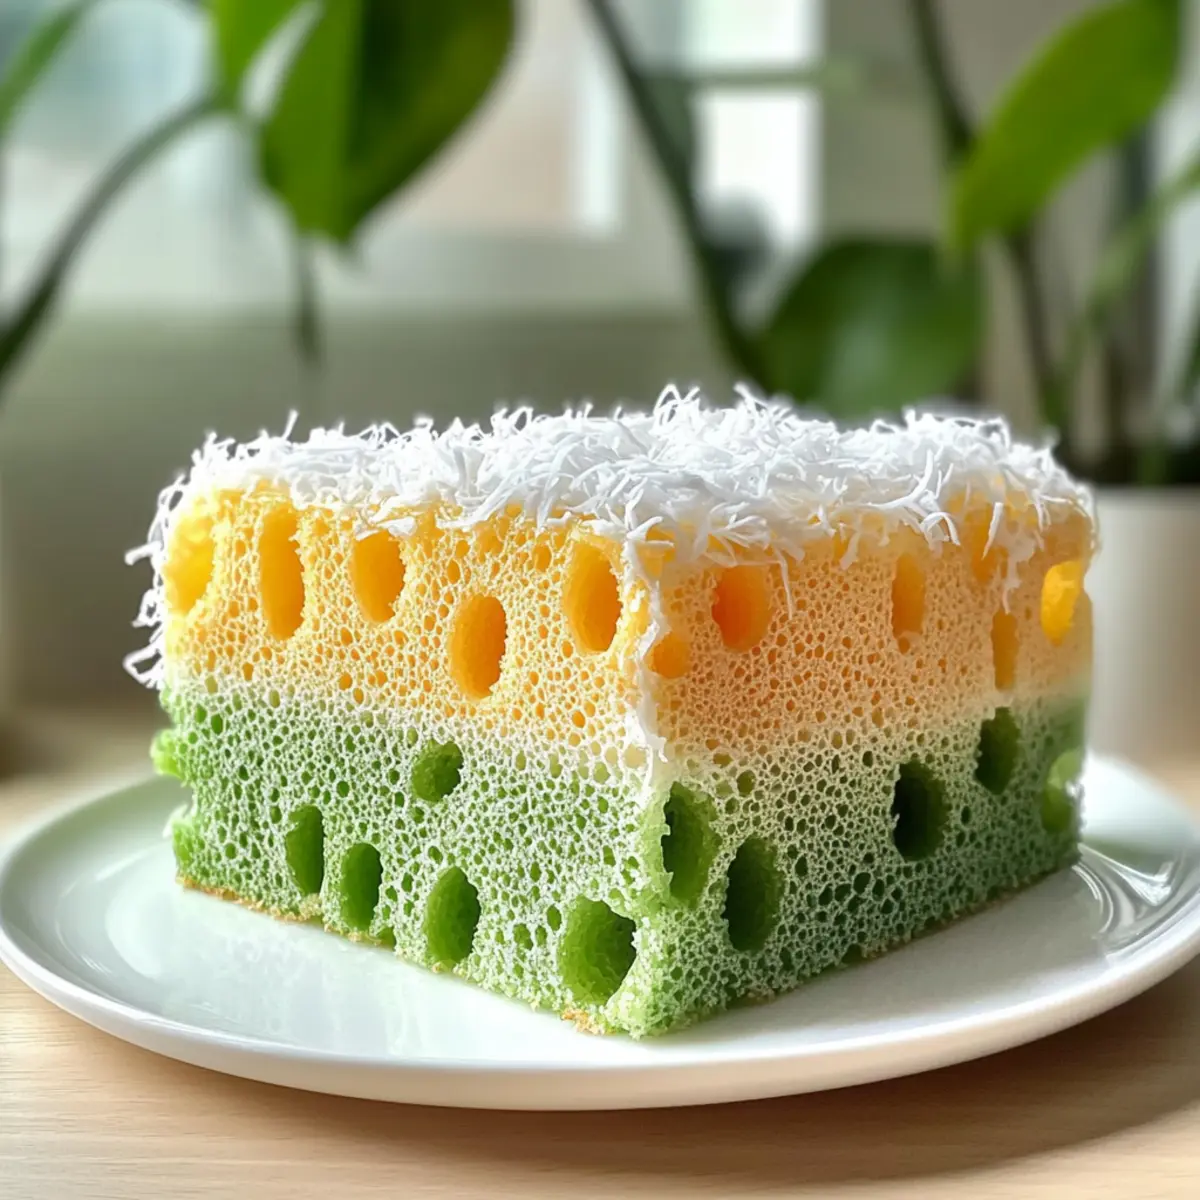
Easy Gluten-Free Vietnamese Honeycomb Cake Recipe FAQs
What kind of coconut milk should I use?
I recommend using full-fat coconut milk for the best flavor and moisture content in your Vietnamese Honeycomb Cake. This addition ensures a rich, creamy texture that perfectly complements the lightness of the cake. You can find it canned in most grocery stores; just shake the can well before opening.
How should I store the Vietnamese Honeycomb Cake?
To preserve its deliciousness, store the cake in an airtight container at room temperature for up to 3 days. If you live in a warm climate, it’s best to refrigerate the cake, where it can stay fresh for about a week. Just be sure it’s well-covered to prevent drying out—no one wants a stale treat!
Can I freeze the cake? If so, how?
Absolutely! For long-term storage, wrap your Vietnamese Honeycomb Cake tightly in plastic wrap, followed by aluminum foil. This method avoids freezer burn and helps maintain its fluffy texture. The cake can be frozen for up to 2 months. When you’re ready to enjoy it, simply thaw it in the fridge overnight and let it come to room temperature before serving.
My cake didn’t rise as expected; what could have gone wrong?
There are a few reasons this might happen. Make sure your baking powder is fresh, as expired leavening agents won’t help the cake rise. Also, remember to fold the dry ingredients gently into the wet mixture to retain air. Overmixing can deflate the batter, affecting the fluffiness and honeycomb structure. If you’re ever in doubt, check out this recipe’s expert tips for guidance!
Is this cake suitable for people with allergies?
Yes! This Easy Vietnamese Honeycomb Cake is naturally gluten-free and dairy-free, making it a great choice for those with dietary restrictions. However, always check the ingredient labels, especially for tapioca starch and any toppings you may choose to use. If you have nut allergies, ensure that no cross-contamination occurs, especially if using coconut products.
What’s a good substitute for pandan leaves?
If you can’t find fresh pandan leaves, don’t worry! You can easily substitute them with 1 teaspoon of pandan extract. Just remember to double the amount if you want to enhance that unique flavor without using the leaves directly. Alternatively, using a splash of vanilla extract can also enrich the cake’s flavor profile if pandan is unavailable.
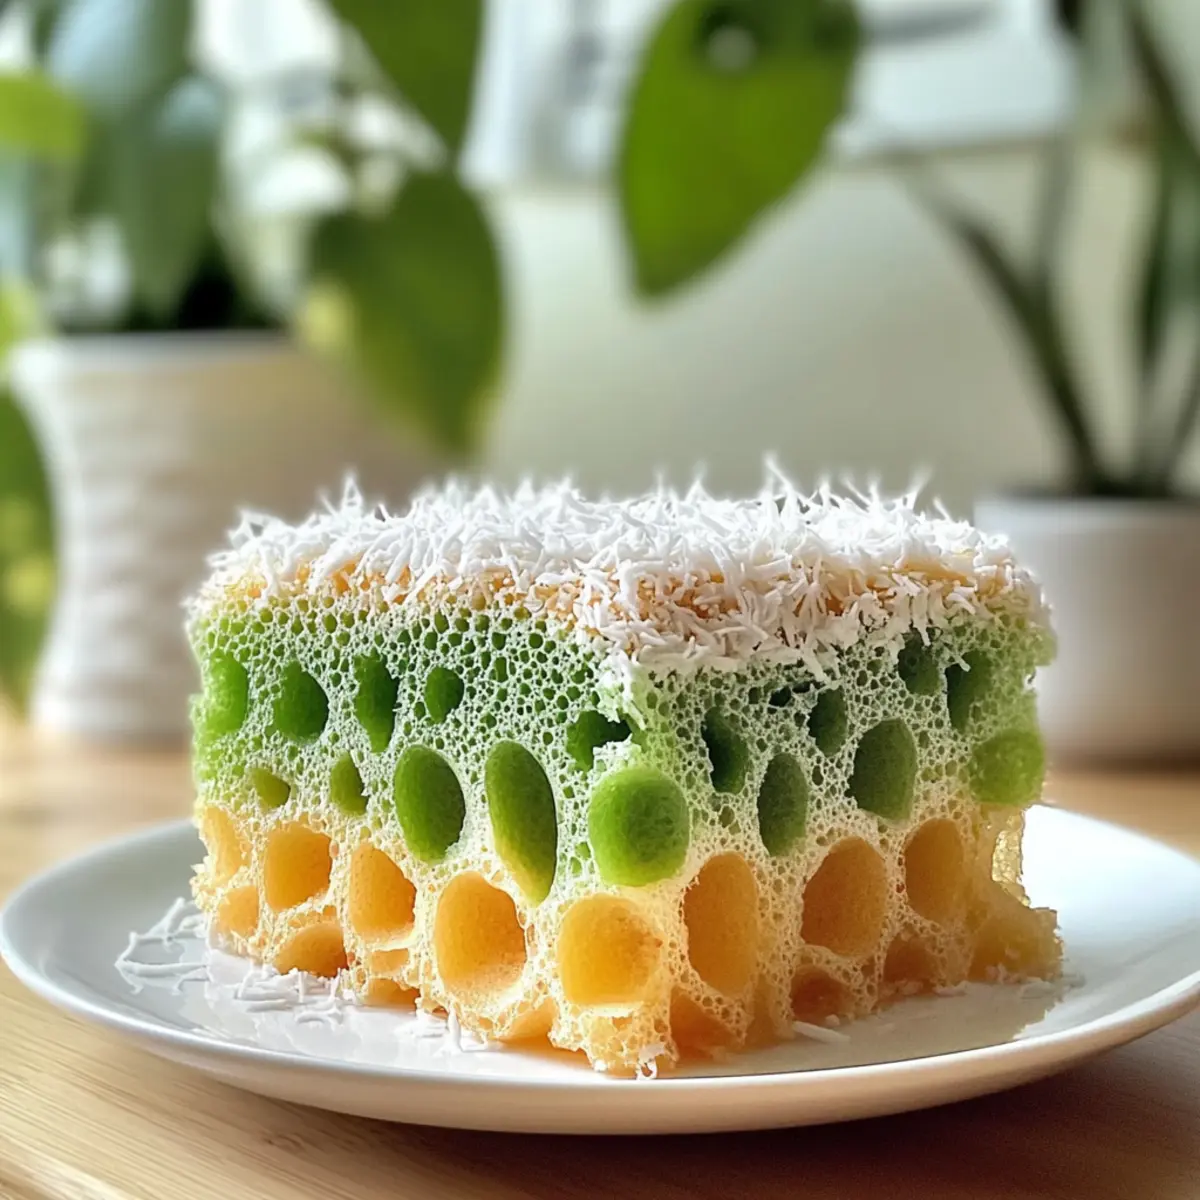
Fluffy Vietnamese Honeycomb Cake That Will Amaze You
Ingredients
Equipment
Method
- Preheat your oven to 350°F (177°C) and warm your bundt pan for about 10 minutes.
- Blend the coconut milk and pandan leaves until smooth, then strain into a mixing bowl.
- Add the eggs and sugar to the mixture, whisk until frothy for about 2-3 minutes.
- Gently stir in the pandan extract and vanilla extract.
- Whisk together tapioca starch, baking powder, and salt in a separate bowl, then fold into the wet mixture.
- Pour the batter into the prepared bundt pan and bake for 50-55 minutes.
- Allow the cake to cool in the pan for about 60 minutes before inverting.
Leave a Reply