
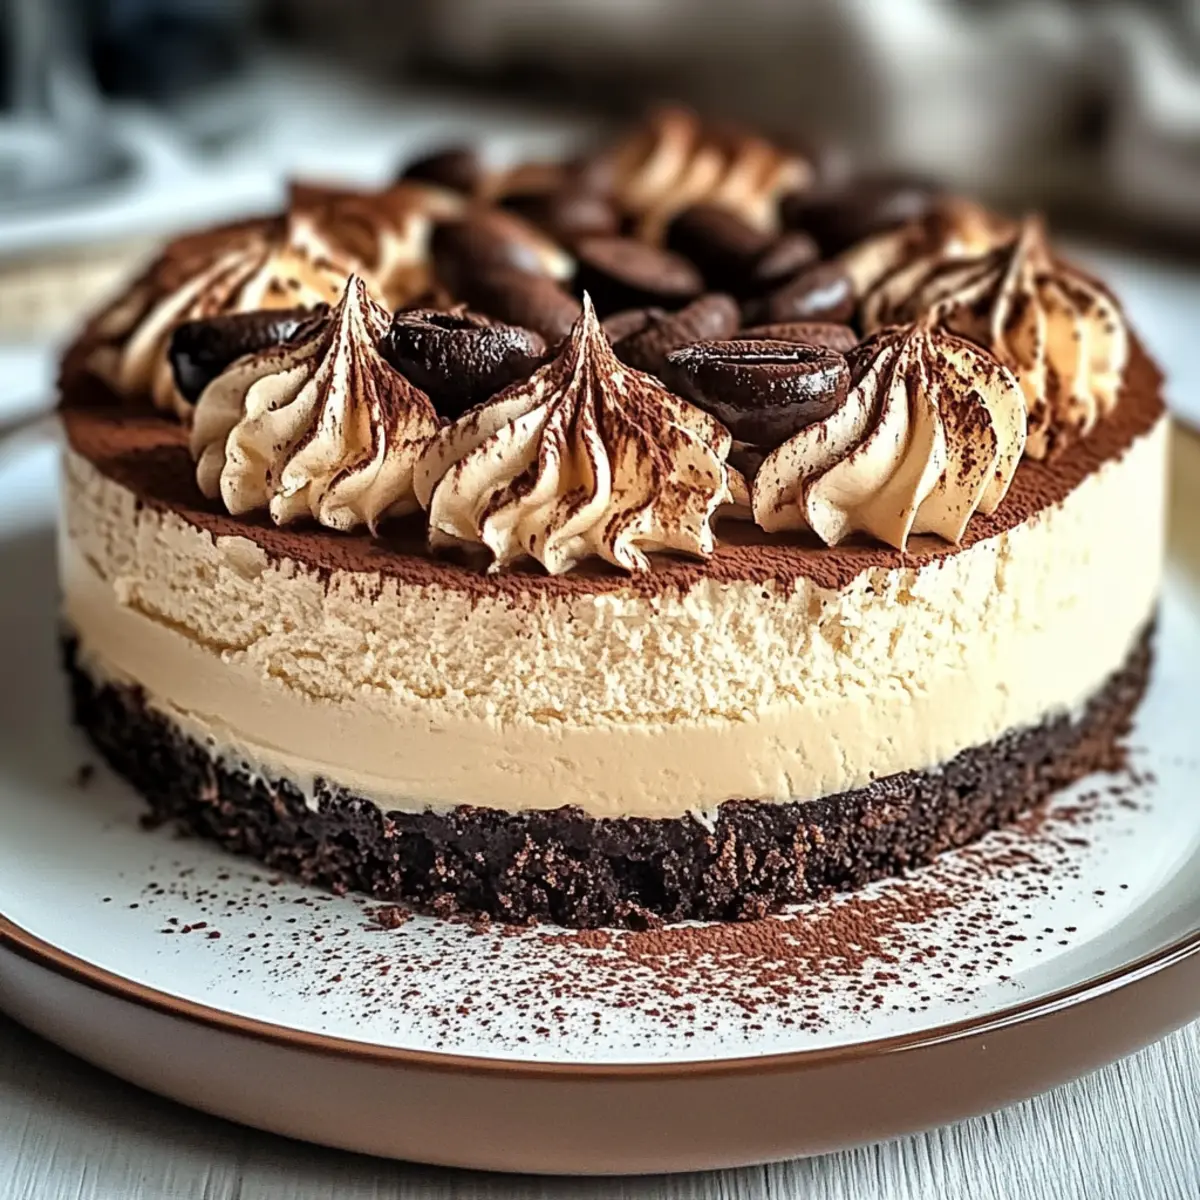
As my friends and family gather around the table, the mouthwatering aroma of coffee and chocolate fills the air, drawing everyone closer. This Tiramisu Cheesecake is not just a dessert; it’s a creamy marriage of two classic Italian favorites that’s destined to impress. Whether it’s for a festive celebration or a cozy weeknight treat, this recipe promises an effortless route to indulgence. Not only does it come together remarkably quickly, but it’s also a crowd-pleaser that everyone will remember. Each slice showcases a beautifully layered texture, with rich mascarpone and hints of cocoa that dance like a symphony on your palate. Curious to learn how to whip up this irresistible delight? Keep reading for the steps to make your own Tiramisu Cheesecake!
Why is Tiramisu Cheesecake a Must-Try?
Irresistible fusion: This Tiramisu Cheesecake combines two beloved desserts into one unforgettable experience.
Decadent texture: The creamy mascarpone beautifully melds with airy ladyfingers for a dessert that simply melts in your mouth.
Quick assembly: Perfect for busy bakers, the recipe requires minimal effort while delivering maximum flavor—ideal for surprise guests or family gatherings.
Versatile flavors: Customize it with flavored extracts or seasonal fruits, or consider pairing with a chilled glass of dessert wine for an elevated touch.
Crowd pleaser: This delightful treat is sure to impress, making it the star of any dessert table, just like at my recent dive into Creamy White Chocolate Cheesecake gatherings!
Memory maker: Each bite transports you to an Italian café, making every occasion feel special and cherished.
Tiramisu Cheesecake Ingredients
• Here’s everything you need to create this sensational Italian dessert.
For the Cheesecake Batter
- Cream Cheese – Provides a creamy foundation; substitute with ricotta for a lighter version.
- Mascarpone Cheese – Essential for achieving that rich tiramisu texture; no direct substitute, but a cream cheese blend works in a pinch.
- Granulated Sugar – Sweetens the cheesecake; coconut sugar can enhance the flavor profile.
- Eggs – Bind the mixture and add structure; flaxseed meal mixed with water works for a vegan alternative.
- Coffee – Infuses the signature tiramisu flavor; instant coffee is convenient, while espresso offers authentic richness.
For the Crust
- Ladyfingers – Form the tiramisu layer; feel free to use gluten-free cookies if needed.
- Chocolate Crust (made from crushed cookies and butter) – Delivers a rich taste; almond flour makes a gluten-free option.
For the Finishing Touch
- Cocoa Powder – Adds a delightful chocolatey finish; Dutch-processed cocoa lends a smoother flavor.
This Tiramisu Cheesecake is an irresistible treat that will leave your guests yearning for more!
Step‑by‑Step Instructions for Tiramisu Cheesecake
Step 1: Prepare the Pan
Begin by preheating your oven to 350°F (175°C). While the oven heats up, generously butter a 10-inch springform pan to prevent sticking. This will be crucial for creating a smooth release for your Tiramisu Cheesecake once it’s baked.
Step 2: Make the Crust
In a mixing bowl, combine crushed chocolate cookies with melted butter. Stir until the crumbs are evenly coated and resemble wet sand. Press this mixture firmly into the bottom of your prepared springform pan, creating an even layer. Set aside to allow it to firm up while you make the cheesecake batter.
Step 3: Mix Cheesecake Batter
In a large bowl, use an electric mixer to beat together cream cheese and mascarpone until smooth and creamy. Gradually add granulated sugar, mixing until fully incorporated. Add in eggs one at a time, ensuring each is blended well before adding the next. Finally, mix in coffee and cocoa powder until the batter is rich and uniform.
Step 4: Layer Ladyfingers
Pour your prepared coffee into a shallow dish. Quickly dip each ladyfinger into the coffee, making sure not to soak them too long, then arrange a layer over the crust in the springform pan. This will create a delicious base that complements the creamy cheesecake layer perfectly.
Step 5: Pour Cheesecake Mixture
Carefully spread half of the cheesecake batter over the layer of dipped ladyfingers, smoothing it out to cover them completely. Follow this by adding another layer of dipped ladyfingers, then top with the remaining cheesecake batter, ensuring a nice, even finish on top.
Step 6: Bake
Prepare a water bath by placing your springform pan into a larger baking dish filled halfway with hot water. This method helps to keep the Tiramisu Cheesecake moist as it bakes. Bake in your preheated oven for about 80 minutes, checking for doneness—the center should be set but still slightly jiggly.
Step 7: Cool Gradually
Once baked, turn off the oven and crack the door open, allowing the Tiramisu Cheesecake to cool gradually inside for about 2–3 hours. This gradual cooling helps prevent cracks. Afterward, transfer it to the refrigerator, letting it chill overnight to enhance the flavors and textures before serving.
Expert Tips for Tiramisu Cheesecake
-
Room Temperature Ingredients: Ensure all ingredients, especially cream cheese and eggs, are at room temperature to achieve a smooth, lump-free batter.
-
Gentle Mixing: When adding eggs to the batter, mix gently and just until combined to avoid overmixing, which can lead to a dense texture.
-
Water Bath Care: Place the springform pan in a hot water bath carefully, as spills can lead to a soggy crust. Use heavy-duty aluminum foil on the outside to seal snugly.
-
Chill Time: Don’t rush the chilling process! Allow the cheesecake to cool in the oven, then refrigerate overnight. This enhances the flavors of your Tiramisu Cheesecake.
-
Dipped Ladyfingers: Dip ladyfingers in coffee quickly! Soaking them too long can make them overly soggy, ruining the delightful layering.
-
Flavor Enhancements: Feel free to add flavored extracts or toppings to customize your cheesecake, further elevating your Tiramisu Cheesecake experience!
Tiramisu Cheesecake Variations & Substitutions
Feel free to get creative with your Tiramisu Cheesecake—these delightful twists and swaps invite you to explore new flavors!
- Gluten-Free: Use gluten-free ladyfingers or almond flour for the crust to make this cheesecake accessible for everyone at your table.
- Vegan: Replace cream cheese and mascarpone with a vegan cream cheese alternative and substitute eggs with flaxseed meal mixed with water.
- Swirl it Up: Create a stunning marbled effect by swirling in some melted chocolate or coffee syrup into the cheesecake batter before baking.
- Flavor Boost: Add flavored extracts like hazelnut or almond for a fragrant twist that’ll make this dessert even more inviting.
- Fruit Infusion: Top with fresh berries, or use a layer of fruit preserves for a burst of natural sweetness, complementing the rich flavors beautifully.
- Extra Cocoa: Sprinkle in chocolate shavings or dark chocolate ganache on top to enhance the decadence of your cheesecake and delight chocolate lovers!
- Coffee Kick: For a bolder coffee flavor, use espresso instead of regular coffee and try infusing the crust with finely crushed espresso beans.
- Serving Recommendation: Pair each slice with a scoop of coffee ice cream or creamy whipped coconut cream for an indulgent dessert experience that feels special, just like my favorite Creamy White Chocolate Cheesecake!
How to Store and Freeze Tiramisu Cheesecake
Fridge: Store your Tiramisu Cheesecake covered in plastic wrap or in an airtight container for up to 1 week. This helps maintain its creamy texture and rich flavors.
Freezer: For longer storage, freeze the cheesecake for up to 3 months. Wrap it tightly in plastic wrap and aluminum foil to prevent freezer burn.
Thawing: When ready to enjoy, thaw the cheesecake in the refrigerator overnight before serving for the best texture.
Reheating: Enjoy cold, or let it sit at room temperature for 15-30 minutes for a softer bite. Avoid microwaving to preserve the delicate layers.
What to Serve with Tiramisu Cheesecake?
Indulging in a slice of this Tiramisu Cheesecake invites the perfect opportunity to create a full meal experience that delights the senses.
-
Fresh Fruit Salad: A colorful medley of seasonal fruits adds a refreshing contrast, cutting through the richness of the cheesecake and offering a burst of natural sweetness. Pairing the creamy cheesecake with the crispness of juicy fruit creates a harmonious balance.
-
Espresso or Coffee: Nothing complements this Italian delight better than a cup of freshly brewed espresso. The rich coffee notes in both the dessert and the drink enhance that luxurious tiramisu essence, making each bite and sip a delightful pairing.
-
Chocolate-Mint Mousse: A light, airy chocolate mint mousse brings a whimsical touch to the dessert table. Its velvety texture and cool minty notes will uplift the earthy tones of the cheesecake, creating a synergetic dessert experience.
-
Whipped Cream Topping: Adding a dollop of lightly sweetened whipped cream elevates each slice beautifully. It lightens the overall feel of the cheesecake and adds creaminess that makes each bite a dream.
-
Hazelnut Biscotti: Crunchy and nutty, a side of hazelnut biscotti adds a delightful texture contrast. Dip it into coffee or espresso for a delightful coffeehouse experience that celebrates the Italian theme!
-
Dark Chocolate Shavings: For an elegant touch, sprinkle dark chocolate shavings over the top before serving. This adds both visual appeal and a touch of intense chocolate flavor that deepens your cheesecake’s richness.
-
Limoncello Spritzers: For a refreshing beverage, serve a limoncello spritzer alongside. The vibrant citrus notes brighten the palate and provide a zesty counterpoint to the creamy cheesecake, making every bite a festive celebration!
Make Ahead Options
These Tiramisu Cheesecake layers are perfect for meal prep enthusiasts! You can make the crust and cheesecake batter up to 24 hours in advance. To prep, simply mix the crust and press it into the springform pan. Then prepare the cheesecake batter by beating the cheeses and incorporating the coffee as described. Store the crust and batter separately in airtight containers in the refrigerator. When you’re ready to finish, layer the dipped ladyfingers into the crust, pour over the cheesecake mixture, and bake as directed. This way, you save precious time and still serve a dessert that’s just as delicious, capturing all the flavors you love!
Tiramisu Cheesecake Recipe FAQs
How do I choose the right mascarpone cheese?
Absolutely! When selecting mascarpone cheese, look for brands that have a creamy texture and a rich flavor. Check for freshness by avoiding any containers with dark spots or off smells. Often, fresh mascarpone is found near the dairy section, but you can also find it in specialty ingredient stores. I recommend trying a local brand to enhance the flavor!
What’s the best way to store leftover Tiramisu Cheesecake?
Very! To keep your Tiramisu Cheesecake fresh, store it in the refrigerator covered in plastic wrap or in an airtight container for up to one week. Make sure to keep it away from strong-smelling foods to avoid flavor transfer. Before serving, let it rest at room temperature for about 15-30 minutes for that perfect creamy bite!
Can I freeze Tiramisu Cheesecake?
Absolutely! Freezing your Tiramisu Cheesecake is a great option. To do so, wrap it tightly in plastic wrap, then cover it with aluminum foil to avoid freezer burn. It can be frozen for up to 3 months. When you’re ready to enjoy it, simply transfer it to the refrigerator to thaw overnight. This way, the texture remains delightful and ready to impress your guests!
What if my cheesecake cracks while baking?
Don’t worry, it happens to the best of us! If your cheesecake cracks, it’s often due to overheating or rushing the cooling process. To prevent cracks, ensure you’re using a water bath, which helps maintain moisture. Additionally, keep the door slightly ajar as it cools. If cracks still appear, a light dusting of cocoa powder or a layer of whipped cream can beautifully camouflage any imperfections!
Is Tiramisu Cheesecake suitable for gluten-free diets?
Absolutely! You can make a delicious gluten-free Tiramisu Cheesecake by substituting ladyfingers with gluten-free cookies or using almond flour for the crust instead of regular cookies. Be sure to check the labels for gluten-free certifications, and you’re set for a delightful dessert that everyone can enjoy!
Irresistible Tiramisu Cheesecake: A Luxurious Sweet Escape
Ingredients
Equipment
Method
- Preheat your oven to 350°F (175°C) and butter a 10-inch springform pan.
- Combine crushed chocolate cookies with melted butter, mixing until evenly coated. Press into the bottom of the pan.
- Beat together cream cheese and mascarpone until smooth. Gradually add sugar, followed by eggs, then mix in coffee and cocoa powder.
- Dip ladyfingers in coffee and arrange a layer over the crust in the pan.
- Spread half of the cheesecake batter over the ladyfingers, then layer with more ladyfingers and top with remaining batter.
- Bake in a water bath for about 80 minutes, until the center is set but slightly jiggly.
- Cool in the oven for 2-3 hours and then chill overnight in the refrigerator.
Leave a Reply