
The aroma of fresh strawberries surrounded by a rich swirl of creamy cheesecake beckons you to the kitchen like an old friend. This Strawberry Earthquake Cake is not just a dessert—it’s a celebration waiting to happen. With a delightful combination of vibrant flavors and comforting textures, this cake is a crowd-pleaser that’s incredibly easy to whip up, making it perfect for gatherings or a cozy night in. Each slice teases your taste buds with moist strawberry cake, crunchy nuts, and melty white chocolate, all held together with a luscious cheesecake layer. Whether you’re sharing it with loved ones or treating yourself to a sweet escape, this dessert delivers childhood nostalgia and pure joy in every bite. So are you ready to embark on this delightful baking adventure? Let’s dive in!

Why Is This Cake So Irresistible?
Indulgence at its finest: This Strawberry Earthquake Cake merges the fruity goodness of strawberries with a rich cream cheese swirl, creating a dessert that’s simply luxurious.
Versatile delight: Customize your cake with blueberries, or raspberry variations to suit any occasion or taste preference.
Ease of preparation: Perfect for both novice and seasoned bakers, this recipe is straightforward, making it a stress-free baking experience.
Crowd-pleaser: This cake is a guaranteed hit at parties or family gatherings, drawing everyone in with its vibrant colors and tempting aroma, much like our Gingerbread Pancakes Cozy that brighten up any morning.
Nostalgic flavor: Each bite is reminiscent of home-baked nostalgia, making it the ideal treat for those looking to escape fast food.
Simple storage: Leftovers can be easily kept and enjoyed later, allowing this cake to extend the love beyond just one day!
Strawberry Earthquake Cake Ingredients
For the Cake
• Strawberry Cake Mix – This provides a fruity foundation; choose your favorite brand for best results.
• Fresh or Frozen Strawberries (1.5 cups) – Adds natural sweetness and juiciness; if using frozen, thaw and drain them first.
• White Chocolate Chips (1 cup) – Imparts a melty sweetness that beautifully complements the strawberries.
• Sweetened Shredded Coconut (1 cup) – Introduces a tropical texture; feel free to reduce or omit if you’re not a fan.
• Chopped Pecans or Walnuts (0.5 cup, optional) – Adds a delightful crunch; great for texture but can be left out for a nut-free version.
For the Cheesecake Layer
• Cream Cheese (8 oz) – The star ingredient, providing a rich, creamy base; always go for full-fat for the best texture.
• Unsalted Butter (0.5 cup) – Contributes creaminess and richness to the cheesecake mixture.
• Powdered Sugar (2.5 cups) – Sweetens and softens the cheese layer for a delightful balance.
• Vanilla Extract (1 teaspoon) – Enhances the flavor profile, rounding out the sweetness beautifully.
Additional Ingredients
• Ingredients from Cake Mix (eggs, oil, water) – Don’t forget these essential staples to prepare the cake mix!
Embrace the joy of baking this Strawberry Earthquake Cake, where each bite is a creamy explosion of flavor!
Step‑by‑Step Instructions for Strawberry Earthquake Cake
Step 1: Preheat and Prepare
Start by preheating your oven to 350°F (175°C). Grease a 9×13-inch baking pan generously with butter or non-stick spray, ensuring every corner is covered to prevent sticking. This step sets the stage for your Strawberry Earthquake Cake to bake evenly, leading to a beautiful, golden finish.
Step 2: Mix the Cake Batter
In a large mixing bowl, prepare the strawberry cake mix according to the package instructions—this typically involves adding eggs, oil, and water. Stir until just combined, avoiding overmixing for a lighter texture. The batter should be smooth yet thick, with the sweet aroma of strawberries filling your kitchen as you prepare this delightful cake.
Step 3: Add the Flavorful Extras
Once your cake batter is ready, gently fold in chopped strawberries, white chocolate chips, and sweetened shredded coconut. If you’re using chopped pecans or walnuts for an extra crunch, fold them in now as well. This step gives your Strawberry Earthquake Cake its vibrant character and delightful texture, creating a rich combination of flavors throughout.
Step 4: Layer the Batter
Pour half of the strawberry cake batter into the greased baking pan, spreading it evenly across the bottom. This creates a solid base for the luscious cheesecake swirl that will make your cake truly special. Take a moment to admire the vibrant color of the batter before moving to the next step.
Step 5: Prepare the Cheesecake Mixture
In a separate bowl, use an electric mixer to beat together the softened cream cheese and unsalted butter until the mixture is creamy and smooth. Gradually add the powdered sugar and vanilla extract, continuing to mix until everything is well combined. The creamy texture should be thick yet spreadable, making it a perfect layer for your Strawberry Earthquake Cake.
Step 6: Create the Cheesecake Swirl
Using a spoon, drop dollops of the cream cheese mixture over the batter in the pan, spacing them evenly. This step is crucial as each spoonful will create delicious cheesecake swirls throughout your cake. Don’t worry about making it perfect—the natural mixing will create beautiful patterns as the cake bakes.
Step 7: Top with Remaining Batter
Carefully pour the remaining strawberry cake batter over the cream cheese dollops, ensuring the cheesecake layer is mostly covered. Take care not to disturb the cream cheese too much—this layering is what creates the “earthquake” effect! Use a knife to gently swirl the two batters together for a marbled appearance.
Step 8: Bake to Perfection
Place the prepared baking pan in the preheated oven and bake for 40 to 45 minutes. Keep an eye on the cake; it’s done when the center is set and a toothpick inserted into the middle comes out clean. As it bakes, the delightful aroma of strawberries and cheesecake will fill your kitchen.
Step 9: Cool and Serve
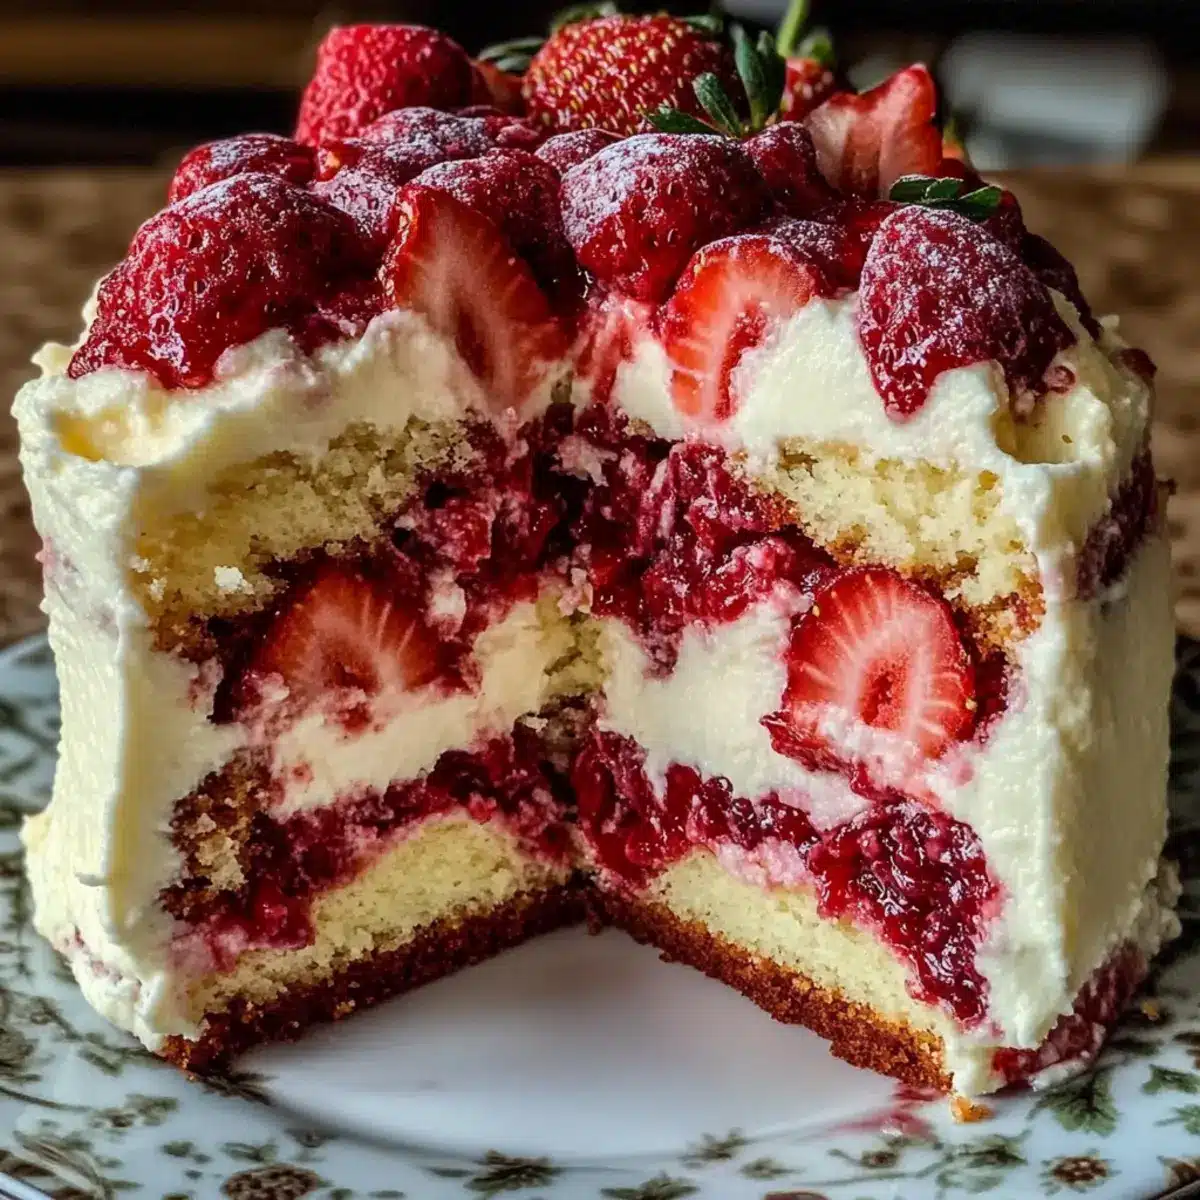
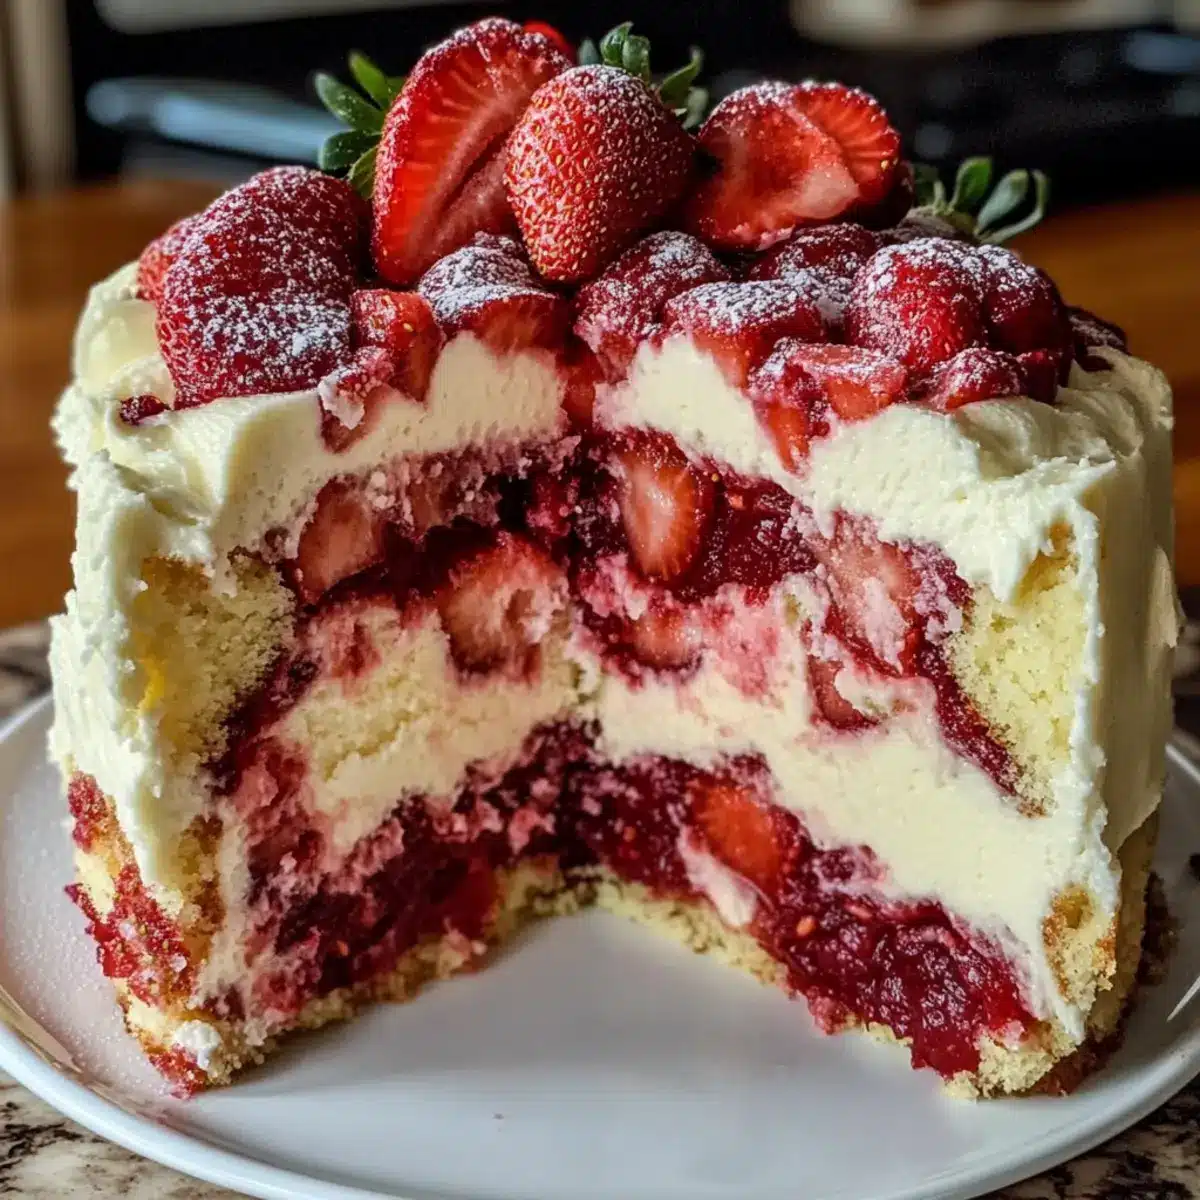
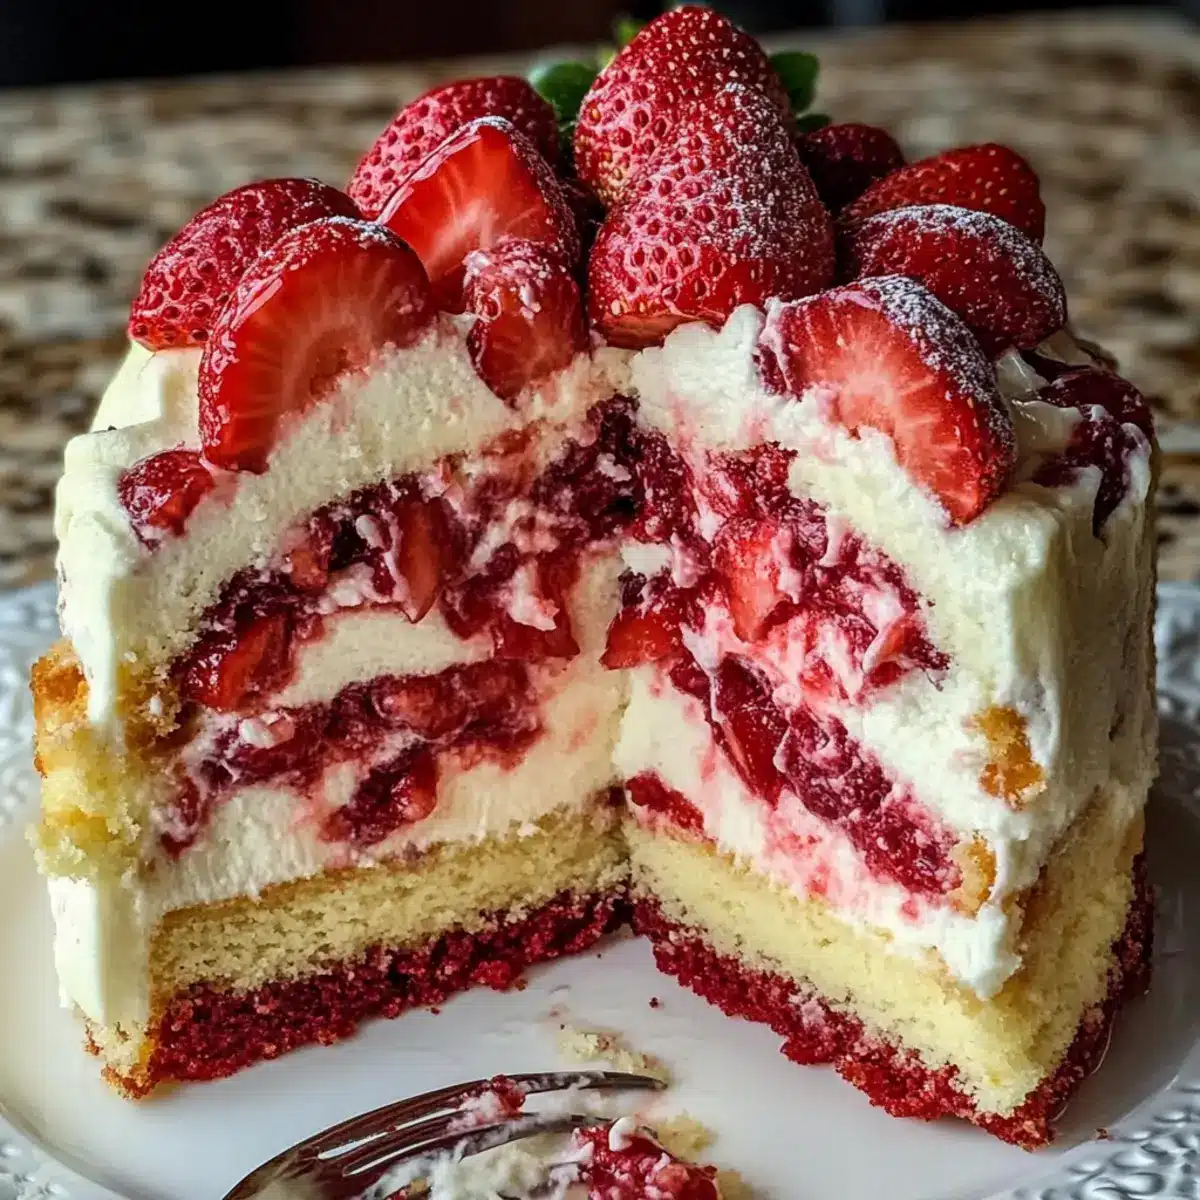
Once baked, remove your Strawberry Earthquake Cake from the oven and allow it to cool completely in the pan on a wire rack. This step is essential for the flavors to settle and enhance the overall moisture of the cake. Once cooled, slice into squares and serve. Each piece reveals a beautiful swirl of creaminess, ready to be enjoyed!
Expert Tips for Strawberry Earthquake Cake
Cream Cheese Prep: Ensure the cream cheese is fully softened before mixing for a smooth, creamy texture that blends beautifully into the cake.
Don’t Overmix: Be gentle when folding in strawberries and other ingredients. Overmixing can make the cake dense instead of light and fluffy.
Check for Doneness: Insert a toothpick into the center of the cake; it should come out clean. If it comes out with wet batter, bake a little longer.
Swirling Technique: When creating the cheesecake swirl, use a gentle zig-zag motion with the knife—this helps maintain distinct layers in your Strawberry Earthquake Cake.
Cooling Time: Allow the cake to cool completely before slicing. This helps set the layers and avoids any mess when serving.
Strawberry Earthquake Cake Variations
Feel free to let your creativity shine and customize your Strawberry Earthquake Cake to suit your taste!
- Berry Medley: Swap strawberries with blueberries or raspberries for a vibrant mix of berry flavors.
- Chocolate Delight: Add a layer of chocolate chips for a rich contrast to the fruity essence.
- Nutty Crunch: Replace the coconut with sliced almonds or hazelnuts for a delightful nutty texture.
- Citrus Twist: Incorporate grated lemon or orange zest into the batter for a refreshing citrus kick that brightens the flavor.
- Spiced Warmth: Add a pinch of cinnamon or nutmeg to the cheesecake mixture for a cozy, spiced warmth.
- Dairy-Free: Use a dairy-free cream cheese substitute and coconut oil instead of butter for a delicious vegan-friendly version.
- Fruity Swirls: Mix in some peach or mango puree with the cheesecake layer for a tropical surprise, reminiscent of our Peach Bellini Cupcakes.
- Savory Touch: For those adventurous eaters, try adding a hint of cayenne to the batter to create a sweet and spicy experience that’s sure to spark conversation!
Every variation offers a unique touch, reminding us that each baking adventure can be a new story waiting to be told!
How to Store and Freeze Strawberry Earthquake Cake
Fridge: Store leftover Strawberry Earthquake Cake in an airtight container for up to 3 days. This keeps it moist and fresh, ready for your next sweet craving.
Freezer: For longer storage, slice the cake into individual pieces and freeze them in a freezer-safe bag for up to a month. This is perfect for quick treats later!
Thawing: When you’re ready to enjoy the frozen pieces, simply thaw them overnight in the fridge. This gentle method preserves the cake’s flavors and texture beautifully.
Reheating: If you prefer your cake warm, reheat slices in the microwave for about 10-15 seconds. Enjoy the delightful creaminess all over again!
What to Serve with Strawberry Earthquake Cake
Imagine a delightful gathering around the table, where flavors and textures come together to create the perfect meal that complements your delicious creation.
-
Whipped Cream: A dollop of freshly whipped cream adds an airy sweetness, accentuating the luscious strawberry and cheesecake layers. It’s light and dreamy!
-
Vanilla Ice Cream: Serve with a scoop of creamy vanilla ice cream, its coolness balancing the warm cake perfectly. This is a classic combo that never disappoints!
-
Fresh Berries: A side of mixed fresh berries enhances the fruity notes, providing a burst of color and additional sweetness. They also bring a lovely tartness that contrasts beautifully with the cake.
-
Chocolate Drizzle: Drizzling warm chocolate sauce over each slice elevates the dessert, adding a rich, indulgent element that chocolate lovers crave.
-
Nutty Crust Dessert Bars: Pair with nutty dessert bars for a delightful crunch. The contrasting textures provide a satisfying bite alongside the soft cake.
-
Iced Tea: A glass of chilled iced tea, whether sweetened or herbal, refreshes the palate and enhances the fruity flavors of the cake; a wonderful way to sip and savor.
-
Mint Leaves Garnish: Fresh mint leaves not only add a pop of color but also a refreshing aroma. It’s like spring on your plate, uplifting every bite of cake!
-
Chocolate Coffee: A cup of rich, chocolate-infused coffee pairs wonderfully, contributing to the warmth and complexity of flavors, rounding out the experience beautifully.
Enjoying your Strawberry Earthquake Cake becomes even more special when served with these delightful accompaniments!
Make Ahead Options
Planning ahead with your Strawberry Earthquake Cake can make your busy weeknights much smoother! You can prepare the cake batter (steps 1 to 3) up to 24 hours in advance. Simply mix the batter, cover it tightly, and refrigerate until you’re ready to bake. If you prefer, you can also make and refrigerate the cream cheese mixture (step 5) in advance for up to 3 days; just allow it to sit at room temperature for a bit to soften before layering it in the cake. When you’re ready to enjoy this delightful dessert, simply follow the layering instructions and bake as directed. This way, you’ll save time while still achieving a scrumptious, home-baked Strawberry Earthquake Cake that everyone will love!
Strawberry Earthquake Cake Recipe FAQs
How do I choose ripe strawberries for this recipe?
Absolutely! When selecting strawberries, look for bright red fruits that are firm and free of dark spots. The best strawberries are sweet and juicy, so avoid any with signs of overripeness, such as soft patches or mold.
What is the best way to store leftover Strawberry Earthquake Cake?
It’s simple! Store your leftover cake in an airtight container in the refrigerator for up to 3 days. This helps maintain its moist texture and delicious flavor. Just remember, it’s best enjoyed fresh!
Can I freeze Strawberry Earthquake Cake? If so, how?
Yes, you can! To freeze, slice the cake into individual portions first. Wrap each slice tightly in plastic wrap and then place them in a freezer-safe bag. This keeps them fresh for up to 1 month. For serving, simply thaw overnight in the fridge for the best results.
What should I do if my cheesecake layer is too runny?
If your cheesecake layer turns out runny, ensure the cream cheese is at room temperature and well-mixed with the other ingredients, as this helps avoid lumps. If the mixture is mixed adequately, but you still face issues, you can add a bit more powdered sugar to thicken it up. If you experience a watery layer after baking, chilling the cake in the fridge for a couple of hours can help firm it up.
Is there a nut-free option for this cake?
Very much so! If you have allergies or prefer to keep it nut-free, simply skip the pecans or walnuts. The cake will remain delicious without them, and you can still enjoy the delightful flavors and textures provided by the strawberries and cream cheese.
Strawberry Earthquake Cake: A Delightful Creamy Burst
Ingredients
Equipment
Method
- Preheat your oven to 350°F (175°C) and grease a 9x13-inch baking pan.
- Prepare the strawberry cake mix according to the package instructions with eggs, oil, and water.
- Gently fold in chopped strawberries, white chocolate chips, and shredded coconut.
- Pour half of the batter into the greased pan, spreading it evenly.
- In a separate bowl, beat together cream cheese and unsalted butter until creamy, then add powdered sugar and vanilla.
- Drop dollops of the cream cheese mixture over the batter in the pan.
- Carefully pour the remaining batter over the cheesecake dollops and swirl gently.
- Bake for 40 to 45 minutes until the center is set.
- Allow to cool completely on a wire rack before slicing into squares.
Leave a Reply