
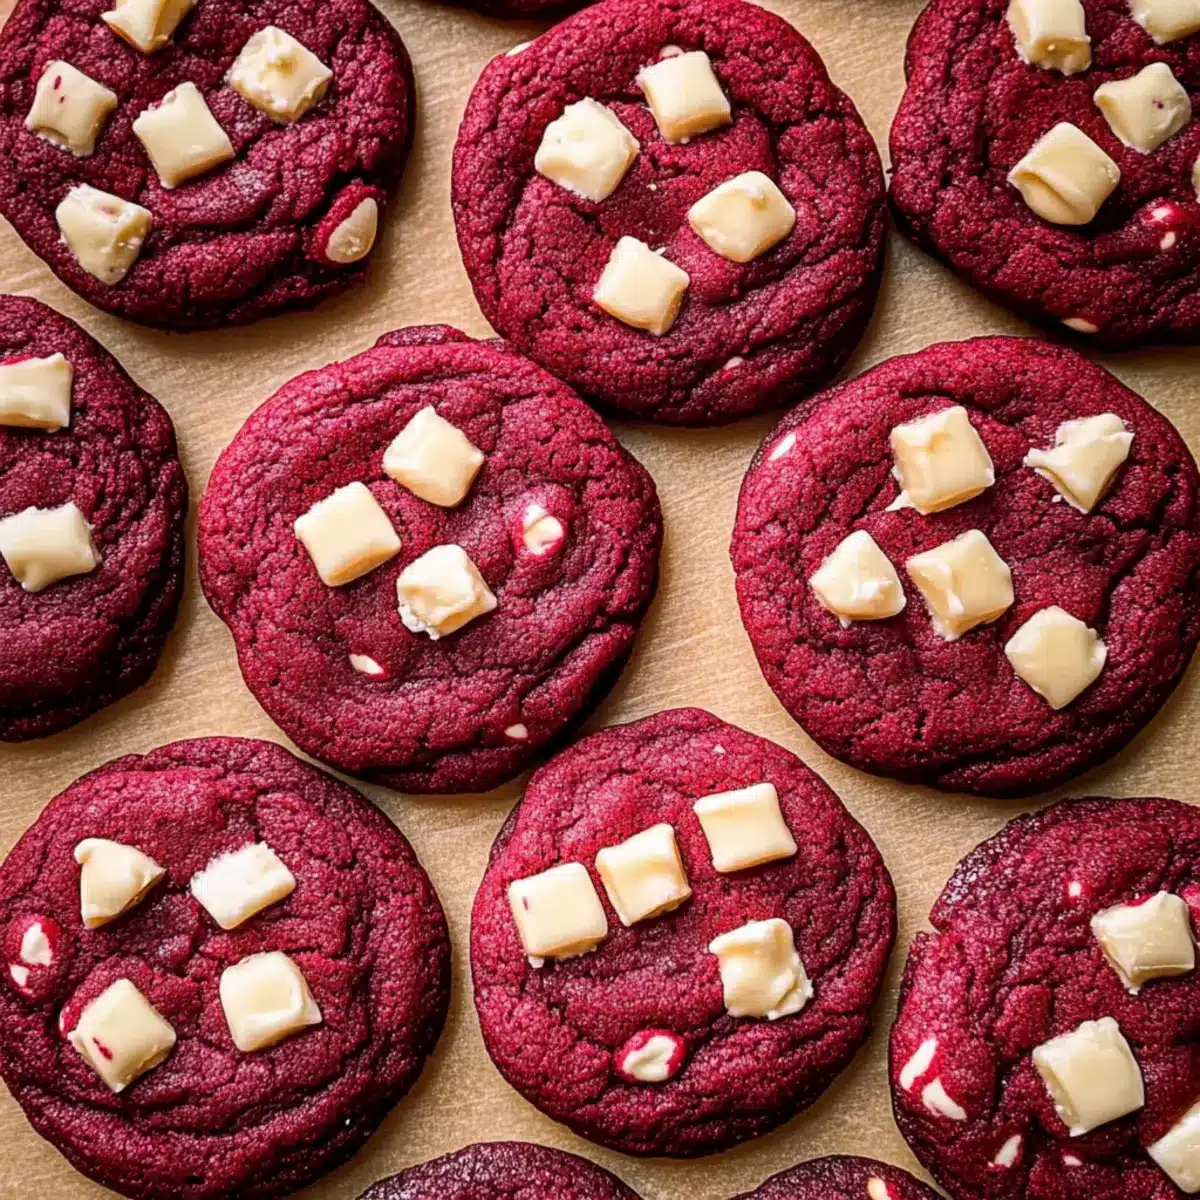
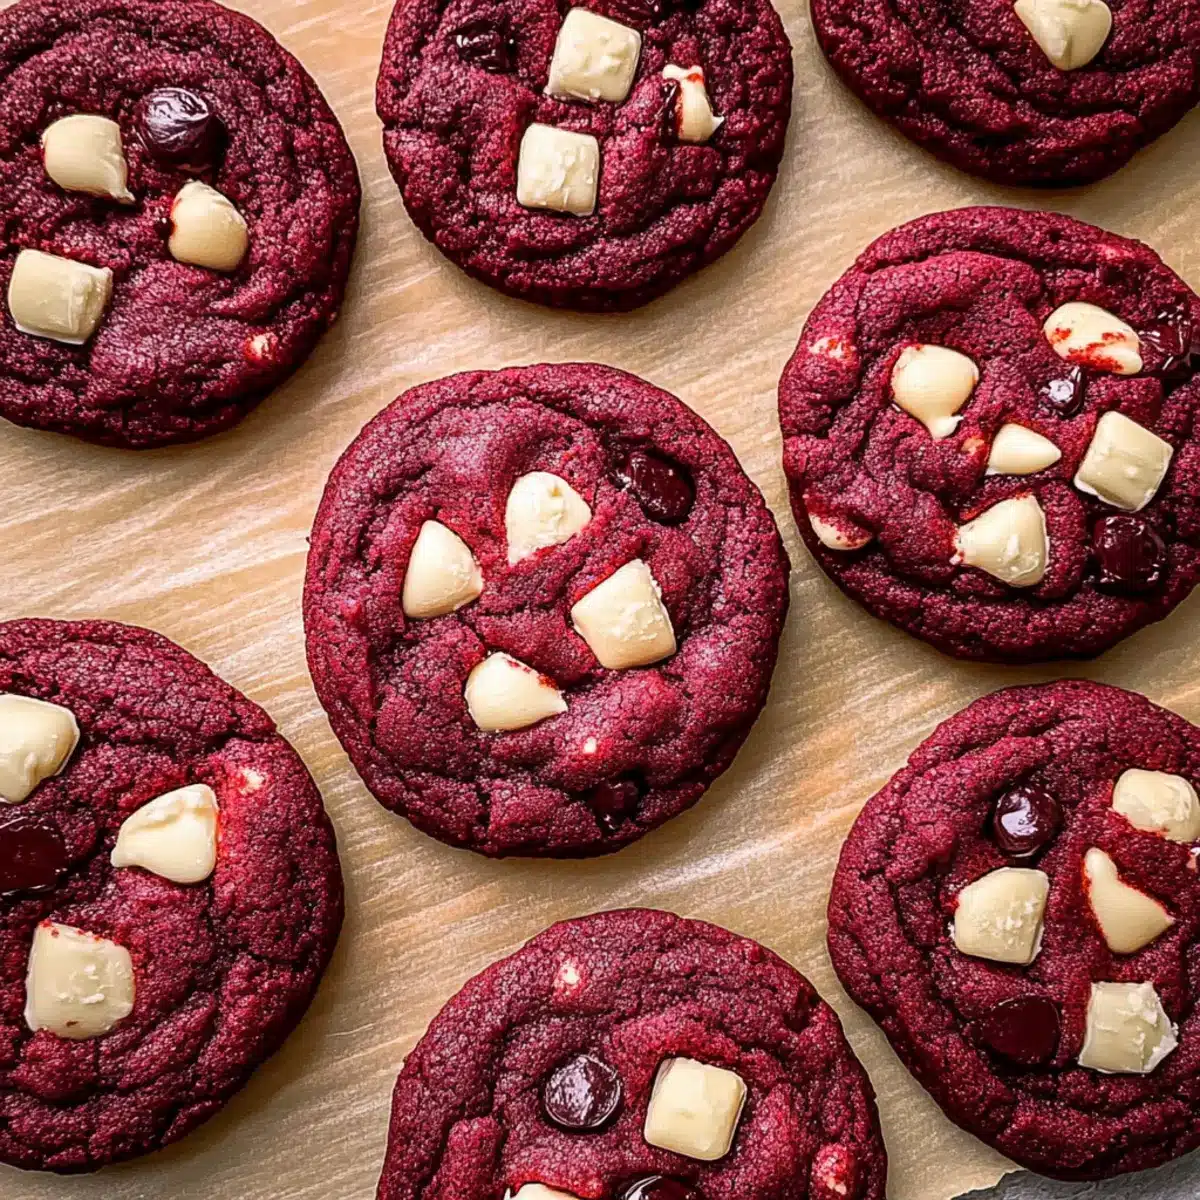
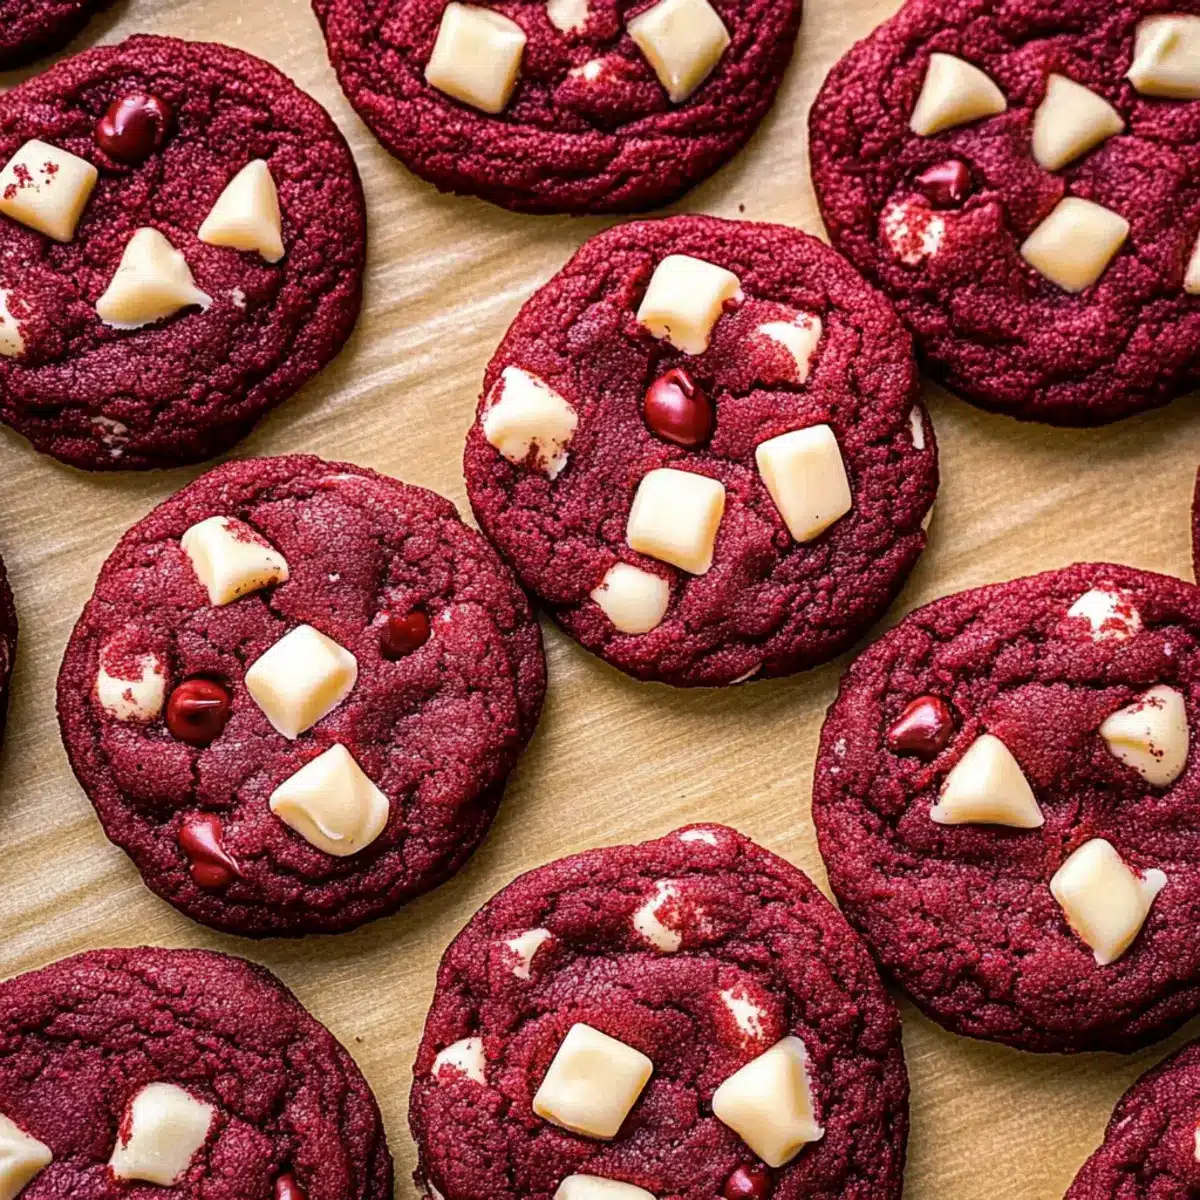
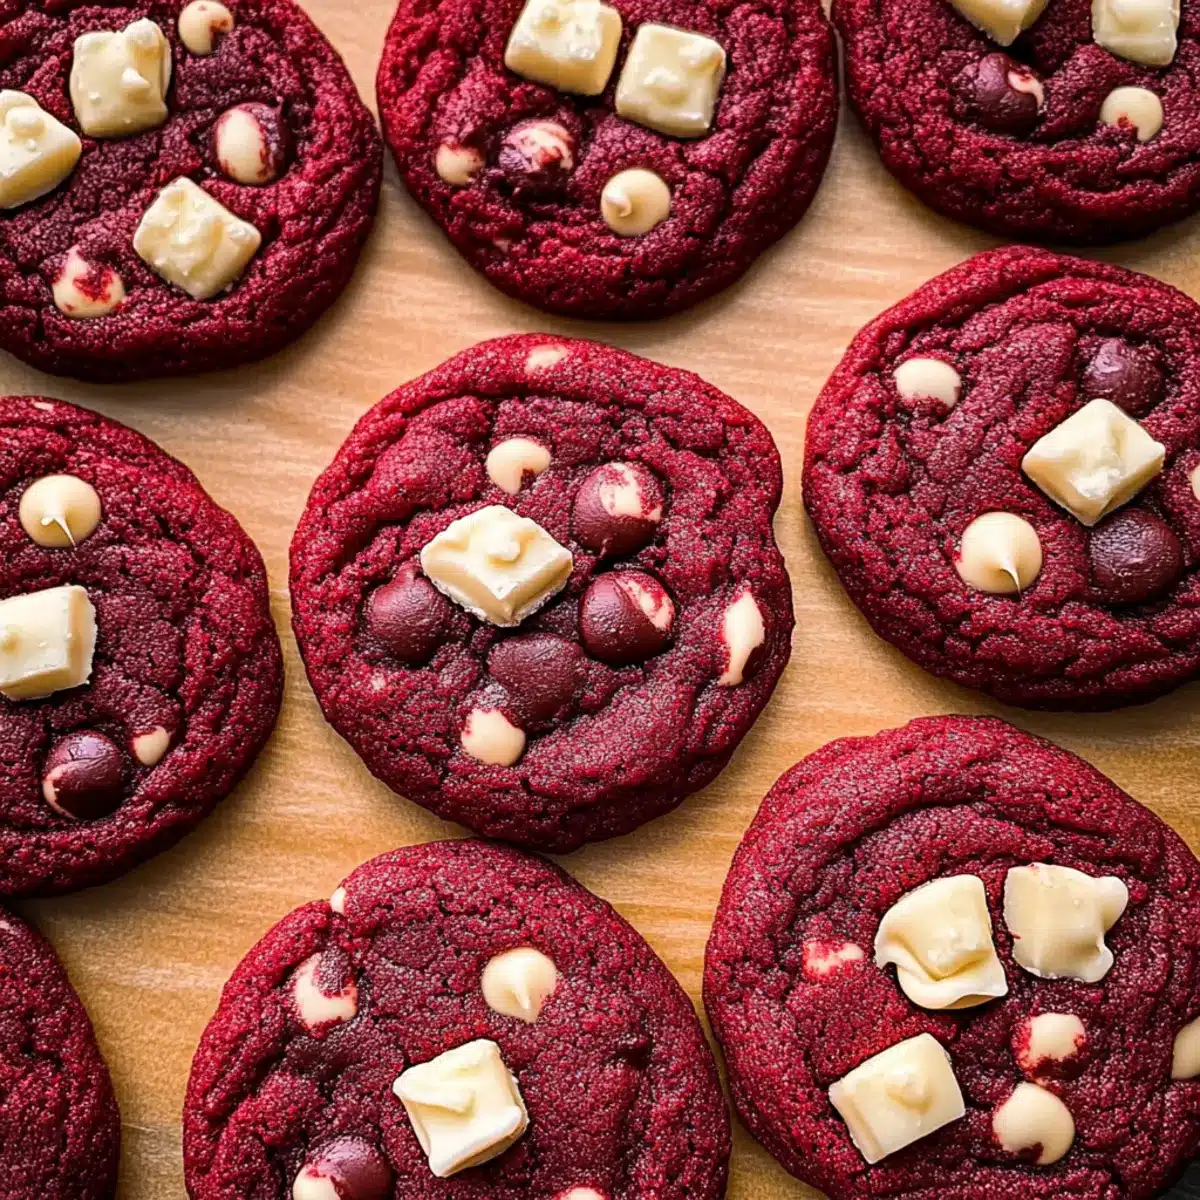
“Did you catch that heavenly scent wafting from the kitchen? That’s the magic of my Chewy Red Velvet Cookies with White Chocolate Chunks, a perfect way to brighten your day or impress your loved ones on Valentine’s Day. This easy recipe combines a subtle cocoa flavor with pools of sweet, melty white chocolate, creating a cookie that’s not just a treat but an experience. In less than 30 minutes, you can whip up a batch—no chilling required! These cookies are crowd-pleasers, perfect for gatherings, and they’re sure to satisfy any sweet tooth. So why not share a little love and bake up a storm? Ready to dive into the simple yet scrumptious world of red velvet desserts?”
Why are these cookies so irresistible?
Simplicity at Its Finest: This recipe requires no chilling, allowing you to whip up these delightful cookies in under 30 minutes.
Rich, Melty Bliss: The combination of chewy cookie texture with generous white chocolate chunks makes each bite a luscious experience.
Perfect for Any Occasion: Whether you’re celebrating Valentine’s Day or just craving a sweet treat, these cookies are always a hit.
Crowd-Pleasing Flavor: The subtle cocoa undertones paired with sweet white chocolate create a flavor profile that appeals to both kids and adults alike.
Customization Friendly: Feel free to swap white chocolate for dark chocolate, or mix in some nuts to keep things exciting! For more chocolatey goodness, check out my Chocolate Chip Cookies recipe.
Red Velvet Cookies Ingredients
For the Cookie Base
• All-Purpose Flour – Provides structure to the cookies; measure accurately using the spoon and level method for the best results.
• Dutch Process Cocoa Powder – Adds a subtle chocolate flavor; you may use regular cocoa if Dutch process isn’t available.
• Baking Soda – Ensures a soft, chewy texture by acting as a leavening agent.
• Baking Powder – Works with baking soda to create the perfect rise.
• Salt – Enhances the overall flavor balance of your cookies.
For the Sweetness
• Salted Butter – Contributes moisture and flavor; substitute with unsalted butter and a pinch more salt if needed.
• Light Brown Sugar – Adds moisture along with a slight caramel flavor.
• Granulated White Sugar – Sweetens the cookies while helping to achieve a great texture.
For the Creamy Texture
• Egg Yolks – Imparts richness and structure; always use fresh eggs at room temperature for the best results.
• Vanilla Extract – Infuses a rich aroma and enhances flavor profile.
• Red Gel Food Coloring – Provides that vibrant red hue; adjust as needed for your preferred intensity.
• White Chocolate Chunks or Chips – Adds sweetness and creaminess; feel free to swap for dark chocolate for a richer taste.
These Red Velvet Cookies are not only delicious but also a joyous experience to bake!
Step‑by‑Step Instructions for Chewy Red Velvet Cookies with White Chocolate Chunks
Step 1: Preheat the Oven
Begin by preheating your oven to 350°F (175°C). While it warms up, line two baking sheets with parchment paper to prevent sticking and ensure easy cleanup later. This sets the stage for baking your delicious Chewy Red Velvet Cookies, allowing them to cook perfectly without any fuss.
Step 2: Whisk Dry Ingredients
In a small bowl, whisk together 1 ¾ cups of all-purpose flour, 2 tablespoons of Dutch process cocoa powder, ½ teaspoon of baking soda, ½ teaspoon of baking powder, and ½ teaspoon of salt. This step not only combines the dry ingredients but also aerates them, which helps achieve a light and chewy texture. Set this bowl aside as you prepare the wet ingredients.
Step 3: Cream the Butter and Sugars
In a large mixing bowl, cream together ½ cup of softened salted butter, ¾ cup of light brown sugar, and ½ cup of granulated white sugar using an electric mixer. Beat on medium speed for about 2 minutes, or until the mixture becomes light and fluffy. This process is essential for creating the moist, tender base of your Red Velvet Cookies.
Step 4: Add Wet Ingredients
Next, add 2 egg yolks, 1 teaspoon of vanilla extract, and 1 tablespoon of red gel food coloring to the creamed butter and sugars. Mix on medium speed until well incorporated and fluffy, about 2 minutes. The vibrant color from the food coloring will give your cookies their signature red hue, making them visually irresistible.
Step 5: Combine Wet and Dry Mixtures
Gradually incorporate the dry ingredient mixture into the wet ingredients. Mix at low speed until just combined to avoid overmixing. The dough should be soft and slightly sticky, ensuring that your Chewy Red Velvet Cookies maintain their delightful chewiness after baking.
Step 6: Fold in White Chocolate
Gently fold in 1 cup of white chocolate chunks using a spatula until evenly distributed throughout the dough. This step ensures that each cookie is packed with sweet, melty chocolate goodness, enhancing the overall flavor and texture of your Red Velvet Cookies.
Step 7: Scoop the Dough
Using a cookie scoop or tablespoons, scoop the dough into 18 equal balls, placing them 2 inches apart on the prepared baking sheets. This spacing is important to allow for spreading while baking. The sight of those vibrant red cookie balls will get you excited for the delicious treat to come!
Step 8: Bake the Cookies
Place the baking sheets in the preheated oven and bake the cookies for 10-12 minutes. For softer centers, aim for 10 minutes, while 12 minutes will yield crisper edges. Keep an eye on them; you’ll know they’re done when the edges appear set but the centers remain slightly soft.
Step 9: Cool the Cookies
After baking, remove the cookies from the oven and allow them to cool on the baking sheet for 5 minutes. This resting time allows them to firm up a bit. Then, carefully transfer the cookies to a wire rack to cool completely. Your kitchen will be filled with the irresistible aroma of fresh Chewy Red Velvet Cookies!
How to Store and Freeze Red Velvet Cookies
Room Temperature: Store leftover cookies in an airtight container at room temperature for up to 3 days to maintain their freshness.
Refrigerator: If you’d like to prolong their life, you can refrigerate in an airtight container for up to 5 days; just expect them to be slightly firmer in texture.
Freezer: Freeze these delightful Red Velvet Cookies by wrapping them individually in plastic wrap and placing them in a freezer-safe bag. They can be stored for up to 2 weeks.
Reheating: To enjoy frozen cookies, simply thaw at room temperature, then microwave for a few seconds to warm them up and revive that melty white chocolate goodness!
Expert Tips for Red Velvet Cookies
• Accurate Measurements: Always use the spoon and level method for flour to avoid dense cookies, ensuring your Red Velvet Cookies are light and fluffy.
• Soften Your Butter: Make sure your butter is softened to room temperature; this helps to create that perfect creamy texture when creaming with the sugars.
• Mixing Technique: Beat the butter and sugars until they reach a light and fluffy consistency—this is key for a tender cookie!
• Cookie Shape: If your cookies spread too much, try using a circular cookie cutter post-baking to redefine their shape while they’re still warm.
• Storage Advice: Keep leftover cookies in an airtight container for up to three days at room temperature; they can also be frozen for two weeks for later enjoyment.
Red Velvet Cookies Variations & Substitutions
Get ready to unleash your creativity in the kitchen with these delightful twists on the classic Red Velvet Cookies!
-
Healthier Option: Substitute half of the all-purpose flour with whole wheat flour for a nuttier flavor.
-
Gluten-Free: Use a 1:1 gluten-free flour blend instead of all-purpose flour; enjoy the same scrumptious taste without gluten.
-
Nutty Delight: Add ½ cup of chopped walnuts or pecans for a crunchy texture that complements the chewy cookie perfectly.
-
Dark Chocolate Swap: Replace white chocolate with dark or semi-sweet chocolate chunks for a richer, more decadent flavor profile.
-
Minty Fresh: Add a few drops of peppermint extract for a refreshing hint; perfect for festive occasions!
-
Cream Cheese Frosting: Top the cooled cookies with a dollop of cream cheese frosting for a deliciously sweet finish, reminiscent of red velvet cake.
-
Colorful Confetti: Toss in some colorful sprinkles to the dough for a festive look, especially great for birthday celebrations!
-
Spicy Kick: Sprinkle a pinch of cayenne pepper into the dough for a surprising touch of heat that pairs beautifully with the sweet chocolate.
These variations not only make the recipe flexible but also cater to different tastes and dietary preferences. For another delightful treat, don’t miss my recipe for Chocolate Chip Cookies, which is perfect for cookie lovers! Try them out and indulge in a world of flavor!
What to Serve with Chewy Red Velvet Cookies with White Chocolate Chunks
Indulging in these vibrant cookies opens the door to endless pairing possibilities that elevate your dessert experience.
-
Cold Milk:
Nothing beats a glass of ice-cold milk alongside these cookies, enhancing their rich flavors and providing a creamy contrast. -
Vanilla Ice Cream:
Serve these cookies warm with a scoop of vanilla ice cream for an irresistible dessert that’s a perfect match of warmth and chill. -
Cream Cheese Frosting:
A dollop of cream cheese frosting brings the classic red velvet cake flavor to life, making each bite even more decadent and delightful. -
Chocolate-Dipped Strawberries:
Fresh strawberries coated in chocolate mirror the sweetness of your cookies, offering a fruity and rich element to your dessert spread. -
Fresh Berries:
A side of raspberries or strawberries provides a burst of freshness that cuts through the sweetness, making for a balanced dessert experience. -
Sparkling Rosé:
Pair these cookies with a glass of sparkling rosé for a fun and elegant touch—ideal for celebrations or a romantic evening in! -
Coffee or Espresso:
The rich, bold flavors of a well-brewed coffee complement the cookies perfectly, creating a warm and cozy pairing for a mid-afternoon treat. -
Chocolate Sauce:
Drizzling warm chocolate sauce over the cookies adds an extra layer of indulgence, perfect for those who truly crave chocolatey goodness! -
Lemon Sorbet:
A scoop of lemon sorbet adds a refreshing citrus contrast to the cookies’ sweetness, enhancing the overall flavor profile beautifully.
Make Ahead Options
These delicious Red Velvet Cookies are perfect for busy home cooks looking to save time without sacrificing flavor! You can prepare the cookie dough up to 3 days in advance; simply scoop the dough into balls, then refrigerate them in an airtight container. To maintain their delightful chewiness, be sure to let the chilled dough come to room temperature before baking. Alternatively, you can freeze the uncooked dough balls for up to 2 weeks—just place them directly on a baking sheet when ready to bake, adding an extra minute or two to the baking time. With these make-ahead options, you’ll be just minutes away from warm, fresh cookies whenever a craving strikes!
Red Velvet Cookies Recipe FAQs
What is the best way to select ingredients for my Red Velvet Cookies?
Absolutely! When choosing your ingredients, ensure your all-purpose flour is fresh and consider using a spoon and level method to measure accurately. For cocoa powder, Dutch process gives the best flavor, but regular cocoa will work as well in a pinch. Always use room temperature eggs for better incorporation and fluffiness in your dough!
How should I store my Red Velvet Cookies?
The best way to store your Red Velvet Cookies is in an airtight container at room temperature, where they’ll stay fresh for up to 3 days. If you want to keep them longer, refrigerating them in an airtight container will extend their life to about 5 days, although they may become a bit firmer.
Can I freeze Red Velvet Cookies?
Yes, definitely! To freeze your Red Velvet Cookies, wrap each one tightly in plastic wrap, and then place them in a freezer-safe bag or container. They can be stored for up to 2 weeks. When you’re ready to enjoy them, simply let them thaw at room temperature and then microwave for a few seconds to bring back that delightful melty white chocolate bliss!
What if my cookies spread too much while baking?
Very! If you notice your cookies are spreading excessively, this may be due to softened butter that’s too warm or overmixing the batter. To fix this next time, ensure your butter is just softened (not melting) and mix your dough until just combined. If you need to salvage your current batch, use a circular cookie cutter to gently reshape them while they’re still warm from the oven.
Are there any dietary considerations for my Red Velvet Cookies?
Of course! If you’re baking for someone with allergies, always check that your ingredients are free from allergens, like gluten or dairy. Additionally, you can substitute gluten-free flour for a delicious version that accommodates different dietary needs! Just ensure to follow the measurements accurately for the best results.
Chewy Red Velvet Cookies with Melty Chocolate Bliss
Ingredients
Equipment
Method
- Preheat your oven to 350°F (175°C) and line baking sheets with parchment paper.
- Whisk together all-purpose flour, cocoa powder, baking soda, baking powder, and salt in a small bowl.
- Cream together salted butter, light brown sugar, and granulated sugar in a large mixing bowl until light and fluffy.
- Add egg yolks, vanilla extract, and red gel food coloring to the creamed mixture, and mix until well incorporated.
- Gradually mix the dry ingredient mixture into the wet ingredients until just combined.
- Fold in the white chocolate chunks until evenly distributed.
- Scoop the dough into 18 equal balls and place them 2 inches apart on baking sheets.
- Bake for 10-12 minutes in the preheated oven, until the edges are set.
- Cool the cookies on the baking sheet for 5 minutes before transferring to a wire rack.
Leave a Reply