
As I sliced into the golden crust of this Easy Peach Tart, the scent of sweet summer wafted through my kitchen. The flaky crust cradles tender slices of juicy peaches, making each bite reminiscent of sun-soaked orchard days. This delightful dessert is not only a showstopper for gatherings but also a quick fix for those evenings when you crave something sweet without all the fuss. What truly sets this peach tart apart is its versatility – it’s perfect for anyone, with easy substitutions to cater to gluten-free and vegan diets. Ready to dive into a slice that will transport you to a warm, breezy afternoon? Let’s uncover the secret behind this irresistible peach tart!
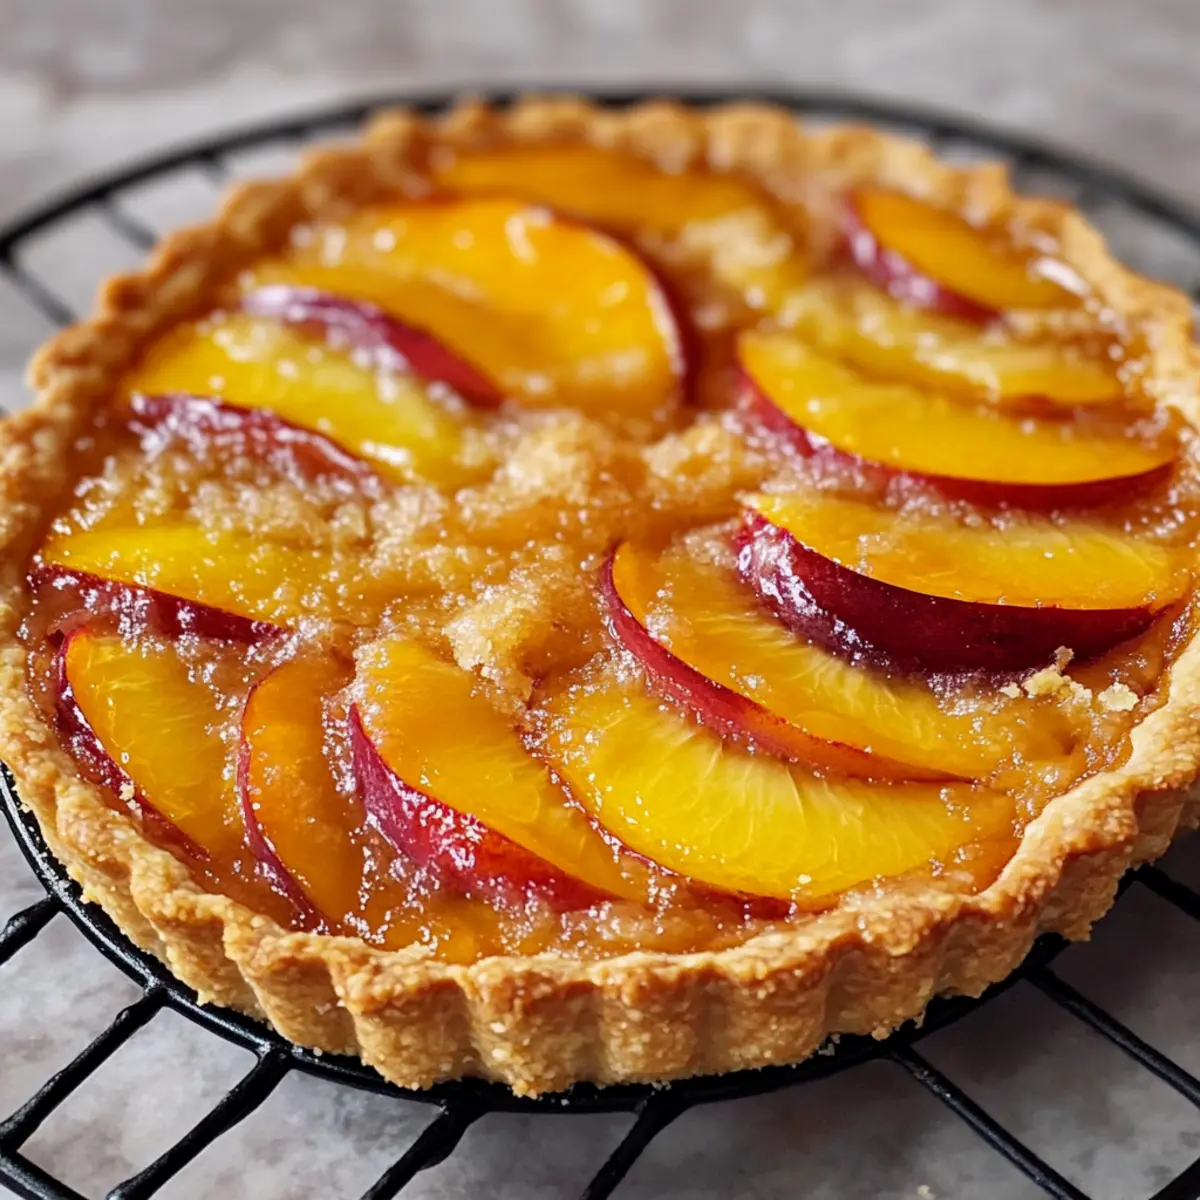
Why Is This Peach Tart So Irresistible?
Simplicity at Its Finest: With just a few pantry staples, you can whip up this delectable dessert that requires minimal effort but delivers maximum flavor.
Flaky, Buttery Crust: The golden crust is a buttery delight that perfectly complements the sweet, tender peaches, creating a harmonious balance of textures.
Endless Versatility: Feel free to swap peaches for other fruits like apricots or plums, ensuring a unique experience every time you bake.
Crowd-Pleasing Treat: Whether you’re hosting a dinner party or just enjoying an evening at home, this peach tart is sure to impress your guests. Pair it with a scoop of ice cream for the ultimate indulgence, much like our Peach Bellini Cupcakes would.
Make-Ahead Convenience: You can prep the dough in advance, making this delightful tart an ideal option for busy weekdays or last-minute gatherings.
Peach Tart Ingredients
For the Crust
• All-purpose flour – Provides structure to the crust; substitute with gluten-free flour or almond flour for a gluten-free option.
• Unsalted butter – Ensures better control over salt flavor and contributes to flakiness; can be replaced with margarine or coconut oil if preferred.
• Ice water – Helps bring the dough together and keeps it from becoming tough when mixing.
For the Filling
• Fresh peaches – The star of the dessert, offering sweet, juicy goodness; options like canned or frozen peaches can work, but adjust sugar accordingly.
• Granulated sugar – Adds sweetness to the filling; brown sugar adds a hint of caramel flavor, while honey or maple syrup can also be used.
• Cornstarch – Thickens the peach mixture and prevents a soggy crust.
• Lemon juice – Balances sweetness and enhances flavor.
• Ground cinnamon (optional) – Provides a warm, comforting spice to elevate the dessert.
• Vanilla extract – Adds a layer of aromatic flavor to the filling.
For Egg Wash
• Egg – Gives the crust a beautiful golden finish when brushed on before baking; swap for a mix of almond milk and maple syrup for a vegan option.
Let’s get baking this delightful Peach Tart that celebrates summer in every slice!
Step‑by‑Step Instructions for Easy Peach Tart
Step 1: Prepare the Dough
In a large mixing bowl, combine all-purpose flour and a pinch of salt. Using a pastry cutter or your fingers, incorporate cold, cubed butter into the flour until it resembles coarse crumbs, about 5-7 minutes. Gradually mix in ice water, a tablespoon at a time, until the dough holds together. Shape the dough into a disk, wrap it in plastic, and refrigerate for 30 minutes to ensure a flaky texture.
Step 2: Make the Filling
While the dough chills, prepare the peach filling. In a separate bowl, combine sliced fresh peaches, granulated sugar, cornstarch, lemon juice, cinnamon, and vanilla extract. Toss gently until the peaches are evenly coated, allowing their natural juices to blend with the sugar and spices. This mixture should feel cohesive and fragrant, setting you up for a delicious Easy Peach Tart.
Step 3: Roll Out the Dough
Preheat your oven to 400°F (200°C). Once chilled, remove the dough from the fridge and place it on a floured surface. Using a rolling pin, roll out the dough into approximately a 12-inch circle, ensuring it’s about 1/8-inch thick. Keep the surface floured to prevent sticking. The dough should feel smooth and pliable, ready to embrace the luscious peach filling.
Step 4: Assemble the Tart
Carefully transfer the rolled-out dough onto a parchment-lined baking sheet. Spoon the peach filling into the center, leaving about a 2-inch border around the edges. Gently fold the edges of the dough over the filling, creating pleats as you go. This rustic shape allows for a beautiful presentation while securing the juicy peaches inside the tart.
Step 5: Brush and Sprinkle
For a golden crust, whisk an egg and brush it over the folded edges of the dough. This egg wash will help achieve a delightful shine. Lastly, sprinkle coarse sugar over the surface for a sweet crunch that enhances the overall flavor of your Easy Peach Tart. The luscious peaches and buttery crust will make this treat irresistible to anyone who sees it!
Step 6: Bake the Tart
Place the assembled tart in the preheated oven and bake for 35-40 minutes. Keep an eye on the tart, looking for a golden-brown crust and bubbling peach juices that indicate it’s done. The tart should smell heavenly and golden when finished, filling your kitchen with delightful aromas reminiscent of summer.
Step 7: Cool and Serve
Once baked, remove the Easy Peach Tart from the oven and let it cool for about 15 minutes on a wire rack. This cooling period allows the juices to set slightly, making serving easier. Slice and enjoy warm or at room temperature, perhaps with a scoop of vanilla ice cream on the side for an extra indulgence!
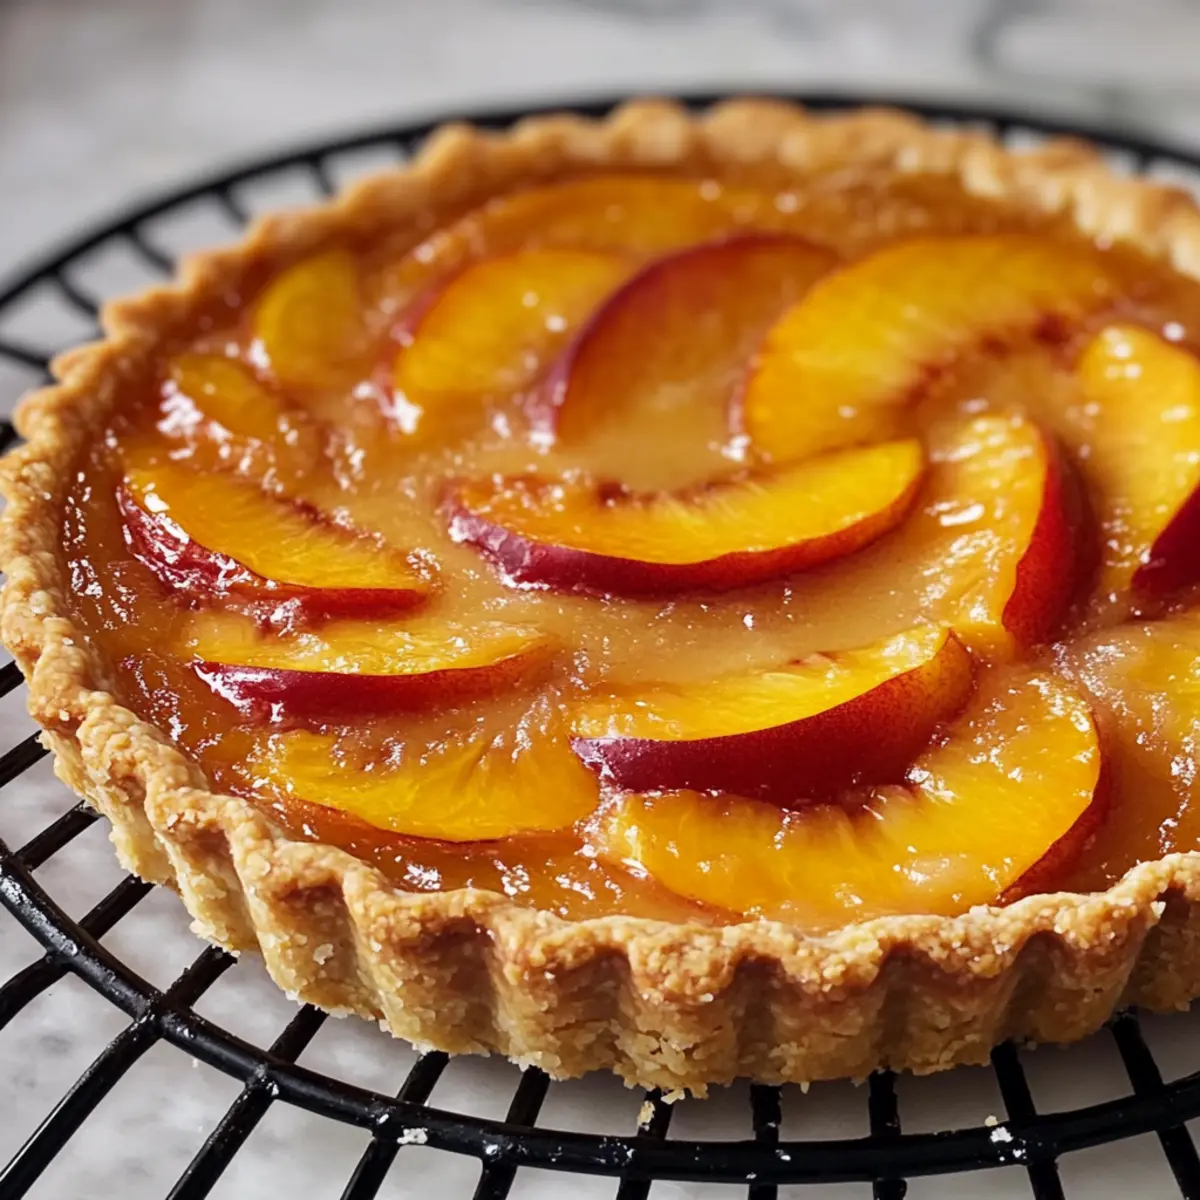
How to Store and Freeze Peach Tart
Fridge: Store leftover slices of Peach Tart in an airtight container for up to 3 days. This keeps the crust flaky while maintaining the delightful peach flavor.
Freezer: If you’d like to freeze the tart, wrap individual slices in plastic wrap and then place them in a freezer-safe bag. They can be stored for up to 2 months.
Reheating: To enjoy frozen slices, thaw in the fridge overnight, then reheat in a 350°F (175°C) oven for about 10-15 minutes. This restores the crust’s crispiness!
Dough Storage: If preparing the dough ahead of time, wrap it tightly in plastic and refrigerate for up to 1 day, or freeze for longer storage, ensuring a perfect base for your Peach Tart later on.
Make Ahead Options
These Easy Peach Tarts are perfect for meal prep enthusiasts looking to save time in the kitchen! You can prepare the dough up to 24 hours in advance by mixing the ingredients, shaping it into a disk, and refrigerating it. Additionally, the peach filling can be assembled and stored in an airtight container for up to 3 days in the fridge. When you’re ready to bake, simply roll out the chilled dough, fill it with the prepared peach mixture, fold the edges, brush with egg wash, and sprinkle with sugar. This way, you can enjoy a delicious homemade peach tart with minimal effort on busy evenings!
What to Serve with Easy Peach Tart
Enhance your summer dessert experience with these delightful pairings that elevate your easy peach tart to a full feast.
-
Vanilla Ice Cream: The creamy, smooth texture of vanilla ice cream pairs exquisitely with the warm, juicy peaches, balancing sweetness and richness. A scoop on the side ensures every slice feels indulgent.
-
Whipped Cream: Light and airy, fresh whipped cream adds a delightful contrast to the tart. It enhances the peach flavor while providing a cloud-like texture that feels luxurious.
-
Fresh Fruit Salad: A vibrant mix of seasonal fruits adds brightness and freshness. The acidity from berries complements the sweetness of the tart, creating a refreshing balance.
-
Mint Sprigs: A simple garnish of fresh mint can elevate your tart presentation. This aromatic herb enhances the overall flavor profile, delivering a refreshing burst with each bite.
-
Lemonade: A cold glass of homemade lemonade cuts through the sweetness with its tangy notes, refreshing your palate. The citrusy flavor harmonizes beautifully with the fruity tart.
-
Sparkling Wine: A bubbly toast with sparkling wine like prosecco makes for an elegant pairing. The effervescence adds a celebratory touch, perfect for gatherings or special occasions.
-
Basil-Infused Syrup: Drizzle this unique syrup over each slice for an unexpected herby twist. The combination of sweet and savory intensifies the flavor experience of the peach tart.
-
Almond Biscotti: For a delightful crunch, serve almond biscotti on the side. They add texture and a nutty flavor that complements the peach filling beautifully.
-
Caramel Sauce: Drizzle some warm caramel sauce over your peach tart slice for a decadent touch. The rich sweetness of the caramel enhances the tart’s flavors, creating an irresistible dessert experience.
Expert Tips for Easy Peach Tart
-
Keep Everything Cold: Ensure the butter and water are icy cold when making the dough. This helps to create the flaky texture that’s essential for a perfect peach tart.
-
Dough Handling: Be gentle while mixing the dough to prevent it from becoming tough. The less you handle it, the flakier your crust will be!
-
Peach Prep: If using canned or frozen peaches, drain them well before mixing. Excess moisture can lead to a soggy filling in your delicious peach tart.
-
Adjust Sweetness Wisely: Taste your peach filling before adding too much sugar. Depending on the ripeness of the peaches, you may need less than the recipe suggests.
-
Let It Cool: Allow the tart to cool for at least 15 minutes before slicing. This helps the filling set and makes for cleaner slices.
-
Experiment with Toppings: Try adding whipped cream or a drizzle of honey on top for an extra layer of flavor that complements the peach tart beautifully.
Peach Tart Variations & Substitutions
Feel free to customize your Peach Tart to suit your taste and dietary preferences!
-
Gluten-Free: Substitute all-purpose flour with a 1:1 gluten-free baking blend for a delightful gluten-free option. The texture may vary slightly, but it’s equally delicious.
-
Vegan-Friendly: Replace unsalted butter with coconut oil and use almond milk mixed with a bit of maple syrup for the egg wash. This version stays moist and flavorful!
-
Sweet Swaps: Use brown sugar instead of granulated sugar for a deeper, caramel flavor. Alternatively, try honey or maple syrup for a natural sweetness that adds complexity.
-
Fruit Adjustments: If peaches aren’t your favorite, switch them out with fresh apricots or plums. Both provide a sweet-tart flavor that pairs beautifully with the crust.
-
Spice It Up: Experiment with adding nutmeg, ginger, or even a pinch of cardamom to the filling for those who enjoy a warm spiced flavor.
-
Crunchy Topping: Enhance the texture by sprinkling some sliced almonds or chopped walnuts on top before baking, adding a delightful crunch and nuttiness.
-
Extra Juicy: Drizzle the tart with honey before serving to elevate its sweetness and add an elegant touch, just like in our delightful Peach Bruschetta with Whipped Ricotta.
-
Zesty Twist: Include a bit of orange or lemon zest in the filling for a fresh, citrusy brightness that highlights the peach flavor beautifully.
Feel free to get creative with these ideas; this Peach Tart is a canvas for your culinary flair!
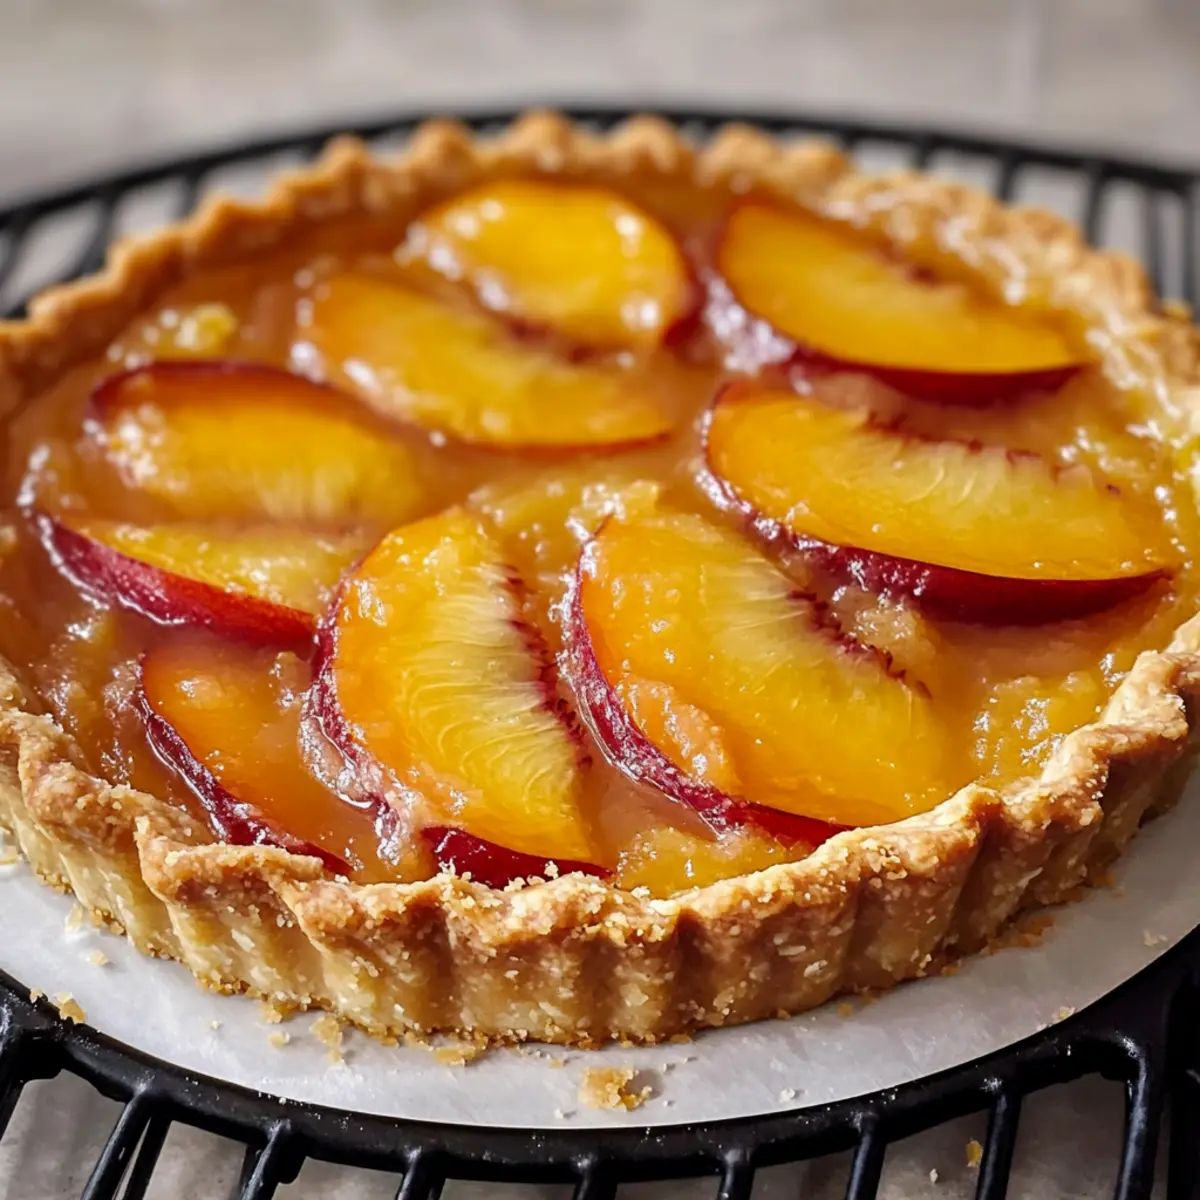
Easy Peach Tart Recipe FAQs
How do I choose the best peaches for my tart?
Absolutely! Look for peaches that are slightly firm yet yield gently to pressure, indicating ripeness. They should have a fragrant aroma, and their skin should be smooth and free of dark spots. If the peaches are firmer, you can leave them at room temperature for a couple of days to ripen.
How should I store leftover peach tart?
To keep your peach tart fresh, store leftover slices in an airtight container in the fridge for up to 3 days. This method helps maintain the delightful flaky crust and juicy peach filling. Just remember to let it sit at room temperature for a bit before serving for the best flavor!
Can I freeze leftover peach tart?
Yes, very! To freeze your peach tart, wrap individual slices tightly in plastic wrap and then place them in a freezer-safe bag. They can be stored for up to 2 months. When you’re ready to enjoy them again, simply thaw them in the fridge overnight and reheat in a 350°F (175°C) oven for about 10-15 minutes to revive their texture.
What should I do if my peach tart turns out soggy?
If your peach tart is soggy, it may be due to excess moisture from the fruit. Be sure to drain canned or frozen peaches thoroughly before using them. To fix a soggy tart, you can sprinkle additional cornstarch onto the filling before baking to help absorb excess juices. Also, consider pre-baking the crust for 5-10 minutes before adding the filling to create a barrier.
What are some dietary alternatives I can use in this peach tart?
Absolutely! For a gluten-free option, substitute all-purpose flour with a gluten-free flour blend or almond flour. If you want to make this peach tart vegan, simply replace the unsalted butter with a vegan alternative like coconut oil or margarine and use a mix of almond milk and maple syrup instead of the egg wash. Enjoy your delightful peach tart without compromise!
How do I know when the peach tart is done baking?
Look for that golden-brown color on the crust and bubbling peach juices; this is your sign that the tart is ready! Generally, the baking time is around 35-40 minutes. If you want to be certain, a toothpick should come out clean from the center of the tart, indicating that the filling has set properly.
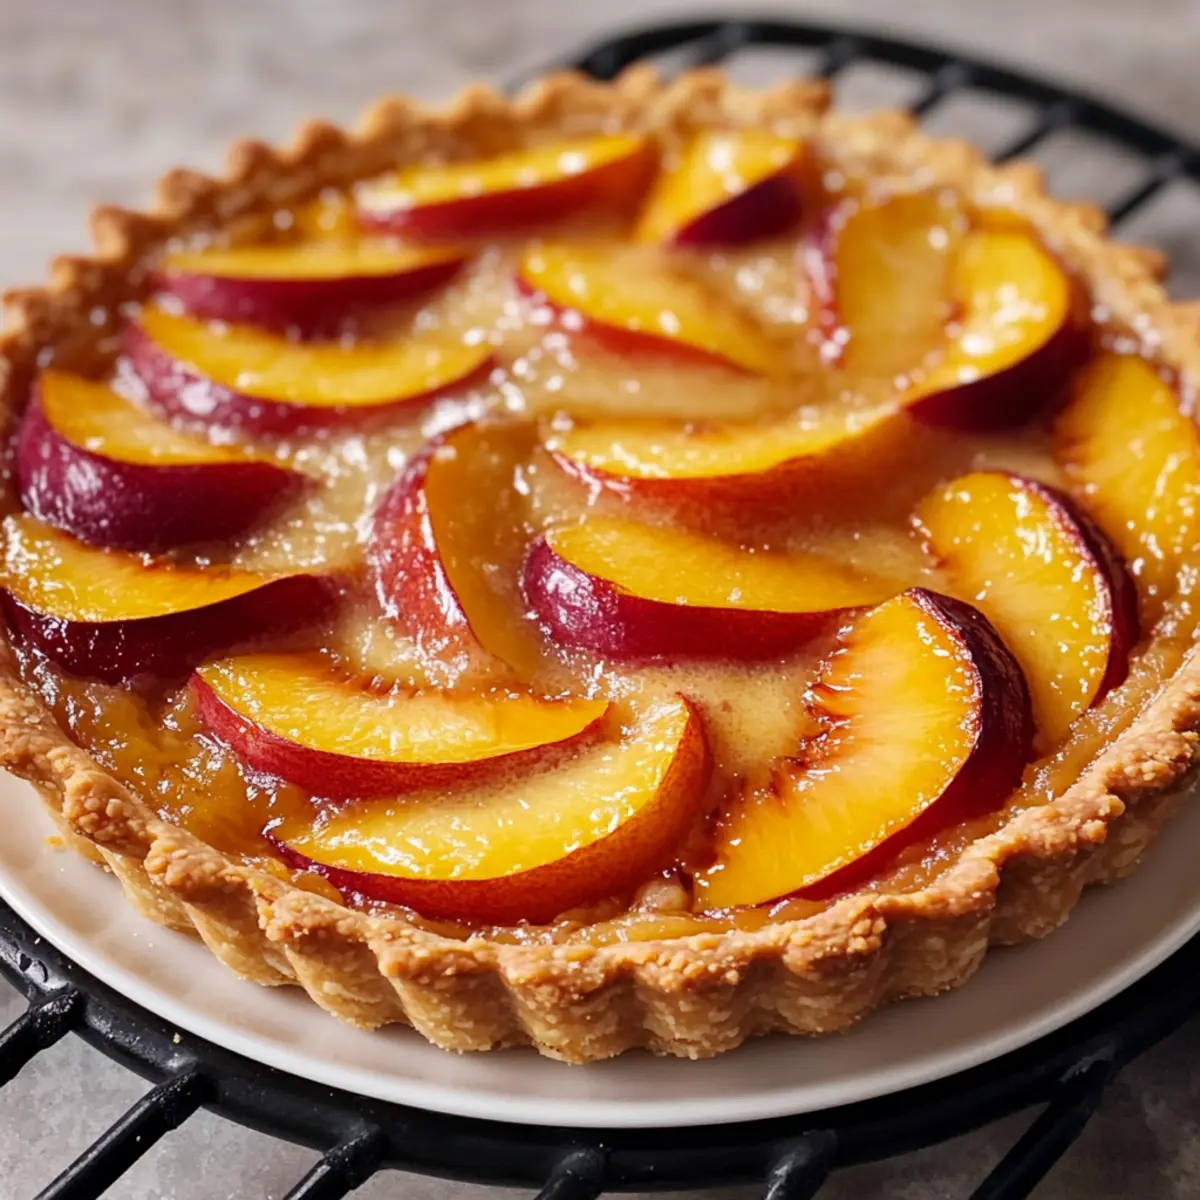
Irresistible Peach Tart with Flaky Crust for Sweet Summer Vibes
Ingredients
Equipment
Method
- In a large mixing bowl, combine flour and a pinch of salt. Incorporate cold, cubed butter until it resembles coarse crumbs. Gradually mix in ice water until the dough holds together. Shape into a disk, wrap in plastic, and refrigerate for 30 minutes.
- In a separate bowl, combine sliced peaches, sugar, cornstarch, lemon juice, cinnamon, and vanilla. Toss gently until peaches are coated.
- Preheat oven to 400°F (200°C). Roll out the chilled dough into a 12-inch circle.
- Transfer rolled dough to a baking sheet. Spoon peach filling into center, leaving a 2-inch border. Fold edges over the filling.
- Brush the edges with egg wash and sprinkle coarse sugar over the tart.
- Bake for 35-40 minutes until the crust is golden and juices are bubbling.
- Let cool for 15 minutes before slicing and serve warm or at room temperature.
Leave a Reply