
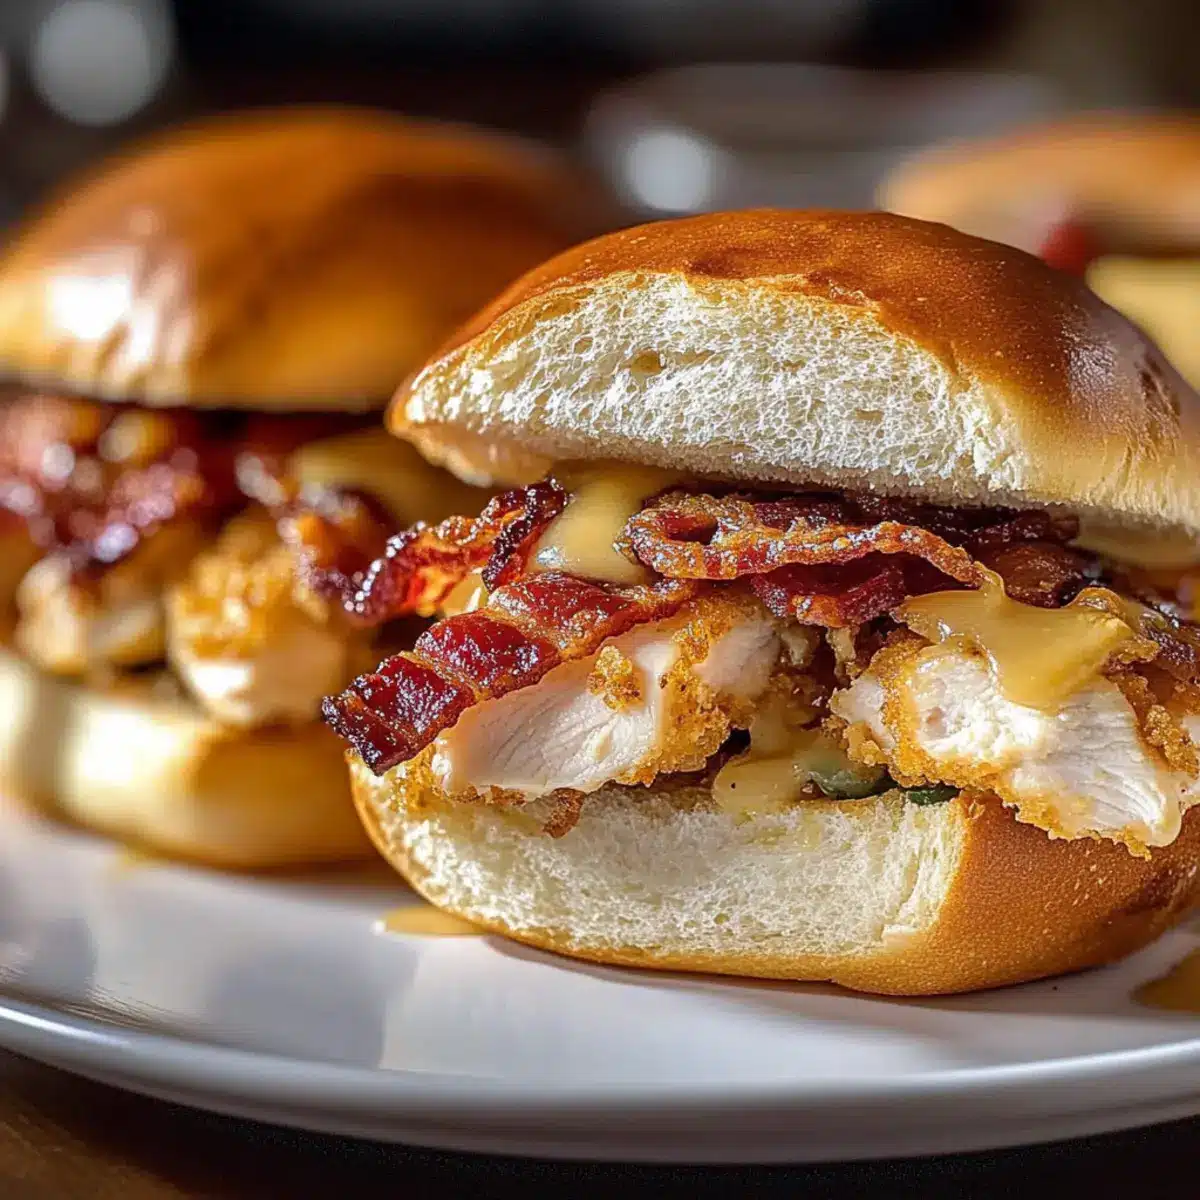
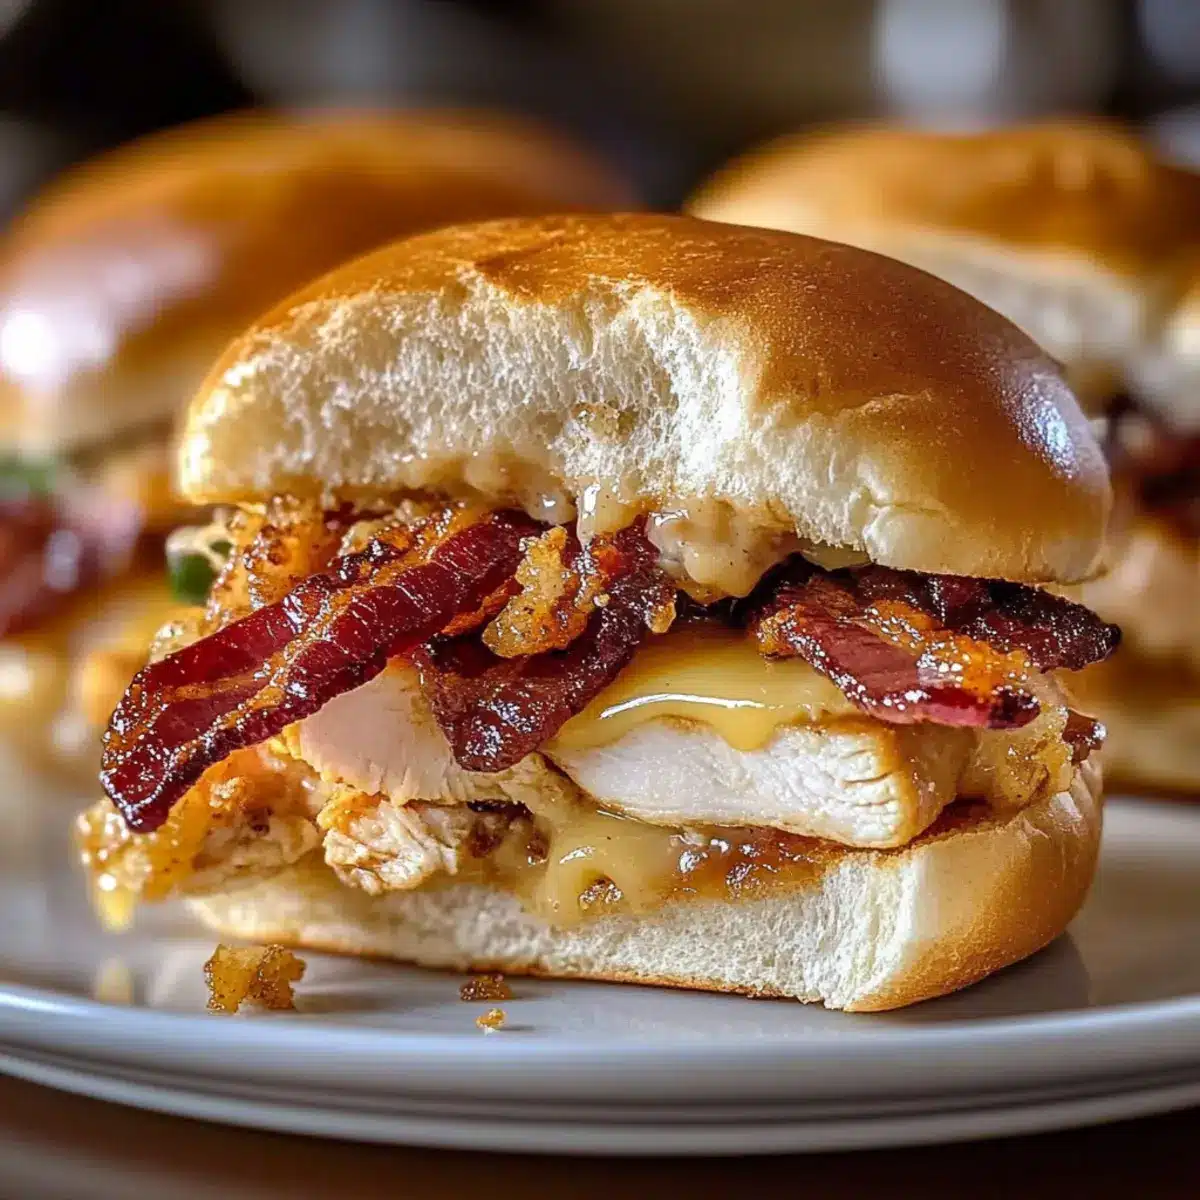
The aroma of sizzling bacon drifting through the kitchen is enough to spark a quick hunger pang, isn’t it? I often find myself craving something hearty yet delightful, and that’s when my Maple Chicken Bacon Sliders come to the rescue! These mouthwatering bites feature tender chicken, crispy bacon, and melty Gouda nestled between soft Hawaiian rolls, brushed with a sweet maple butter that elevates each flavor. What I love most about these sliders is how effortlessly adaptable they are—perfect for a quick weeknight dinner or a crowd-pleasing appetizer for your next gathering. Plus, they offer gluten-free and dairy-free options, ensuring everyone can enjoy this deliciousness. Intrigued? Let’s dive into the magic of these sliders!
Why Are Maple Chicken Bacon Sliders Amazing?
Crowd-Pleasing: These sliders are a hit at any gathering, delighting both family and friends alike. Quick and Easy: Ready in just 30 minutes, they’re perfect for busy weeknights. Flavorful: The sweet and savory combination of maple and bacon makes each bite unforgettable. Versatile: Customize with your choice of cheese or make them gluten-free with suitable rolls. Make-Ahead Friendly: Prepare them in advance and bake just before the party, ensuring maximum freshness. For more delicious meal ideas, check out our Garlic Parmesan Chicken and Bbq Bacon Ranch recipes!
Maple Chicken Bacon Sliders Ingredients
For the Sliders
• King’s Hawaiian Rolls – Soft and sweet, they provide the perfect base for these sliders.
• Cooked Chicken Breast Strips – The main protein; rotisserie chicken is a convenient substitute.
• Gouda Cheese – Adds creamy flavor; alternatively, use Swiss, Provolone, Cheddar, or Mozzarella for melty goodness.
• Cooked Bacon – Delivers a smoky crunch; feel free to swap in turkey bacon or plant-based alternatives.
• Maple Butter – A sweet flavor enhancer; if unavailable, mix maple syrup with softened butter for a quick fix.
Optional Add-Ons
• Baby Spinach or Arugula – Layer these greens for a fresh crunch before baking for added nutrition.
• Cranberry Sauce – Perfect for a festive twist, especially with leftover turkey during the holidays.
Step‑by‑Step Instructions for Maple Chicken Bacon Sliders
Step 1: Preheat the Oven
Begin by preheating your oven to 375°F (190°C). This temperature is ideal for baking the Maple Chicken Bacon Sliders, allowing the cheese to melt beautifully and the tops to turn a perfect golden brown. While the oven warms up, gather all your ingredients to make the assembly process smooth and efficient.
Step 2: Prepare the Rolls
Next, slice the King’s Hawaiian rolls horizontally, ensuring the tops and bottoms remain attached. This creates a convenient, sturdy base for your sliders. As you make the cut, visualize the delightful layers of chicken, bacon, and cheese that will soon fill these fluffy rolls, setting the stage for delicious bites.
Step 3: Add Maple Butter
Spread a generous layer of maple butter on the bottom half of the sliced rolls. The maple butter will soak into the bread, infusing each bite with sweet goodness. Make sure the layer is even for optimal flavor, as this will be the foundation for your scrumptious Maple Chicken Bacon Sliders.
Step 4: Layer the Chicken
Now, lay the cooked chicken breast strips evenly over the maple butter. Each piece should cover the surface without overcrowding. This step not only adds protein but also ensures that every slider has a mouthwatering flavor. Let your imagination run wild as you envision the juicy bite awaiting you!
Step 5: Add Bacon Strips
Next, layer the crispy bacon strips over the chicken. The combination of smoky bacon and tender chicken creates a fantastic flavor contrast, adding crunch and richness. Ensure every slider gets a piece of bacon for that delightful texture and taste that makes these Maple Chicken Bacon Sliders truly irresistible.
Step 6: Top with Gouda Cheese
Place slices of Gouda cheese generously over the bacon. The creamy cheese will melt beautifully, binding the delicious layers together. Cover each slider well, ensuring the cheese envelops the flavorful ingredients below. As you stack the cheese, imagine how gooey and melty it will be once baked to perfection.
Step 7: Assemble the Sliders
Carefully place the top halves of the rolls back on each slider, gently pressing down to secure the layers. This compact assembly will help hold all the deliciousness together during baking. You’ll already sense the sweet and savory aroma coming together, teasing your taste buds for the next step in creating these Maple Chicken Bacon Sliders.
Step 8: Bake to Perfection
Place the assembled sliders in the preheated oven and bake for 10-15 minutes. Keep an eye on them; they are done when the tops are golden brown and the cheese is beautifully melted. This is the moment when your kitchen fills with the enticing aroma, letting you know that what you’ve created is sure to be a crowd-pleaser.
Step 9: Brush with Maple Butter
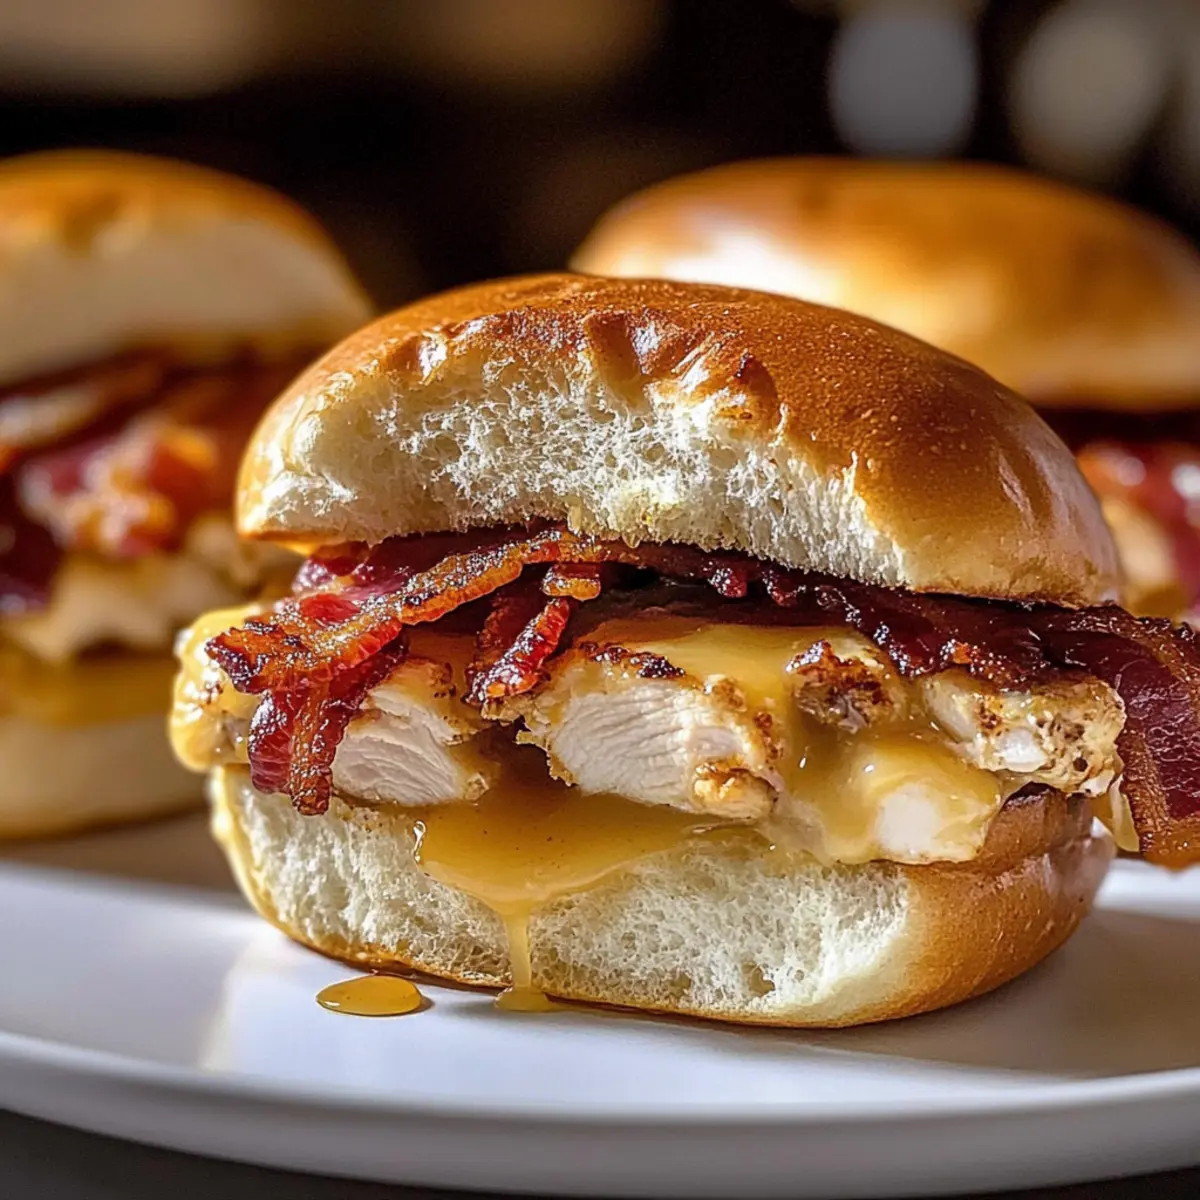
Once baked, remove the sliders from the oven and immediately brush the tops with additional maple butter. This final touch adds a glossy sheen and an extra layer of sweetness to the sliders, enhancing the flavor while keeping them moist. As you see the golden tops glistening, you’ll know they’re ready to be served.
Step 10: Serve Warm
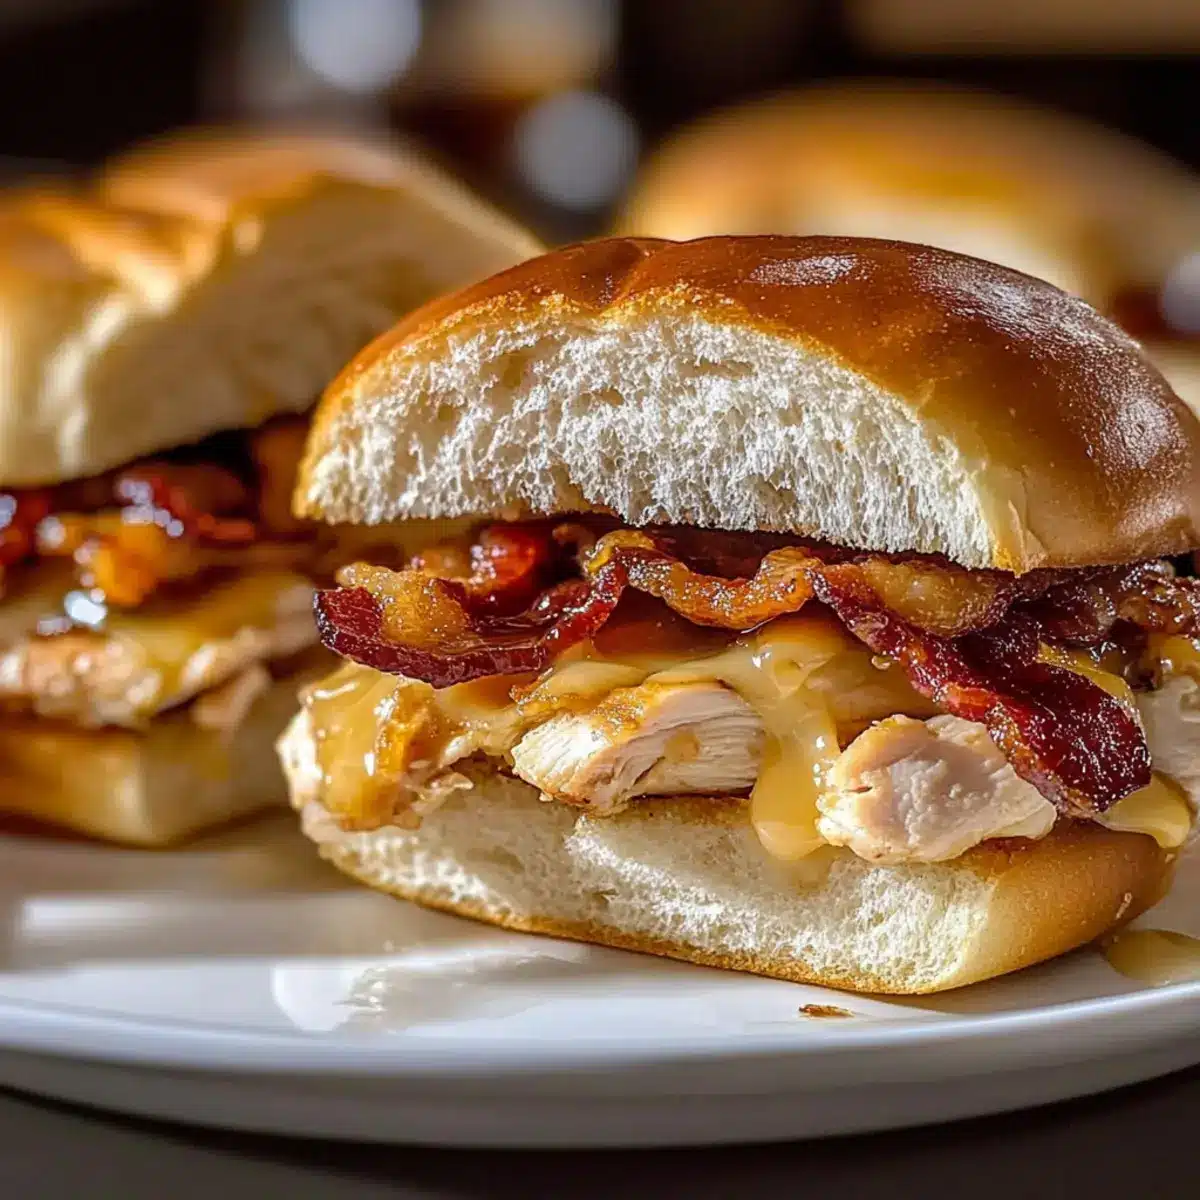
Cut the baked sliders into individual portions and serve them warm, inviting friends and family to enjoy! Their melty, gooey goodness combined with the crispy bacon and soft rolls create a satisfying treat. With every bite, you’ll experience the delightful balance of flavors in these scrumptious Maple Chicken Bacon Sliders, perfect for any gathering or family dinner.
What to Serve with Maple Chicken Bacon Sliders
Great sliders tantalize taste buds, so what can elevate your meal to perfection?
-
Crispy Sweet Potato Fries: These vibrant fries add a touch of sweetness and crunch that complements the savory sliders beautifully. They’re fun to dip in a creamy ranch dressing.
-
Classic Coleslaw: A crunchy, tangy slaw balances the richness of the sliders, bringing in a refreshing crunch and a perfect contrast to the sweet maple butter.
-
Fresh Garden Salad: With mixed greens, cherry tomatoes, and a light vinaigrette, this salad offers a bright, fresh element that enhances the meal’s flavors while adding vibrant color.
-
Savory Roasted Vegetables: A medley of seasonal veggies brings depth to the meal, with their caramelized, roasted flavors heightening the enjoyment of those irresistible sliders.
-
Creamy Macaroni and Cheese: Rich and comforting, a side of mac and cheese enhances the indulgent experience, providing creaminess that pairs well with the sliders.
-
Chilled Sparkling Lemonade: This refreshing drink adds a burst of citrusy flavor that cuts through the richness, making every bite of the sliders feel light and enjoyable.
-
Chocolate Chip Cookies: Conclude your meal with a warm, gooey cookie for a sweet treat. The classic chocolate pairs tantalizingly with the maple tones in the sliders, leaving guests craving more.
How to Store and Freeze Maple Chicken Bacon Sliders
Fridge: Store any leftover Maple Chicken Bacon Sliders in an airtight container for up to 2 days. Reheat in the oven or microwave until warmed through to enjoy again.
Freezer: For longer storage, wrap individual sliders tightly in plastic wrap and then foil. Freeze for up to 2 months. To reheat, thaw in the fridge overnight and bake at 375°F (190°C) until heated through.
Make-Ahead: Assemble sliders in advance and keep them covered in the fridge for up to 24 hours before baking. This way, they’ll be fresh and ready to pop in the oven!
Reheating: When reheating, cover with foil to prevent the tops from burning while the insides heat up, ensuring perfectly melty cheese again.
Expert Tips for Maple Chicken Bacon Sliders
-
Choose the Right Rolls: Use fresh King’s Hawaiian rolls for the best texture and sweetness. Alternatively, gluten-free rolls work great for dietary adjustments.
-
Pre-Cook Chicken: Opt for pre-cooked chicken strips or rotisserie chicken to save time and ensure juicy sliders. Avoid overcooking the chicken during assembly.
-
Toast the Rolls: Lightly toast the Hawaiian rolls before adding the fillings for added flavor and a sturdier base to hold all the delicious ingredients.
-
Customize the Cheese: Feel free to mix and match cheeses! Gouda is excellent, but Swiss or Cheddar also melt beautifully, providing a gooey finish.
-
Make-Ahead Advantage: Assemble the sliders up to a day in advance and refrigerate. Bake them just before serving to keep them warm and fresh.
-
Store Leftovers Properly: Place any leftover sliders in an airtight container and refrigerate for up to two days. Reheat gently to preserve their melty goodness when serving again.
Make Ahead Options
These Maple Chicken Bacon Sliders are perfect for meal prep enthusiasts! You can assemble the sliders up to 24 hours in advance by layering the chicken, bacon, and cheese on the rolls, then cover them tightly with plastic wrap and refrigerate. This not only helps save time during busy weeknights but also allows the flavors to meld beautifully. To keep the rolls fresh, consider lightly toasting them before assembly to enhance their texture. Just before serving, pop the assembled sliders in a preheated oven at 375°F (190°C) for about 10-15 minutes until they are golden brown and the cheese is nicely melted. You’ll have delicious, freshly baked sliders ready with minimal effort!
Maple Chicken Bacon Sliders Variations & Substitutions
Feel free to get creative with your Maple Chicken Bacon Sliders and customize them to suit your taste and dietary needs!
-
Dairy-Free: Use dairy-free cheese alternatives and swap regular butter for a dairy-free version to keep these sliders creamy without the dairy.
-
Gluten-Free: Opt for gluten-free rolls to make these sliders suitable for those with gluten sensitivities. They will still be delightful and satisfying!
-
Flavor Boost: Add a spoonful of Dijon mustard or spicy aioli on the inside of the rolls for an extra kick of flavor. This subtle heat will elevate each slider to new heights, awakening your taste buds.
-
Cheese Variety: Switch Gouda for Swiss, Provolone, or Cheddar for a different taste experience. Each cheese brings its unique twist, allowing you to mix and match based on preference.
-
Spicy Kick: Include jalapeño slices or drizzle with sriracha to add a spicy punch to your sliders. This will create a delightful contrast with the sweetness of the maple.
-
Veggie Additions: Layer in some baby spinach or arugula for a fresh and vibrant crunch that complements the sliders beautifully. Tossing in veggies can also amp up the nutrition factor.
-
Savory Twist: Incorporate sautéed mushrooms or caramelized onions for a comforting, savory depth. It’s a delicious way to experiment with textures while intensifying the flavors.
-
Holiday Theme: Use leftover Thanksgiving turkey and add a dollop of cranberry sauce for a festive season take on these sliders. This twist captures the essence of holiday flavors beautifully!
For more delicious ideas that can easily adapt to your family’s tastes, check out Chicken Etouffee Savory or our delightful Lemon Chicken Tangy. Always remember, the magic happens when you let your kitchen creativity shine!
Maple Chicken Bacon Sliders Recipe FAQs
What’s the best way to select chicken for my sliders?
Absolutely! I recommend using cooked chicken breast strips for the best results. If you’re short on time, rotisserie chicken is a fantastic and convenient option that stays juicy. Make sure the chicken is fresh with a good color and no signs of spoilage—look for moist meat without any dark spots.
How should I store leftovers?
Very important! Store any leftover Maple Chicken Bacon Sliders in an airtight container in the refrigerator for up to 2 days. To reheat, you can either pop them in the oven at 350°F (175°C) for about 10 minutes or warm them up in the microwave until heated through. This way, you maintain their wonderful textures!
Can I freeze the assembled sliders?
Yes, you can! For freezing, wrap each assembled slider tightly in plastic wrap and then place them in a freezer bag to prevent freezer burn. They can last up to 2 months. When you’re ready to enjoy them, thaw in the fridge overnight and bake at 375°F (190°C) for about 15-20 minutes until heated through and the cheese is melty again.
What if I want to make these sliders gluten-free?
Absolutely! You can use gluten-free rolls instead of King’s Hawaiian Rolls. Make sure to check the labels for gluten-free certifications on your ingredients to ensure they are safe for those with gluten sensitivities. This way, everyone can enjoy the deliciousness!
Is there a way to make these sliders dairy-free?
Of course! For a dairy-free option, swap out the Gouda cheese for a dairy-free cheese alternative that melts well, such as a plant-based cheese. Remember to mix plain butter with maple syrup if you can’t find maple butter, ensuring that sweet flavor remains intact while accommodating dietary restrictions.
How can I add greens to my sliders?
What a great idea! You can layer fresh baby spinach or arugula before closing the sliders for an extra crunch and nutritional boost. Simply place a handful of greens on top of the chicken before adding the bacon and cheese, and bake as usual for a deliciously fresh twist.
Mouthwatering Maple Chicken Bacon Sliders You’ll Crave!
Ingredients
Equipment
Method
- Preheat the oven to 375°F (190°C).
- Slice the King's Hawaiian rolls horizontally.
- Spread a layer of maple butter on the bottom half of the sliced rolls.
- Lay the cooked chicken breast strips evenly over the maple butter.
- Layer the crispy bacon strips over the chicken.
- Place slices of Gouda cheese generously over the bacon.
- Place the top halves of the rolls back on each slider.
- Bake the assembled sliders for 10-15 minutes until the tops are golden brown.
- Brush the tops with additional maple butter after baking.
- Cut the baked sliders into individual portions and serve warm.
Leave a Reply