
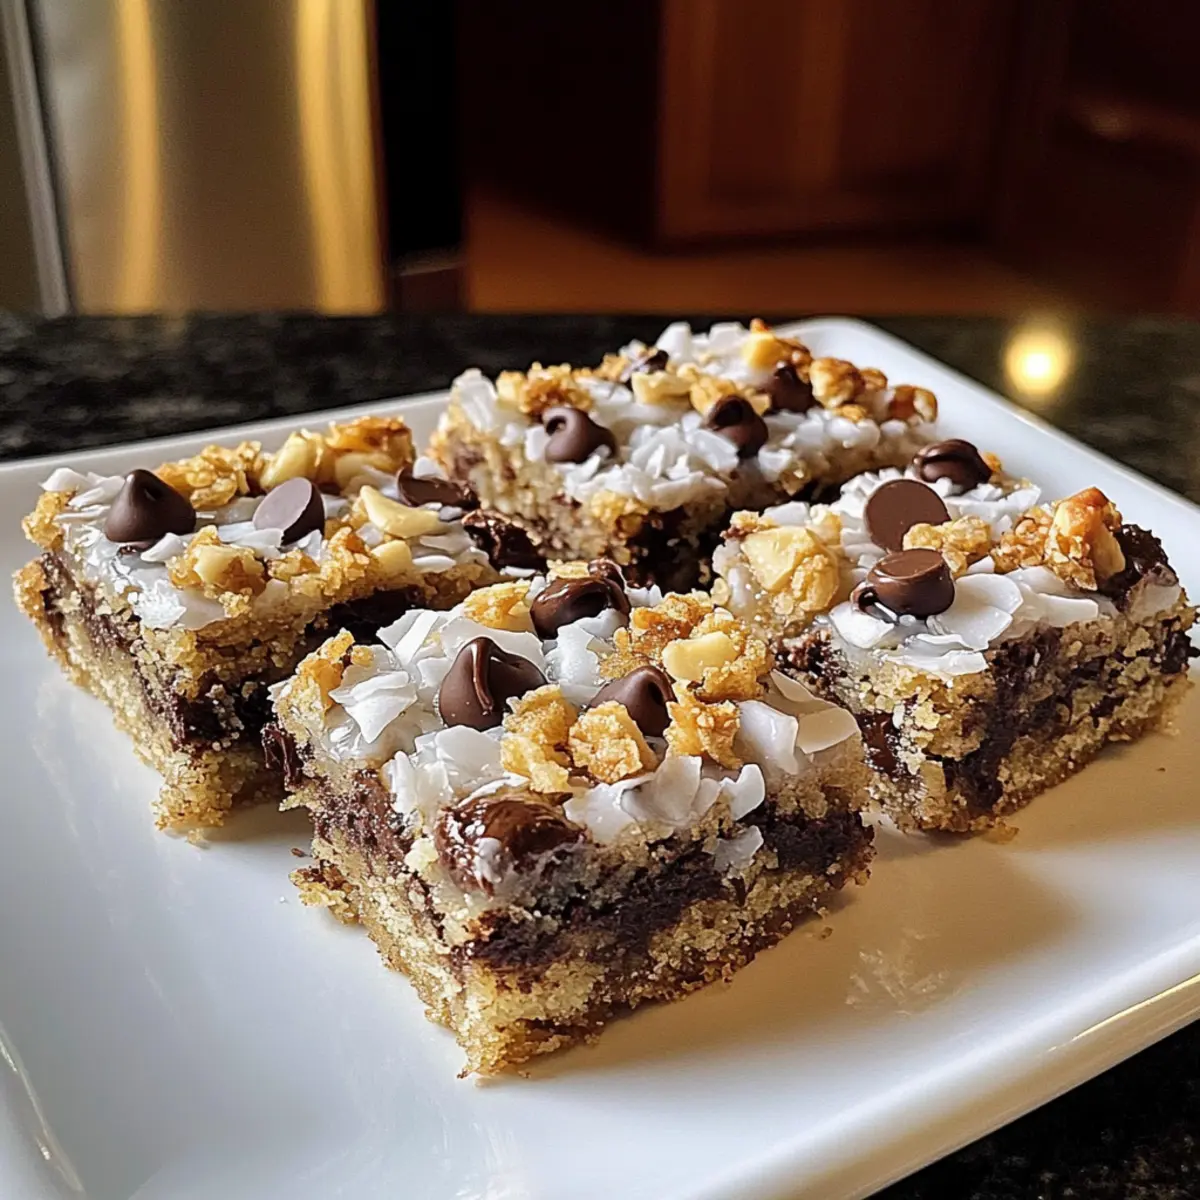
The aroma of melting chocolate and toasted coconut wafts through my kitchen, instantly transporting me to sun-drenched summers spent with family. These Easy Magic Cookie Bars have a way of sparking nostalgia while delivering a delightful crunch in every bite. The beauty of this recipe lies not only in its variety but also in its simplicity—perfect for a last-minute dessert or a special gathering. With layers of sweetened condensed milk, gooey chocolate chips, and your choice of crunchy toppings, you’re bound to find joy in customizing these dessert bars. Plus, they come together quickly, making them an ideal treat for busy weekends or an impromptu snack attack. Are you ready to create your own sweet masterpiece that will have everyone coming back for more?
Why Are These Magic Cookie Bars So Special?
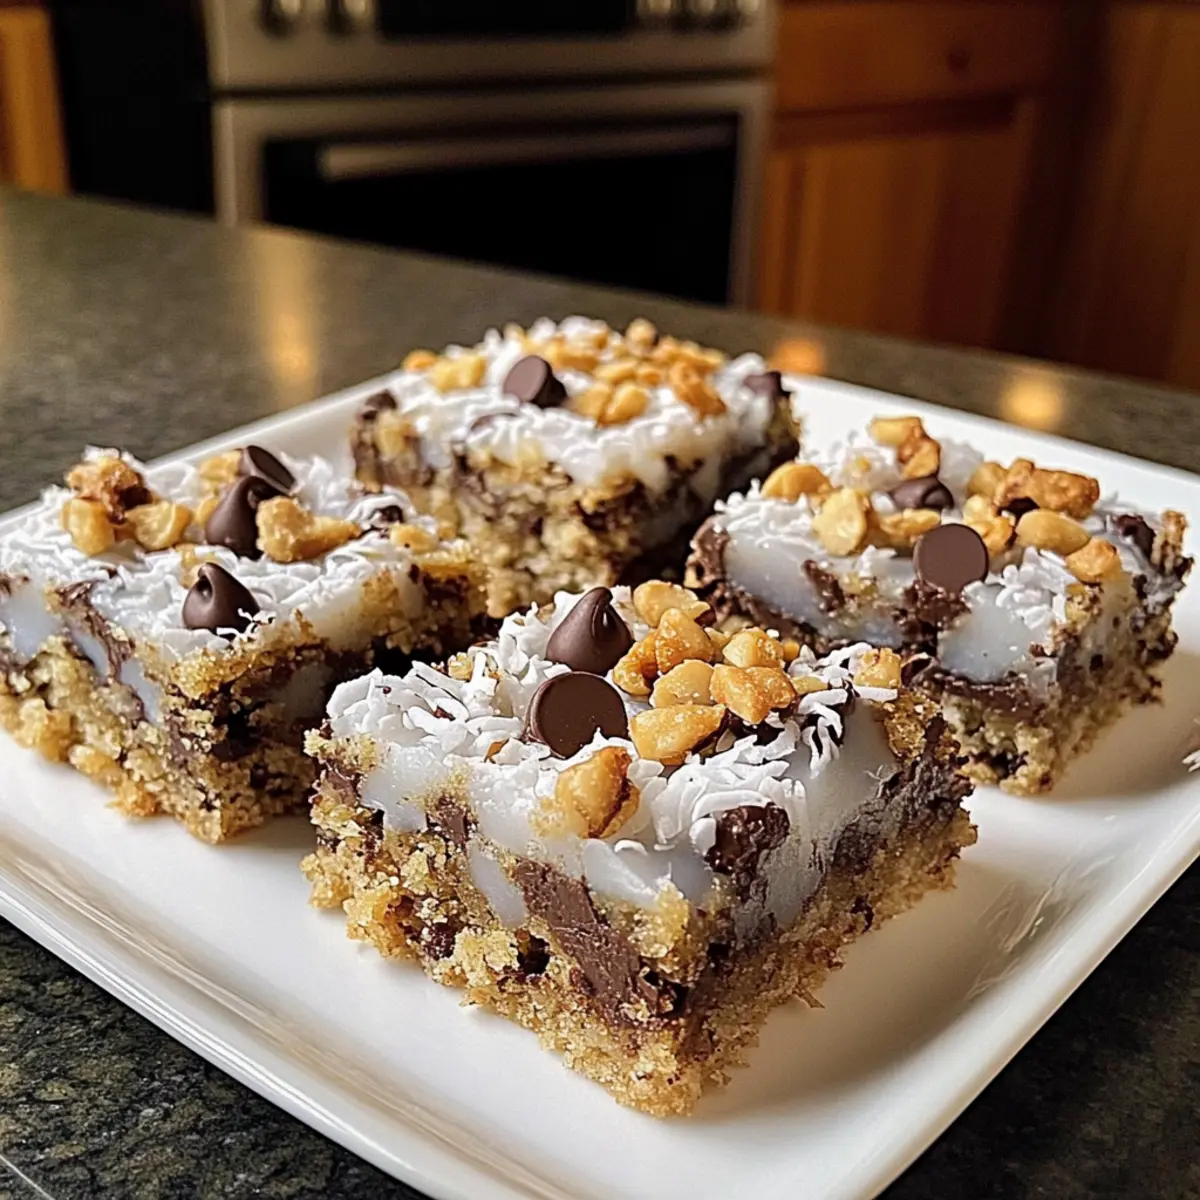
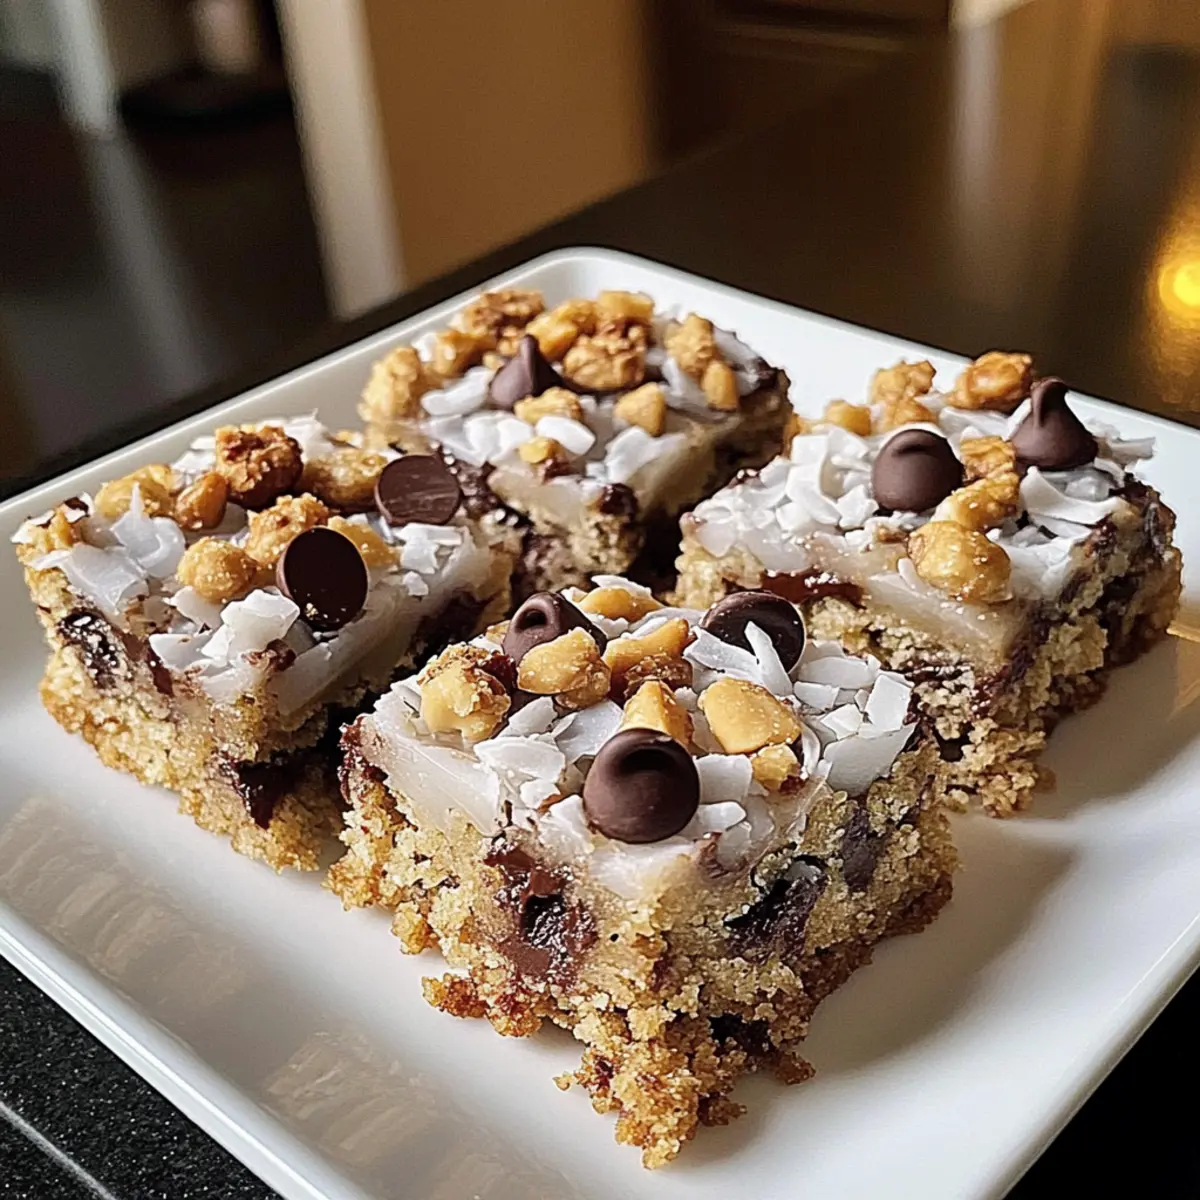
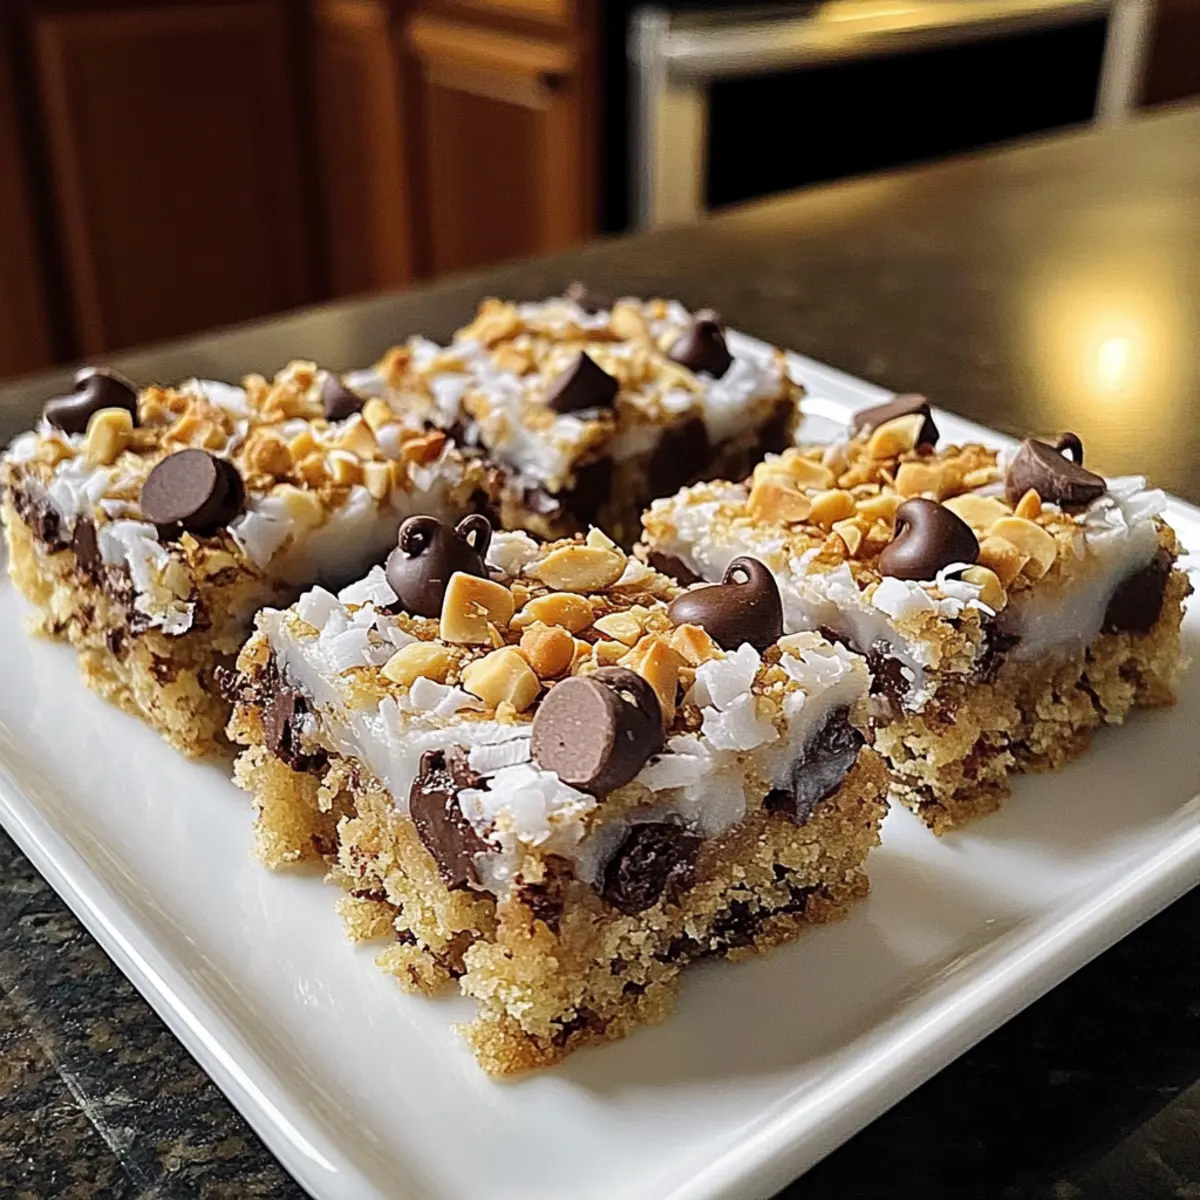
Unbeatable flavor combination: With layers of creamy chocolate, sweetened condensed milk, and chewy coconut, these bars offer a delightful taste experience that is sure to please any sweet tooth.
Customizable toppings: Feel free to get creative! Add your favorite nuts or substitute with seeds for a nut-free option; even swirls of peanut butter can elevate the flavor.
Quick and easy: Perfect for busy days, these bars come together in just a few simple steps, making them ideal for last-minute gatherings or satisfying a sweet craving.
Crowd-pleaser: Whether it’s a family get-together or a potluck party, Magic Cookie Bars are guaranteed to be a hit with everyone. For more delicious treats, check out my Pumpkin Oat Cookies and Thick Chewy Cookies!
Make-ahead delight: Bake a batch and store them in an airtight container—perfect for snacking throughout the week! Dive in and create a memory-filled treat today.
Magic Cookie Bars Ingredients
• Prepare to make a delightful treat with these easy-to-find ingredients!
For the Crust
- Graham Cracker Crumbs – Essential for a sturdy base; you can substitute with crushed digestive biscuits or vanilla wafers for a twist.
- Melted Butter – Helps bind the crumbs together; coconut oil works as a great dairy-free option.
For the Filling
- Sweetened Condensed Milk – The magic that holds everything together, adding sweetness without a direct substitute.
- Chocolate Chips (Semi-Sweet) – Offers a rich sweetness; consider using milk chocolate for extra indulgence.
- Shredded Coconut – Adds that chewy texture; opt for unsweetened coconut for a less sugary flavor.
- Chopped Nuts (e.g., walnuts or pecans) – Provides a lovely crunch; this can be omitted for a nut-free variation.
These Magic Cookie Bars are not just delicious but also incredibly versatile, so feel free to personalize your batch to create your ultimate dessert!
Step‑by‑Step Instructions for Magic Cookie Bars
Step 1: Preheat the Oven
Begin by preheating your oven to 350°F (175°C). While your oven warms up, take a moment to grease a 9×13 inch baking pan with butter or non-stick spray. This will ensure your Magic Cookie Bars release easily once they are baked and cooled, so they maintain their beautiful shape.
Step 2: Prepare the Crust
In a mixing bowl, combine the melted butter and graham cracker crumbs until they are thoroughly mixed, creating a sandy texture. Press this mixture evenly into the bottom of your greased baking pan, using the back of a measuring cup or your fingers to compact it down firmly. This sturdy crust will provide a delightful base for your layers of flavor.
Step 3: Layer the Toppings
Once the crust is prepared, it’s time to build your flavor layers. Evenly sprinkle the shredded coconut over the pressed crust, followed by the semi-sweet chocolate chips and chopped nuts. Take time to distribute these toppings as evenly as possible to ensure each bite of your Magic Cookie Bars offers a satisfying combination of textures and tastes.
Step 4: Add Sweetened Condensed Milk
Carefully pour the sweetened condensed milk over the layer of toppings, using a spatula to spread it if needed. Ensure the milk covers most of the toppings to allow the bars to meld together during baking, creating that deliciously gooey texture you love in these bars. This step is crucial for binding all the layers.
Step 5: Bake the Bars
Place your assembled pan in the preheated oven and bake for approximately 25 minutes. Keep a close watch as the edges begin to turn golden brown and the center starts to bubble slightly. This is when you know your Magic Cookie Bars are coming together beautifully and are almost ready to devour!
Step 6: Cool & Cut
Once baked, remove the pan from the oven and allow the Magic Cookie Bars to cool completely in the pan. Patience is key here—let them sit for at least 30 minutes before cutting to ensure the layers set nicely. After cooling, use a sharp knife to cut the bars into squares, revealing the delightful layers within each piece.
Make Ahead Options
Preparing Magic Cookie Bars ahead of time is a fantastic way to save precious minutes on busy days! You can make the crust and layer all the toppings, then cover it tightly and refrigerate the assembled pan for up to 24 hours before baking. This keeps the crust fresh and helps the flavors meld together beautifully. When you’re ready to bake, simply pour the sweetened condensed milk over the toppings and bake as directed. For optimal quality, let the bars cool completely before cutting; this ensures they hold their shape while cutting. Your Magic Cookie Bars will be just as delicious, ready to impress friends and family with minimal effort!
How to Store and Freeze Magic Cookie Bars
Room Temperature: Store cooled Magic Cookie Bars in an airtight container at room temperature for up to 7 days to maintain their chewy texture and flavor.
Fridge: For extended freshness, keep the bars in the fridge for up to 2 weeks. Make sure they’re covered to prevent them from absorbing odors.
Freezer: Freeze Magic Cookie Bars for up to 3 months in an airtight container. Layer parchment paper between bars to prevent sticking. Thaw in the fridge or at room temperature before enjoying.
Reheating: If desired, warm these bars in the microwave for about 10-15 seconds for a gooey treat that melts in your mouth.
Expert Tips for Magic Cookie Bars
-
Cool Completely: Allow your Magic Cookie Bars to cool completely in the pan before cutting. This keeps the layers intact and prevents them from crumbling.
-
Use Fresh Ingredients: Ensure your chocolate chips and coconut are fresh for the best flavor. Stale ingredients can lead to a less-than-delightful treat.
-
Experiment With Flavors: Don’t hesitate to mix different types of chocolate chips or add vanilla extract to the crust for an extra layer of flavor.
-
Press Firmly: When pressing the graham cracker crust, use the back of a measuring cup to compact it firmly. This ensures a sturdy base that holds its shape.
-
Adjust Baking Time: Keep an eye on the bars as they bake; ovens can vary, and removing them just when golden can prevent overbaking.
Magic Cookie Bars Variations
Feel free to unleash your creativity and make these Magic Cookie Bars even more delicious with these fun variations!
-
Nut-Free: Replace chopped nuts with seeds like sunflower or pumpkin for a safe, crunchy option. This way, even those with nut allergies can enjoy the bars too!
-
Coconut-Free: If you’re not a fan of coconut, simply omit the shredded coconut and substitute it with crushed graham crackers to maintain that delicious base.
-
Spicy Twist: Add a sprinkle of cayenne pepper or chili powder to the chocolate chips for a surprising heat that brings an exciting twist to your classic dessert.
-
Fruit-Infused: Mix in dried fruits like cranberries or raisins for a chewy texture contrast. These fruity additions can bring a delightful tartness that pairs beautifully with the chocolate.
-
Peanut Butter Bliss: Swirl some creamy peanut butter into the sweetened condensed milk before pouring it over the toppings. This adds a rich, nutty flavor to every bite!
-
Dark Chocolate Lovers: Switch semi-sweet chocolate chips for dark chocolate for a richer taste. This substitution can give your bars an elegant touch.
-
Double Layer: For a more decadent treat, add a second layer of ingredients by placing the baking sheet back in the oven after adding sweetened condensed milk, creating a fantastic two-toned magic bar.
-
No-Bake Version: Try creating a no-bake version by mixing ingredients together and pressing them into a pan. Chill until firm, then cut for a different take on this classic!
These variations allow you to personalize the flavor profile of your Magic Cookie Bars, making them your own! If you’re looking for more delicious recipes, don’t miss trying out my delightful Greek Yogurt Cookie or even some scrumptious Chocolate Chip Cookies. Happy baking!
What to Serve with Easy Magic Cookie Bars
Imagine leisurely afternoons filled with laughter and the sweetness of treasured moments, perfectly paired with these delightful treats.
- Vanilla Ice Cream: The creamy richness of vanilla ice cream complements the chewy bars, adding a delightful contrast to each bite.
- Fresh Berries: Juicy strawberries or raspberries provide a burst of freshness that balances the sweet, chocolatey goodness of the bars.
- Espresso Coffee: The bold flavors of espresso elevate the dessert experience, making each bite feel indulgent while countering the sweetness.
- Coconut Milkshake: A vintage twist, this frosty shake enhances the coconut flavor in the bars and feels refreshing on a warm day.
- Chocolate Drizzle: Elevate your bars by drizzling melted chocolate on top, offering an extra layer of decadence and presentation.
- Caramel Sauce: A rich, gooey drizzle brings out the bars’ sweetness and adds a luxurious finish to every serving.
- Nutella Spread: Serve alongside a dish of warm Nutella for a delightful dip, creating a dreamy chocolate experience.
- Chilled Milk: A classic pairing, chilled milk complements the sweetness and smooth texture, perfect for both kids and adults!
- Coffee Stout Beer: For the adults, a rich coffee stout adds a unique flavor combination that plays beautifully with chocolate and nuts.
Magic Cookie Bars Recipe FAQs
What type of graham cracker crumbs should I use?
You can use store-bought graham cracker crumbs for convenience, but if you want to elevate your bars, try crushing your own graham crackers! Just ensure they are finely crushed for the best texture. If you’re looking for alternatives, crushed digestive biscuits or vanilla wafers also work splendidly.
How should I store leftover Magic Cookie Bars?
To keep your Magic Cookie Bars fresh, store them in an airtight container at room temperature for up to 7 days. If you prefer longer shelf life, refrigerate them for up to 2 weeks. Just remember to cover them well to avoid any absorbed odors from the fridge!
Can I freeze my Magic Cookie Bars?
Absolutely! To freeze your bars, let them cool completely and then place them in an airtight container. For best results, layer parchment paper between individual bars to prevent sticking. They can be frozen for up to 3 months. When you’re ready to enjoy, simply thaw them in the fridge overnight or at room temperature.
What if my Magic Cookie Bars crumble when I cut them?
If your bars are crumbling, it may be because they haven’t cooled sufficiently. Patience is key—allow them to cool completely in the pan for at least 30 minutes after baking. If they still crumble, try pressing the graham cracker crust more firmly next time to create a sturdier base.
Are there any allergy considerations I should be aware of?
Definitely! This recipe contains gluten (from graham crackers), dairy (from butter and sweetened condensed milk), and nuts (if added). For a nut-free option, simply omit the nuts or use seeds instead. If you have gluten sensitivities, you can look for gluten-free graham crackers to ensure everyone can enjoy this treat!
Can I customize the toppings for Magic Cookie Bars?
Absolutely! The beauty of these Magic Cookie Bars lies in their customization. You can swap the nuts for seeds to make it nut-free or experiment with different types of chocolate—dark, milk, or even white chocolate! Feel free to add dried fruits or a swirl of peanut butter for an extra flavor kick. The more the merrier!
Irresistible Magic Cookie Bars: Chewy, Crunchy Delight!
Ingredients
Equipment
Method
- Preheat your oven to 350°F (175°C) and grease a 9x13 inch baking pan.
- In a mixing bowl, combine melted butter and graham cracker crumbs until thoroughly mixed. Press this mixture into the bottom of the prepared baking pan.
- Sprinkle shredded coconut over the crust, followed by chocolate chips and chopped nuts.
- Pour sweetened condensed milk over the toppings, ensuring it covers most of them.
- Bake in the preheated oven for about 25 minutes until the edges are golden brown.
- Allow the bars to cool completely in the pan for at least 30 minutes before cutting into squares.
Leave a Reply