
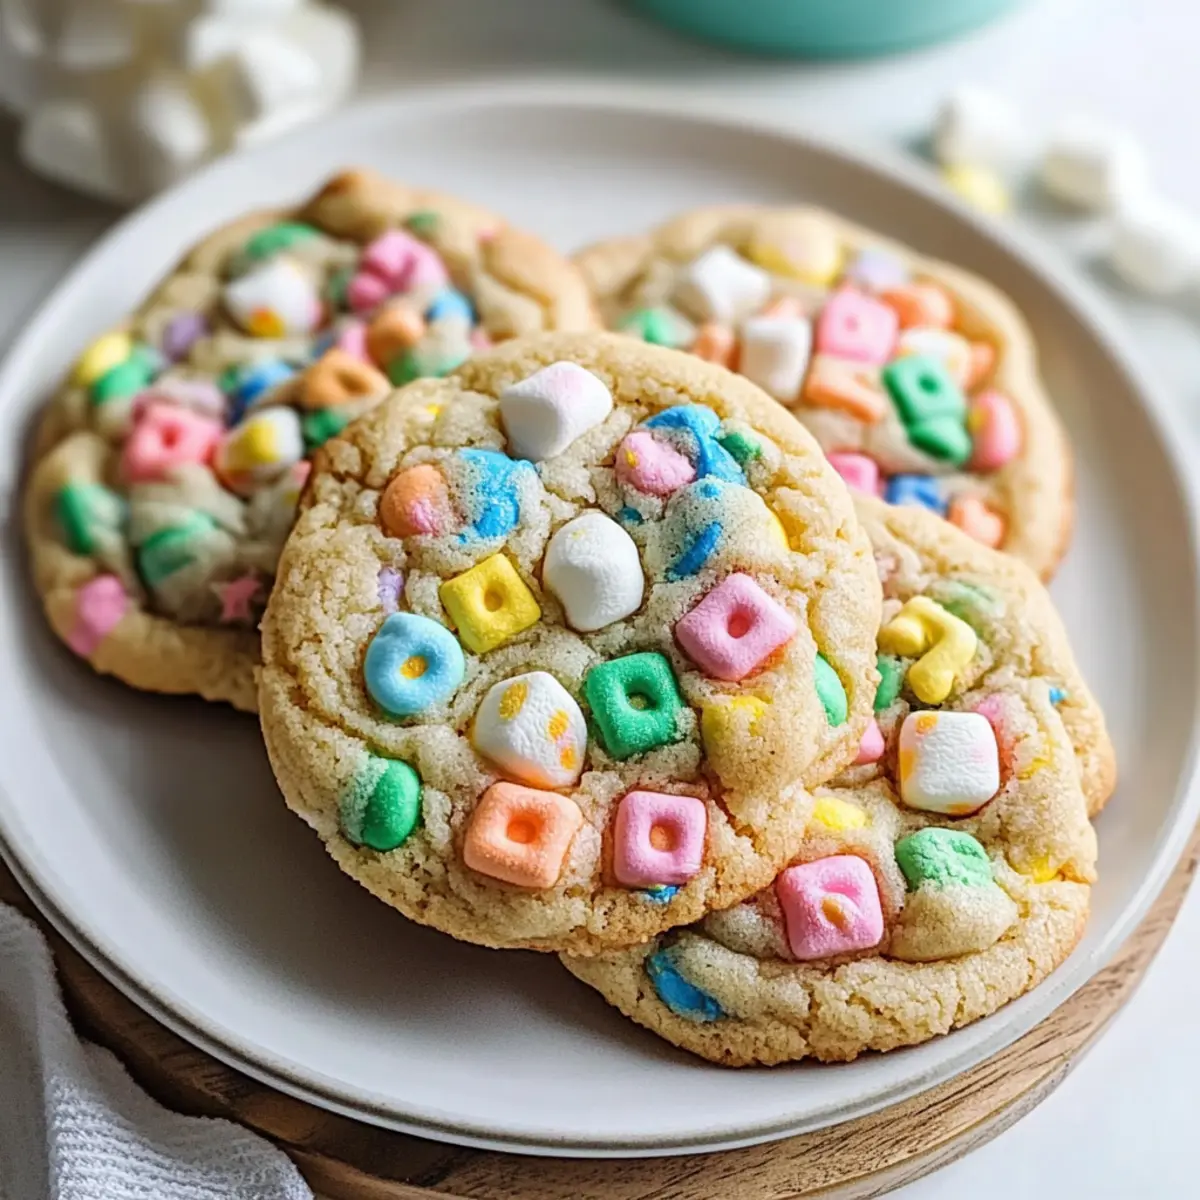
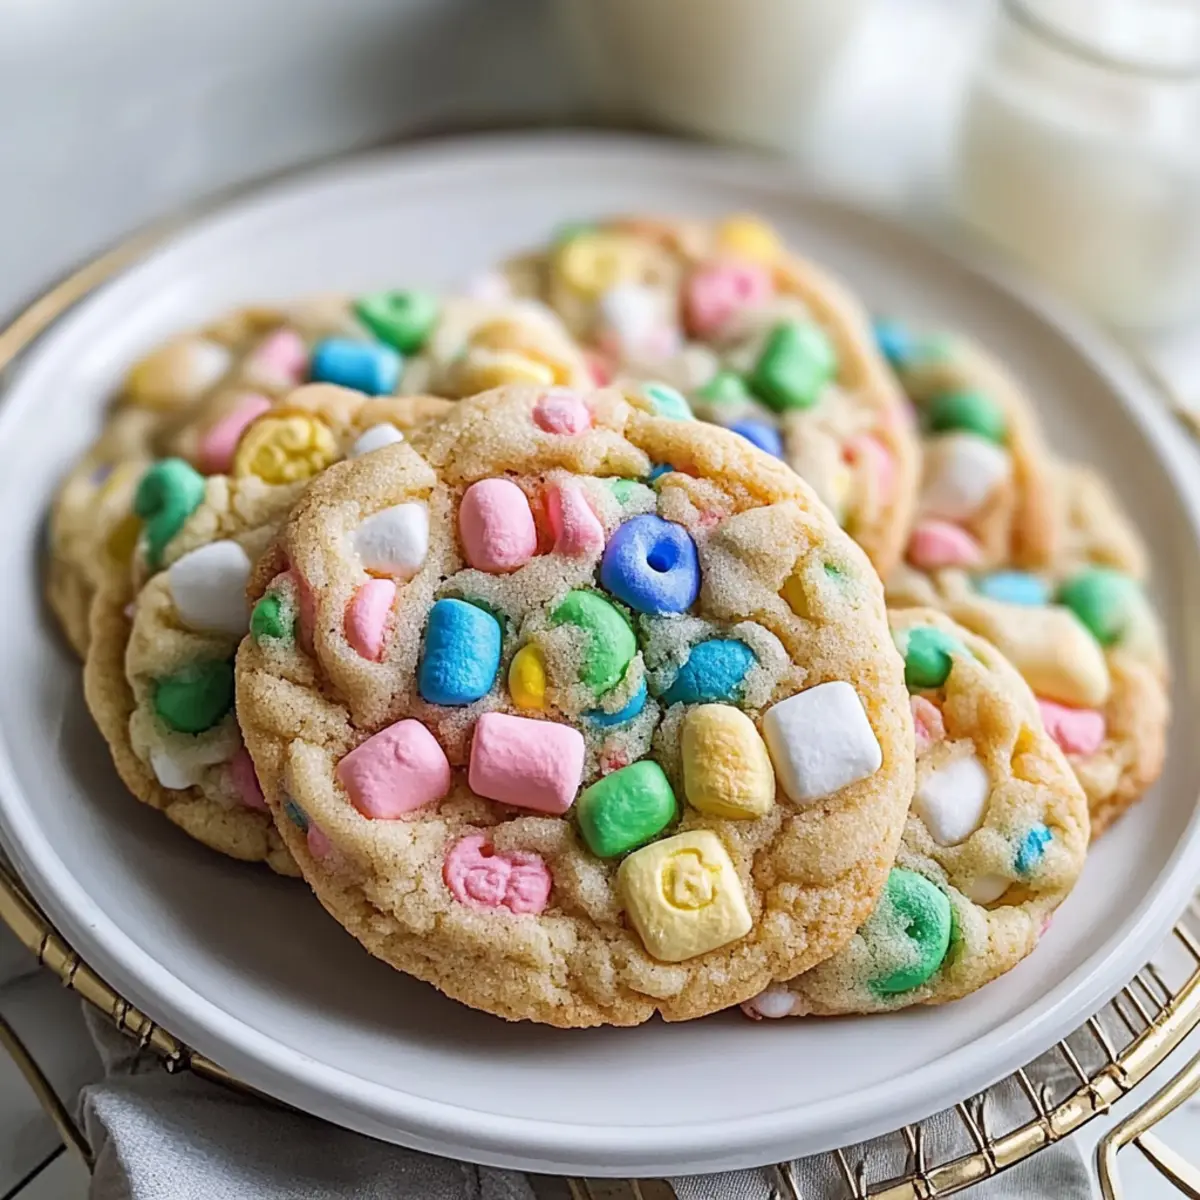
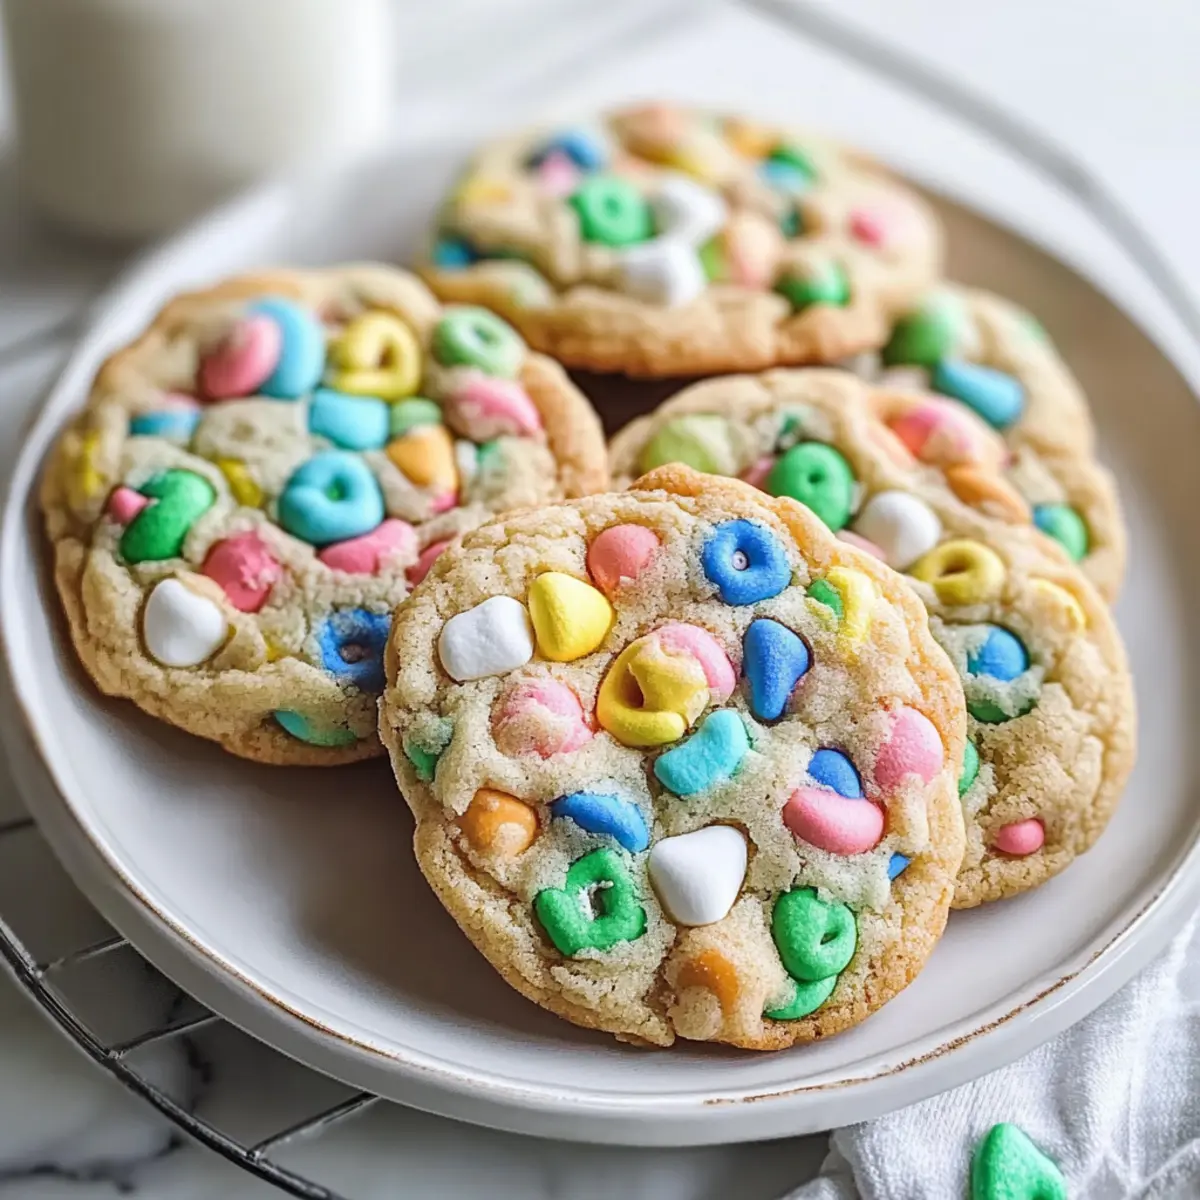
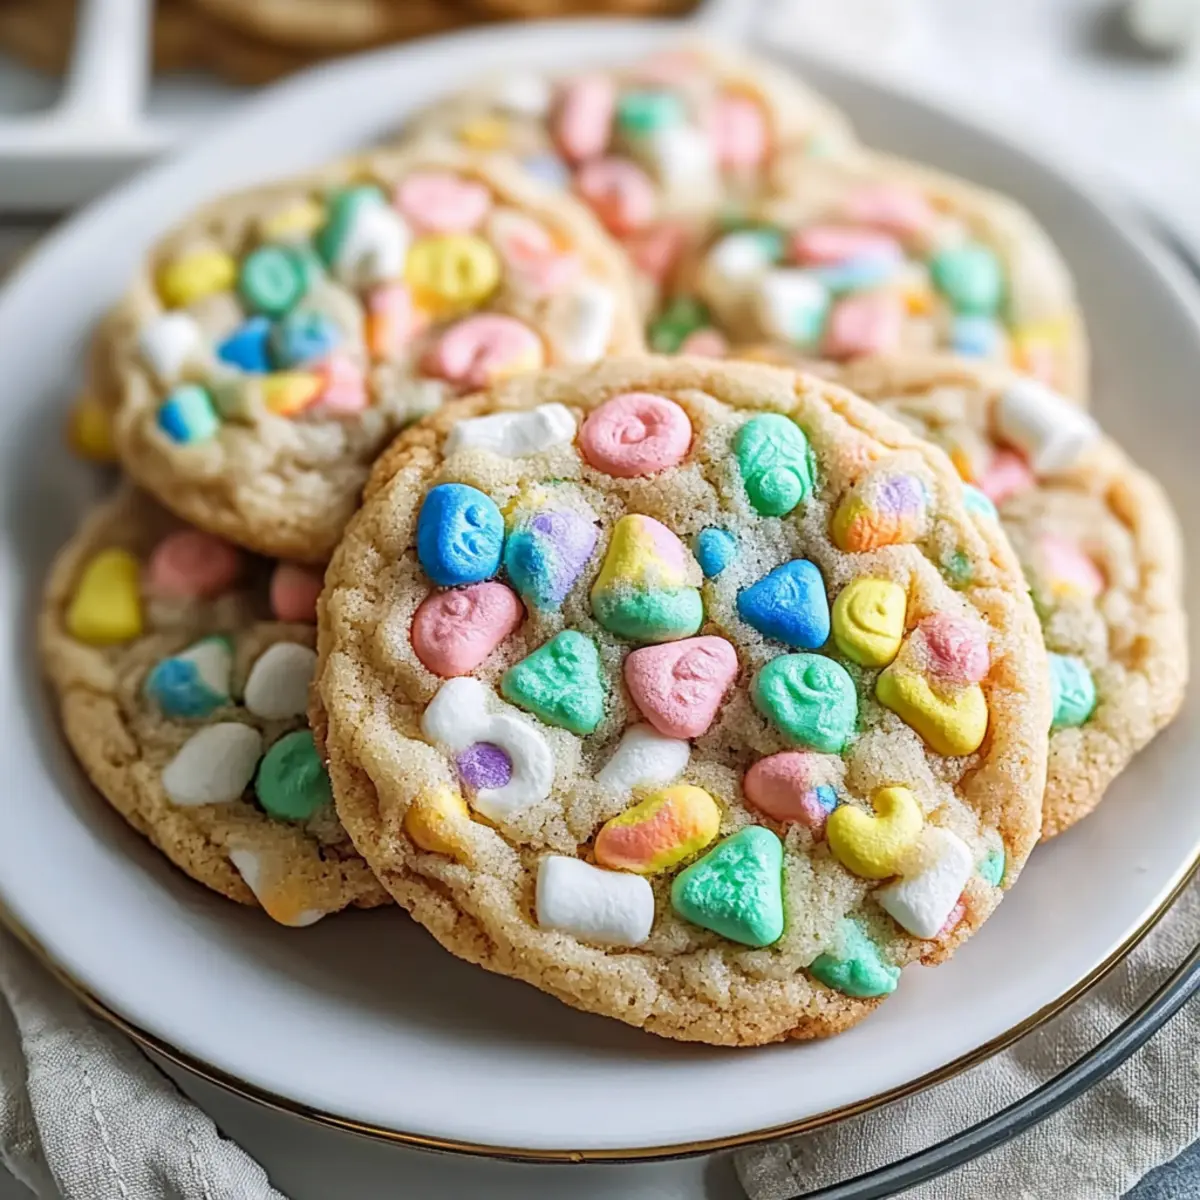
A whiff of freshly baked cookies transports me back to carefree childhood days, where sugary cereal and colorful marshmallows ruled snack time. That’s exactly the magic behind these Lucky Charms Cookies! Crafted with a soft, buttery base that’s perfectly chewy yet crispy around the edges, they are a delightful twist on a childhood favorite. Not only are they quick to whip up—ready in under 20 minutes—but they also deliver a playful touch to any festive gathering, especially for St. Patrick’s Day. And the best part? This no-chill dough recipe is easily adaptable, offering a gluten-free option and endless variations for creativity. So, what’s stopping you from baking up a batch of these whimsical delights? Let’s dive into the recipe!
Why Are Lucky Charms Cookies So Fun?
Nostalgic Delight: Remember your childhood breakfast? These cookies capture that whimsical spirit, offering a playful treat for all ages.
No-Chill Convenience: Say goodbye to waiting! This quick dough means you can satisfy those cookie cravings in under 20 minutes.
Versatile Options: Whether for St. Patrick’s Day or a casual day at home, you can easily adapt these with different marshmallows or flavors.
Gluten-Free Goodness: With a simple swap to gluten-free flour, everyone can enjoy these rainbow-filled cookies.
Family Fun: Get the kids involved in baking! They’ll love mixing in the colorful marshmallows and sprinkles for a fun family activity.
Perfectly Crunchy: Enjoy a delightful texture combination—soft and chewy with crispy edges, making each bite a true delight.
Elevate your baking game with these Lucky Charms Cookies, and if you’re looking for more cookie magic, don’t forget to check out my Pumpkin Oat Cookies for a seasonal twist!
Lucky Charms Cookies Ingredients
• Explore the magical mix of flavors!
For the Cookie Base
• Butter – Adds richness and moisture; you can substitute with softened or vegan butter for a dairy-free treat.
• Granulated Sugar – Provides sweetness and assists in spreading; coconut sugar makes for a deeper flavor alternative.
• Brown Sugar – Introduces moisture and a hint of caramel; swap with more granulated sugar for a lighter cookie.
• Egg – Acts as a binding agent for that perfect texture; use a flax egg for a vegan version.
• Vanilla Extract – Enhances sweetness and aroma; opt for pure vanilla extract for maximum flavor.
• Vegetable Oil – Keeps cookies moist and tender; melted coconut oil is a great alternative.
• All-Purpose Flour – Provides structure; replace with a gluten-free blend for gluten-free Lucky Charms Cookies.
• Baking Soda – Functions as a leavening agent, giving lift to your cookies.
• Baking Powder – Works in conjunction with baking soda for softness and chewiness.
For the Fun Add-Ins
• Lucky Charms Marshmallows – These bring unique flavor and color; substitute with other cereal marshmallows if desired.
• White Chocolate Chips – Introduces creaminess and sweetness; dark chocolate chips offer a richer taste if you prefer.
• Sprinkles (optional) – A festive touch; use seasonal colors for any special occasion!
Get ready to enjoy the whimsical joy of baking these delightful Lucky Charms Cookies!
Step‑by‑Step Instructions for Lucky Charms Cookies
Step 1: Preheat the Oven
Begin by preheating your oven to 350°F (175°C). While it heats up, line two baking sheets with parchment paper to ensure your Lucky Charms Cookies bake evenly and don’t stick. This simple step sets the foundation for your cookie-making adventure, allowing you to create the perfect warm, chewy treats.
Step 2: Cream the Butters and Sugars
In a large mixing bowl, combine softened butter and granulated sugar. Using a hand mixer or stand mixer, beat them together on medium speed for 1 to 2 minutes until they become light and fluffy. This creamy mixture will enhance the texture of your Lucky Charms Cookies, creating a delightful buttery base that everyone will love.
Step 3: Mix in Egg and Vanilla
Next, add in the egg and vanilla extract to the blended butter and sugar mix. Continue mixing for an additional 30 to 60 seconds until the mixture appears light and fluffy. This crucial step combines liquid ingredients, ensuring that your cookies will have a classic, chewy texture, complemented by a sweet vanilla flavor.
Step 4: Add Vegetable Oil and Brown Sugar
Pour in the vegetable oil and brown sugar, folding them into the mixture until fully incorporated. This is an essential step that adds moisture to your Lucky Charms Cookies while balancing the sweetness from the granulated sugar. The resulting batter will be smooth and inviting, perfect for the next flavorful additions.
Step 5: Incorporate Dry Ingredients
Sift in the all-purpose flour, baking soda, and baking powder into the wet ingredients. Mix carefully until no dry flour remains. Be cautious not to overmix—this will keep your cookies tender and chewy. Once combined, the dough should be soft and slightly sticky, ready for the magical marshmallow and chocolate inclusions.
Step 6: Stir in Mix-ins
Now it’s time for the fun part! Using a spatula or spoon, gently fold in the white chocolate chips, Lucky Charms marshmallows, and optional sprinkles. This step adds bursts of color and flavor to your Lucky Charms Cookies, making them as visually delightful as they are tasty. Make sure the mix-ins are evenly distributed throughout the cookie dough.
Step 7: Scoop and Shape the Dough
Scoop the cookie dough into balls, about 2 tablespoons each, and place them spaced 2 inches apart on the prepared baking sheets. This spacing allows the cookies to spread without merging into one another. If you’re feeling playful, you can use your hands to slightly flatten them for a unique cookie shape!
Step 8: Bake the Cookies
Slide the baking sheets into your preheated oven and bake for 9 to 11 minutes. You’ll know the cookies are ready when the edges are set, and the centers look slightly glossy. The delightful scent of your Lucky Charms Cookies will fill your kitchen, enticing everyone around!
Step 9: Cool Before Serving
Remove the cookies from the oven and let them cool on the baking sheets for 3 to 5 minutes. This short resting period allows them to firm up before transferring them to a wire rack. Once cooled, your Lucky Charms Cookies will have perfectly crispy edges and a soft, chewy center—just the treat you’ve been waiting for!
Expert Tips for Lucky Charms Cookies
• Scoot Technique: If your cookies come out irregularly shaped, gently scoot them with a spoon right after baking to round them out.
• Controlling Spread: In warm kitchens, if your dough feels too oily, pop it in the fridge for about 10 minutes before baking. This helps maintain the perfect shape for your Lucky Charms Cookies.
• Marshmallow Placement: Reserve a few marshmallows to press into the tops of the cookies right after baking. This keeps them colorful and prevents them from melting completely.
• Vegan Option: For a vegan treat, substitute butter with vegan butter and use a flax egg. Ensure that the marshmallows are gelatin-free for a completely plant-based cookie.
• Storing Freshness: To keep your Lucky Charms Cookies soft, store them in an airtight container with a slice of bread. This simple tip helps retain moisture for days!
What to Serve with Magical Lucky Charms Cookies
Imagine a delightful spread that complements the whimsical charm of these cookies and turns any gathering into a festive celebration.
- Cold Glass of Milk: The classic pairing enhances the sweet, buttery flavor, creating a nostalgic snack time experience. There’s nothing quite like dunking these cookies into a cold glass of milk.
- Vanilla Ice Cream: A scoop of creamy vanilla ice cream makes for a dreamy dessert sandwich between two cookies. The cool creaminess contrasts beautifully with the chewy cookie texture.
- Fruit Salad: A fresh, colorful fruit salad adds brightness to the table, balancing the sweetness of the cookies with delightful juiciness. Plus, it’s a refreshing choice for warm days!
- Chocolate Milkshake: For the ultimate indulgence, serve with a rich chocolate milkshake. The creamy chocolate flavor plays perfectly off the cookies’ sweetness, creating a luxurious treat.
- Sparkling Lemonade: The zesty burst of lemonade provides a refreshing contrast, making this pairing a fun option for parties or festive occasions. It’s a playful drink choice that sings with summer vibes!
- Coffee or Tea: For an elegant afternoon treat, enjoy your cookies with a cup of coffee or tea. The warm beverages enhance the cookie’s rich flavors, inviting cozy conversation.
- Decorative Gift Bags: If you’re sharing these cookies, pack them in cellophane bags with a festive ribbon. They not only look delightful but make for a charming gift that spreads joy to loved ones.
How to Store and Freeze Lucky Charms Cookies
Airtight Container: Store your cookies in an airtight container at room temperature for up to 5 days to maintain freshness and moisture.
Freezer: For longer storage, freeze your Lucky Charms Cookies in a single layer, then transfer to a freezer-safe bag or container for up to 3 months.
Reheating: When you’re ready to enjoy frozen cookies, bake them directly from the freezer, adding one extra minute to the baking time for optimal freshness.
Dough Storage: If you want to prep in advance, you can freeze the cookie dough. Shape it into balls, freeze on a baking sheet, then transfer to a bag and store for up to 3 months.
Make Ahead Options
These Lucky Charms Cookies are perfect for busy home cooks looking to save time without sacrificing flavor! You can prepare the cookie dough up to 24 hours in advance by scooping it into balls and storing them in an airtight container in the refrigerator. For longer storage, freeze the dough for up to 3 months; just bake them straight from frozen, adding one extra minute to the baking time. This way, you’ll have fresh cookies ready to delight at a moment’s notice! Be sure to press a few extra Lucky Charms marshmallows into the tops before baking for that eye-catching finish that keeps them just as scrumptious.
Lucky Charms Cookies Variations & Substitutions
Customize your Lucky Charms Cookies for an unforgettable treat that speaks to your unique tastes!
- Dairy-Free: Substitute butter with softened vegan butter and use dairy-free chocolate chips for a wholesome cookie.
- Gluten-Free: Simply swap all-purpose flour with a gluten-free 1:1 baking flour blend for a version everyone can enjoy.
- Cereal Twist: Replace Lucky Charms marshmallows with a similar sugar cereal and its marshmallows for a fun change of flavors!
- Chocolate Lovers: Use dark chocolate chips instead of white chocolate for a richer, more decadent experience with every bite.
- Extra Crunch: Fold in finely crushed cereal, making for a more pronounced texture that adds delightful crunch to your cookies.
- Seasonal Add-Ins: Embrace festive occasions by incorporating seasonal sprinkles or themed flavored marshmallows—how about peppermint for the holidays?
- Nutty Flavor: Incorporate a half cup of finely chopped nuts, such as walnuts or pecans, to add a delightful texture and flavor twist.
- Spiced Up: Sprinkle in a dash of cinnamon or nutmeg to provoke warmth and cozy vibes in your cookie dough—perfect for chilly evenings!
Consider exploring my delightful Chocolate Chip Cookies to add a classic favorite to your cookie repertoire!
Lucky Charms Cookies Recipe FAQs
What is the best way to choose ripe ingredients for my Lucky Charms Cookies?
Absolutely! For the best texture and flavor, use softened butter (not melted) at room temperature so it creams beautifully with the sugars. When selecting eggs, look for ones that are medium to large and with no cracks. Your vegetable oil should be fresh and odorless. As for the Lucky Charms marshmallows, go for the freshest box to ensure they have that delightful chewiness and vibrant colors!
How should I store leftover Lucky Charms Cookies?
To keep your cookies fresh, store them in an airtight container at room temperature for up to 5 days. I recommend placing a slice of bread in the container with them; this little trick helps retain moisture, making sure your cookies stay soft and delicious!
Can I freeze Lucky Charms Cookies or the dough?
Very! For freezing, allow your freshly baked cookies to cool completely, then place them in a single layer on a baking sheet and freeze until solid. Transfer them to a freezer-safe bag or container, where they can be stored for up to 3 months. To enjoy, bake straight from frozen and add just one extra minute to the baking time. If freezing dough, scoop into balls and freeze on a baking sheet before transferring to a bag for up to 3 months as well.
What should I do if my cookie dough is too oily and spreads too much during baking?
No worries! If you find your dough to be too oily because of warm kitchen temperatures, simply chill it in the refrigerator for about 10 minutes before baking. This quick cool-down will help control the spread, giving you those perfectly shaped cookies you desire.
Are there any dietary considerations for making Lucky Charms Cookies?
Indeed! If you’re baking for someone with dietary restrictions, you can easily make these cookies vegan by substituting the butter with vegan butter and the egg with a flax egg (1 tablespoon ground flaxseed mixed with 2.5 tablespoons water, let sit for 5 minutes). Just ensure that the marshmallows you use are gelatin-free, as many traditional marshmallows contain gelatin. This way, everyone can enjoy these delightful treats!
Delightful Lucky Charms Cookies for a Whimsical Treat
Ingredients
Equipment
Method
- Preheat your oven to 350°F (175°C). Line two baking sheets with parchment paper.
- Combine softened butter and granulated sugar in a large mixing bowl. Beat until light and fluffy for 1 to 2 minutes.
- Add the egg and vanilla extract to the mixture. Mix for an additional 30 to 60 seconds until fluffy.
- Pour in vegetable oil and brown sugar, folding them into the mixture until fully incorporated.
- Sift in flour, baking soda, and baking powder into the mixture. Mix until no dry flour remains.
- Gently fold in white chocolate chips, Lucky Charms marshmallows, and optional sprinkles.
- Scoop the dough into balls (about 2 tablespoons each) and place them 2 inches apart on the baking sheets.
- Bake for 9 to 11 minutes until edges are set and centers look glossy.
- Allow cookies to cool on the baking sheets for 3 to 5 minutes before transferring to a wire rack.
Leave a Reply