
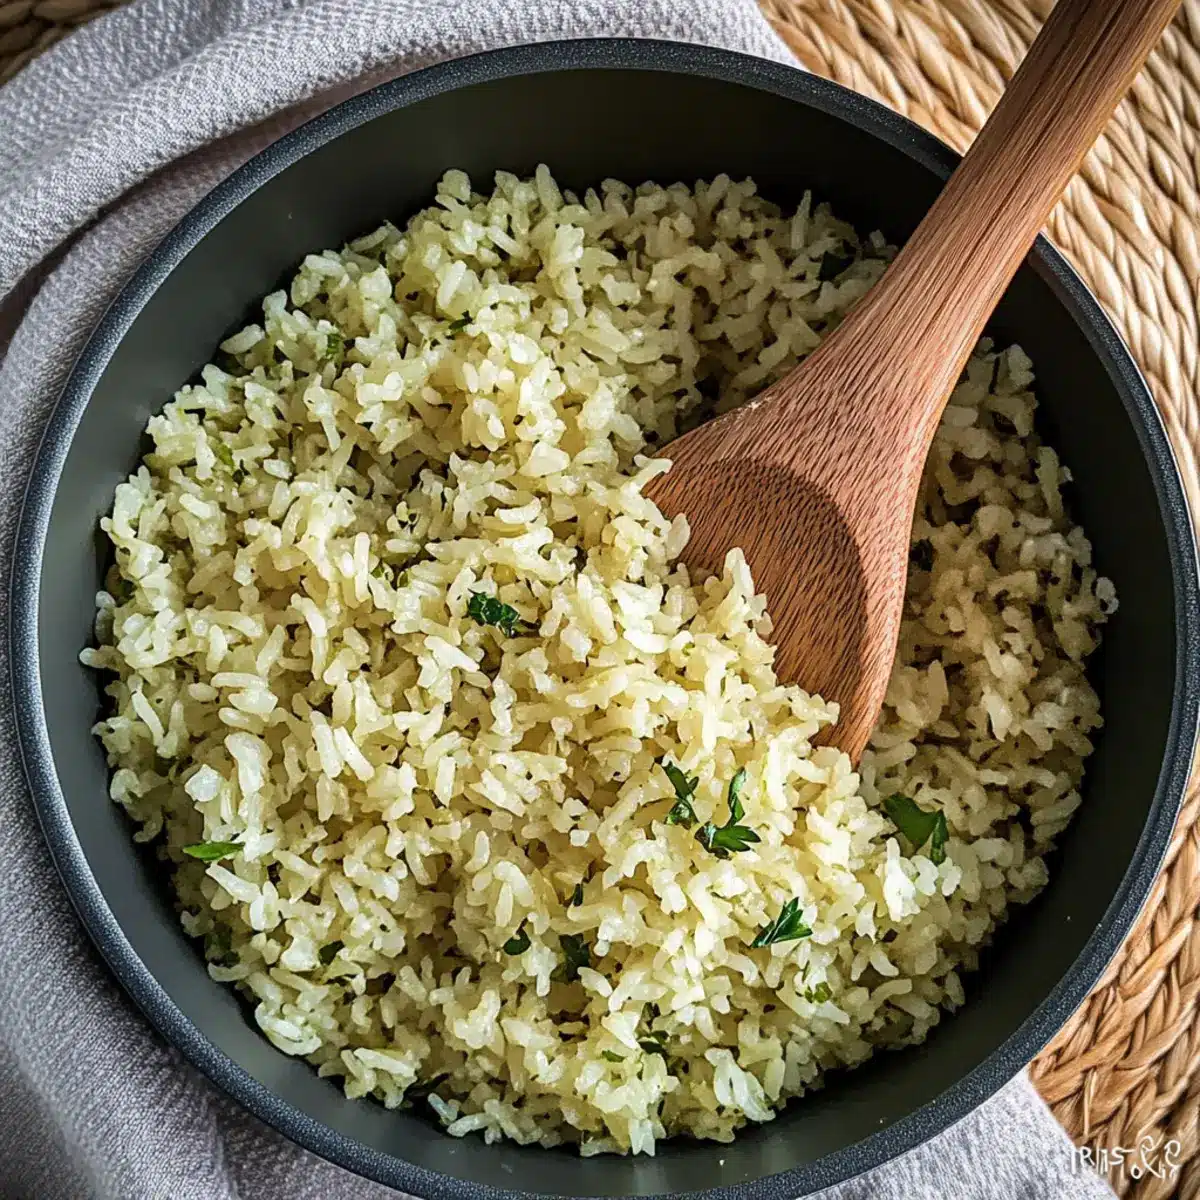
As I chopped fresh herbs this afternoon, the bright aroma of parsley and coriander filled my kitchen, instantly lifting my spirits. With a simple yet enticing recipe in mind, I decided to whip up some Herby Garlic Seasoned Rice—a dish that promises to be your new go-to side. Not only does this fluffy, gluten-free treat come together in under 30 minutes, but its versatility makes it the perfect companion for everything from grilled chicken to roasted veggies. Plus, at just 187 calories per serving, it’s an easy way to keep meals on the healthier side. Intrigued about how to elevate your next dinner plate? Let’s dive into this delightful recipe!
Why is Herby Garlic Seasoned Rice a Must-Try?
Simplicity, with just a few fresh ingredients, this recipe can be made in under 30 minutes, making it perfect for busy weeknights. Flavorful, the blend of garlic, coriander, and parsley brings a delightful aroma and taste that enhances any dish. Versatile, it pairs well with everything from grilled chicken to roasted veggies, allowing you to tailor it to your favorites. Healthy, clocking in at only 187 calories per serving means it fits nicely into a balanced diet. And if you’re looking for quick ideas, consider serving it alongside Slow Cooker Garlic Parmesan Chicken and Potatoes or Cheesy Cajun Garlic Chicken Rotini Skillet for crowd-pleasing meals.
Herby Garlic Seasoned Rice Ingredients
-
For the Rice
• Long Grain Rice – The base of the dish, rinsed to ensure fluffy grains. Avoid brown rice due to different cooking times. -
For the Flavor
• Low Calorie Spray – Use this to sauté garlic without adding extra fat, keeping it light and healthy.
• Minced Garlic – For a robust flavor; crushed garlic can be a substitute if needed.
• Chicken or Vegetable Stock – Provides moisture and enriches the rice; opt for vegetable stock to maintain a vegetarian dish. -
For the Freshness
• Coriander & Parsley – These fresh herbs fill the dish with a fragrant and bright flavor; feel free to substitute all with parsley if coriander isn’t your preference.
• Black Pepper – Enhances overall flavor; tailor it to your taste.
This Herby Garlic Seasoned Rice recipe combines these simple yet powerful ingredients to create a quick, gluten-free side that’s bursting with flavor!
Step‑by‑Step Instructions for Herby Garlic Seasoned Rice
Step 1: Prepare the Pan
Spray a deep saucepan with low-calorie spray and heat it over medium heat. Allow the pan to warm up for about 1-2 minutes. You want to ensure the oil is hot enough to sauté without letting it smoke. This will give your Herby Garlic Seasoned Rice a beautiful flavor base right from the start.
Step 2: Sauté Garlic
Add minced garlic to the pan, stirring constantly for about 1 minute, or until it becomes fragrant and lightly golden. Keep an eye on it to prevent burning, which can alter the flavor of the rice. The garlic will infuse the oil, creating a delicious aromatic foundation for your dish.
Step 3: Add Rice
Stir in the rinsed long grain rice, ensuring each grain is coated with the flavorful garlic oil. Cook for about 2-3 minutes, stirring frequently until the rice looks slightly translucent. This process toasts the rice and enhances the final taste of your Herby Garlic Seasoned Rice.
Step 4: Pour in Stock
Carefully pour in your choice of chicken or vegetable stock, and bring the mixture to a rapid boil. Add the chopped parsley, coriander, and a pinch of black pepper. After about 1-2 minutes, you’ll notice a lively bubbling—this indicates it’s time to move on to the next crucial step.
Step 5: Simmer the Rice
Once the mixture is boiling, reduce the heat to low and cover the saucepan with a tight-fitting lid. Allow the rice to simmer for 13 minutes, ensuring that none of the steam escapes. You’re looking for the liquid to be nearly absorbed when it’s done, yielding fluffy grains for your Herby Garlic Seasoned Rice.
Step 6: Let it Rest
Turn off the heat and keep the saucepan covered for an additional 10 minutes. This resting period lets the rice finish cooking in its residual steam, ensuring perfect tenderness. It’s important not to lift the lid during this time, as the steam is critical for achieving your desired texture.
Step 7: Fluff and Serve
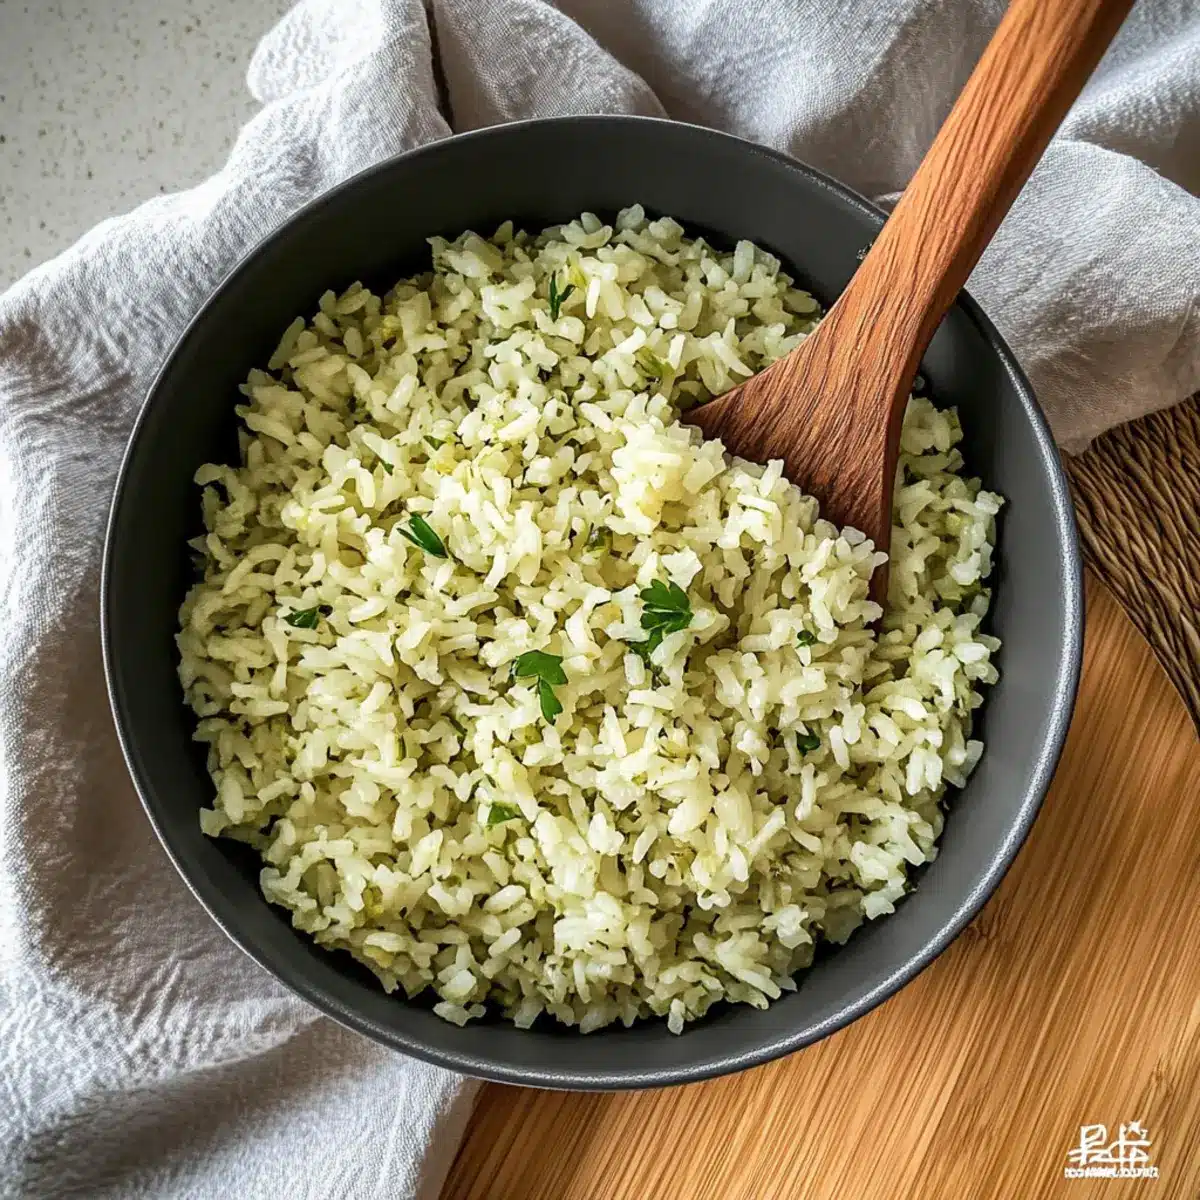
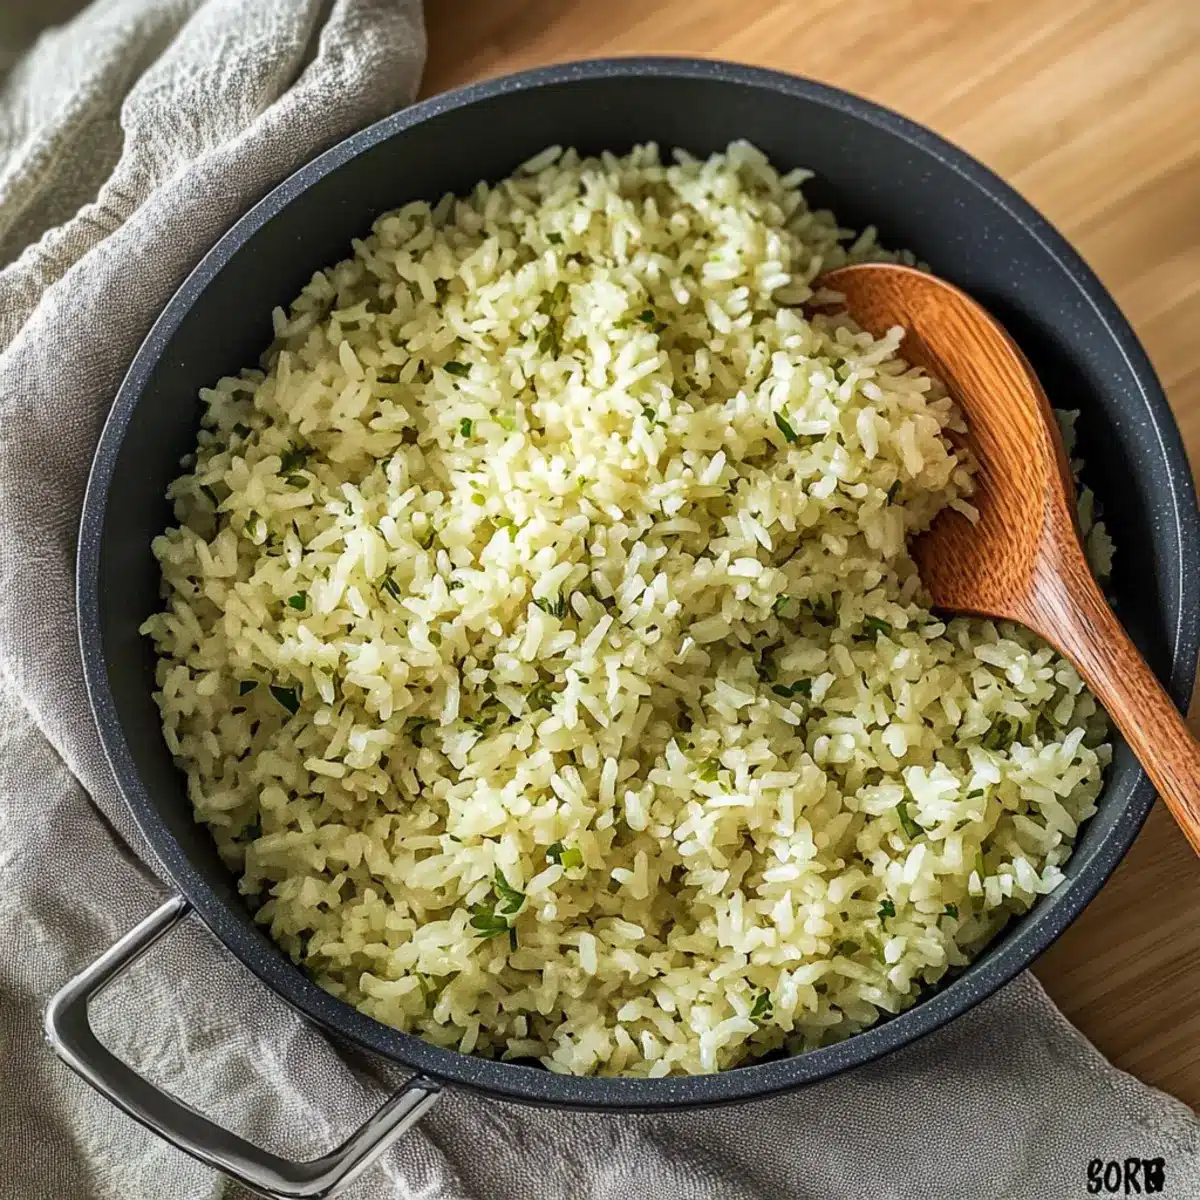
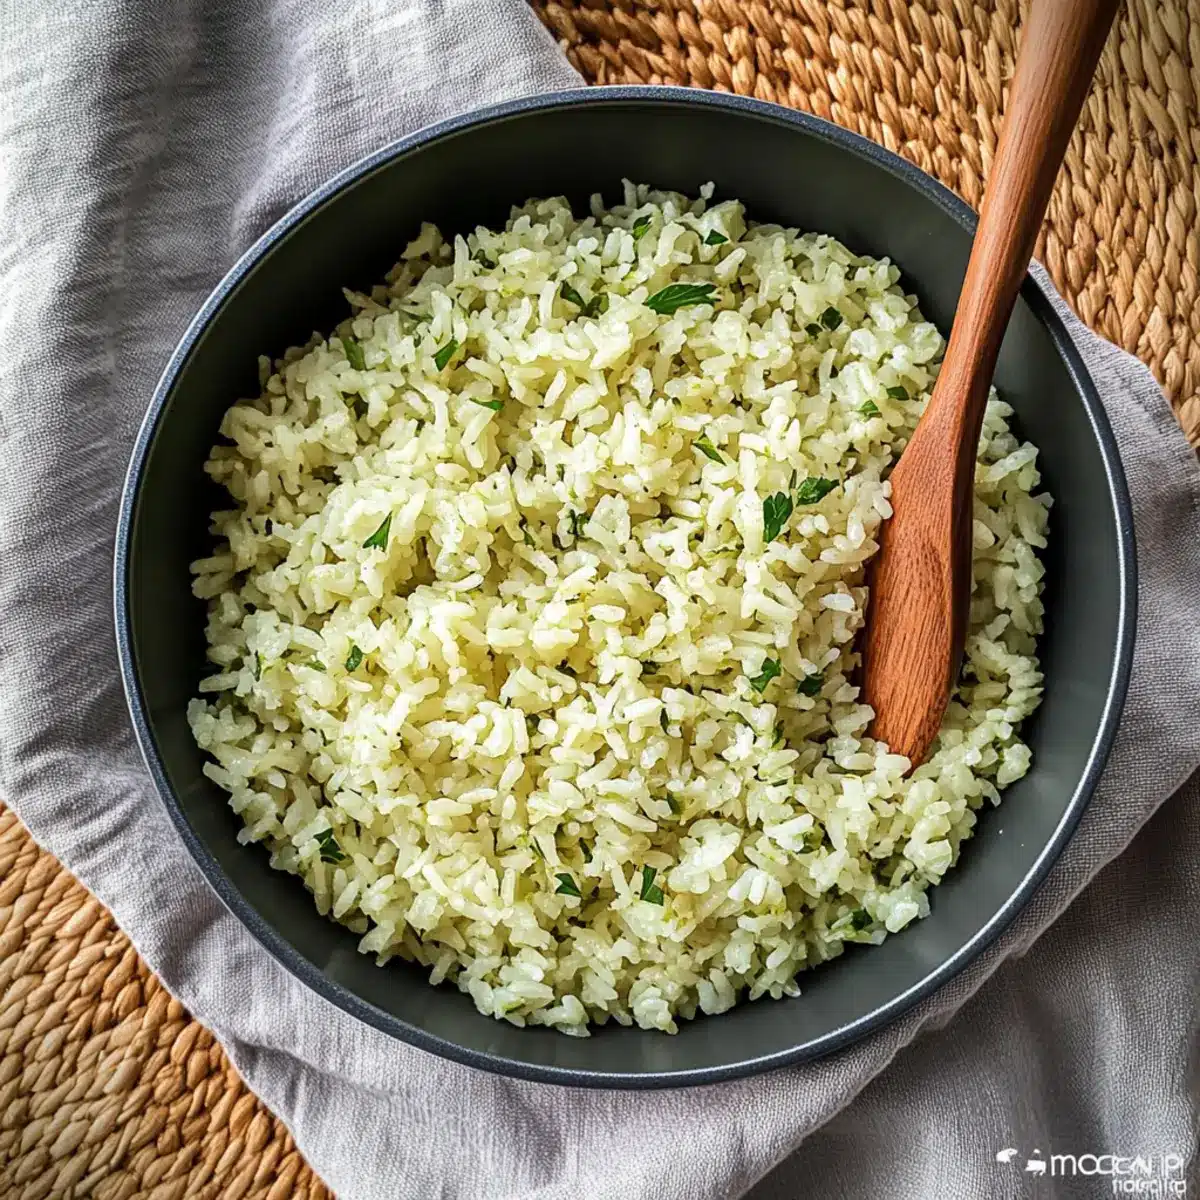
After 10 minutes, remove the lid and use a fork to gently fluff the rice. This separates the grains while incorporating the herbs and garlic evenly. Your Herby Garlic Seasoned Rice is now ready to be served, perfectly fluffy and bursting with flavor to complement any main dish!
Expert Tips for Herby Garlic Seasoned Rice
-
Perfect Rice Texture: Always use long grain rice for the best fluffiness; avoid brown rice as its cooking time and liquid needs differ significantly.
-
Garlic Infusion: Keep a close eye on the minced garlic while sautéing; burning it can result in a bitter taste that overshadows your Herby Garlic Seasoned Rice.
-
Experiment with Herbs: Feel free to switch up the herbs! Basil or thyme can bring a different flavor profile; just make sure they complement the garlic and stock.
-
Resting Time is Key: Don’t skip the 10-minute resting step after cooking. This allows the rice to absorb any remaining steam, ensuring each grain is tender and fluffy.
-
Storage Smarts: Store leftovers in an airtight container and refrigerate for up to 3-4 days. Reheat carefully with a splash of water to keep the texture intact.
Herby Garlic Seasoned Rice Variations
Feel free to get creative and make this Herby Garlic Seasoned Rice your own with these delightful variations!
-
Garlic Lovers: Increase the minced garlic for an extra punch, transforming the flavor profile into a garlic-forward delight.
-
Quinoa Substitute: Swap the long grain rice for quinoa to add a nutty flavor and boost nutrition. A great gluten-free alternative!
-
Mediterranean Twist: Add sun-dried tomatoes and kalamata olives for a Mediterranean flair, bringing in a layer of tangy goodness to every bite.
-
Spicy Kick: Stir in a pinch of red pepper flakes or diced jalapeños to elevate the heat levels; it complements the garlic beautifully.
-
Coconut Infusion: Replace vegetable stock with coconut milk for a creamy, tropical touch that adds sweetness and richness to the rice.
-
Herb Explosion: Try different herbs; fresh basil or dill can offer a refreshing contrast. Consider mixing multiple herbs for a more complex flavor.
-
Zesty Lemon: Squeeze fresh lemon juice over the finished rice for a bright zing that lifts flavors and enhances the overall dish.
-
Cajun Flair: Incorporate a teaspoon of Cajun seasoning for warmth and depth, pairing wonderfully with proteins like Cheesy Cajun Garlic Chicken Rotini Skillet for a hearty meal.
What to Serve with Herby Garlic Seasoned Rice
Imagine crafting a delightful meal that resonates with warmth and comfort, where each side elevates your dinner experience.
-
Grilled Chicken: The smoky flavor and juicy texture of grilled chicken beautifully complement the lightweight, fluffy rice, creating a balanced plate.
-
Roasted Vegetables: Bright and colorful veggies add a crunchy freshness, while their caramelized sweetness pairs perfectly with the herbaceous notes of the rice. Think of a rainbow of zucchini, bell peppers, and carrots for a vibrant dish.
-
Pan-Seared Salmon: The buttery, flaky salmon drizzled with lemon brings out the aromatic herbs in the rice. Together, they create a dish that’s not only healthy but also utterly luxurious.
-
Chickpea Salad: A zesty, protein-packed salad adds a refreshing crunch that contrasts nicely with the soft texture of the rice. Toss in cucumbers, tomatoes, and a splash of lemon for an invigorating bite.
-
Lentil Soup: Serve your Herby Garlic Seasoned Rice alongside a hearty bowl of lentil soup, where the deep, earthy flavors will harmonize beautifully with the rice’s lightness.
-
Herbed Garlic Bread: For garlic enthusiasts, spread your love of flavor with buttery, herbed garlic bread. The crunchy texture serves as an enticing contrast to the fluffy rice and rounds out the meal beautifully.
-
Chardonnay or Sparkling Water: A chilled glass of Chardonnay or refreshing sparkling water with a hint of lime can enhance the overall dining experience, offering a delightful way to cleanse the palate.
Pairing your Herby Garlic Seasoned Rice with these delectable options ensures each meal is memorable and full of flavor!
Make Ahead Options
These Herby Garlic Seasoned Rice preparations are perfect for busy weeknights and can save you precious time! You can prepare the rinsed and toasted rice up to 24 hours in advance. Simply store it in an airtight container in the refrigerator after it’s cooled. Additionally, you can chop the fresh herbs and minced garlic ahead of time; store them together in a small container to maintain their freshness. When you’re ready to serve, just follow the final steps: combine the rice with stock, bring it to a boil, and let it simmer as directed. This way, you’ll enjoy a delicious homemade side dish with just a few simple steps and minimal effort!
Storage Tips for Herby Garlic Seasoned Rice
-
Fridge: Store leftover Herby Garlic Seasoned Rice in an airtight container for up to 3-4 days. This helps maintain its freshness and flavor.
-
Freezer: You can freeze the rice in a freezer-safe container for up to 3 months. For best results, allow it to cool completely before sealing to prevent freezer burn.
-
Reheating: When ready to enjoy, reheat in the microwave with a splash of water to maintain moisture. Heat in short bursts, stirring in between, until heated thoroughly.
-
Room Temperature: It’s best not to leave cooked rice out at room temperature for more than 2 hours to avoid potential food safety issues.
Herby Garlic Seasoned Rice Recipe FAQs
How do I choose the right rice for this recipe?
Absolutely! It’s important to use long grain rice for the best texture in your Herby Garlic Seasoned Rice. Rinse the rice thoroughly to remove excess starch, which helps achieve fluffy grains. Avoid using brown rice, as it requires different cooking times and more liquid, which can lead to an unsatisfactory texture.
What’s the best way to store leftover Herby Garlic Seasoned Rice?
To keep your leftover Herby Garlic Seasoned Rice fresh, transfer it to an airtight container and refrigerate it for up to 3-4 days. Make sure it’s cooled down before storing. When you’re ready to eat, simply reheat it in short bursts in the microwave with a splash of water to help retain moisture.
Can I freeze Herby Garlic Seasoned Rice? How?
Yes, you can! To freeze your Herby Garlic Seasoned Rice, let it cool completely before transferring it to a freezer-safe container. It will keep well for up to 3 months. When you’re ready to enjoy it again, allow it to thaw in the fridge overnight, then reheat as mentioned above for the best texture.
What if my rice doesn’t turn out fluffy?
If your rice isn’t fluffy, don’t worry—there are a few adjustments you can make next time! Ensure you’re using long grain rice and rinsing it thoroughly before cooking. Pay attention while simmering; if you lift the lid too often, steam escapes, preventing proper cooking. Lastly, allow it to rest covered for 10 minutes after cooking, as this is key to achieving that fluffy texture!
Are there any dietary considerations for this recipe?
Very! This Herby Garlic Seasoned Rice is naturally gluten-free and vegetarian. However, if you have allergies to specific ingredients, be mindful of your stock choice—some chicken stocks may contain gluten or additives. Always read labels carefully, and feel free to customize your herbs to fit your dietary preferences.
Herby Garlic Seasoned Rice for a Fluffy, Flavorful Side
Ingredients
Equipment
Method
- Spray a deep saucepan with low-calorie spray and heat it over medium heat for about 1-2 minutes.
- Add minced garlic to the pan, stirring constantly for about 1 minute, or until fragrant and lightly golden.
- Stir in the rinsed long grain rice, ensuring each grain is coated with the flavorful garlic oil, and cook for 2-3 minutes.
- Pour in your choice of stock, bring to rapid boil, and add the chopped parsley, coriander, and a pinch of black pepper.
- Once boiling, reduce the heat to low, cover with a tight-fitting lid, and simmer for 13 minutes.
- Turn off the heat and keep covered for an additional 10 minutes.
- After 10 minutes, fluff the rice with a fork and serve.
Leave a Reply