
As I dug through my pantry for a sweet fix, I stumbled upon a jar of runny peanut butter, and a wave of nostalgia hit me. Remember the joy of biting into a Snickers bar? Well, I’ve taken that classic flavor and given it a healthy twist with my Healthier No Bake Snickers Bites! These delightful treats capture the beloved combination of creamy peanut butter, crunchy peanuts, and rich chocolate, all while being gluten-free, vegan-friendly, and totally guilt-free. Plus, they’re quick to whip up, making them the perfect go-to snack for those busy days when cravings strike. Are you ready to indulge without the regret? Let’s dive into this easy recipe!

Why Will You Love These Bites?
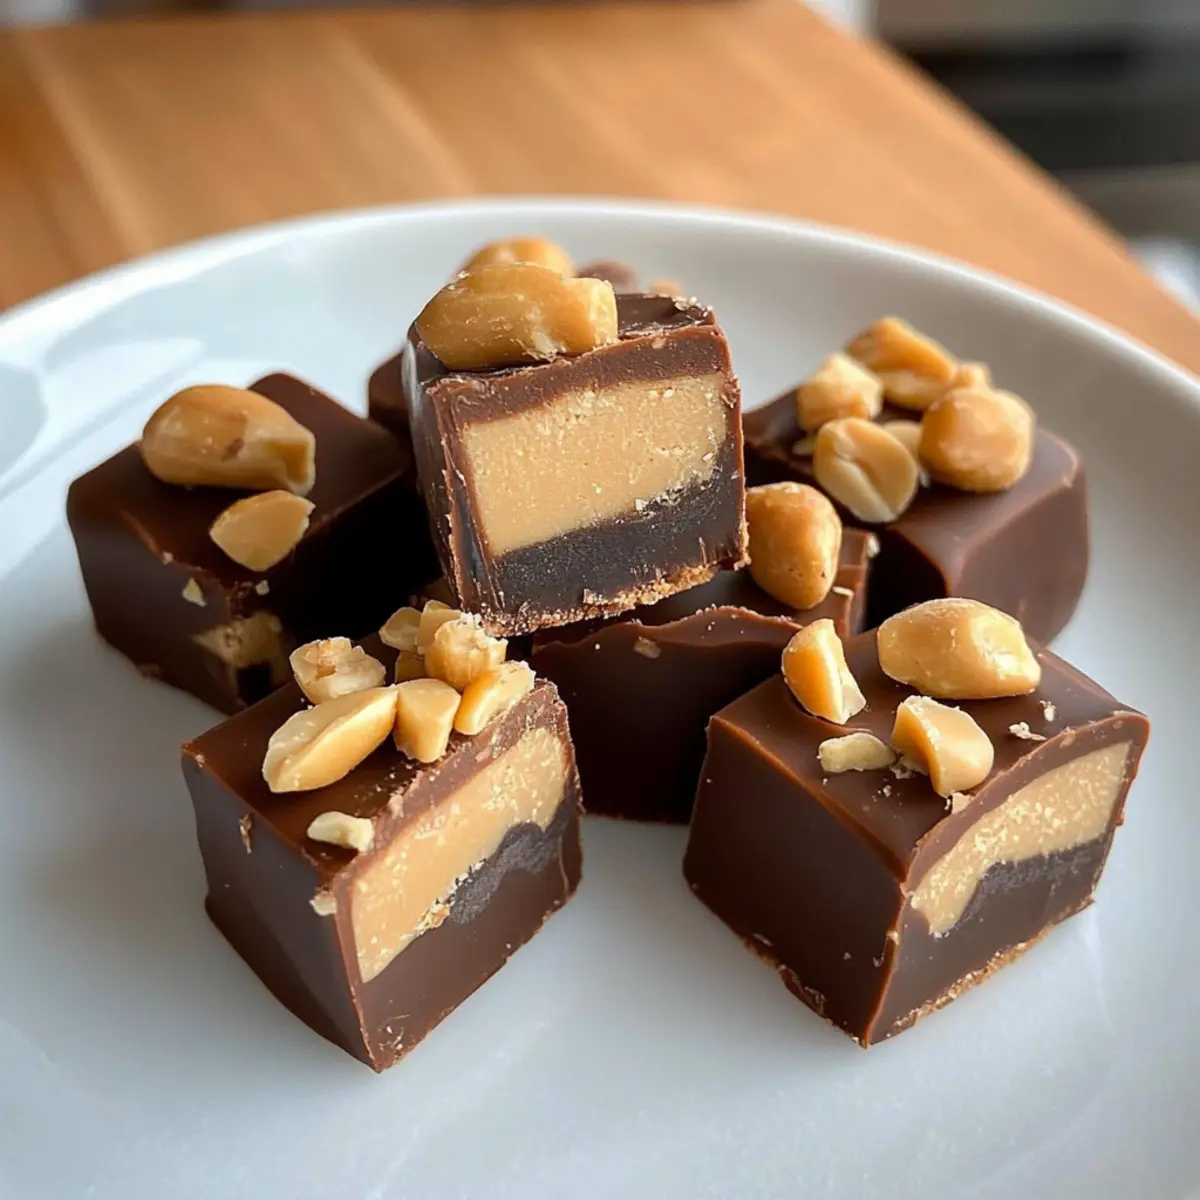
Irresistible Flavor: The sumptuous combination of creamy peanut butter, crunchy peanuts, and rich chocolate creates a taste sensation that rivals your favorite candy bars!
Guilt-Free Indulgence: Enjoy a sweet treat that’s gluten-free and vegan-friendly, allowing you to satisfy your cravings without compromising your dietary goals.
Quick and Easy: With no baking required, you can whip these up in just minutes, making them a simple solution for busy days. Pair them with some Lemon Raspberry Bake for a delightful dessert spread!
Customizable: Feel free to experiment with different nut butters or mix-ins, allowing you to create a unique version that suits your taste preferences.
Perfect for Sharing: These bites are ideal for gatherings, whether as a healthy snack or dessert. They’re sure to impress friends and family alike!
Healthier No Bake Snickers Bites Ingredients
For the Base
- Oat Flour – Provides a fudgy base for the bites; you can substitute with almond flour but adjust other wet ingredients accordingly.
- Runny Peanut Butter – Creates a creamy filling to bind everything together; for a nut-free option, try almond butter.
- Maple Syrup – Adds natural sweetness to the mixture; honey or agave syrup works well as substitutes.
- Almond Milk – Contributes moisture; feel free to use any dairy-free milk like coconut or cashew milk.
- Vanilla Extract – Enhances the flavor; it’s okay to skip if you’re out, but not recommended for best taste.
For the Filling
- Coconut Oil – Adds creaminess to the filling and the chocolate coating; you can swap this for vegan butter if preferred.
- Peanuts – Provide essential crunch and nutty flavor; for a twist, consider using mixed nuts instead.
For the Chocolate Coating
- Chocolate Chips – Gives that irresistible chocolate flavor; opt for dark chocolate for a healthier choice.
Step‑by‑Step Instructions for Healthier No Bake Snickers Bites
Step 1: Prepare the Base Mixture
In a mixing bowl, combine oat flour, runny peanut butter, maple syrup, almond milk, and vanilla extract. Stir vigorously until the mixture reaches a dough-like consistency, about 2-3 minutes. You want it to be thick yet spreadable. Once mixed, it’s time to create the bites: prepare your silicone ice cube molds for the next step.
Step 2: Form the Base in Molds
Scoop the base mixture into your silicone molds, pressing it down firmly to ensure each section is compact and even. Use a spatula or your fingers to smooth the tops. After you’ve filled the molds completely, place them in the freezer for about 15-20 minutes, allowing the base to set while you prepare the filling.
Step 3: Make the Filling
In another mixing bowl, blend runny peanut butter, coconut oil, and maple syrup until smooth and creamy—this should take around 2-3 minutes. Once combined, gently fold in the peanuts until evenly distributed. This creamy filling will be the star of your Healthier No Bake Snickers Bites, so make sure it’s well mixed and ready to go!
Step 4: Assemble the Bites
After the base has set in the freezer, remove the molds and carefully pour the peanut butter filling over the frozen base, ensuring that it completely covers it. Use the back of a spoon to smooth the filling if necessary. Return the filled molds to the freezer for at least 30 minutes, or until the filling is solidified and holds its shape well.
Step 5: Melt the Chocolate Coating
While the filling is freezing, melt the chocolate chips and coconut oil together in a microwave-safe bowl. Heat in 30-second intervals, stirring in between until completely smooth, which usually takes about 1-2 minutes total. This delicious, rich chocolate will be the finishing touch for your Healthier No Bake Snickers Bites.
Step 6: Coat the Bites
Once the filling has set, remove the molds from the freezer. Carefully pour the melted chocolate over each bite, making sure they are fully coated. You can also dip each bite individually if you prefer. Use a spatula to smooth any excess chocolate and ensure even coverage, then return the molds to the freezer for a few hours to harden the chocolate fully.
Step 7: Remove and Store
After the chocolate has set and hardened completely, gently pop the bites out of the molds. If they stick, let them sit at room temperature for a few minutes to loosen. Store your Healthier No Bake Snickers Bites in an airtight container in the freezer. Enjoy them straight from the freezer or let them thaw slightly for delicious, chewy bites!

How to Store and Freeze Healthier No Bake Snickers Bites
Fridge: Keep the bites in an airtight container for up to 1 week. They remain delicious but will be softer than when frozen.
Freezer: Store in an airtight container or freezer bag for optimal freshness for up to 3 months. Perfect to reach for whenever a sweet craving hits!
Thawing: Enjoy straight from the freezer for a chewy texture or let them sit at room temperature for about 5-10 minutes before indulging in your Healthier No Bake Snickers Bites.
Reheating: There’s no need to reheat; simply enjoy them cold or at room temperature for the best experience!
Make Ahead Options
These Healthier No Bake Snickers Bites are perfect for meal prep, saving you time on busier days! You can prepare the base mixture up to 24 hours in advance; just store it in the refrigerator to keep it fresh. The filling can be made at the same time and refrigerated as well, but it’s best to assemble the bites right before serving for optimal taste and texture. When you’re ready to indulge, simply proceed with the melting of the chocolate coating and assemble as instructed. This way, you’ll enjoy these delightful treats just as deliciously fresh as if you made them that day!
Expert Tips for Healthier No Bake Snickers Bites
Silicone Mold Magic: Ensure your molds are flexible and non-stick to make removal easy and prevent breakage of your delicious bites.
Thorough Mixing: Blend the base ingredients well to avoid dry spots; small lumps can affect the texture of your Healthier No Bake Snickers Bites.
Freezing Time Matters: Be patient with freeze times; letting each layer set completely helps achieve the perfect bite consistency.
Gentle Handling: When popping the bites out, use gentle pressure to maintain their shape. If they stick, allow them to sit at room temperature briefly.
Chocolate Coating Tip: For a shiny finish, make sure your chocolate coating is smooth; melt in intervals to avoid burning and ensure even consistency.
Storage Strategy: Store in an airtight container in the freezer to maintain freshness; these bites can last a week refrigerated but are best frozen.
Variations & Substitutions for Healthier No Bake Snickers Bites
Feel free to get creative and make these delicious bites your own, exploring flavors and textures that dance on your palate!
-
Nut-Free: Replace peanut butter with sunbutter for a nut-free alternative while keeping the creamy taste intact.
-
Sweetener Swap: Use agave syrup instead of maple syrup for a milder sweet flavor that pairs perfectly with the chocolate.
-
Chocolate Choices: Switch chocolate chips with dark chocolate, white chocolate, or even butterscotch chips for a unique, sweeter twist.
-
Add Some Spice: Sprinkle in a dash of cinnamon or sea salt to elevate the flavor profile and create an unexpected burst of taste.
-
Easy Protein Boost: Add a scoop of protein powder into the base mixture for a nutritious bump, perfect for fueling your day!
-
Texture Adventure: Swap out the peanuts for crispy rice cereal to create a fun, crunchy texture that adds a delightful surprise.
-
Fruit Fusion: Mix in some dried cranberries or raisins for a sweet, fruity contrast that brightens the flavor profile.
-
Filling Variations: For a more decadent treat, add shredded coconut or chopped dates into the filling for an extra layer of sweetness.
As you explore these variations, imagine the joy of serving these bites alongside a delightful spread of Parmesan Bread Bites for a unique party platter!
What to Serve with Healthier No Bake Snickers Bites
Ready to elevate your snacking adventures? Pair these delightful bites with complementary dishes for a truly satisfying experience.
-
Creamy Coconut Yogurt: A refreshing contrast, this yogurt adds a smooth texture that balances the richness of the bites while enhancing their tropical flair.
-
Fresh Fruit Salad: Bursting with juicy flavors, a medley of berries, melon, and kiwi brings a light, hydrating component to balance your indulgence.
-
Nutty Granola: The crunchy texture pairs beautifully with the soft bites, making for a hearty snack during any time of the day. With hints of cinnamon and honey, this granola will elevate your snack game!
-
Herbal Tea: A warm cup of chamomile or peppermint tea offers a calming finish to your treat, enhancing the delightful experience without overwhelming the flavors.
-
Vegan Chocolate Chip Cookies: For the ultimate sweet tooth, serve these alongside for an unforgettable dessert spread that captures the best of both worlds.
-
Iced Almond Milk Latte: A creamy, nutty brew provides a perfect pick-me-up, matching the bites’ flavors while delivering a boost of energy to power through your day.
-
Frozen Banana Bites: These will echo the creamy texture of the Snickers bites while adding a fruity twist, making them a fun companion to your guilt-free treat.
-
Chocolate-Covered Strawberries: Their sweetness and luscious appearance create a delightful duo on your snack plate, enticing guests to indulge in both.
-
Cinnamon-Spiced Apples: Sauteed apples sprinkled with cinnamon add warmth and a touch of fall, perfectly complementing the rich peanut butter flavors.
Healthier No Bake Snickers Bites Recipe FAQs
How do I choose the right oat flour for this recipe?
Absolutely! For the best results, look for finely ground oat flour that gives a smooth texture to your bites. If you have whole oats, you can blend them into flour using a high-speed blender for a fresh option. Just ensure there are no large pieces, as they can affect the texture.
How should I store my Healthier No Bake Snickers Bites?
These bites can be stored in the fridge in an airtight container for up to 1 week, but they’ll maintain their best texture when frozen. Store them in a freezer-safe container or bag for up to 3 months. It’s a great way to have a tasty treat ready when cravings strike!
Can I freeze Healthier No Bake Snickers Bites?
Certainly! To freeze, place the bites in a single layer in a freezer-safe container. You can also use parchment paper to separate layers if stacking. Freeze for up to 3 months. When you’re ready to enjoy, take them out and allow them to thaw for about 5-10 minutes, or enjoy them frozen for a chewy texture.
What should I do if the chocolate coating won’t spread nicely?
Very! If your chocolate mixture thickens or doesn’t spread well, try adding a little more coconut oil to the melted chocolate. This will help it become smoother and easier to work with. Heat it gently in the microwave if it starts to harden again.
Are there any allergy considerations for my Healthier No Bake Snickers Bites?
Yes! If you’re serving these bites to guests or loved ones with allergies, be sure to label them. The bites contain peanuts and could be a concern for those with nut allergies. You can always substitute the peanut butter with seed butter, like sunflower seed butter, for a nut-free alternative.

Healthier No Bake Snickers Bites You Can’t Resist
Ingredients
Equipment
Method
- In a mixing bowl, combine oat flour, runny peanut butter, maple syrup, almond milk, and vanilla extract. Stir vigorously until the mixture reaches a dough-like consistency, about 2-3 minutes.
- Scoop the base mixture into your silicone molds, pressing it down firmly to ensure each section is compact and even.
- In another mixing bowl, blend runny peanut butter, coconut oil, and maple syrup until smooth and creamy.
- Gently fold in the peanuts until evenly distributed.
- After the base has set in the freezer, remove the molds and pour the peanut butter filling over the frozen base.
- Return the filled molds to the freezer for at least 30 minutes.
- Melt the chocolate chips and coconut oil together in a microwave-safe bowl.
- Carefully pour the melted chocolate over each bite to coat.
- Once the chocolate has set, gently pop the bites out of the molds.
- Store your Healthier No Bake Snickers Bites in an airtight container in the freezer.
Leave a Reply