
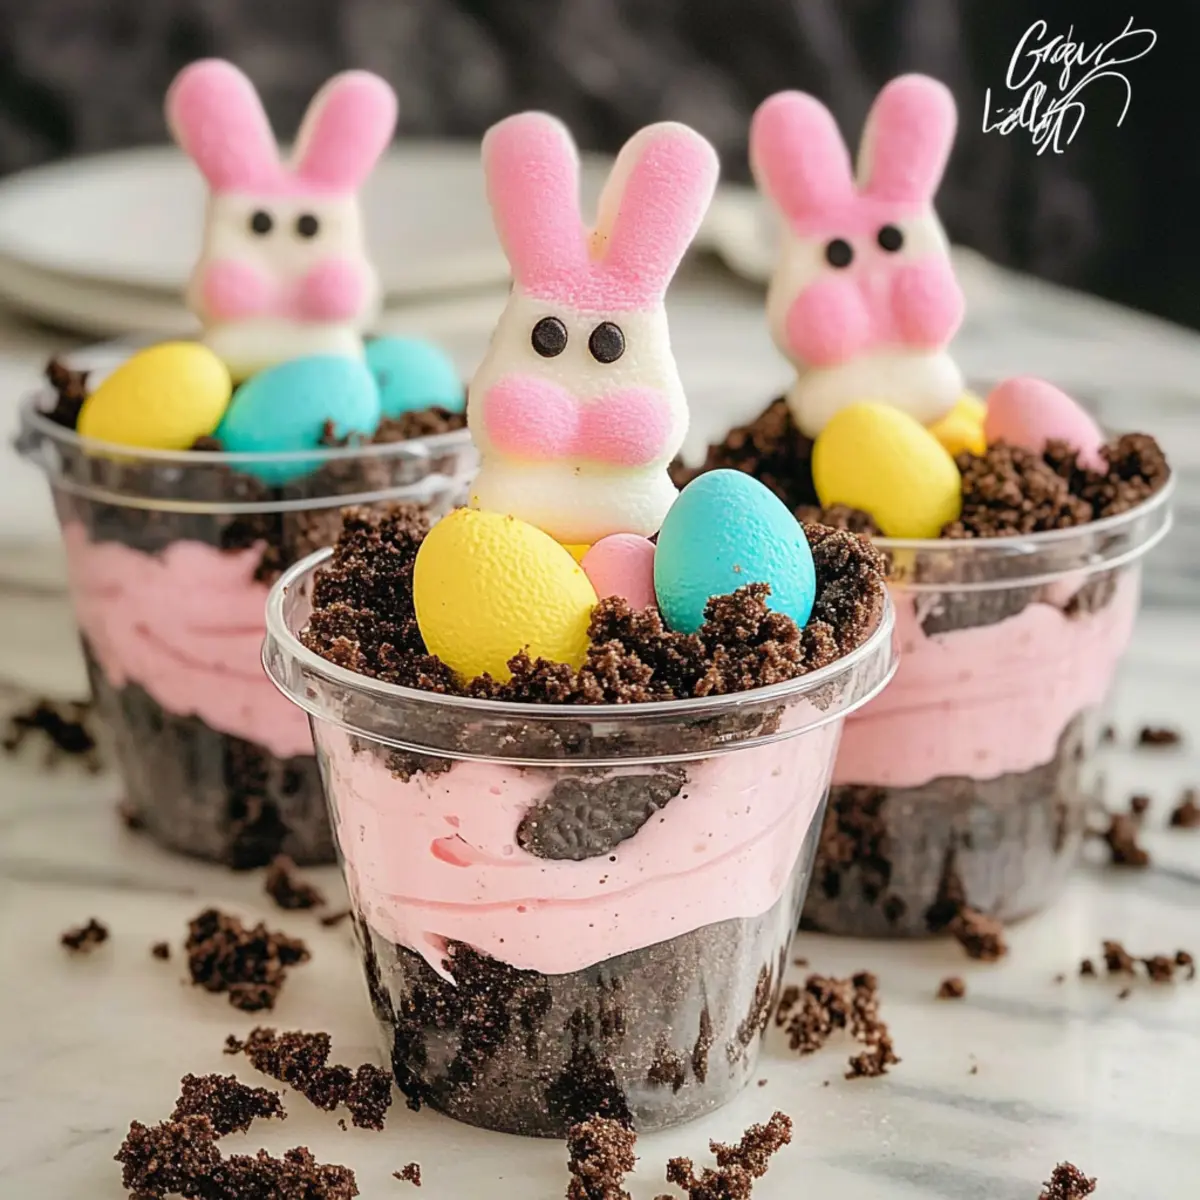
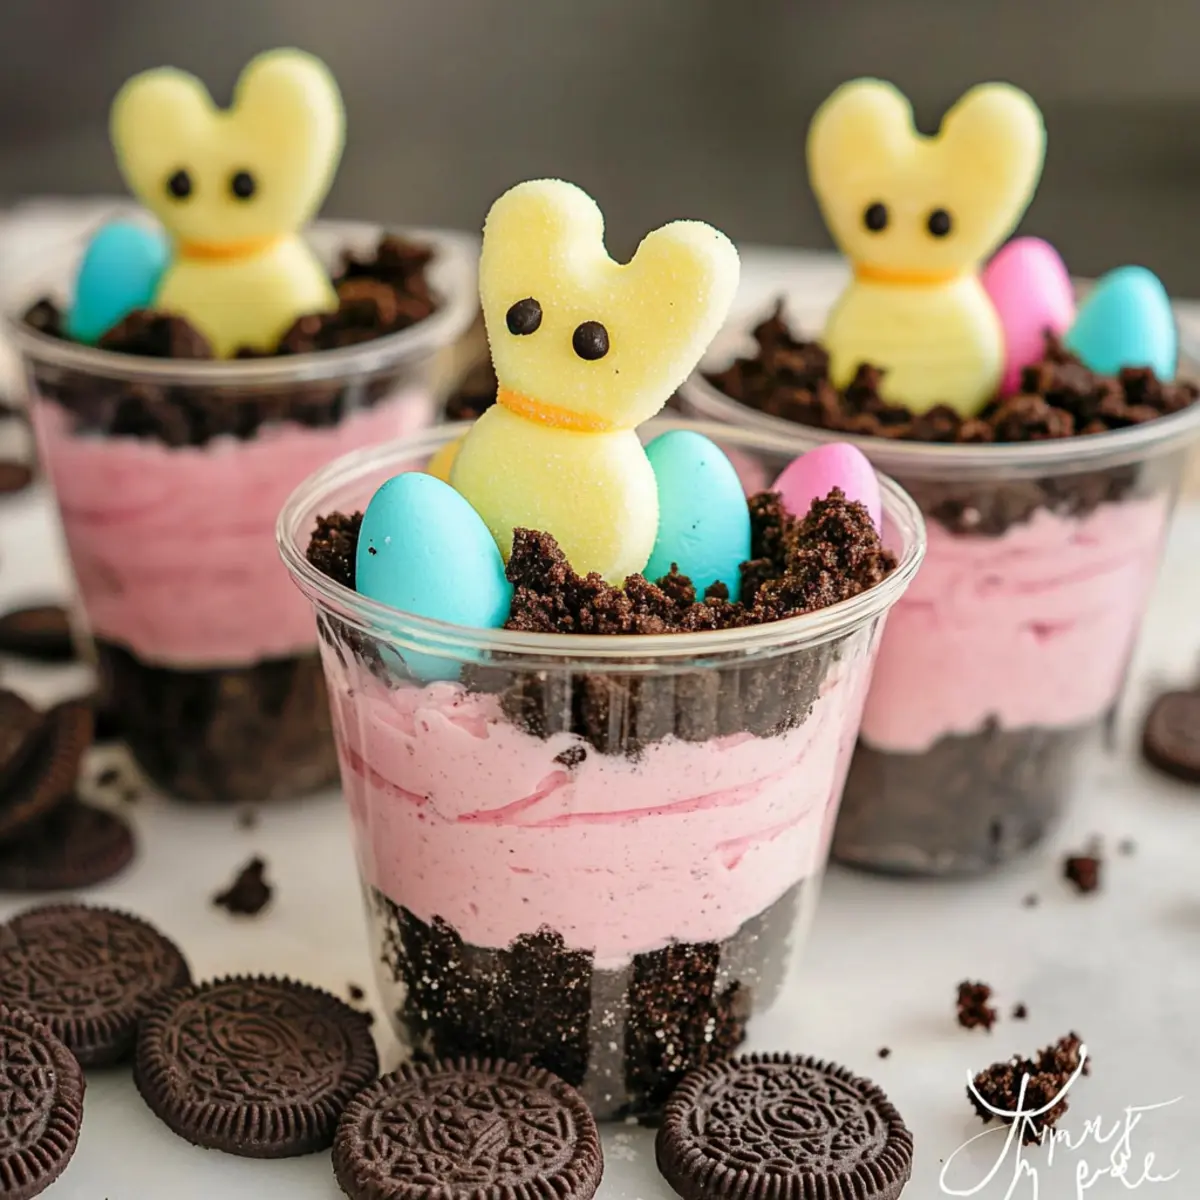
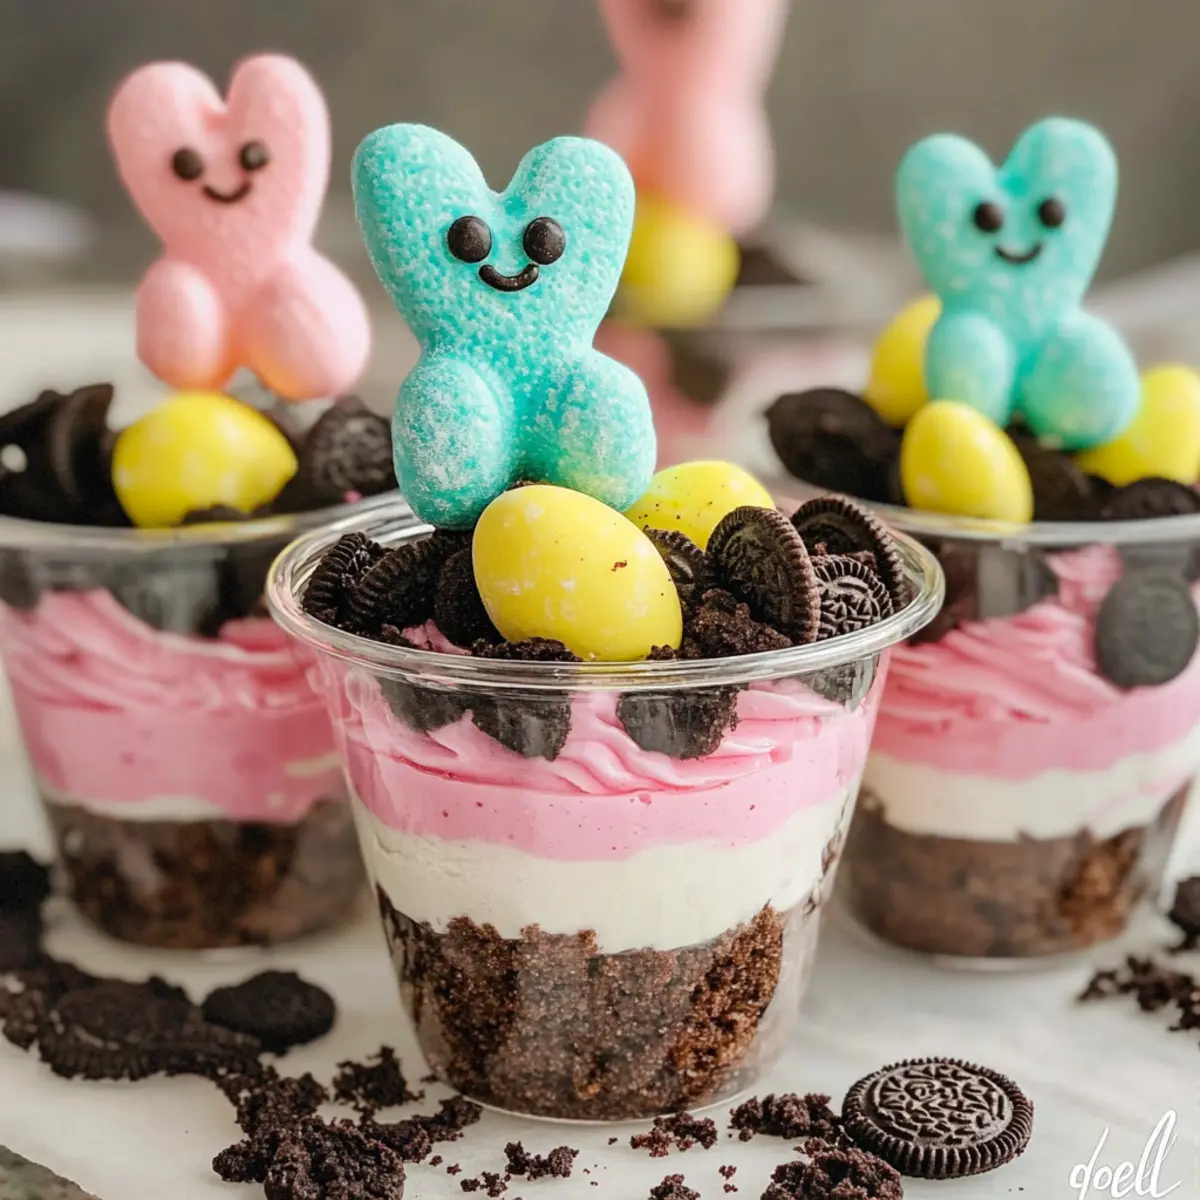
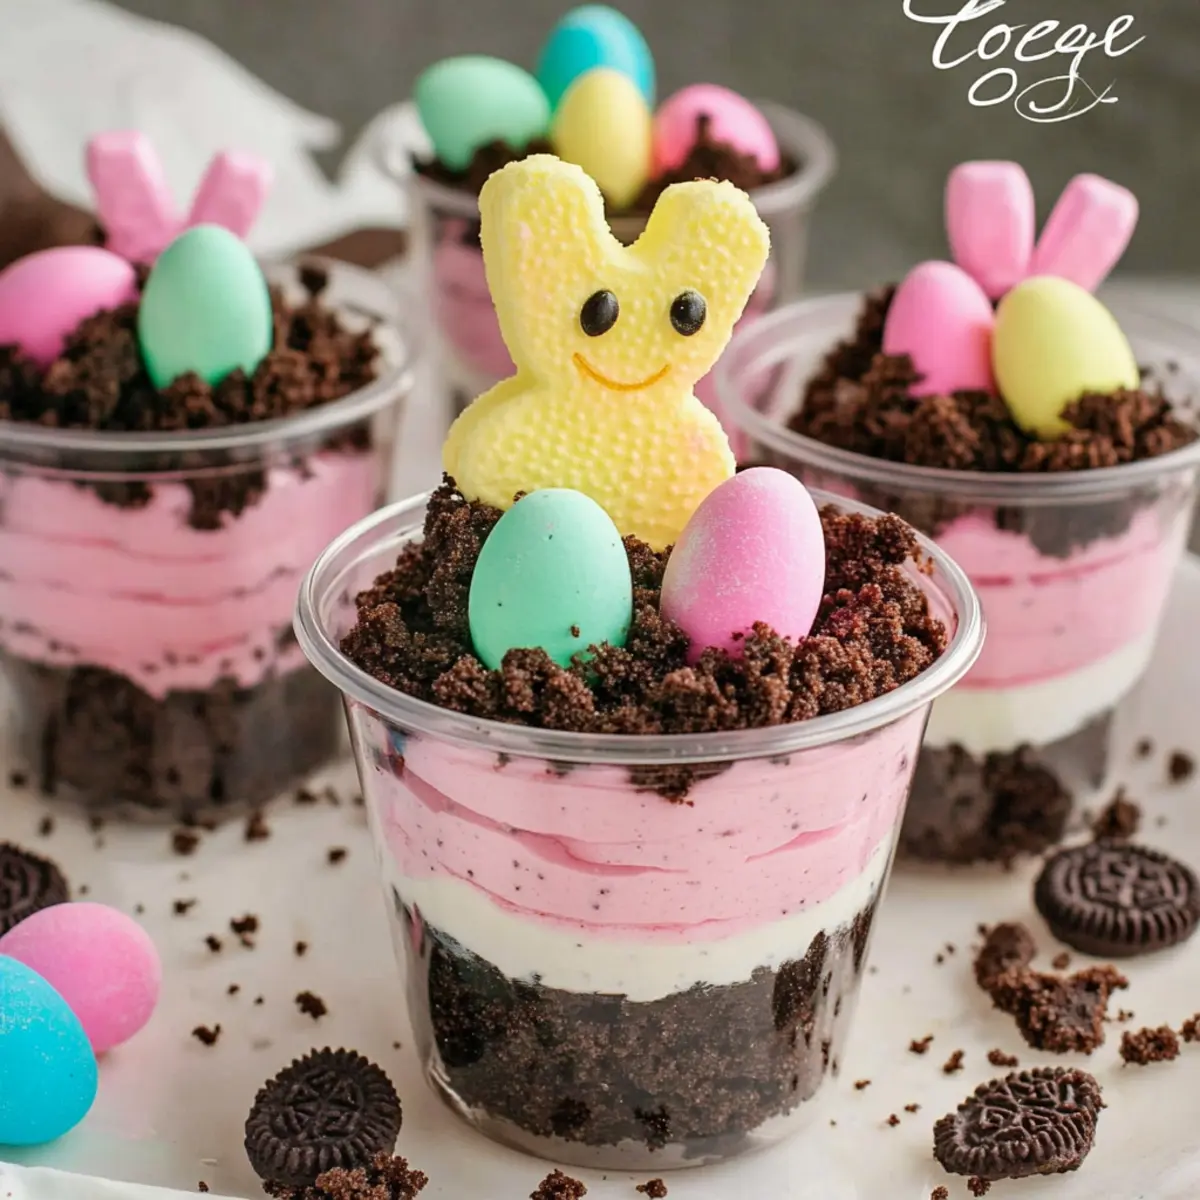
A delightful chaos of colors and textures awaits you in the whimsical world of Easter Dirt Cups! These no-bake treats, featuring creamy vanilla pudding layered with crunchy Oreo crumbs, are the perfect solution for anyone craving a festive dessert that’s both visually stunning and incredibly easy to make. Not only do these cups bring a smile to faces young and old, but they also allow you to customize flavors by switching up the pudding—truly a win-win! With the bright colors of marshmallow Peeps and playful mini chocolate eggs, they add a cheerful touch to any gathering. So, whether you’re hosting an Easter brunch or searching for that perfect fun treat for a kids’ party, you’re just a few simple steps away from creating a crowd-pleaser. Ready to dive into this fun and festive recipe? Let’s get started!
Why Make Easter Dirt Cups?
Easy to Create: These no-bake Easter Dirt Cups require minimal effort, making them perfect for anyone from busy parents to budding chefs.
Customizable Flavors: Enjoy the freedom to switch up the pudding flavor; try chocolate or banana for new twists!
Kid-Friendly Fun: With colorful layers and playful toppings, these cups are sure to excite children and adults alike.
Visually Stunning: The vibrant colors of marshmallow Peeps and mini chocolate eggs make these cups a centerpiece at any holiday table.
Quick Prep Time: Ready to serve in under an hour, they are the ultimate last-minute dessert option! If you’re interested in more easy recipes, check out my delightful Shrimp Dirty Rice for another crowd-pleaser.
Easter Dirt Cups Ingredients
• Whip up these delightful Easter Dirt Cups with just a few key ingredients!
For the Pudding Layer
- Vanilla Pudding – This creamy base brings a luscious texture; feel free to substitute with chocolate, banana, or any favorite pudding flavor.
- Whole Milk – Essential for making the pudding creamy; you can use skim or non-dairy milk as alternatives.
- Cool Whip – Adds a light, airy quality to the dessert; homemade whipped cream works well if you prefer a fresh touch.
For the Crunch Layer
- Oreos – Provides a delectable crunch that balances the smooth pudding; opt for gluten-free Oreos if needed for a different dietary choice.
For the Topping
- Mini Egg Chocolate Candies – These tasty treats add a fun chocolatey flair on top; swap them out with any seasonal candy to match the holiday spirit.
- Peeps (Marshmallow Treats) – Perfect for festive decoration; consider candy-covered strawberries for a unique twist on presentation.
These ingredients combine to create mouthwatering Easter Dirt Cups that are sure to bring joy to your holiday festivities!
Step-by-Step Instructions for Easter Dirt Cups
Step 1: Prepare the Cups
Begin by gathering twelve 8-ounce clear cups to showcase your colorful Easter Dirt Cups. Spoon 1 ½ tablespoons of crushed Oreos into the bottom of each cup, creating a delightful crunchy layer. This initial step sets the stage for your layers, so ensure each cup has an even foundation before moving on.
Step 2: Make the Pudding
In a large mixing bowl, whisk together the vanilla pudding mix and 2 cups of cold whole milk using a hand mixer for about 2 minutes. Watch as the mixture thickens into a creamy texture, ensuring that it is smooth and well combined. This luscious pudding layer is the heart of your Easter Dirt Cups, so mix until well blended and there are no lumps.
Step 3: Fold in the Cool Whip
Gently add the thawed Cool Whip to the pudding mixture using a spatula, folding it in until you achieve a smooth and airy consistency. This step adds a lightness to your pudding, transforming it into a fluffy delight. Be careful not to overmix, as you want to retain that creamy texture while merging the two components harmoniously.
Step 4: Layer the Pudding Mixture
Using a spoon, layer two heaping spoonfuls of the pudding mixture on top of the Oreo crumbs in each cup. Then, sprinkle 1 ½ tablespoons of additional crushed Oreos over the pudding layer. Repeat this process until you’ve created three layers in total, ensuring a visually appealing and delicious contrast of flavors with each bite of your Easter Dirt Cups.
Step 5: Top with Crumbs
Finish the layering by adding a final smaller layer of Oreo crumbs on top, approximately 1 tablespoon per cup. This creates a beautiful “dirt” effect on your Easter Dirt Cups and enhances the overall crunchiness. This step not only adds texture but also makes the dessert look enticing and ready for a festive finish.
Step 6: Chill Before Serving
Cover the cups with plastic wrap and refrigerate them for at least 1 hour. Allowing your Easter Dirt Cups to chill ensures that the flavors meld beautifully and the pudding sets to a delightful creamy consistency. This patience pays off, as it will enhance the overall enjoyment when served.
Step 7: Add the Final Touches
Just before serving, carefully decorate the tops of your chilled cups with three or more mini chocolate eggs and place a delightful Peeps marshmallow treat on each one. These toppings bring a splash of color and fun to your Easter Dirt Cups, making them a festive and eye-catching dessert that guests will love.
Expert Tips for Easter Dirt Cups
-
Whip It Well: Ensure to whip the pudding mixture thoroughly for a fluffy texture. This will prevent a heavy final product and keep it light and enjoyable.
-
Layering Matters: When layering, be generous but careful. Adding too much pudding or crumbs can make the cups overflow, ruining the visual appeal of your Easter Dirt Cups.
-
Chill Time: Don’t rush the refrigeration stage—let them chill for at least 1 hour. This is key for the pudding to set properly and enhance the flavors.
-
Avoid Soggy Toppings: If preparing ahead of time, hold off on adding the candy decorations until just before serving. This keeps your toppings fresh and maintains their crunchy texture.
-
Experiment with Flavors: Feel free to swap out vanilla pudding for chocolate or banana to suit your family’s tastes—it’s a kid-friendly way to customize your Easter Dirt Cups!
Make Ahead Options
These Easy No-Bake Easter Dirt Cups are perfect for busy cooks looking to save time during holiday preparations! You can prepare the pudding layer and assemble the cups up to 24 hours in advance, then refrigerate them until you’re ready to serve. Simply follow the initial steps, layering the crushed Oreos and pudding mixture, and cover the cups with plastic wrap to maintain freshness. To ensure the toppings remain vibrant and crunchy, add the mini chocolate eggs and Peeps just before serving. This make-ahead strategy allows you to enjoy a delightful dessert with minimal effort on the day of your gathering, ensuring your Easter celebration is as stress-free as possible!
Storage Tips for Easter Dirt Cups
Fridge: Store your Easter Dirt Cups in the refrigerator, covered with plastic wrap, for up to 3 days. They are best enjoyed fresh, but will retain flavor while chilled.
Freezer: If you want to make them ahead of time, freeze individual cups for up to 1 month. To serve, thaw them in the fridge overnight before decorating.
Reheating: These cups are meant to be served cold, so skip reheating to maintain their delightful creamy and crunchy textures.
Presentation: To keep toppings like Peeps intact, add them just before serving. This ensures they remain fresh and visually appealing for your guests.
Easter Dirt Cups Variations & Substitutions
Get creative with these delightful Easter Dirt Cups and let your imagination run wild as you customize them to suit your taste!
- Chocolate Pudding: Swap the vanilla pudding for chocolate pudding for a richer, deeper flavor. A chocolate twist can take these cups to decadence!
- Banana Surprise: Use banana pudding instead of vanilla to give a fruity flair. It pairs beautifully with the Oreo crumbs and adds a lovely twist.
- Dairy-Free Delight: Opt for almond or coconut milk when preparing the pudding for a dairy-free option. It’s still as creamy and dreamy as ever!
- Extra Crunch: Add chopped nuts or granola between layers for an extra textural surprise. This adds a delightful crunch that contrasts beautifully with the creamy pudding.
- Seasonal Fruit: Top with fresh strawberries, blueberries, or raspberries for a refreshing and colorful finish. This brightens the dish while providing a fruity burst!
- Layered Jello: Incorporate layers of pastel jello between the pudding layers for a colorful, playful touch. Kids will love the vibrant colors and fruity taste.
- Festive Sprinkles: Consider adding spring-themed sprinkles on top for a pop of color and fun. They make the cups more festive and visually appealing!
- S’mores Theme: Replace Oreos with graham cracker crumbs and add mini marshmallows for a s’mores vibe. Pairing chocolate pudding creates a sweet and nostalgic flavor blend.
These creative twists allow for exciting variations of your Easter Dirt Cups. For more delightful recipes, don’t forget to check out my easy and scrumptious Shrimp Dirty Rice for yet another family favorite! Enjoy experimenting and making these treats unique for your celebration!
What to Serve with Easy No-Bake Easter Dirt Cups
Adding delectable side dishes or drinks can elevate your Easter gathering to a delightful feast!
- Fresh Fruit Salad: A vibrant medley of mixed berries and citrus adds a refreshing touch that contrasts beautifully with the creamy dessert.
- Chocolate-Covered Strawberries: These sweet, indulgent bites pair wonderfully with the rich flavors of the dirt cups, pleasing both kids and adults.
- Vanilla Ice Cream: A scoop of creamy vanilla ice cream served alongside the cups creates a delightful texture combination, making every spoonful richer.
- Carrot Cake: The warm spices and moistness of this classic cake complement the Easter theme, providing a cozy balance to the dessert.
- Sparkling Lemonade: A fizzy, refreshing drink enhances the festive mood; its tartness offers a nice counterpoint to the sweetness of the dirt cups.
- Peeps Milkshake: Blend your leftover Peeps with milk and ice cream for a whimsical shake that ties directly to your Easter Dirt Cups, appealing to all ages.
- Easter-themed Cookies: Consider serving fun-shaped cookies that echo the holiday spirit. These treats offer both a sugary crunch and visual delight.
- Mimosa Bar: Provide a variety of juices for guests to create their own mimosas, enhancing the festive atmosphere with a bubbly twist.
Easter Dirt Cups Recipe FAQs
What type of Oreos should I use for Easter Dirt Cups?
I recommend using classic Oreos for that perfect sweet and crunchy element, but if you’re looking for a gluten-free option, gluten-free Oreos work beautifully as well. They provide the same delicious flavor, making it suitable for everyone at your gathering!
How should I store leftover Easter Dirt Cups?
Store your Easter Dirt Cups in the refrigerator, covered with plastic wrap, for up to 3 days. They retain their flavor and texture really well if kept chilled, but for the best experience, try to enjoy them fresh!
Can I freeze Easter Dirt Cups?
Absolutely! You can freeze individual cups for up to 1 month. Just cover them with plastic wrap before placing them in the freezer. When you’re ready to enjoy them, thaw them in the fridge overnight. Don’t forget to add the toppings just before serving to keep them fresh!
What if my pudding mixture is too thick?
If your pudding mixture happens to be thick, don’t worry! You can add a splash of milk and stir it gently until it reaches your desired creamy consistency. Ensure it’s thoroughly combined and smooth before layering. This keeps your Easter Dirt Cups delightful and easy to enjoy!
Are Easter Dirt Cups suitable for kids with allergies?
When making Easter Dirt Cups, be mindful of allergies, especially to dairy and gluten. You can use non-dairy milk, homemade whipped cream, and gluten-free Oreos as substitutes to make them more accommodating. Always check the ingredient labels of your specific products to ensure they match your dietary needs.
What’s the best way to prevent the toppings from getting soggy?
To keep your toppings, like Peeps and mini egg candies, from getting soggy, hold off on adding them until just before you serve the Easter Dirt Cups. This way, they will stay fresh, colorful, and visually appealing!
Delicious Easter Dirt Cups: Easy No-Bake Fun for Kids
Ingredients
Equipment
Method
- Gather twelve 8-ounce clear cups. Spoon 1 ½ tablespoons of crushed Oreos into the bottom of each cup.
- In a large mixing bowl, whisk together the vanilla pudding mix and 2 cups of cold whole milk for about 2 minutes.
- Gently fold in the thawed Cool Whip to the pudding mixture until smooth and airy.
- Layer two heaping spoonfuls of the pudding mixture on top of the Oreo crumbs in each cup. Sprinkle 1 ½ tablespoons of crushed Oreos over the pudding layer. Repeat until three layers are created.
- Finish the layering by adding 1 tablespoon of Oreo crumbs on top.
- Cover the cups with plastic wrap and refrigerate for at least 1 hour.
- Before serving, decorate the tops with mini chocolate eggs and a Peeps marshmallow treat.
Leave a Reply