
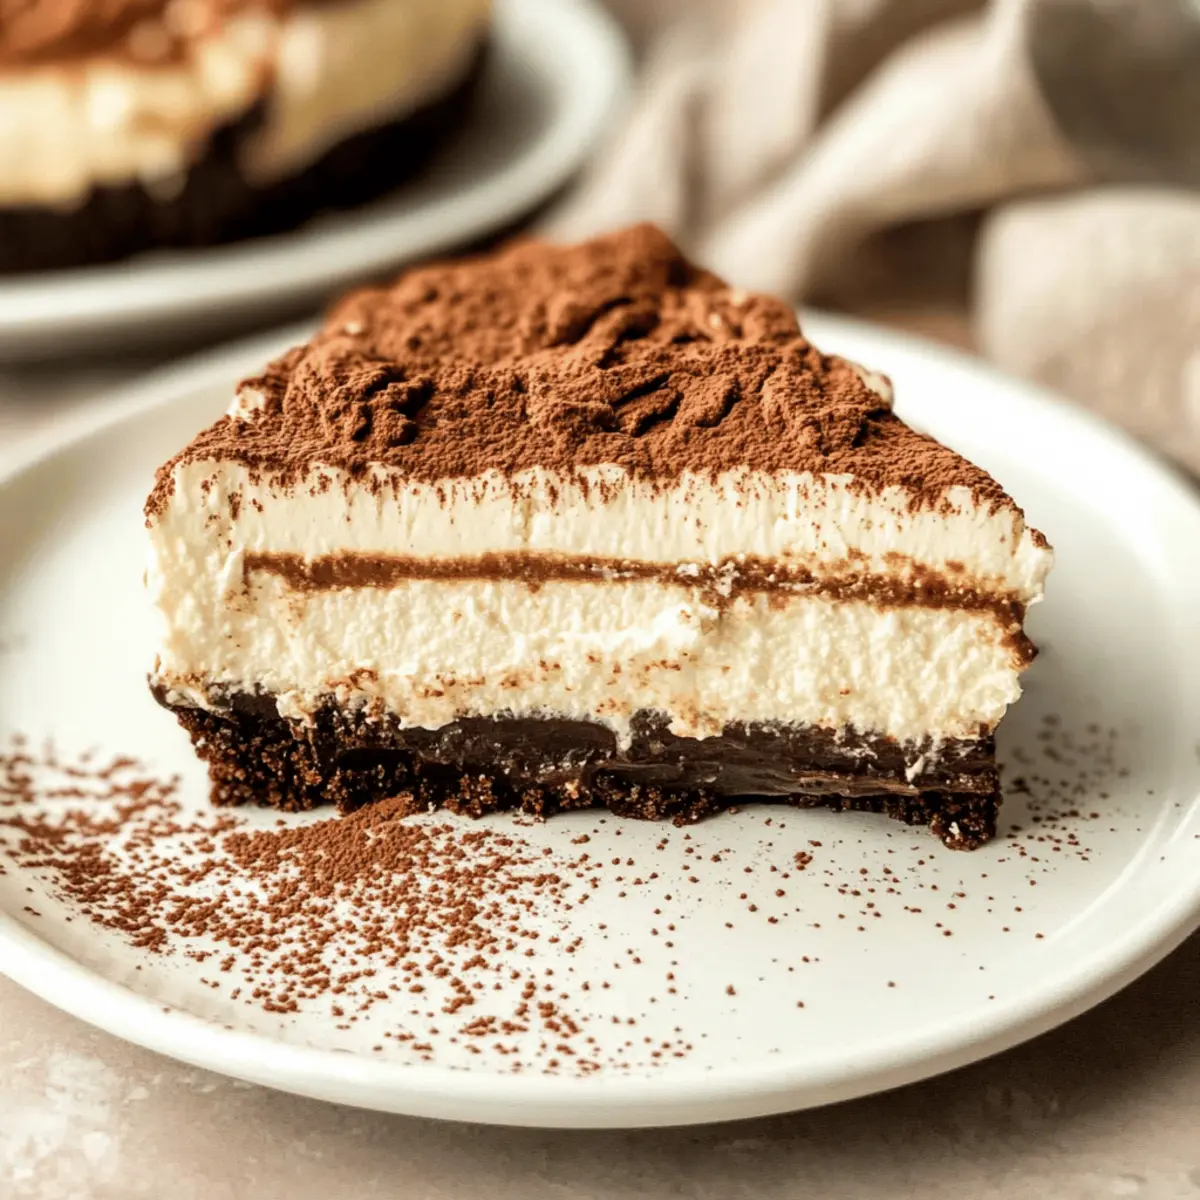
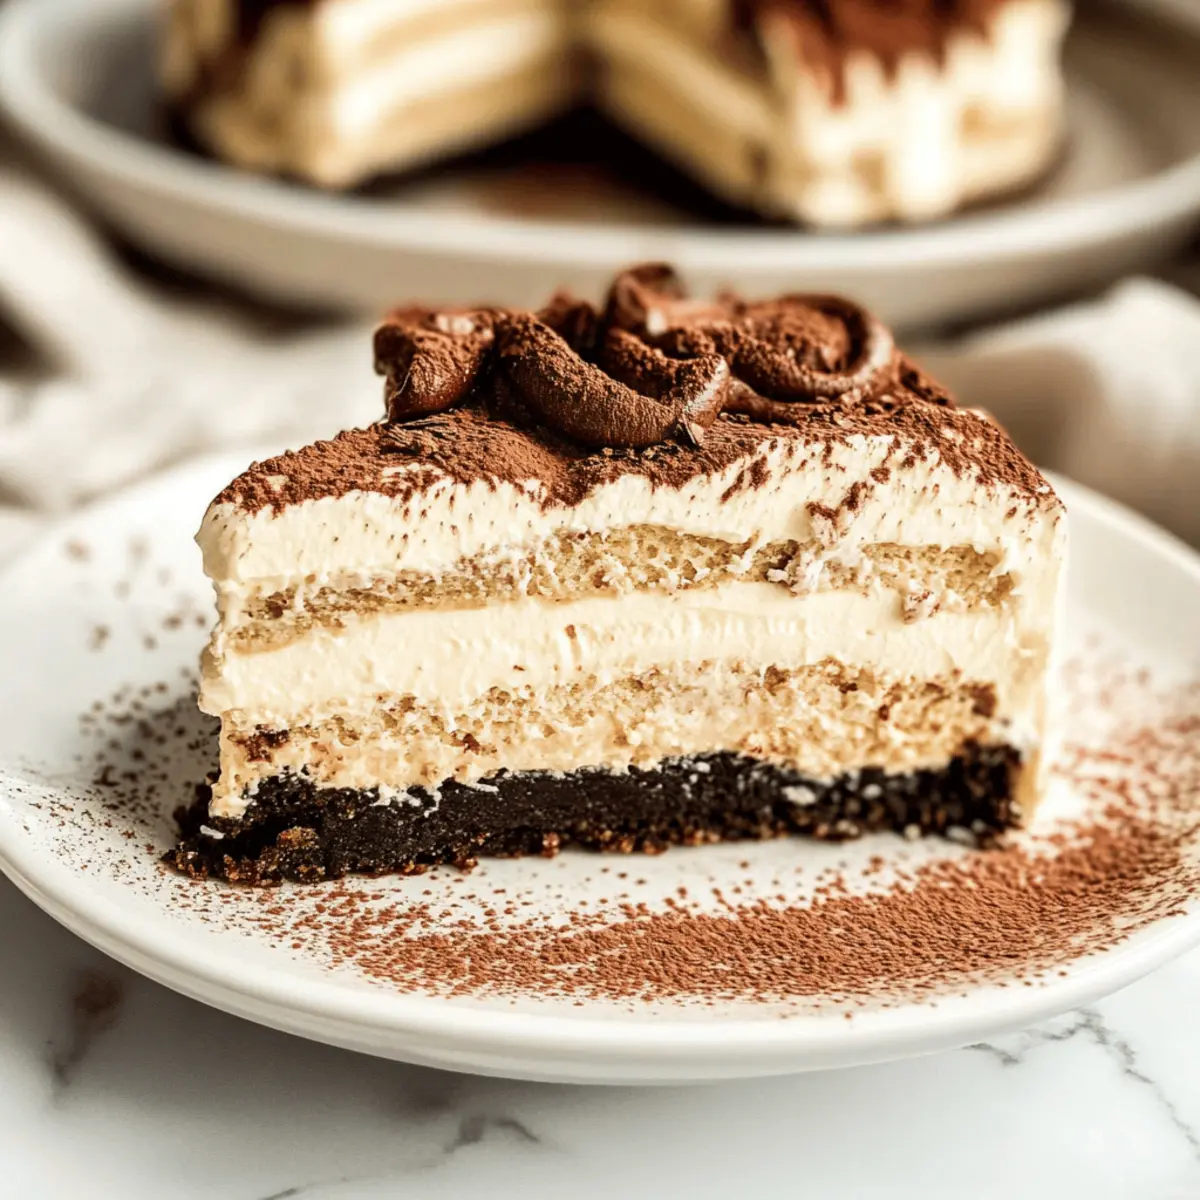
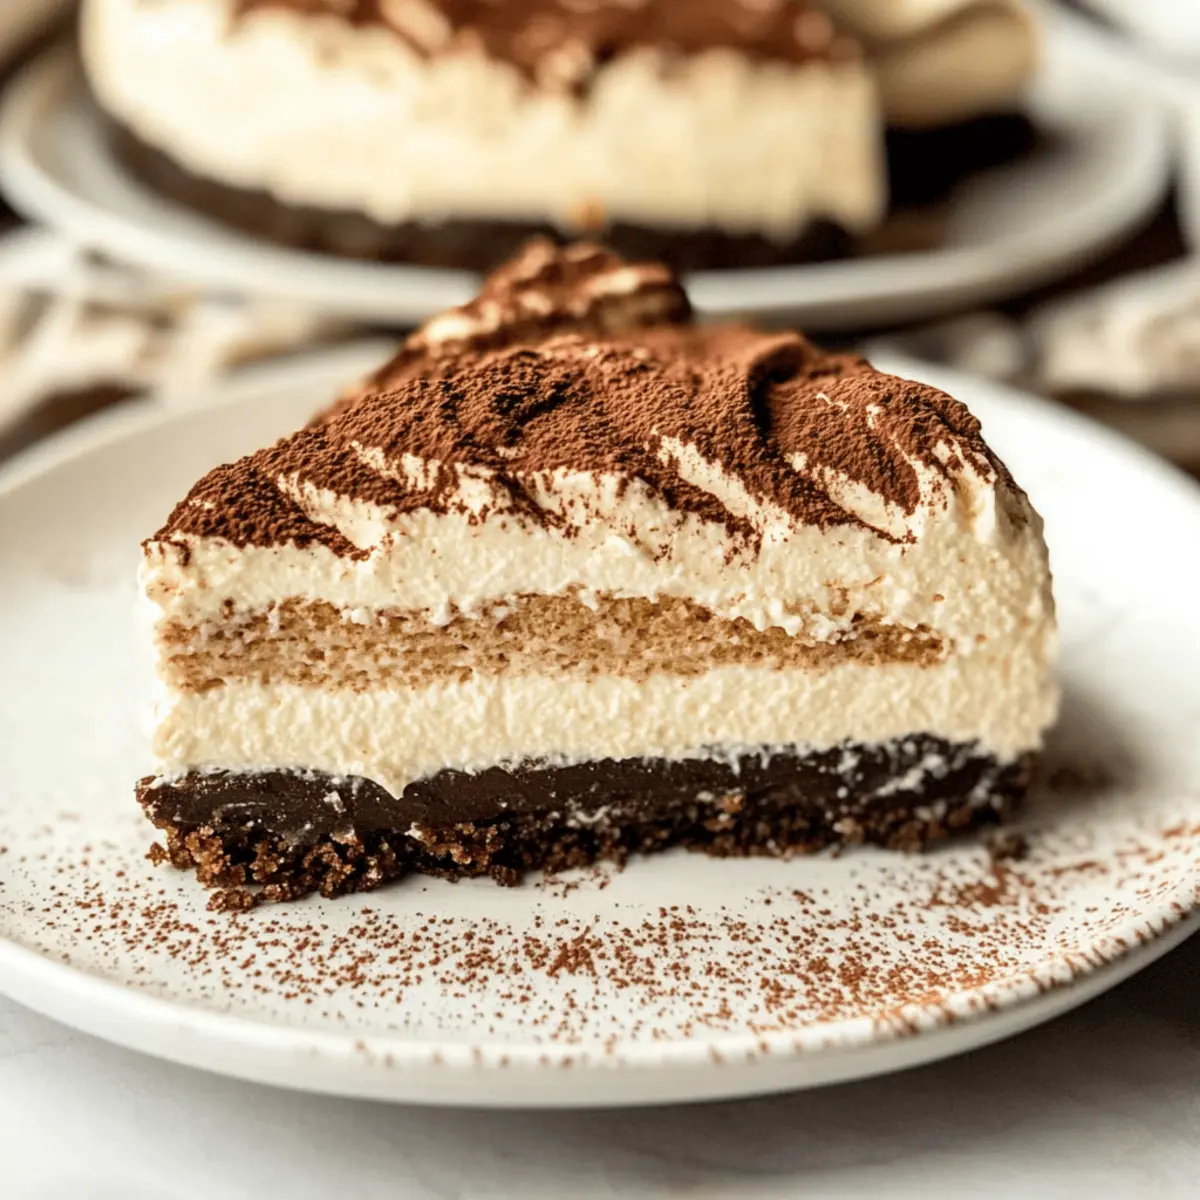
As I was flipping through my favorite dessert recipes, I stumbled upon a delightful gem that transported me to a cozy Italian café: the no-bake Creamy Tiramisu Cheesecake. With its irresistible Oreo crust, velvety mascarpone filling, and the nostalgic essence of coffee-soaked ladyfingers, this cheesecake is my go-to treat for impressive gatherings or a simple indulgence at home. The best part? It’s perfect for anyone looking to whip up a dessert without turning on the oven. Not only does it promise a crowd-pleasing experience, but it’s also surprisingly easy to make, allowing you to spend more time enjoying the company and less time in the kitchen. Are you ready to discover a dessert that’s as effortless as it is delectable?
Why is this cheesecake unforgettable?
Irresistible flavor: The combination of creamy mascarpone and rich chocolate enveloped in an Oreo crust creates a dessert that’s simply mouthwatering.
No baking required: This recipe simplifies dessert-making, making it accessible for busy home cooks or anyone preferring a hassle-free approach.
Versatile indulgence: Customize it with spices or chocolate to match your mood or occasion, ensuring it’s always a hit.
Effortless elegance: Perfect for gatherings, it’s a stunning centerpiece that leaves guests impressed without stressing you out.
Time-saving delight: With minimal prep and chill time, you’ll have a delicious dessert ready to enjoy in no time. Consider pairing it with a scoop of vanilla ice cream or alongside a rich cup of coffee, just like you would with Mushroom Spinach Orzo or Garlic Parmesan Chicken for a well-rounded feast!
Creamy Tiramisu Cheesecake Ingredients
For the Crust
• Oreo Crumbs – Provides a sweet, chocolaty, and slightly crunchy base. Substitute with chocolate digestive biscuits for a different flavor.
• Unsalted Butter – Binds the Oreo crumbs together; make sure it’s melted for better mixing.
• Espresso Powder – Enhances the chocolate flavor of the crust; you can omit if unavailable, but it adds depth.
For the Cheesecake Filling
• Cream Cheese – Offers structure and creaminess; opt for full-fat for the best results, and make sure it’s at room temperature.
• Mascarpone Cheese – Essential for a rich, creamy texture; should be at room temperature as well.
• Heavy Cream – Adds fluffiness and volume; ensure it’s cold for better whipping results.
• Powdered Sugar – Sweetens the filling and helps maintain its structure; can be easily made by blending granulated sugar.
• Sour Cream – Introduces creaminess and a bit of tang; full-fat is recommended for optimal results.
• Vanilla Extract – Infuses beautiful flavor; can be replaced with vanilla bean for a richer taste.
• Instant Vanilla Pudding – Stabilizes the cheesecake without needing gelatin.
For Assembly
• Ladyfingers – Provides the iconic tiramisu essence; feel free to use store-bought or homemade.
• Espresso Coffee – Soaks the ladyfingers, enhancing flavor; can substitute with instant coffee if needed.
• Kahlua (optional) – Amplifies the coffee flavor; can replace with a bit more espresso.
• Cocoa Powder – Dust on top for decoration; Dutch-process gives a richer chocolate flavor, but natural cocoa powder works too.
Step‑by‑Step Instructions for Creamy Tiramisu Cheesecake
Step 1: Prepare the Pan
Start by preparing a 9-inch springform pan. Line the bottom with parchment paper, which will prevent sticking and make removing the cheesecake easier later. Ensure the edges of the pan are clean for a neat presentation.
Step 2: Make the Crust
In a food processor, pulse 2 cups of Oreo cookies into fine crumbs. In a separate bowl, mix these crumbs with 6 tablespoons of melted unsalted butter and 1 teaspoon of espresso powder until well combined. Press the mixture firmly into the bottom of the prepared pan and freeze it for 15 minutes to set while you prepare the filling.
Step 3: Mix the Filling
In a large bowl, combine 16 ounces of softened cream cheese, 1 cup of sour cream, 1 cup of heavy cream (cold), 1 cup of powdered sugar, 2 teaspoons of vanilla extract, 1 package of instant vanilla pudding, and 8 ounces of mascarpone cheese. Beat the mixture with an electric mixer on medium speed until creamy and smooth, about 3-4 minutes.
Step 4: Layer the Cheesecake
Take the crust out of the freezer and spread one-third of the creamy cheesecake filling evenly over it. Prepare about 24 ladyfingers by briefly dipping each in 1 cup of espresso coffee mixed with Kahlua (if using). Arrange the dipped ladyfingers on top of the initial filling layer.
Step 5: Add More Filling
Spread another third of the cheesecake filling over the layer of ladyfingers, filling in any gaps and creating a smooth surface. Repeat the process with a final layer of ladyfingers, ensuring they are evenly distributed, followed by carefully adding the remaining filling on top.
Step 6: Final Touch and Chill
Using a spatula, smooth the top of the cheesecake for an even finish. Cover the dessert with plastic wrap or aluminum foil and refrigerate for at least 4 hours, although overnight chilling is best for the flavors to meld and firm up the texture.
Step 7: Serve with Cocoa Dusting
Once set, gently remove the cheesecake from the springform pan. Dust the top generously with cocoa powder for an elegant finish. Slice into pieces and serve chilled, enjoying the delightful layers of your creamy tiramisu cheesecake.
What to Serve with Creamy Tiramisu Cheesecake
Imagine delighting your guests with a perfect dessert spread, one that embraces flavors and textures to enhance your creamy tiramisu cheesecake experience.
-
Rich Espresso: A cup of freshly brewed espresso ties in beautifully with the coffee essence of the cheesecake, offering a warm contrast and a delightful pick-me-up.
-
Vanilla Ice Cream: This classic pairing adds a creamy, cold element that balances the richness of the cheesecake, enhancing the overall dessert experience.
-
Chocolate Ganache: Drizzling a rich chocolate ganache over your slices intensifies the chocolate flavor and adds a luxurious touch to each bite.
-
Fresh Berries: Serve with a medley of fresh strawberries or raspberries for a burst of tartness, providing a refreshing balance to the cheesecake’s sweetness.
-
Whipped Cream: Light and airy, a dollop of gently sweetened whipped cream complements the dense creaminess of the cheesecake while also adding a beautiful presentation.
-
Hazelnut Praline: Adding a sprinkle of crunchy hazelnut praline on top introduces an irresistible texture contrast and a hint of nutty flavor that pairs perfectly with the mascarpone and chocolate.
Indulge in these pairings to elevate your dessert experience, ensuring each gathering becomes a cherished memory.
Make Ahead Options
These Creamy Tiramisu Cheesecakes are perfect for busy home cooks looking to save time! You can prepare the crust and filling up to 24 hours in advance and refrigerate them separately to maintain their fresh taste. Simply mix the Oreo crust and let it set in the pan, then store the cheesecake filling in an airtight container. When you’re ready to assemble, layer your soaked ladyfingers and the filling, then chill the assembled cheesecake for at least 4 hours before serving. This strategy not only keeps your dessert just as delicious but also frees up your schedule for more important things—like enjoying your company!
Creamy Tiramisu Cheesecake Variations
Feel free to mix things up and make this dessert your own with these fun ideas!
- Gluten-Free: Substitute the Oreo crust with gluten-free chocolate cookies to enjoy the same delicious flavors without the gluten.
- Seasonal Spice: Add a pinch of pumpkin pie spice to the filling for a cozy autumn twist, or mix in some lemon zest for a bright spring flavor.
- Rich Chocolate: Melt some dark chocolate and fold it into the cheesecake filling for an even more indulgent treat that’s sure to satisfy chocolate lovers.
- Non-Dairy: For a dairy-free version, use a combination of coconut cream and cashew cream in place of the mascarpone and cream cheese.
- Vegan Delight: Swap the cream and other dairy ingredients with cashew cream and a vegan cream cheese alternative for a plant-based treat.
- Coffee Lovers’ Dream: Increase the espresso coffee when soaking the ladyfingers or include a splash of your favorite coffee liqueur for an extra kick.
- Nutty Crunch: Add a sprinkle of finely chopped hazelnuts or almonds in between the layers for an added crunch that complements the creaminess.
- Themed Flavors: Take inspiration from other desserts, like a s’mores version with graham cracker crust and marshmallow fluff layers, inspired by classic campfire treats.
Whichever variation you choose, you’ll be treated to a delightful dessert that’s perfect for every occasion. Don’t forget to serve with a side of your favorite flavors, like a scoop of vanilla ice cream, or try pairing it with a rich coffee, much like when you enjoy a comforting bowl of Parmesan Italian Soup. Enjoy!
Expert Tips for Creamy Tiramisu Cheesecake
-
Room Temperature Ingredients: Always ensure your cream cheese and mascarpone cheeses are at room temperature to avoid lumps and achieve a smooth filling.
-
Perfect Whipping: When whipping the heavy cream, stop once medium peaks form. Overmixing can lead to a dense filling rather than the light, airy texture you desire.
-
Chill Time is Key: For the best flavor and consistency, allow the cheesecake to chill overnight. This provides ample time for flavors to meld beautifully.
-
Coffee Soaking Technique: When soaking ladyfingers, be quick! A brief dip in the coffee mixture prevents them from becoming overly soggy, helping maintain that lovely cheesecake structure.
-
Cocoa Powder Choice: Opt for Dutch-process cocoa powder for a richer chocolate flavor on top of your cheesecake. However, natural cocoa will still yield delicious results!
How to Store and Freeze Creamy Tiramisu Cheesecake
Fridge: Store your creamy tiramisu cheesecake in an airtight container in the refrigerator for up to 4 days. This will help maintain its freshness and flavors.
Freezer: If you want to keep it longer, you can freeze the cheesecake for up to 3 months. Wrap it tightly in plastic wrap and then in aluminum foil for best results.
Thawing: When ready to enjoy, transfer the cheesecake to the fridge and let it thaw overnight. This gentle thawing method preserves the texture and taste.
Reheating: Since this cheesecake is served chilled, there’s no need to reheat. Simply slice and serve after thawing!

Creamy Tiramisu Cheesecake Recipe FAQs
How do I select the right ingredients for this cheesecake?
Absolutely! For the best flavor and texture, ensure your cream cheese and mascarpone are both at room temperature before mixing. This helps to create a smooth filling without lumps. Additionally, check your ladyfingers for freshness—look for a consistent texture without any hard or stale spots. For the cocoa topping, use Dutch-process cocoa for a richer flavor, but natural cocoa works perfectly too.
What is the best way to store the creamy tiramisu cheesecake?
When storing your cheesecake, place it in an airtight container in the fridge to keep it fresh for up to 4 days. If you have leftovers or want to prepare it ahead of time, you can freeze the cheesecake for up to 3 months. Make sure to wrap it tightly in plastic wrap and then in aluminum foil for maximum protection.
Can I freeze the cheesecake?
Yes, you can absolutely freeze your creamy tiramisu cheesecake! Start by slicing it into individual portions (if desired) and then wrap each slice tightly in plastic wrap. Follow that by wrapping it in aluminum foil to protect against freezer burn. When you’re ready to enjoy it, just transfer a slice to the refrigerator and let it thaw overnight before serving.
What should I do if my cheesecake filling is lumpy?
If you find that your cheesecake filling has lumps, it could be due to the cream cheese or mascarpone being too cold when mixed. To troubleshoot, try beating the mixture longer with an electric mixer until smoother. If it’s still not coming together, you can pass the filling through a fine-mesh sieve to remove any stubborn lumps. Remember, using room temperature ingredients is key!
Are there any dietary considerations for this cheesecake?
Certainly! For those with dietary restrictions, you can easily make this cheesecake gluten-free by substituting the Oreo crumbs with gluten-free chocolate cookies. Additionally, if you’re avoiding sugar, consider using a sugar substitute in the filling. However, always double-check the ingredients for any specific allergies, especially with items like Kahlua, which contains alcohol.
How long do I need to chill the cheesecake before serving?
It’s best to refrigerate your creamy tiramisu cheesecake for at least 4 hours to allow it to set properly. For optimal flavor and texture, I highly recommend chilling it overnight. This extra time allows the flavors to meld beautifully, giving you that perfect, creamy dessert experience when it’s finally served!
Irresistible Creamy Tiramisu Cheesecake That No One Can Resist
Ingredients
Equipment
Method
- Prepare a 9-inch springform pan by lining the bottom with parchment paper for easy removal.
- Pulse the Oreo cookies in a food processor until fine crumbs. Mix with melted butter and espresso powder. Press firmly into the bottom of the pan and freeze for 15 minutes.
- In a large bowl, combine cream cheese, sour cream, heavy cream, powdered sugar, vanilla extract, vanilla pudding, and mascarpone cheese. Beat until creamy and smooth.
- Spread one-third of the cheesecake filling over the crust. Dip ladyfingers in the espresso mixture and lay them on top.
- Spread another third of the filling over the ladyfingers, then repeat with another layer of ladyfingers and the remaining filling.
- Smooth the top with a spatula, cover, and refrigerate for at least 4 hours, preferably overnight.
- Once set, remove from the pan and dust with cocoa powder. Slice and serve chilled.
Leave a Reply