
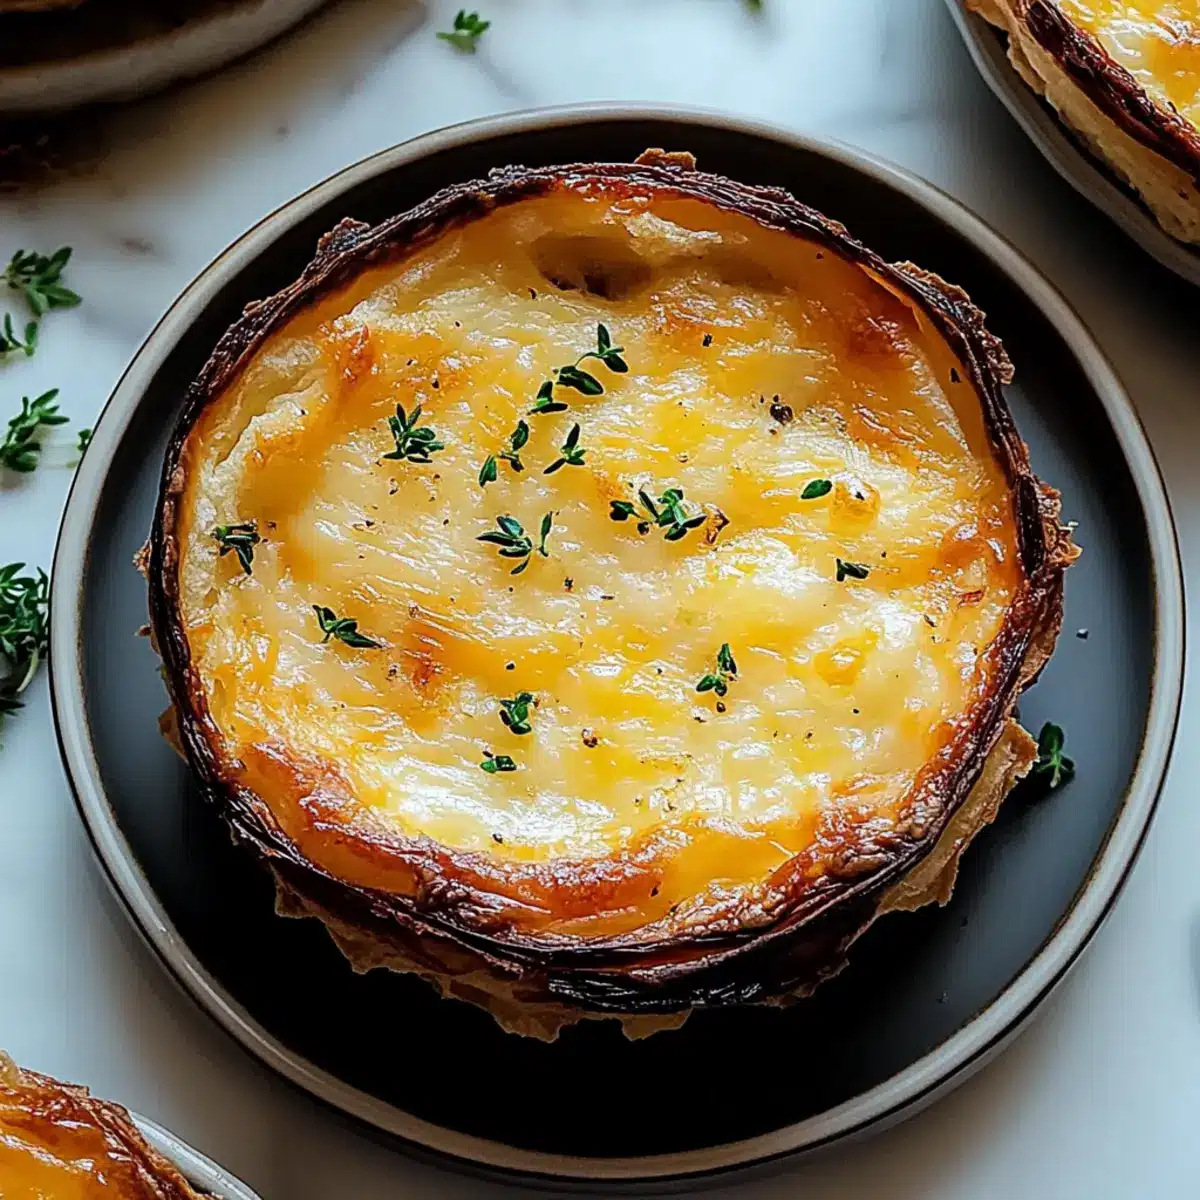
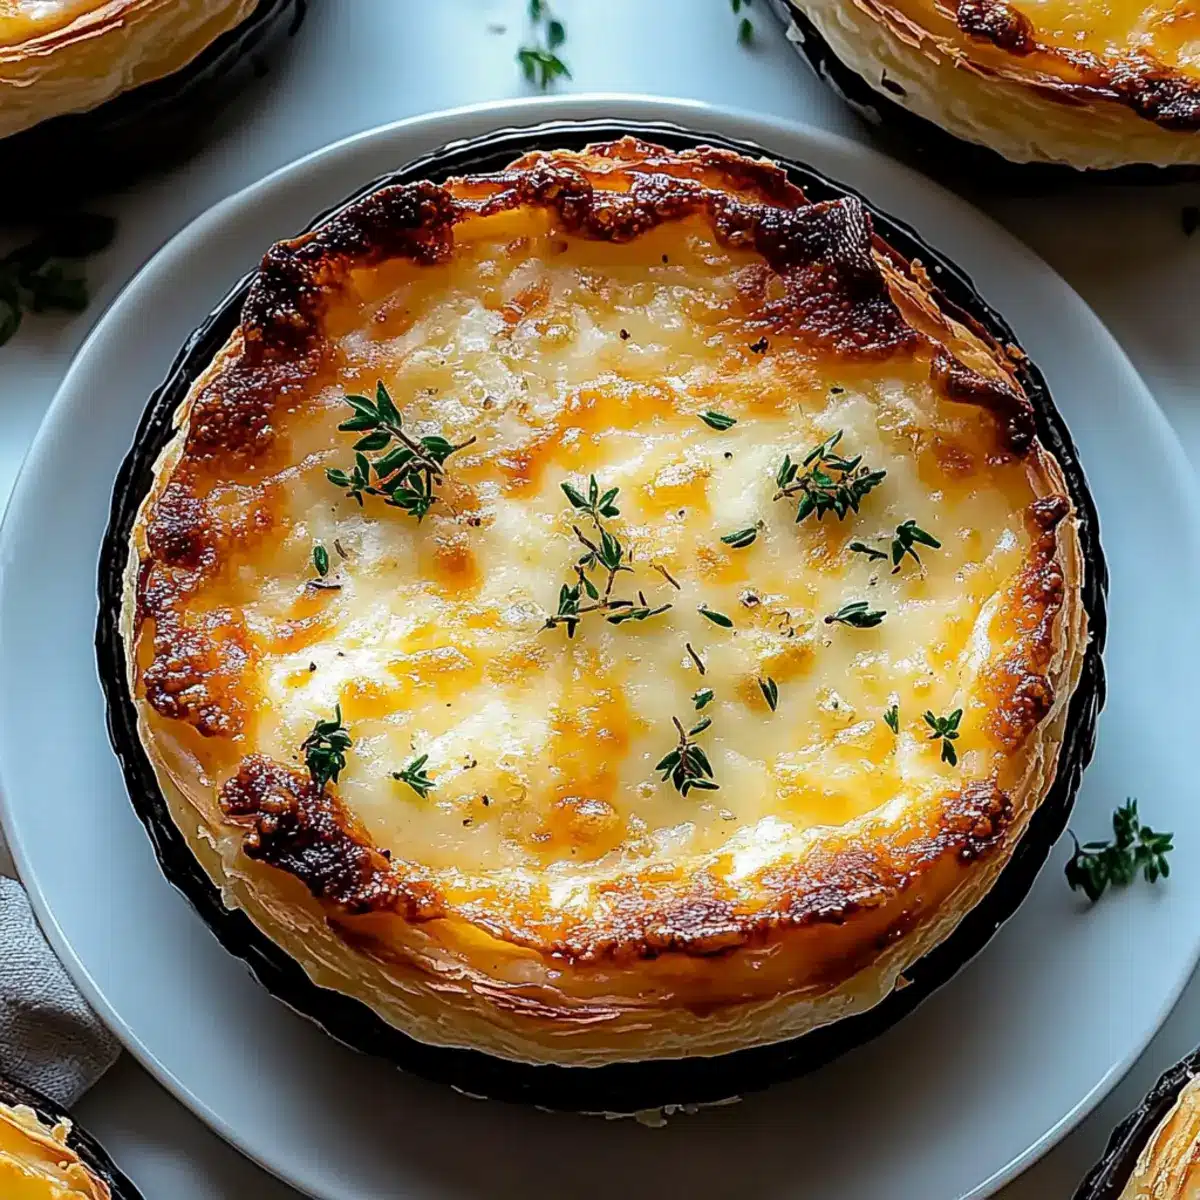
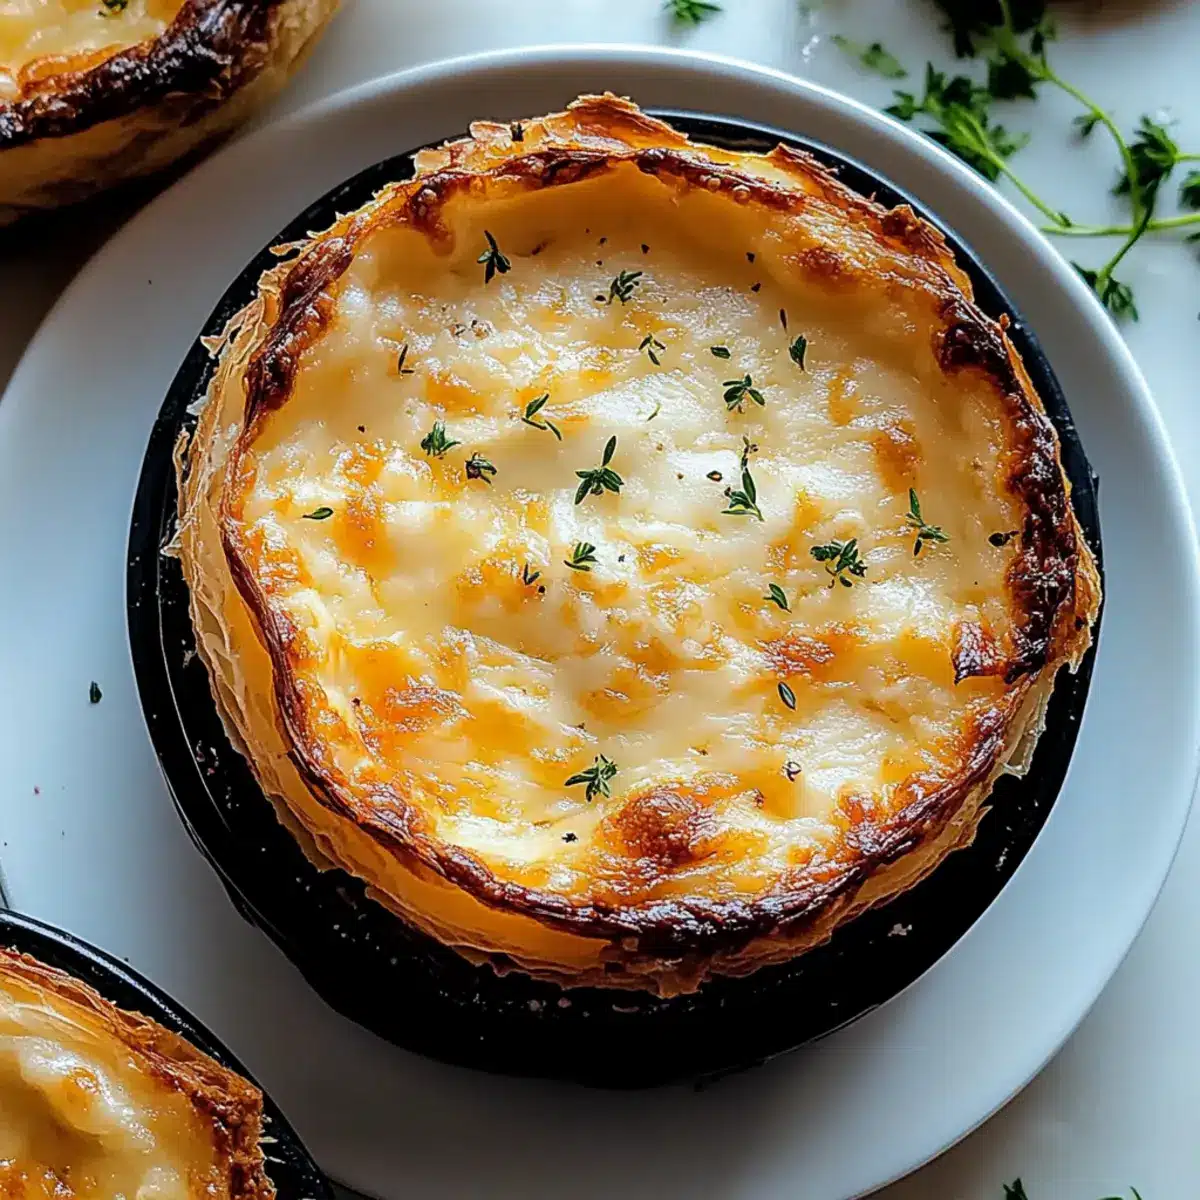
As I stood in my kitchen, the enticing aroma of roasted garlic filled the air, instantly transporting me to a cozy bakery in a quaint village. There’s something about the delightful warmth of a freshly baked Cheesy Garlic Cruffin that makes my heart skip a beat. These flaky, layered wonders are not just a treat for the taste buds; they’re a chance to indulge in the comfort of homemade goodness. With their crispy edges and gooey cheese filling, these cruffins are the perfect savory snack or a showstopper for your next gathering. Plus, they come together in a delightful baking session that will have your friends asking for seconds! Who could resist that? Are you ready to roll up your sleeves and experience the joys of crafting your own cheesy, garlicky creations? Let’s dive into the recipe!
Why Choose Cheesy Garlic Cruffins?
Irresistible Flavors: The combination of roasted garlic and bubbling cheese creates a savory masterpiece that’s hard to resist.
Easy to Make: With just a handful of ingredients and straightforward steps, even novice bakers can whip these up with ease.
Perfect for Sharing: These cruffins are delightful at gatherings, making them a hit for both casual get-togethers and special occasions.
Versatile Options: Feel free to customize the cheese or add in extras like spinach or bacon for a personal touch!
Comfort Food: Each bite brings that heartwarming comfort we all crave, perfect for a cozy night in or as a snack with friends.
Pair these tasty treats with a bowl of Lemon Garlic Butter or a fresh salad for a complete meal!
Cheesy Garlic Cruffin Ingredients
For the Dough
- All-purpose flour – provides structure to the cruffins; can be replaced with bread flour for extra chewiness.
- Granulated sugar – helps with fermentation and boosts flavor.
- Salt – balances flavor and controls the yeast activity.
- Instant yeast – gives a quick rise; can substitute with active dry yeast, but remember to proof it first.
- Warm milk – activates the yeast and adds richness; use dairy-free milk for a vegan alternative.
- Unsalted butter (melted) – adds moisture and flavor; olive oil works as a dairy-free substitute.
- Warm water – hydrates the dough.
- Large egg – binds ingredients and enriches the flavor; swap with a flax egg for a vegan version.
For the Filling
- Grated Parmesan cheese – lends a sharp flavor; can switch to Pecorino Romano for a different profile.
- Shredded mozzarella cheese – adds gooeyness; feel free to substitute with cheddar or gouda for a twist.
- Garlic (minced) – brings in that beloved garlicky essence; adjust to taste for stronger flavor.
- Softened unsalted butter – enhances richness in the filling.
- Fresh parsley (chopped) – adds a burst of freshness and color to the cruffins.
With these simple yet delightful Cheesy Garlic Cruffin ingredients, you’re well on your way to creating a savory snack that will be adored by all!
Step‑by‑Step Instructions for Cheesy Garlic Cruffin
Step 1: Mix Dry Ingredients
In a large mixing bowl, whisk together 4 cups of all-purpose flour, 2 tablespoons of granulated sugar, 1 teaspoon of salt, and 2 teaspoons of instant yeast. Ensure ingredients are well combined to create a uniform dry mixture. This foundational step sets the stage for your Cheesy Garlic Cruffin dough, helping the yeast activate properly.
Step 2: Combine Wet Ingredients
Create a well in the center of your dry ingredients, then gradually pour in 1 cup of warm milk, ¼ cup of melted unsalted butter, and ¼ cup of warm water. Add 1 large beaten egg into the mixture and stir until everything is combined. The dough should start to form, looking slightly sticky but cohesive, indicating it’s time to knead.
Step 3: Knead Dough
Transfer the dough onto a lightly floured surface and knead for about 8-10 minutes until it becomes smooth and elastic. You can tell it’s ready when the dough springs back when poked and feels soft yet not overly sticky. This is crucial for developing the airy layers of your Cheesy Garlic Cruffin.
Step 4: First Rise
Place the kneaded dough in a greased bowl, cover it with a damp cloth, and let it rise in a warm area for about 1 hour or until doubled in size. After an hour, it should puff up nicely, indicating that the yeast has done its job. This rise is essential for achieving the fluffy texture of your cruffins.
Step 5: Prepare Filling
While the dough rises, mix together 4 cloves of minced garlic, ¼ cup of softened unsalted butter, and a handful of chopped fresh parsley in a small bowl. This aromatic filling will provide the signature garlicky flavor in your Cheesy Garlic Cruffin. Set it aside for when you roll out the dough.
Step 6: Preheat Oven
About 10 minutes before the dough is ready, preheat your oven to 375°F (190°C) and grease a muffin tin to ensure the cruffins release easily later. This preparation step ensures that your Cheesy Garlic Cruffin bakes evenly and achieves that golden brown finish.
Step 7: Shape Dough
Once risen, punch down the dough gently and roll it out on a floured surface into a rectangle about ¼ inch thick. Spread an even layer of your garlic butter filling over the surface, then sprinkle with 1 cup of grated Parmesan cheese and 1 cup of shredded mozzarella cheese. This layering is crucial for a cheesy, delicious interior.
Step 8: Roll and Slice
Carefully roll the dough into a log starting from the longer side, and slice it into 8-10 even pieces. Each slice should reveal the beautiful layers you created while rolling. Take care as you slice to maintain the distinct sections that will create the delightful structure of each Cheesy Garlic Cruffin.
Step 9: Arrange in Muffin Tin
Place each slice vertically into the greased muffin cups, standing them upright. Allow them to rise uncovered for about 20 minutes until they puff up slightly; they should fill the spaces but not overflow. This step allows the dough to expand and become light and airy.
Step 10: Bake
Bake the Cheesy Garlic Cruffins in the preheated oven for 20-25 minutes, or until they are a beautiful golden brown on top and remain fluffy within. Keep an eye on them during the last few minutes to prevent over-browning and enjoy the delightful aroma wafting through your kitchen.
Step 11: Cool
Once baked, remove the cruffins from the oven and let them cool in the tin for about 5 minutes before transferring them to a wire rack. This cooling period is essential to prevent sogginess while allowing you to enjoy them warm when ready to serve.
Cheesy Garlic Cruffin Variations
Feel free to get creative with your Cheesy Garlic Cruffins and make them truly your own!
- Cheese Swap: Replace mozzarella and Parmesan with cheddar, gouda, or even feta for unique flavors. Each cheese imparts its character, making for a delightful surprise in every bite!
- Herb Infusion: Add fresh herbs like thyme or rosemary in the filling for an aromatic twist. This little adjustment can bring a fresh garden flavor to your cruffins, enhancing the comforting garlic essence.
- Spicy Kick: Mix in a pinch of red pepper flakes or finely chopped jalapeños to the filling for an extra zing. This adds a fun layer of warmth that spicy food lovers will adore!
- Savory Add-Ins: Incorporate cooked bacon bits or sautéed spinach into the filling for added richness and texture. These additions turn your cruffins into a more substantial snack, perfect for brunch gatherings.
- Vegan Friendly: Use dairy-free milk, olive oil, and a flax egg to create a plant-based version of these cruffins. You won’t miss the dairy, and everyone can enjoy this comforting treat!
- Sweet Option: For a unique dessert-like twist, add a touch of cinnamon and sugar in the filling for a sweet-savory combination. Pair it with a warm glass of milk, and you’ve got a new favorite treat!
- Dough Variations: Experiment with whole wheat flour instead of all-purpose for a heartier texture. This simple swap not only adds flavor but also boosts the nutritional profile of your cruffins.
Pair your cruffins with a side dish, such as Creamy Parmesan Garlic Beef, to make an unforgettable meal that loves togetherness and comfort!
Make Ahead Options
These Cheesy Garlic Cruffins are perfect for meal prep enthusiasts! You can prepare the dough and filling for up to 24 hours in advance, saving you precious time on busy weeknights. First, follow the instructions up to the first rise, then cover the dough tightly and refrigerate it. When you’re ready to bake, remove it from the fridge, let it come to room temperature (about 30 minutes), and proceed with shaping, filling, and baking as directed. Storing the dough this way maintains its quality, ensuring your cruffins are just as delicious and fluffy as if made fresh. Enjoy the time-saving benefits of prepping ahead, allowing for delightful homemade treats with minimal effort!
What to Serve with Cheesy Garlic Cruffin
Elevate your dining experience by pairing these warm, cheesy delights with complementary dishes that harmonize flavors and textures.
- Fresh Garden Salad: A crisp, refreshing salad with a tangy vinaigrette balances the rich flavors of the cruffins, making each bite a delightful contrast.
- Creamy Tomato Soup: The smooth, savory essence of tomato soup adds warmth and pairs perfectly with the garlicky richness of the cruffins for a cozy meal.
- Garlic Butter Shrimp: For seafood lovers, succulent shrimp sautéed in garlic butter echoes the cruffin’s flavors, creating a beautifully cohesive dining experience.
- Steamed Asparagus: Tender asparagus drizzled with olive oil and lemon provides a fresh, vibrant crunch that brightens the dish and complements the savory cruffins.
- Apple Crisp: The sweet, warm notes of a classic apple crisp serve as a delightful dessert that contrasts with the cheesy, savory profile of the cruffins, rounding out your meal.
- Sparkling Lemonade: Sip on a light, bubbly drink that adds a refreshing zest, cleansing your palate between cheesy bites and enhancing the overall dining experience.
- Roasted Vegetable Medley: Colorful, caramelized veggies with hints of garlic and herbs enrich your plate, harmonizing with the cruffins while adding nutritional goodness.
- Crispy French Fries: For a fun, classic pairing, enjoy golden French fries that provide satisfying crunch contrasting with the flaky layers of the cruffins.
Expert Tips for Cheesy Garlic Cruffin
• Check Yeast Freshness: Always ensure your instant yeast is fresh. If your dough doesn’t rise, it could indicate inactive yeast, so buy in smaller amounts if baking infrequently.
• Warm, Not Hot: When combining wet ingredients, keep milk and water warm (about 110°F) but not hot, as overheated liquids can kill the yeast and prevent your Cheesy Garlic Cruffin from rising.
• Don’t Skip the Rise: Make sure to allow the dough to double during the first rise. This step is crucial for that light and flaky texture you desire in your cruffins.
• Layer Wisely: Apply the garlic butter filling and cheese evenly to avoid clumps. Proper layering ensures every bite is bursting with flavor, enhancing your cruffins’ delightful taste.
• Watch Your Bake Time: Keep an eye on your cruffins while baking. Ovens can vary, so check for that golden brown color to know when they’re perfectly done—too long can lead to dryness!
How to Store and Freeze Cheesy Garlic Cruffins
Room Temperature: Keep your Cheesy Garlic Cruffins in an airtight container at room temperature for up to 2 days to maintain their flaky texture and flavor.
Fridge: For extended freshness, store cruffins in the refrigerator for up to 1 week, ensuring they are wrapped well to prevent them from drying out.
Freezer: To freeze, wrap each cruffin tightly in plastic wrap and place them in a freezer-safe bag. They’ll stay fresh for up to 3 months.
Reheating: When ready to enjoy, reheating in the oven at 350°F (175°C) for about 10 minutes will bring back their crispy edges and gooey interior.

Cheesy Garlic Cruffin Recipe FAQs
What type of flour should I use for the Cheesy Garlic Cruffin?
I recommend using all-purpose flour as it provides the best structure for your cruffins. However, if you’re looking for a chewier texture, you can substitute it with bread flour. Just keep in mind that bread flour might absorb a little more liquid, so adjust your wet ingredients accordingly.
How should I store leftover Cheesy Garlic Cruffins?
To maintain freshness, store your Cheesy Garlic Cruffins in an airtight container at room temperature for up to 2 days. If you’d like to keep them for longer, wrap them tightly and place them in the refrigerator where they can last for up to 1 week.
Can I freeze Cheesy Garlic Cruffins? How?
Absolutely! To freeze your cruffins, first let them cool completely. Then, wrap each cruffin tightly in plastic wrap and place them in a freezer-safe bag. They can be stored in the freezer for up to 3 months. When you’re ready to enjoy, simply reheat them in the oven at 350°F (175°C) for about 10 minutes to restore their crispy edges.
What if my dough doesn’t rise?
If your dough isn’t rising, it could be due to inactive yeast. To troubleshoot, ensure your liquids are at about 110°F, as higher temperatures can kill the yeast. A quick test is to activate the yeast in warm water with a pinch of sugar—if it foams after about 5-10 minutes, it’s good to go! Additionally, if the room is too cool, try moving the dough to a warmer area for better results.
Can I make Cheesy Garlic Cruffins ahead of time?
Yes! To prepare in advance, you can follow all steps up until the second rise, then cover the muffin tin with plastic wrap and refrigerate overnight. The next day, allow them to come to room temperature for about 30 minutes before baking. This way, you’ll have fresh, warm cruffins ready to enjoy without the last-minute rush!
Cheesy Garlic Cruffin: Your New Favorite Savory Snack
Ingredients
Equipment
Method
- Mix dry ingredients: Whisk together flour, sugar, salt, and yeast.
- Combine wet ingredients: Gradually mix in milk, melted butter, warm water, and beaten egg.
- Knead dough: Transfer to a floured surface and knead until smooth and elastic.
- First rise: Place dough in greased bowl, cover and let rise for about 1 hour.
- Prepare filling: Mix minced garlic, softened butter, and chopped parsley.
- Preheat oven: Grease muffin tin and preheat oven to 375°F (190°C).
- Shape dough: Roll out dough, spread filling, and sprinkle cheese on top.
- Roll and slice: Roll into a log and slice into 8-10 pieces.
- Arrange in muffin tin: Place slices upright in the tin and let rise for 20 minutes.
- Bake: Bake for 20-25 minutes until golden brown.
- Cool: Let cool in the tin for 5 minutes before transferring to a wire rack.
Leave a Reply