
In a bustling kitchen filled with the tantalizing aromas of sizzling beef and melted cheese, I often find myself in a flavorful dance with tradition and creativity. Today, I’m excited to share my recipe for Beef and Cheese Chimichangas, a Tex-Mex classic that captures the hearts and taste buds of everyone at the table. These crispy delights are not only quick to prepare but can also be customized to match personal preferences, making them a perfect choice for any occasion. Whether you decide to bake or fry, you’ll enjoy a satisfying crunch enveloping a warm, savory filling. Ideal for make-ahead meals and adaptable for all, these chimichangas are the kind of comfort that brings family and friends together. So, what variations will you try? Let’s dive into this delicious adventure!

Why Are Beef and Cheese Chimichangas Amazing?
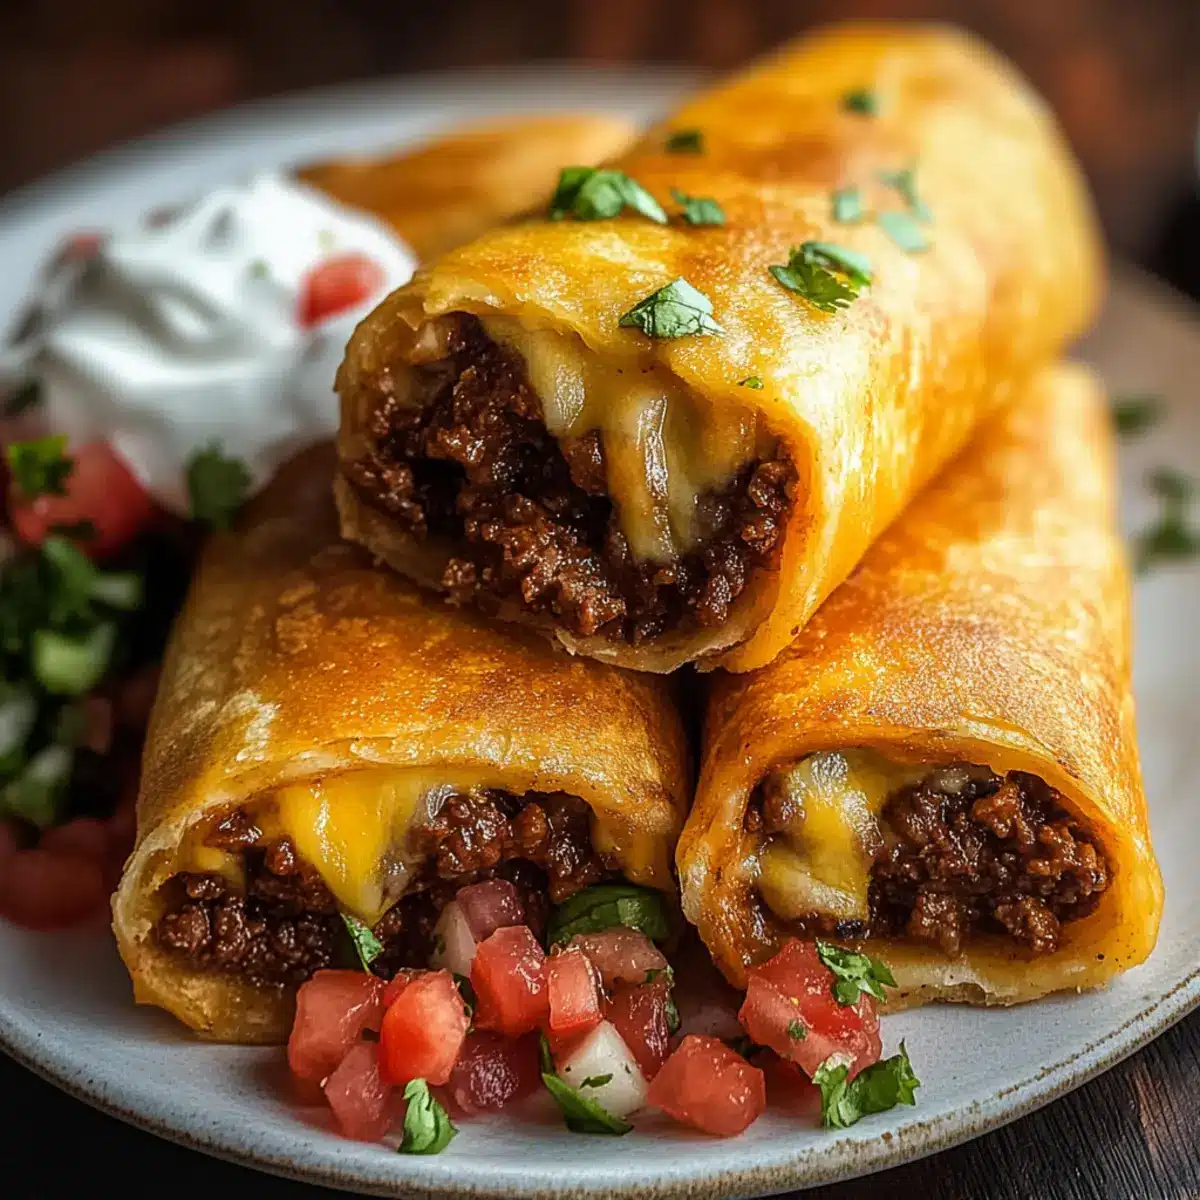
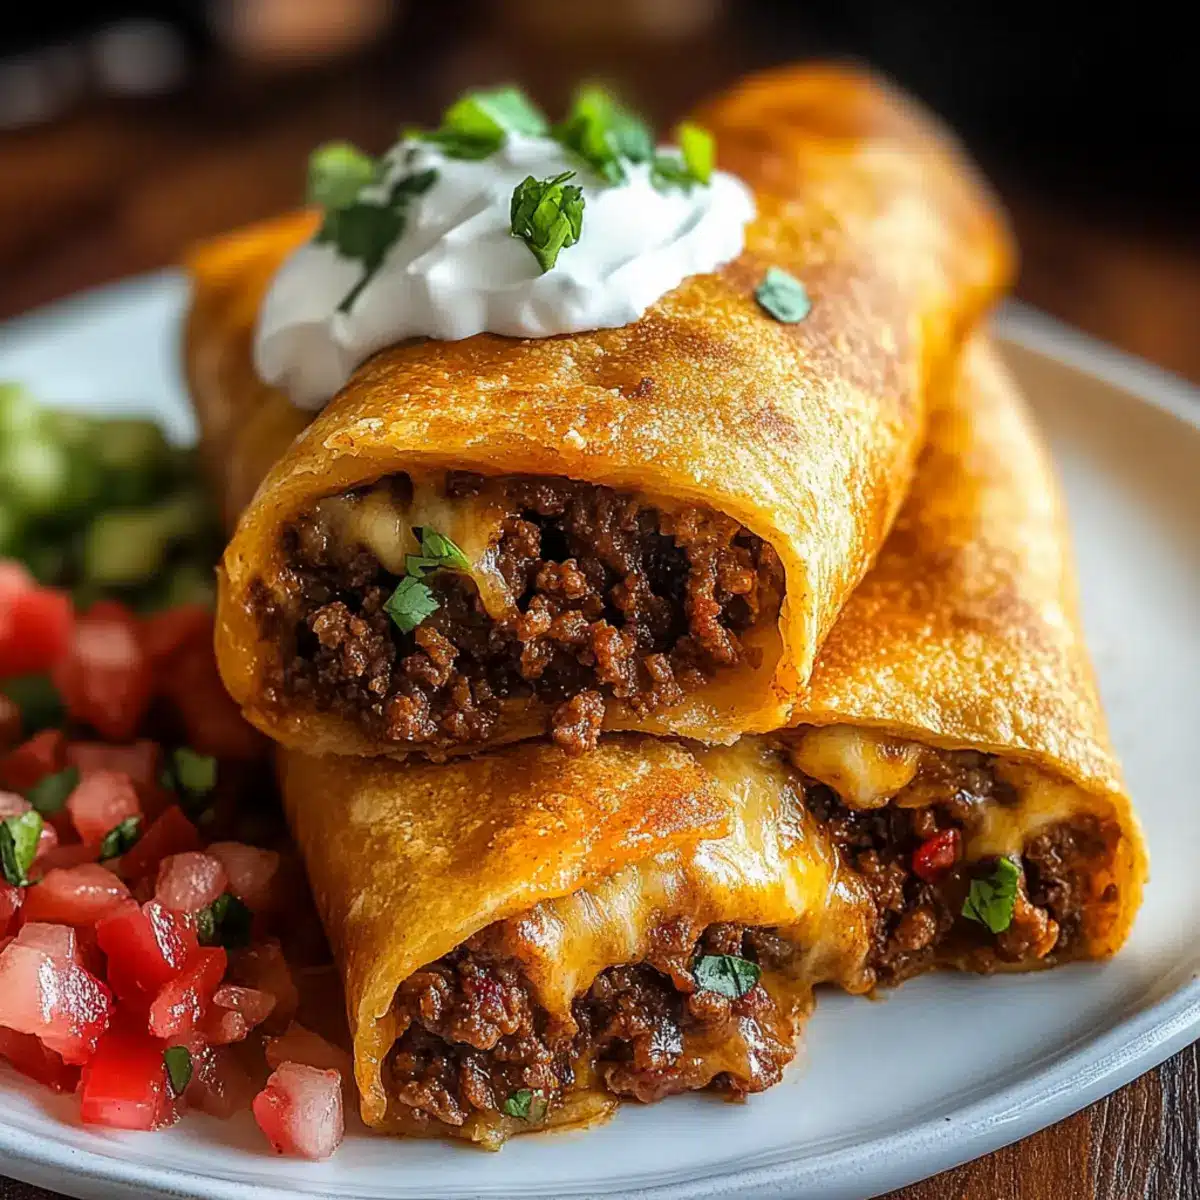
Crispy Texture: Revel in the delightful crunch of golden tortillas hugging a savory filling that’s simply irresistible.
Endless Customization: You can easily swap out proteins or veggies to suit your dietary preferences—make a spicy variant with jalapeños or a vegetarian option with sautéed beans!
Make-Ahead Friendly: Prep a batch in advance and store them in the freezer. They’re perfect for those busy weeknights when you need a quick meal!
Family-Friendly: Everyone loves these tasty bites, making them a hit at dinner gatherings. Serve them with guacamole or sour cream for a crowd-pleasing feast! Discover more inspirations with Bacon Egg Cheese or Honey Pepper Cheese!
Comfort Food Classic: Nothing warms the heart quite like a homemade chimichanga, a nostalgic dish that brings everyone to the table with joy.
Beef and Cheese Chimichangas Ingredients
Prepare to create an unforgettable dish that perfectly embodies the Tex-Mex experience!
For the Filling
- Ground Beef – Provides a hearty flavor; opt for lean ground beef to keep it light.
- Onion – Finely diced for a depth of sweetness and flavor throughout the filling.
- Garlic – Freshly minced for that irresistible aromatic boost.
- Taco Seasoning – Infuses essential Tex-Mex flavors; consider a homemade blend for a personal touch.
- Salsa – Keeps the filling moist and adds a burst of tangy flavor; choose based on your spice preference.
- Refried Beans – Adds creaminess and binds the filling beautifully; black beans are a great alternative.
- Shredded Cheese – Melts to perfection, enhancing richness; try a Mexican blend or your favorite cheese.
For Assembly
- Flour Tortillas – Large (10-inch) tortillas are perfect for wrapping; warm them first for easy handling.
For Cooking
- Vegetable Oil – Ideal for frying or brushing before baking; canola or a light oil works best.
- Optional: Melted Butter – A lovely option for brushing chimichangas if you’re baking them.
With these ingredients at your fingertips, you’re all set to create Beef and Cheese Chimichangas that will thrill your family and friends!
Step‑by‑Step Instructions for Beef and Cheese Chimichangas
Step 1: Cook the Filling
In a large skillet over medium heat, brown 1 pound of ground beef along with 1 finely diced onion for about 5-7 minutes, stirring frequently until the beef is no longer pink. Drain any excess grease, then add 2 minced garlic cloves, 1 packet of taco seasoning, and 1/2 cup of salsa. Stir and simmer for another 2-3 minutes until heated through, allowing those Tex-Mex flavors to meld beautifully.
Step 2: Assemble Chimichangas
Warm 4 large flour tortillas in the microwave for about 30 seconds to make them pliable. On each tortilla, spread a layer of refried beans, followed by a generous scoop of the beef mixture and a handful of shredded cheese. Carefully fold in the sides and roll the tortilla tightly, like a burrito, ensuring the filling is secure within the tortilla.
Step 3: Choose Cooking Method
If you prefer fried Beef and Cheese Chimichangas, heat about 1 inch of vegetable oil in a deep pan to 350°F (175°C). Gently place each chimichanga seam-side down and fry for 2-3 minutes until golden brown, then flip and fry the other side until crispy. Alternatively, for baking, preheat your oven to 400°F (200°C), brush each chimichanga lightly with oil, and bake on a greased baking sheet for 20-25 minutes until they turn golden and crispy.
Step 4: Serve
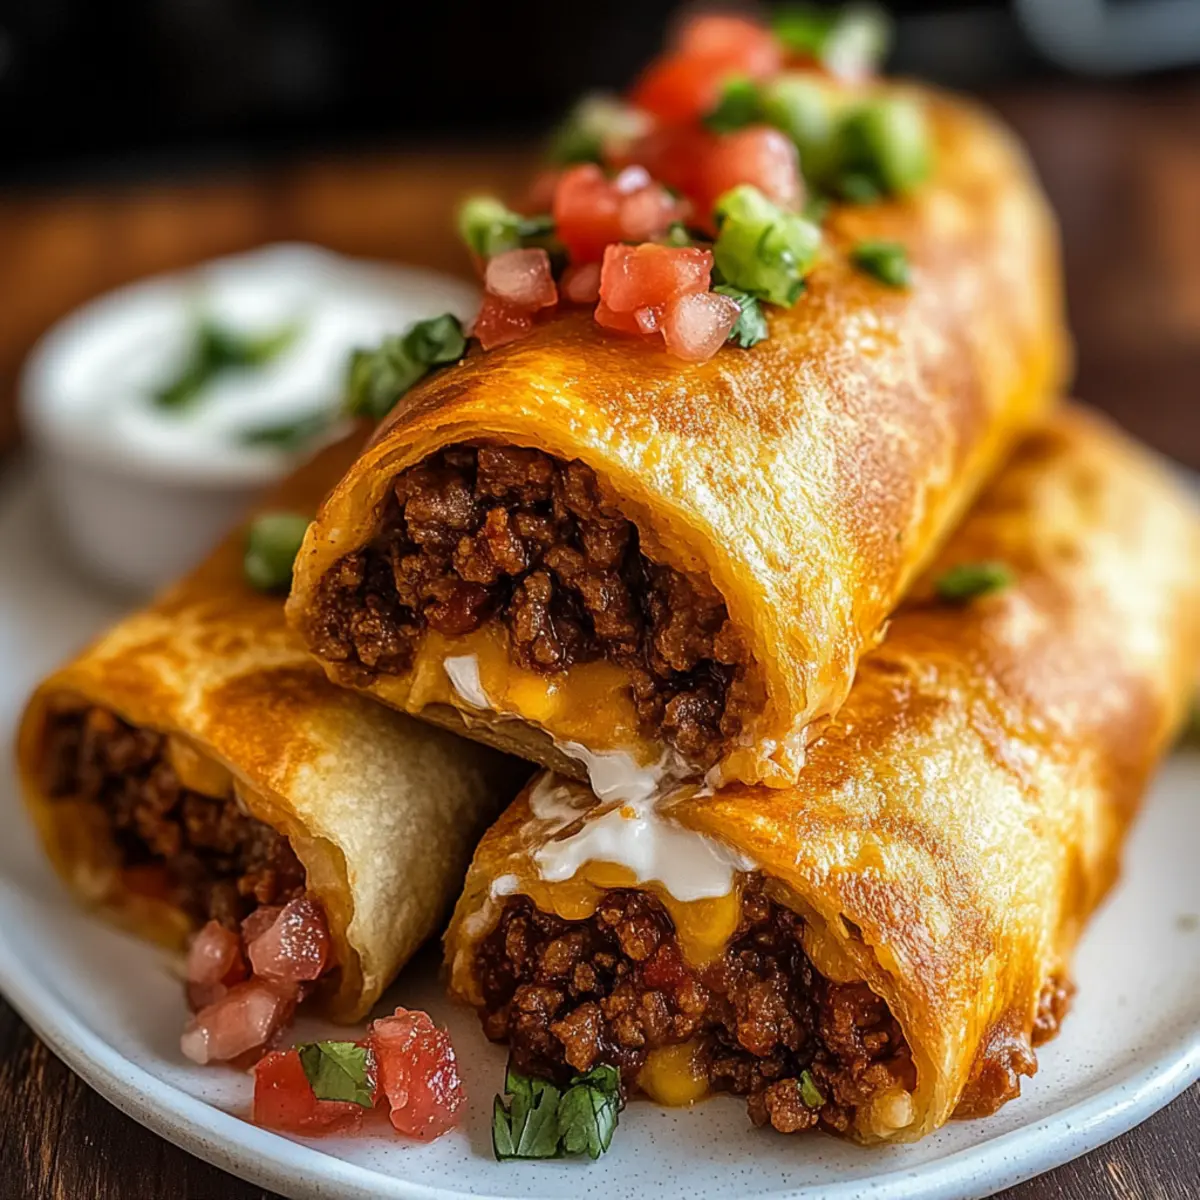
Once your Beef and Cheese Chimichangas are golden and crispy, carefully remove them from the oil or oven. Allow them to cool slightly on a paper towel if fried, then serve hot. Garnish with your favorite toppings like sour cream, guacamole, or pico de gallo to elevate your meal. Enjoy this delightful Tex-Mex dish with family and friends!
Beef and Cheese Chimichangas Variations
Feel free to give these chimichangas a personal twist with these delicious variations!
-
Bean & Beef Chimichangas: Mix in refried beans for added creaminess and a heartier filling. This combo not only enhances flavor but also brings a delightful texture to every bite.
-
Spicy Option: Add diced jalapeños or spicy pepper jack cheese for a fiery kick. If you love heat, this twist will keep your taste buds dancing!
-
Breakfast Version: Substitute the beef for scrambled eggs and cheese for a breakfast treat. These chimichangas are perfect for brunch and will satisfy morning cravings in a savory way.
-
Vegetarian: Replace the beef with sautéed veggies and black beans for a wholesome, meat-free option. This variation bursts with flavor and makes for a colorful plate.
-
Sauced Chimichangas: Drizzle with queso dip or enchilada sauce for a smothered chimichanga experience. A sauce adds a new dimension of flavor, making each bite even more indulgent.
-
Cheesy Twist: Add extra cheese or a mix of different cheese types for a gooey filling. Cheese lovers will appreciate the richness each mouthful brings.
-
Herb-Infused: Toss in fresh herbs like cilantro or parsley before assembling for a fresh flavor boost. This addition enhances the dish with a touch of brightness and fragrance.
-
Crunchy Wraps: Add crushed tortilla chips to the filling for an unexpected crunch. This variation adds a delightful surprise texture that complements the tender filling beautifully.
With these variations in mind, you can create your perfect Beef and Cheese Chimichangas. Whichever twist you choose, these customizable delights are sure to please!
How to Store and Freeze Beef and Cheese Chimichangas
Fridge: Store assembled chimichangas in an airtight container for up to 2 days. Reheat in the oven or air fryer for a crispy result.
Freezer: For uncooked chimichangas, lay them on a baking sheet to flash freeze, then transfer to a freezer bag. They can be frozen for up to 2 months.
Reheating: To reheat frozen chimichangas, bake at 375°F (190°C) for 25-30 minutes, or until heated through and crispy.
Cooked Storage: Keep cooked chimichangas in the fridge for up to 3 days. Reheat in the oven or pan to retain their crispy exterior while warming the filling.
Make Ahead Options
These Beef and Cheese Chimichangas are a fantastic option for meal prep, saving you time during busy nights! You can assemble the chimichangas and refrigerate them for up to 24 hours before cooking. Just ensure to wrap them tightly in plastic wrap to maintain freshness. Alternatively, freeze the uncooked chimichangas for up to 2 months; space them out on a baking sheet before transferring to a freezer bag to prevent sticking. When you’re ready to enjoy, bake them straight from the freezer or allow them to thaw overnight in the fridge before baking or frying. You’ll still achieve that crispy texture and delicious flavor, perfect for satisfying cravings without the last-minute rush!
What to Serve with Crispy Beef and Cheese Chimichangas
Elevate your dining experience with delightful sides that bring out the bold flavors of these chimichangas.
-
Zesty Guacamole: Creamy and refreshing, guacamole adds a smooth texture that beautifully contrasts with the crispy chimichangas. A hint of lime makes it even more vibrant!
-
Spicy Salsa: Fresh salsa offers a punchy, tangy kick that pairs perfectly with the savory filling. Choose a mild or hot option depending on your crowd’s preference.
-
Mexican Street Corn: This sweet and savory corn dish seasoned with cheese, lime, and spices brings a Mexican street food flair that complements the hearty chimichangas and adds a delightful crunch.
-
Cilantro Lime Rice: Light and fragrant, cilantro lime rice balances the richness of the chimichangas. The zesty notes enhance each bite while providing a hearty base.
-
Black Beans: A side of seasoned black beans adds a nutritious element with plenty of flavor. Their creamy texture pairs wonderfully with the crispy chimichangas for a satisfying meal.
-
Margaritas: Enjoy a refreshing margarita on the side! The acidity and sweetness of this classic drink pairs beautifully with Tex-Mex flavors, making your meal even more festive.
-
Churros: For dessert, serve warm churros dusted with cinnamon sugar. Their sweet, crispy exterior provides the perfect conclusion to your Tex-Mex feast, leaving everyone delighted.
Expert Tips for Beef and Cheese Chimichangas
-
This Matters: Ensure tortillas are warm: Warming them makes the tortillas more pliable, preventing tears during assembly and helping keep the filling intact.
-
Grease Control: Drain excess fat: After cooking the beef, drain any remaining grease before adding other ingredients to avoid soggy chimichangas.
-
Cooking Technique: Opt for baking: For a healthier alternative, bake your Beef and Cheese Chimichangas at 400°F instead of frying, keeping them crispy without the extra oil.
-
Freezing Savvy: Flash freeze before storing: If you plan to freeze uncooked chimichangas, freeze them on a baking sheet first. This prevents sticking when you transfer them to a bag.
-
Flavor Boost: Consider ingredient variations: Enhance the filling by adding jalapeños for heat or corn for sweetness, creating a unique twist on the classic Beef and Cheese Chimichangas.
-
Serving Ideas: Add vibrant sides: Pair your chimichangas with fresh guacamole, sour cream, or a zesty pico de gallo to complement the rich flavors and provide a delightful crunch.
Beef and Cheese Chimichangas Recipe FAQs
What type of ground beef is best to use?
I recommend using lean ground beef (like 90/10) for a healthier option that reduces grease while still providing a hearty flavor. If you’re looking for alternative proteins, shredded chicken or even turkey can work wonderfully.
How should I store leftover chimichangas?
You can keep cooked chimichangas in the fridge in an airtight container for up to 3 days. Just make sure to reheat them in the oven or a skillet to maintain that delicious, crispy exterior.
Can I freeze uncooked chimichangas?
Absolutely! After assembling, flash freeze them by placing the chimichangas on a baking sheet, ensuring they don’t touch each other, for about 1-2 hours. Once solid, transfer them to a freezer bag and they will last for up to 2 months.
How do I reheat frozen chimichangas?
To reheat, bake the frozen chimichangas in a preheated oven at 375°F (190°C) for about 25-30 minutes, or until they’re heated through and crispy. You can also use an air fryer for a quicker option that still yields that delightful crunch!
What could be causing my chimichangas to be soggy?
If your chimichangas turn out soggy, it’s likely due to excess grease in the filling or not frying them long enough. Drain any fat after cooking the beef and make sure to fry until golden and crispy. If baking, ensure they’re brushed lightly with oil for that perfect texture.
Are there any dietary considerations for chimichangas?
Yes, if you or your guests have allergies, be mindful of common allergens in the ingredients—like gluten in tortillas or dairy in cheese. For gluten-free options, look for certified gluten-free tortillas and for dairy-free, choose non-dairy cheese alternatives.
Mouthwatering Beef and Cheese Chimichangas for Cozy Nights
Ingredients
Equipment
Method
- In a large skillet over medium heat, brown the ground beef along with the finely diced onion for about 5-7 minutes, stirring frequently until the beef is no longer pink. Drain excess grease, then add the minced garlic, taco seasoning, and salsa. Stir and simmer for another 2-3 minutes until heated through.
- Warm the flour tortillas in the microwave for about 30 seconds to make them pliable. On each tortilla, spread a layer of refried beans, followed by a scoop of the beef mixture and a handful of shredded cheese. Fold in the sides and roll the tortilla tightly, securing the filling.
- For frying, heat about 1 inch of vegetable oil in a deep pan to 350°F. Place each chimichanga seam-side down and fry for 2-3 minutes until golden brown, then flip.
- For baking, preheat the oven to 400°F, brush each chimichanga lightly with oil, and bake on a greased baking sheet for 20-25 minutes until golden and crispy.
- Once golden and crispy, remove from the oil or oven and allow to cool slightly. Serve hot garnished with sour cream, guacamole, or pico de gallo.
Leave a Reply