
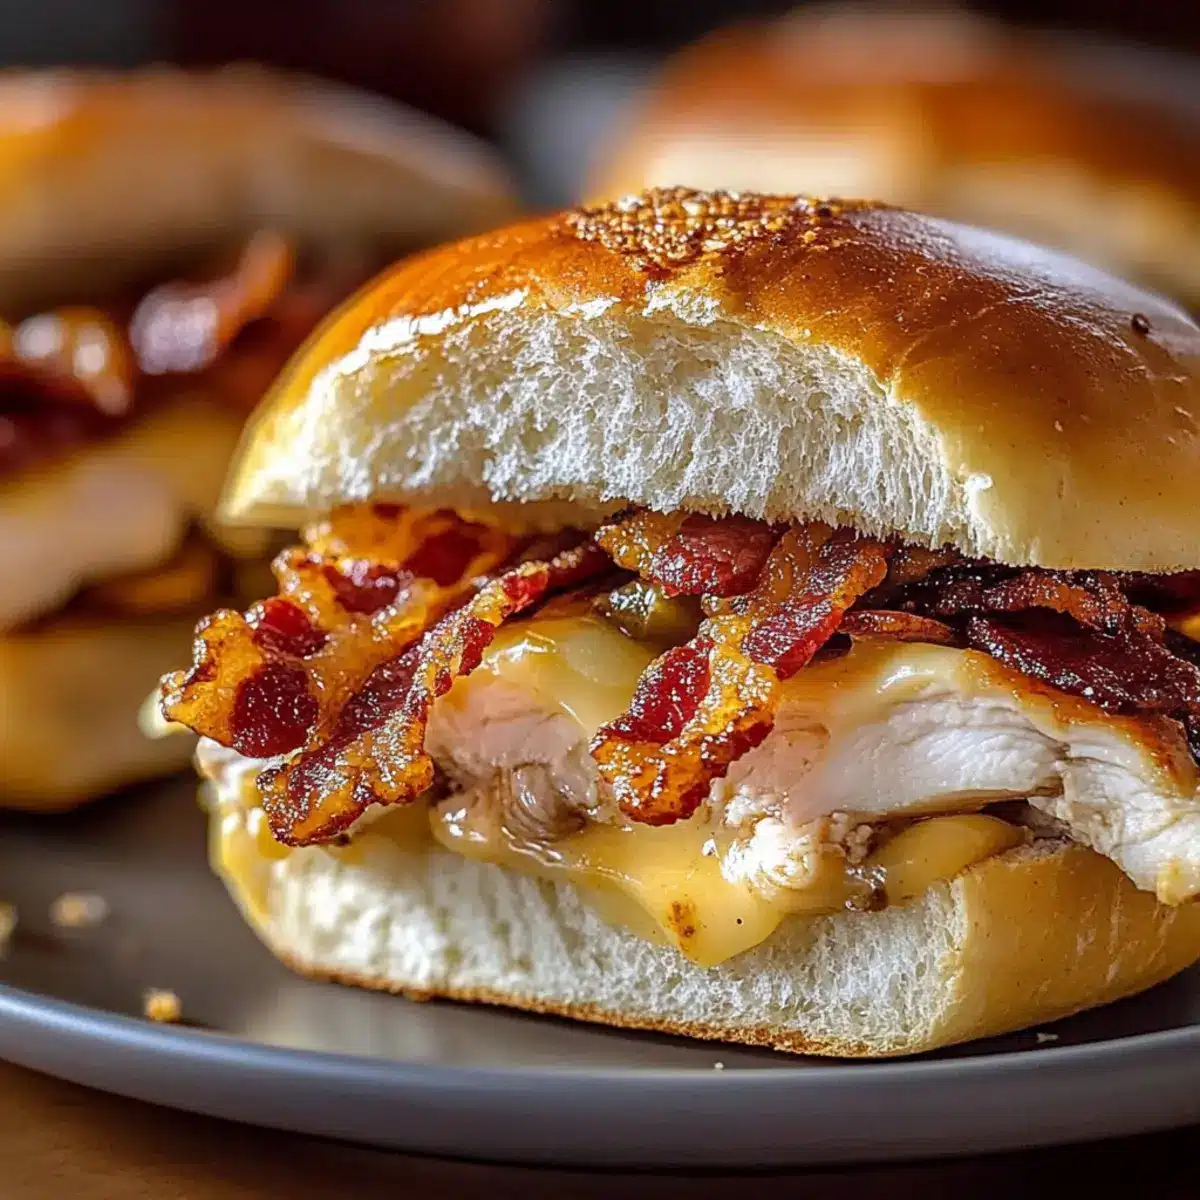
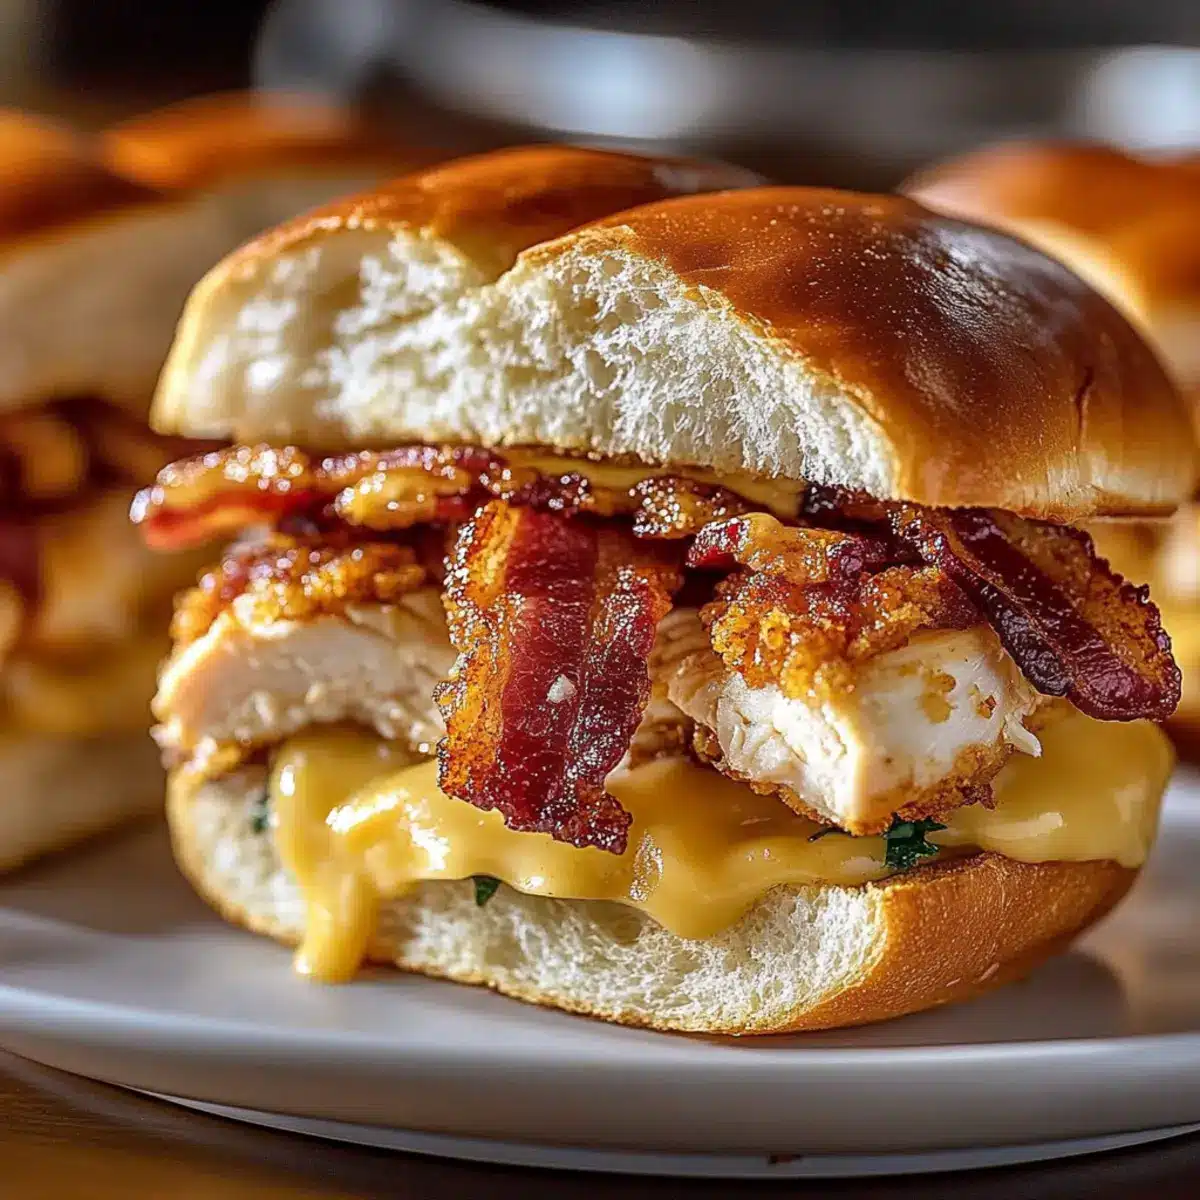
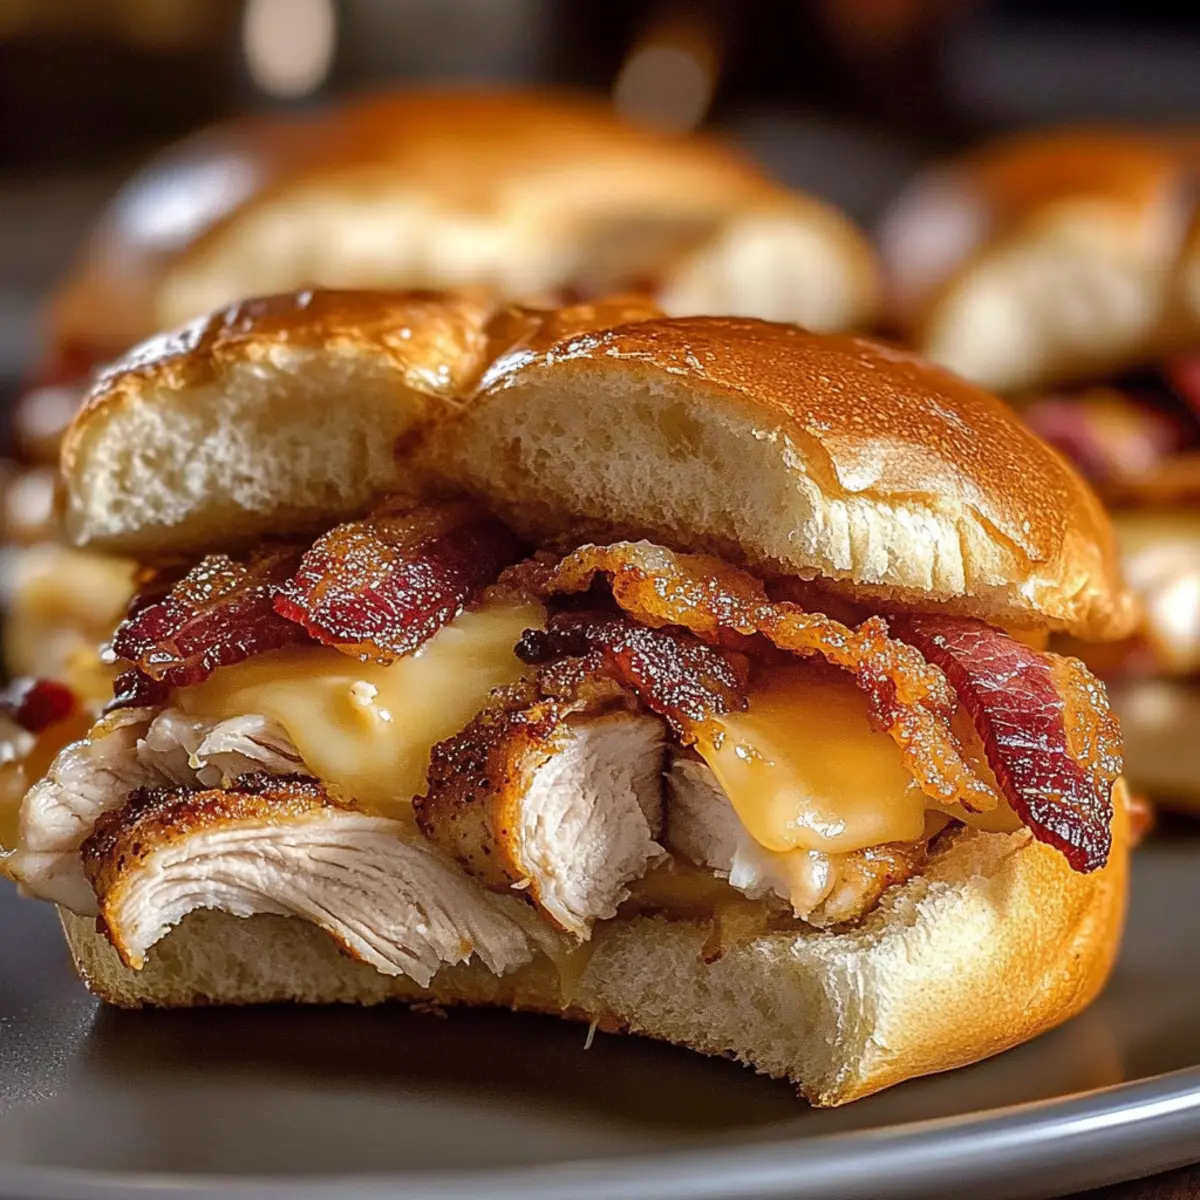
As I stood in the kitchen, the scent of sizzling bacon mingled with something sweet and warm, I couldn’t help but feel a rush of excitement. That’s when I knew it was time to whip up a batch of my signature Maple Chicken Bacon Sliders. These delightful bites are not just a meal, but a celebration of flavors—juicy chicken, crispy bacon, and creamy Gouda nestled between fluffy Hawaiian rolls, all brushed with a hint of maple butter. Perfect for casual gatherings or busy weeknights, they come together in a flash, proving that homemade comfort food doesn’t have to be a chore. And the best part? You can customize them with different cheeses or rolls to accommodate everyone’s taste buds! Are you ready to hear how to make these delicious sliders? Let’s dive in!
Why Are Maple Chicken Bacon Sliders Irresistible?
Quick Assembly: This recipe requires minimal prep, making it ideal for busy evenings or last-minute gatherings.
Crowd-Pleasing Delight: Friends and family will rave about these savory-sweet sliders, ensuring your dish is the star of any occasion.
Customizable Options: From the cheese to the rolls, you can mix and match ingredients to suit everyone’s preferences, whether you go for gouda or prefer a dairy-free alternative.
Perfect for Meal Prep: Assemble your sliders in advance and pop them in the oven right before serving for maximum flavor and freshness.
Comfort Food Favorite: The combination of juicy chicken, crispy bacon, and a sweet maple finish will remind you of cozy fall evenings and festive gatherings.
Don’t forget to pair them with a side of roasted vegetables or a fresh salad for a well-rounded meal!
Maple Chicken Bacon Sliders Ingredients
For the Sliders
- 1 package (12 count) King’s Hawaiian Rolls – These sweet rolls form the perfect base; gluten-free alternatives work beautifully too.
- 12 cooked chicken breast strips – They provide protein and make the sliders hearty; rotisserie chicken is a convenient substitute.
- 4 slices Gouda cheese – Adds a creamy richness; try using Swiss, provolone, cheddar, or mozzarella if you’re feeling adventurous!
- 4 to 6 slices cooked bacon – Infuses a delightful smoky flavor; feel free to swap in turkey bacon or plant-based alternatives for a lighter twist.
For the Maple Butter
- 1/4 cup maple butter – This sweet ingredient brings it all together; mix maple syrup with softened butter if you need a quick substitute.
Optional Add-Ons
- Baby spinach or arugula – Adding these greens before baking not only enhances flavor but adds a pop of color!
- Different cheeses – Switch Gouda for any melting cheese like mozzarella or cheddar for a personalized touch.
Get ready to gather your ingredients and embark on a delicious adventure with these Maple Chicken Bacon Sliders!
Step‑by‑Step Instructions for Maple Chicken Bacon Sliders
Step 1: Preheat Oven
Begin by preheating your oven to 375°F (190°C). This temperature will ensure that your Maple Chicken Bacon Sliders bake evenly and develop a golden-brown crust. As the oven warms up, it’s a great time to gather all your ingredients and equipment, including a baking sheet and a sharp knife.
Step 2: Prepare Rolls
While the oven is heating, take your package of King’s Hawaiian rolls and slice them horizontally. Keep the tops and bottoms connected to make assembly easier. This will create the perfect base for your Maple Chicken Bacon Sliders while allowing the rich flavors to meld together beautifully.
Step 3: Add Maple Butter
Spread a generous layer of maple butter on the bottom half of the rolls. Make sure the maple butter is evenly distributed, giving the sliders a sweet, rich flavor that balances the savory chicken and bacon. This step is essential for infusing your sliders with that irresistible sweet taste.
Step 4: Assemble Filling
Layer the cooked chicken breast strips over the maple butter on the bottom half of the rolls. Follow this with crispy bacon slices, stacking them evenly for a satisfying crunch in every bite. The combination of flavors in your Maple Chicken Bacon Sliders will start to take shape beautifully at this stage.
Step 5: Add Cheese and Top
Next, place slices of Gouda cheese over the bacon. The gooey texture will melt perfectly as the sliders bake, contributing to the overall deliciousness of the dish. Once the cheese is in place, cover it with the top half of the rolls, preparing your sliders for baking.
Step 6: Bake
Place the assembled sliders on a baking sheet and slide them into the preheated oven. Bake for 10 to 15 minutes until the cheese is melted and the tops are golden brown. Keep an eye on them; you’ll know they are done when the aroma fills your kitchen, and the sliders are beautifully crisp.
Step 7: Finish and Serve
Once out of the oven, brush your Maple Chicken Bacon Sliders with more maple butter for an extra touch of sweetness. Allow them to cool for a moment before cutting them into individual sliders. Serve warm and watch as your guests dive into these delightful bites, making them the highlight of any gathering.
How to Store and Freeze Maple Chicken Bacon Sliders
Fridge: Store leftover sliders in an airtight container in the refrigerator for up to 2 days. Reheat in the oven to maintain their crispy texture.
Freezer: For longer storage, wrap assembled but unbaked sliders tightly in plastic wrap and foil, then freeze for up to 3 months. Bake directly from frozen, adding a few extra minutes to the baking time.
Reheating: To reheat baked sliders, place them in a 350°F (175°C) oven for about 10 minutes. This ensures they’re warm and the cheese remains melty, keeping your Maple Chicken Bacon Sliders delicious!
Preparation Tip: You can also assemble sliders ahead of time and refrigerate them overnight. This makes for a quick bake just before serving!
Maple Chicken Bacon Sliders Variations
Feel free to put your personal spin on these sliders for an even more delightful experience!
- Dairy-Free Cheese: Use dairy-free cheese alternatives to suit lactose sensitivities without sacrificing flavor or texture.
- Gluten-Free Rolls: Opt for gluten-free Hawaiian rolls to ensure that everyone can enjoy these scrumptious sliders. They’ll taste just as delicious!
- Turkey Option: Substitute leftover turkey for a festive twist, particularly great after holiday celebrations. The mix of flavors will keep everyone coming back for more!
- Spicy Kick: Add sliced jalapeños or a drizzle of hot sauce for those who crave a little heat with their sweet. It’s a fun way to elevate the sliders to a new level.
- Savory Additions: Layer in caramelized onions or sautéed mushrooms to deepen the savory profile, making the sliders irresistible. These additions introduce gourmet flair!
- Flavorful Toppings: Top with fresh herbs like parsley or basil after baking for an aromatic touch that brightens every bite. These sliders will not only taste better but also look stunning.
- BBQ Twist: Swap maple butter for a smoky BBQ sauce to create a different flavor profile that pairs beautifully with the chicken and bacon. For another amazing BBQ treat, check out my recipe for Bbq Bacon Ranch.
- Cheese Medley: Mix different melting cheeses like mozzarella and cheddar to create a gooey, cheesy experience in every mouthful. It’s sure to be a crowd favorite, reminiscent of my beloved Garlic Parmesan Chicken dish!
The beauty of these Maple Chicken Bacon Sliders is their flexibility—experiment and enjoy finding your family’s favorite combination!
What to Serve with Maple Chicken Bacon Sliders?
Delight your guests with the perfect accompaniments that will elevate your slider experience to a full-fledged feast.
- Crispy Sweet Potato Fries: The sweet-savory balance complements the sliders’ flavors and adds a satisfying crunch to your meal.
- Garden Salad: A fresh, light salad with mixed greens, cherry tomatoes, and a lemon vinaigrette brings brightness to the rich sliders.
- Roasted Brussels Sprouts: Caramelized and slightly smoky, these vibrant greens add a pop of color and flavor contrast, making your plate visually appealing.
- Cheesy Garlic Bread: With its buttery richness, this side will add a comforting, indulgent touch that pairs beautifully with the sliders.
- Coleslaw: A tangy, crunchy slaw enhances the sliders’ sweetness and provides an extra layer of texture to each bite.
Consider serving a light, sparkly lemonade or iced tea to keep things refreshing and balanced. Your Maple Chicken Bacon Sliders will shine even brighter among these tasty companions!
Make Ahead Options
These Maple Chicken Bacon Sliders are perfect for meal prep enthusiasts! You can assemble the sliders up to 24 hours in advance by following the first five steps of the recipe and then cover them tightly with plastic wrap to prevent drying out. Store them in the refrigerator until you’re ready to bake. This preparation not only saves time but also ensures the sliders are just as delicious when baked fresh. When you’re ready to serve, simply preheat your oven and bake the sliders for 10 to 15 minutes until the cheese is melted and the tops are golden brown. Enjoy your hassle-free, homemade goodness!
Expert Tips for Maple Chicken Bacon Sliders
-
Assemble Ahead: Prepare sliders the night before and refrigerate. Bake just before serving for fresh, warm goodness.
-
Avoid Sogginess: Brush the rolls with maple butter just before baking. This prevents the bread from becoming too damp and keeps them delightful.
-
Cheese Choices: Choose a melting cheese like mozzarella or cheddar for gooey sliders. Avoid hard cheeses, as they may not melt well.
-
Storage Savvy: Store leftovers in an airtight container in the fridge for up to two days. Reheat in the oven at 350°F for 10 minutes to preserve moisture.
-
Add Greens: Incorporate baby spinach or arugula for added freshness and flavor. It’s an easy way to make your Maple Chicken Bacon Sliders even more vibrant!
Maple Chicken Bacon Sliders Recipe FAQs
What type of rolls should I use for Maple Chicken Bacon Sliders?
I recommend using King’s Hawaiian Rolls for their slightly sweet flavor and soft texture. However, if you’re looking for a gluten-free option, you can easily substitute them with gluten-free rolls. Just make sure they are soft enough to hold up when filled!
How long can I store leftover sliders in the fridge?
Store your leftover Maple Chicken Bacon Sliders in an airtight container in the fridge for up to 2 days. To reheat, pop them in a 350°F (175°C) oven for about 10 minutes, which will help restore their moisture and crispness. Enjoy them just as freshly baked!
Can I freeze Maple Chicken Bacon Sliders?
Absolutely! To freeze unbaked sliders, wrap them tightly in plastic wrap and then in aluminum foil. They can be frozen for up to 3 months. When you’re ready to bake, just remove the wrapping and bake directly from frozen, adding a few extra minutes to ensure they cook through.
How can I prevent my sliders from getting soggy?
That’s a great question! To avoid sogginess, brush your rolls with maple butter just before baking and ensure the filling isn’t overly moist. Adding greens like baby spinach can help soak up excess moisture, keeping your sliders perfectly delightful!
Are there any dietary considerations I should know about?
Yes! If you’re cooking for guests with dietary restrictions, you can swap the Gouda with dairy-free cheese alternatives and use turkey bacon or plant-based substitutes for the bacon. For gluten-free diets, simply use gluten-free rolls, and you’re good to go!

Savory Maple Chicken Bacon Sliders for Cozy Gatherings
Ingredients
Equipment
Method
- Preheat your oven to 375°F (190°C). Gather all your ingredients and equipment.
- Slice the King's Hawaiian rolls horizontally, keeping tops and bottoms connected.
- Spread a layer of maple butter on the bottom half of the rolls.
- Layer the cooked chicken breast strips over the maple butter.
- Add slices of crispy bacon on top.
- Place slices of Gouda cheese over the bacon.
- Cover with the top half of the rolls and place on a baking sheet.
- Bake for 10 to 15 minutes until the cheese is melted and tops are golden brown.
- Brush with more maple butter after baking and cut into individual sliders.
Leave a Reply