
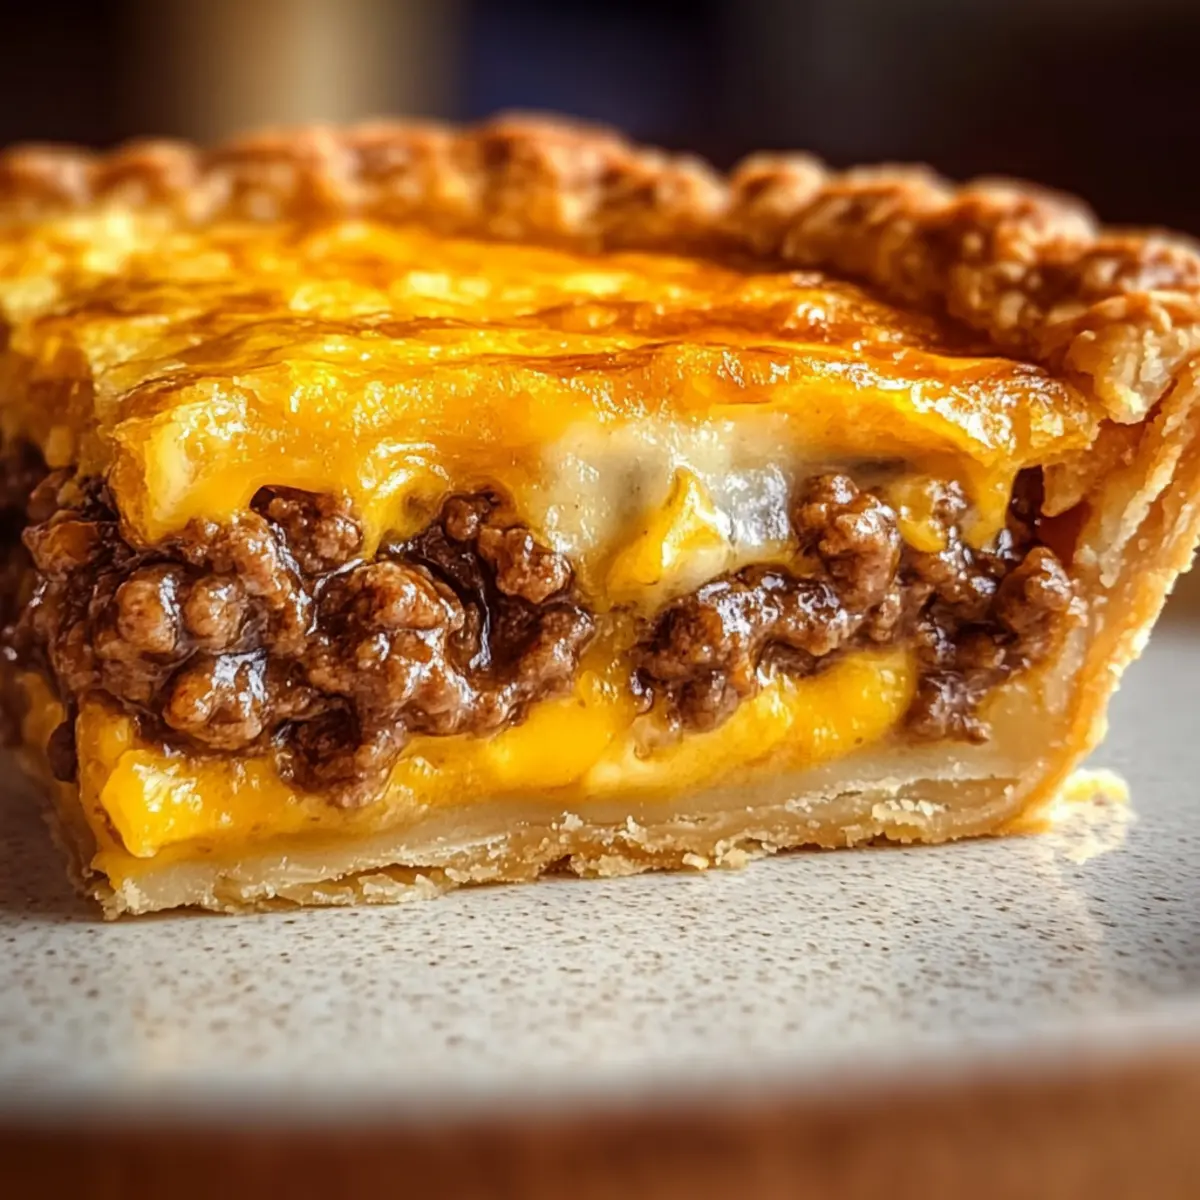
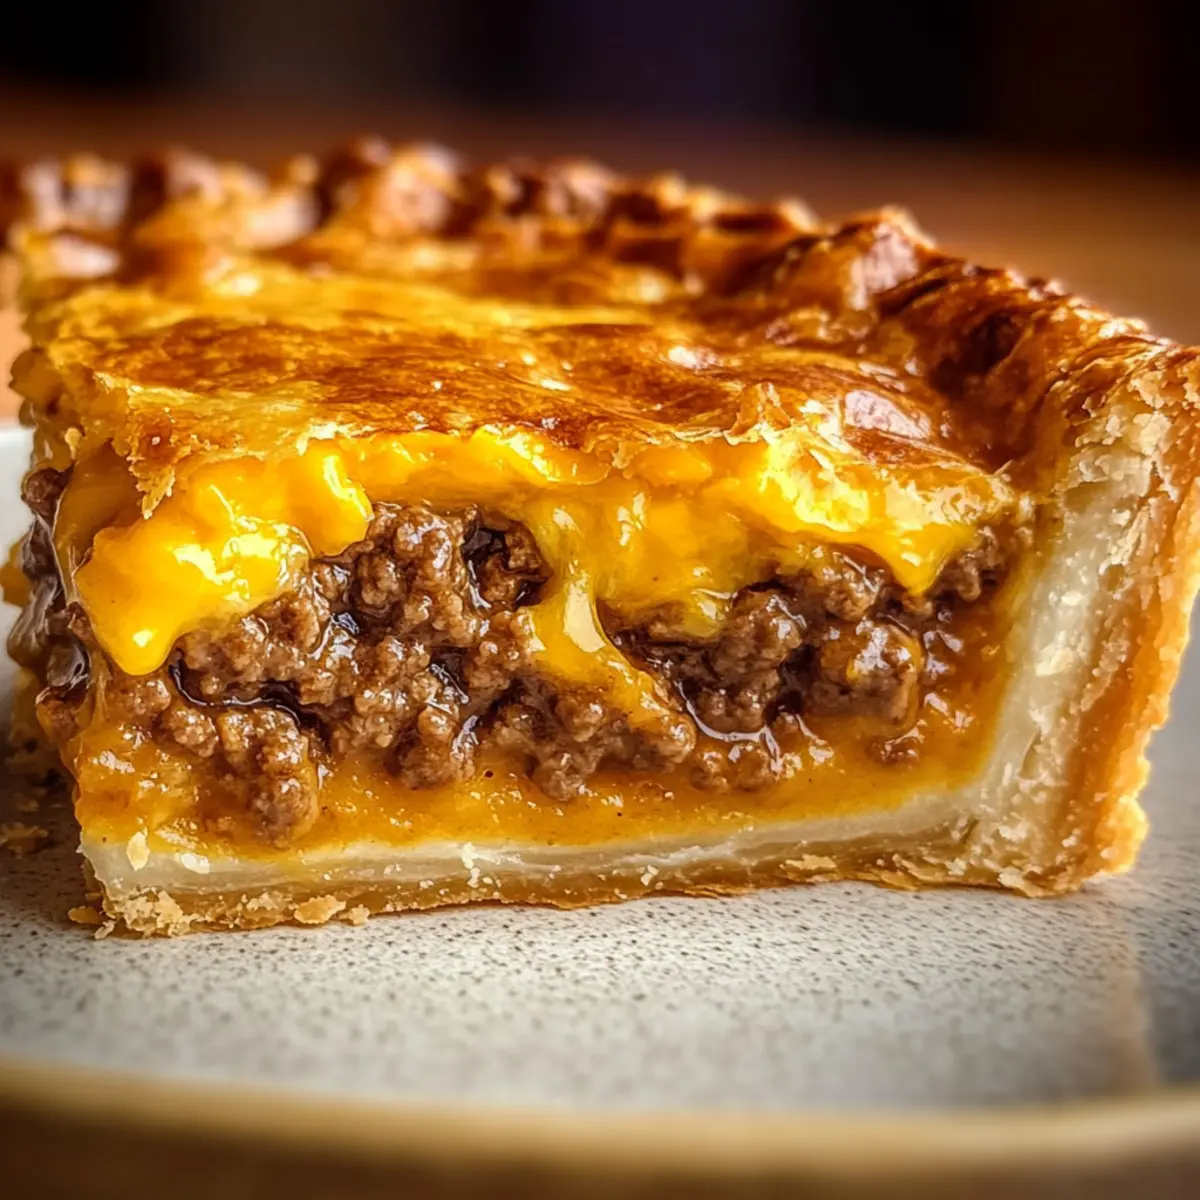
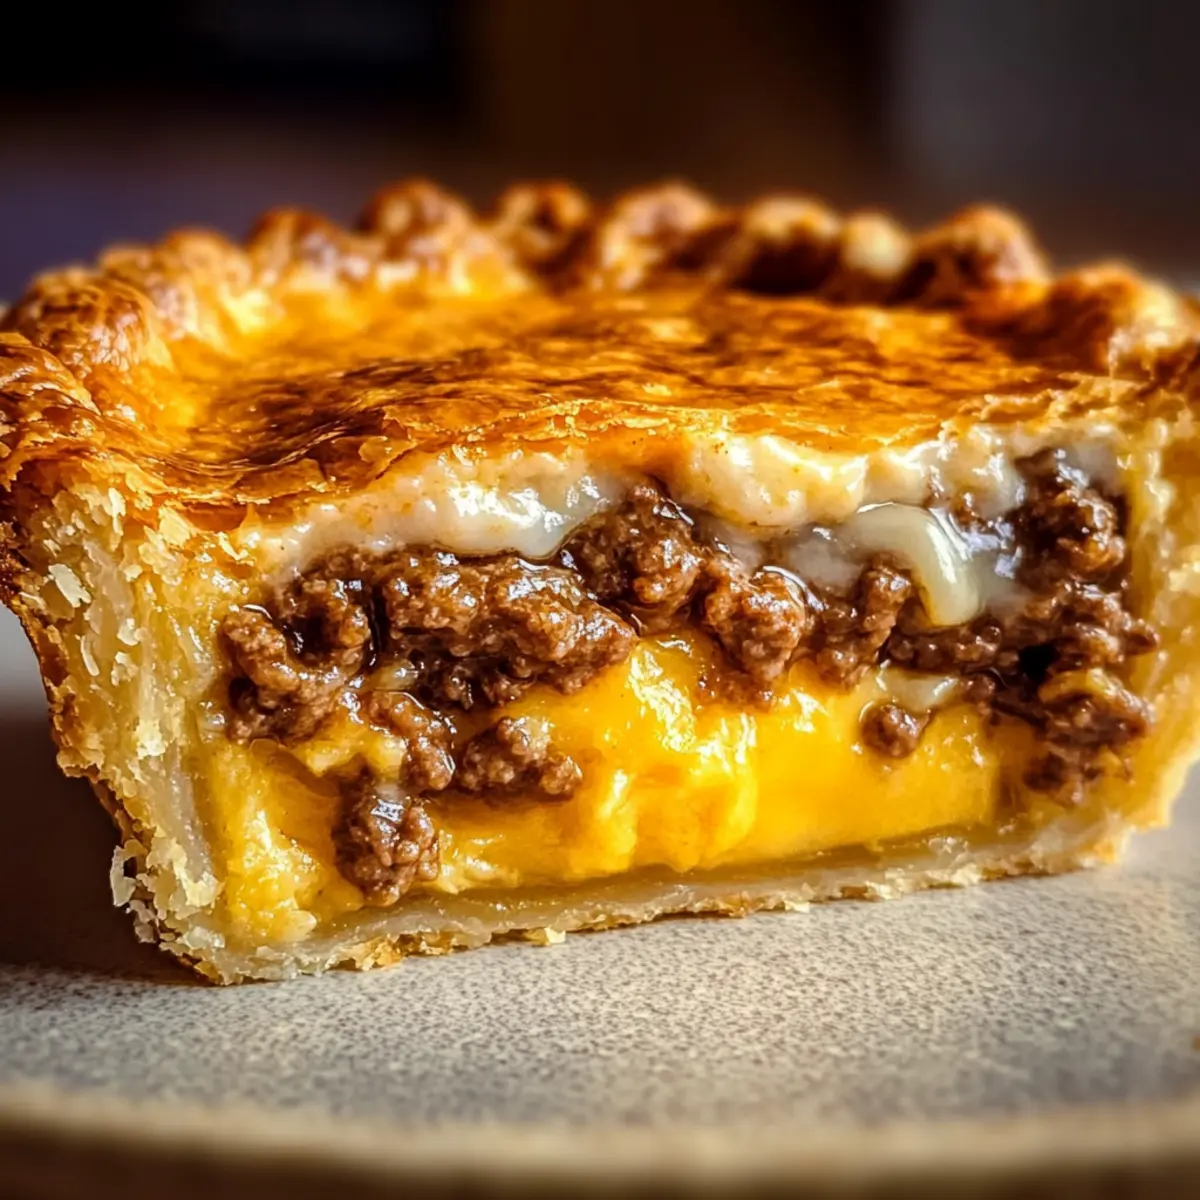
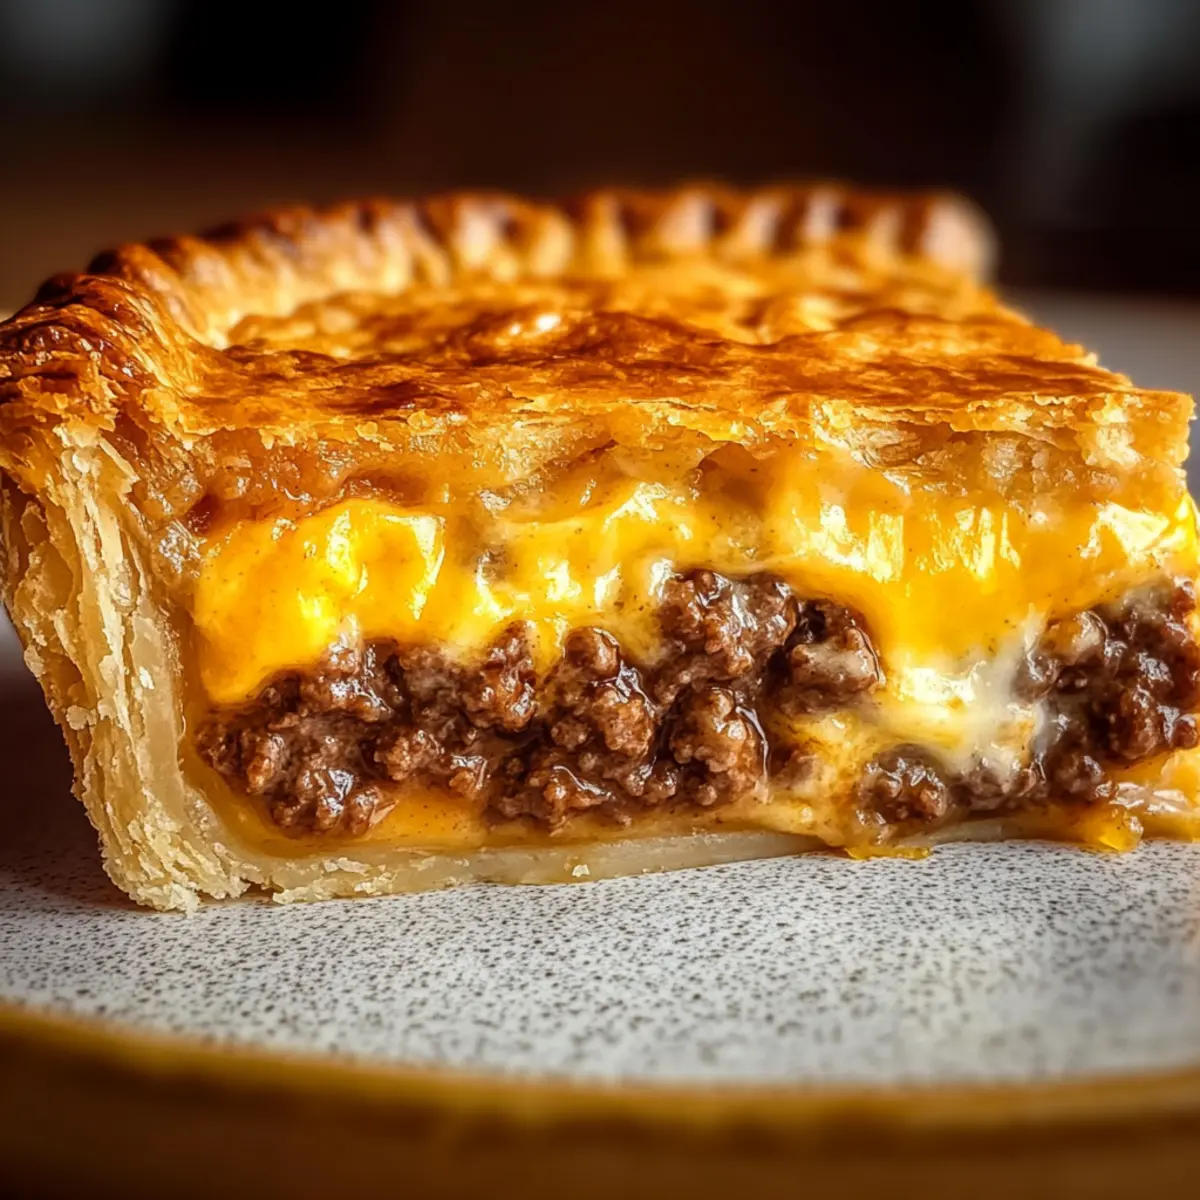
“Did you hear that?” the laughter across the table mixed with the enticing aroma wafting from the kitchen. Homemade cheeseburger pie was about to steal the show! This dish hugs you with the comforting flavors of a classic cheeseburger, wrapped up in a light, golden crust that makes every bite feel like a warm hug. Perfectly hearty and satisfyingly simple, this cheeseburger pie is not only a crowd-pleaser but also a make-ahead friendly option for those busy weeknights or spontaneous family gatherings. Plus, it neatly encapsulates everything you’d love about a burger without the fuss of grilling. Why settle for takeout when you can whip up this deliciously easy one-dish meal in no time? Ready to create some tasty memories? Let’s dive into the recipe!
Why is this cheeseburger pie a must-try?
Hearty Comfort: This cheeseburger pie brings together all the flavors of your favorite burger in a simple, one-dish meal that’s perfect for any night of the week.
Make-Ahead Friendly: Prepare the filling in advance and bake when you’re ready! This ensures you spend less time in the kitchen during busy weeknights.
Crowd-Pleasing: Whether it’s a family gathering or a cozy dinner with friends, this dish guarantees smiles all around, making it a great addition to your rotation alongside favorites like Sweet Corn Pie or Pierogi Dill Soup.
Endless Variations: Feel free to mix things up—add in some veggies or experiment with different cheeses for a fun twist every time you make it!
Easy Cleanup: With everything baked in one pie dish, cleanup becomes a breeze, leaving you more time to savor your delicious creation together.
Cheeseburger Pie Ingredients
• Get ready to create this satisfying comfort food!
For the Filling
- Ground Beef – This primary protein adds rich flavor; try ground turkey for a lighter twist.
- Onion – Use yellow or white onion for sweetness and depth in the meat mixture.
- Cheddar Cheese – Provides a creamy melting quality; substitute with mozzarella or a spicy cheese blend for variety.
- Salt and Black Pepper – Essential seasonings that enhance the overall flavor of the cheeseburger pie.
- Garlic Powder – Delivers extra savory depth; fresh minced garlic can also work beautifully.
- Worcestershire Sauce (optional) – Imparts umami flavor; soy sauce is a suitable alternative if needed.
For the Custard Topping
- Eggs – Serves as the binding agent for that perfect custard-like crust.
- Milk – Adds creaminess; replace with a non-dairy option if needed for lactose sensitivity.
- All-Purpose Flour – Provides essential structure; consider gluten-free flour if required.
For Assembly
- Cooking Spray or Butter – Grease the pie dish to prevent sticking and ensure a smoothly served pie.
Now you’re ready to bring this cheeseburger pie to life and enjoy a dish that wraps the comforting essence of a classic burger in every bite!
Step‑by‑Step Instructions for Cheeseburger Pie
Step 1: Preheat the Oven
Begin by preheating your oven to 400°F (200°C). This critical first step ensures your cheeseburger pie will cook evenly, achieving that perfect golden crust. While it’s heating, get your ingredients ready, and gather your trusty 9-inch pie dish, which will hold all the delightful layers you’ll create.
Step 2: Brown the Meat
In a skillet over medium heat, add your ground beef and chopped onion. Cook this mixture for about 7–10 minutes, stirring often until the meat is browned and the onion is tender. Once cooked, remember to drain any excess fat to keep your cheeseburger pie from becoming greasy and to maintain a deliciously light texture.
Step 3: Season the Mixture
Once your beef and onion are cooked and drained, season the mixture with salt, black pepper, garlic powder, and Worcestershire sauce, if you’re using it. Stir well to distribute the seasonings evenly throughout the mixture, enhancing the flavors of your homemade cheeseburger pie. This step should take just a couple of minutes to ensure everything is well combined.
Step 4: Prepare the Pie Dish
Lightly grease your 9-inch pie dish with cooking spray or butter to prevent sticking. Spread the seasoned meat mixture evenly across the bottom of the pie dish, followed by a generous sprinkle of shredded cheddar cheese on top. This layer of cheese will melt beautifully as it bakes, creating that gooey cheeseburger experience everyone loves.
Step 5: Whisk the Custard
In a separate bowl, whisk together the eggs, milk, and flour until the mixture is completely smooth and no lumps remain. This custard mixture will form the topping of your cheeseburger pie, binding all components together for a hearty yet fluffy finish. Take a moment to ensure it’s well mixed, as this ensures the best texture in your final dish.
Step 6: Assemble the Pie
Pour the egg mixture over the meat and cheese layers in the pie dish, making sure it covers everything evenly. Give the pie dish a gentle shake to distribute the custard properly, allowing it to seep between the meat and cheese. This step is essential for ensuring you get that comforting cheeseburger experience in every bite of your pie.
Step 7: Bake the Cheeseburger Pie
Place your assembled cheeseburger pie in the preheated oven and bake for 25–30 minutes. Keep an eye on it and look for a deep golden color on the top; you want to make sure the center is set and no longer jiggly. This baking time allows all the flavors to meld beautifully while the custard turns into its comforting final form.
Step 8: Cool and Serve
After baking, remove your cheeseburger pie from the oven and allow it to cool slightly for about 5–10 minutes. This rest period helps the pie firm up a bit, making it easier to slice. Once ready, cut into wedges and serve warm—it’s a delightful dish that brings smiles to everyone around the table!
Cheeseburger Pie Variations & Substitutions
Feel free to get creative with your cheeseburger pie and make it your own with these fun variations!
-
Vegetable Add-Ins: Enhance your pie by adding finely chopped bell peppers, spinach, or mushrooms to the beef mixture, boosting both flavor and nutrition.
-
Different Cheese Options: Switch up the cheese! Pepper jack adds a delightful kick, while cream cheese lends extra creaminess. You can even mix and match for customized results.
-
Dairy-Free Delight: Substitute regular milk with almond or oat milk, and use dairy-free cheese for a lactose-free version that doesn’t compromise on taste.
-
Whole Wheat Flour: Swap all-purpose flour for whole wheat flour in the custard topping for a heartier and more nutritious option.
-
Spicy Kick: If you love heat, stir in some diced jalapeños or crushed red pepper flakes with the beef mixture for a fiery twist that packs a punch!
-
Herb Infusion: Add a touch of freshness by incorporating fresh herbs like parsley or chives into your meat mixture for a burst of flavor.
-
Topping Twist: Try topping your pie with crispy fried onions or breadcrumbs mixed with parmesan for added texture and a delicious crunch.
-
Flavor Boost: Drizzle a little Dijon mustard or stir in some tomato paste into the beef mixture for an extra flavor boost that brings the cheeseburger experience even closer to home.
No matter how you decide to customize it, this cheeseburger pie offers endless possibilities that cater to your family’s tastes and preferences. Expand your usual comfort food rotation and try serving this interpretation alongside Sweet Corn Pie or a warm bowl of Pierogi Dill Soup for a delightful meal that everyone will love!
How to Store and Freeze Cheeseburger Pie
Fridge: Seal any leftover cheeseburger pie in an airtight container and store it in the fridge for up to 3 days. This will keep the flavors fresh and the crust intact.
Freezer: For longer storage, freeze slices of the cheeseburger pie in airtight containers or heavy-duty freezer bags for up to 2 months. Wrap slices well to avoid freezer burn.
Reheating: To reheat, place the slices in a 350°F (175°C) oven for about 15-20 minutes until warmed through. This will help retain the pie’s delicious texture and flavors.
Make-Ahead Tip: Consider preparing the filling separately and refrigerating it before baking. This way, you can combine it with the custard right before baking for a warm, freshly baked cheeseburger pie.
Expert Tips for Cheeseburger Pie
-
Crispy Crust: Drain excess fat from the meat to avoid a soggy crust, and consider mixing a tablespoon of flour with the beef for moisture absorption.
-
Perfect Baking: Bake until the top is a deep golden brown and the center is firm. It should not jiggle when gently shaken—it’s all about achieving that ideal texture!
-
Cooling is Key: Allow the pie to cool slightly before slicing. This ensures clean cuts and keeps the filling intact, making for beautiful servings of your cheeseburger pie.
-
Make-Ahead Magic: Prepare the filling in advance, refrigerate, and combine it with the custard right before baking to keep flavors fresh and maximize convenience.
-
Freezing Tips: If you have leftovers, cool the baked pie completely before freezing. Wrap slices tightly to preserve freshness, and reheat in the oven for the best results.
What to Serve with Homemade Cheeseburger Pie
Create a delightful dining experience by pairing your cheeseburger pie with complementary sides and treats that enhance its comforting flavors.
-
Crispy French Fries: The salty crunch of freshly baked fries mirrors the hearty cheeseburger pie’s textures, making it a classic pairing.
-
Simple Garden Salad: A fresh mix of greens and veggies provides a light, crisp contrast that balances the richness of the pie.
-
Coleslaw: Creamy coleslaw offers a zesty crunch, adding freshness that complements the savory flavors beautifully. The tang from the dressing can elevate each bite.
-
Garlic Bread: A side of warm garlic bread brings an aromatic element to the table, perfect for soaking up any extra cheesy goodness left on your plate.
-
Pickles or Pickled Vegetables: The tangy bite of pickles provides a refreshing contrast and brightens the dish, enhancing the cheeseburger pie’s flavor profile.
-
Ketchup and Mustard Dipping Sauces: Essential condiments amplify the burger experience, allowing guests to indulge in familiar flavors.
-
Warm Chocolate Chip Cookies: End your meal on a sweet note! Soft cookies bring comfort and a nostalgic touch, especially when served with a glass of cold milk.
-
Root Beer Float: A frothy root beer float pairs the sweet, creamy beverage with your meal, adding a fun twist that recalls classic diner experiences.
Make Ahead Options
These Homemade Cheeseburger Pie preparations are perfect for busy weeknights! You can prepare the filling (ground beef, onions, and seasonings) up to 3 days in advance; simply store it in an airtight container in the refrigerator to keep it fresh. Additionally, you can whisk together the eggs, milk, and flour mixture and refrigerate it for up to 24 hours. This way, everything is ready to assemble and bake when you need it. Just combine the filling and the custard mixture in your pie dish, and then bake according to the original instructions. This prep ensures your cheeseburger pie tastes just as delicious while saving you time in the kitchen!
Cheeseburger Pie Recipe FAQs
What kind of ground beef should I use for the cheeseburger pie?
Absolutely! I recommend using 80% lean ground beef for the perfect balance of flavor and moisture. If you want a lighter dish, ground turkey is a fantastic substitute that still packs in deliciousness without the added fat.
How should I store leftovers from the cheeseburger pie?
You can store any leftover cheeseburger pie in an airtight container in the fridge for up to 3 days. Be sure to let it cool fully before sealing it up to maintain its delightful texture and flavors.
Can I freeze cheeseburger pie? If so, how?
Yes, definitely! Allow the baked pie to cool completely, then wrap slices tightly in plastic wrap and place them in an airtight freezer bag or container. It will stay good for up to 2 months. When you’re ready to enjoy, reheat in the oven at 350°F (175°C) for about 15-20 minutes for the best results!
What should I do if my pie is too runny?
If your cheeseburger pie turns out a bit runny, it’s likely that it didn’t set properly during baking. Be sure to bake until the top is a deep golden brown and the center feels firm to the touch. To avoid runniness in the future, make sure to drain excess fat from the ground beef and allow the pie to rest for a few minutes before slicing—it helps it set up better!
Is this recipe suitable for people with lactose intolerance?
Absolutely! If you’re lactose intolerant, you can easily substitute the milk with a non-dairy alternative, such as almond milk or oat milk, and use lactose-free cheese. It will still be delicious and comforting!
Cheeseburger Pie: The Ultimate Comfort Dish for Any Night
Ingredients
Equipment
Method
- Preheat your oven to 400°F (200°C).
- In a skillet over medium heat, add your ground beef and chopped onion. Cook for about 7–10 minutes until browned and tender. Drain any excess fat.
- Season the mixture with salt, black pepper, garlic powder, and Worcestershire sauce. Stir well to combine.
- Lightly grease your 9-inch pie dish with cooking spray or butter. Spread the seasoned meat mixture evenly on the bottom, topped with cheddar cheese.
- In a bowl, whisk together eggs, milk, and flour until smooth. Pour this custard mixture over the meat and cheese layers in the pie dish.
- Place the assembled pie in the preheated oven and bake for 25–30 minutes until golden brown and the center is set.
- Allow the pie to cool for 5–10 minutes before slicing and serving.
Leave a Reply