
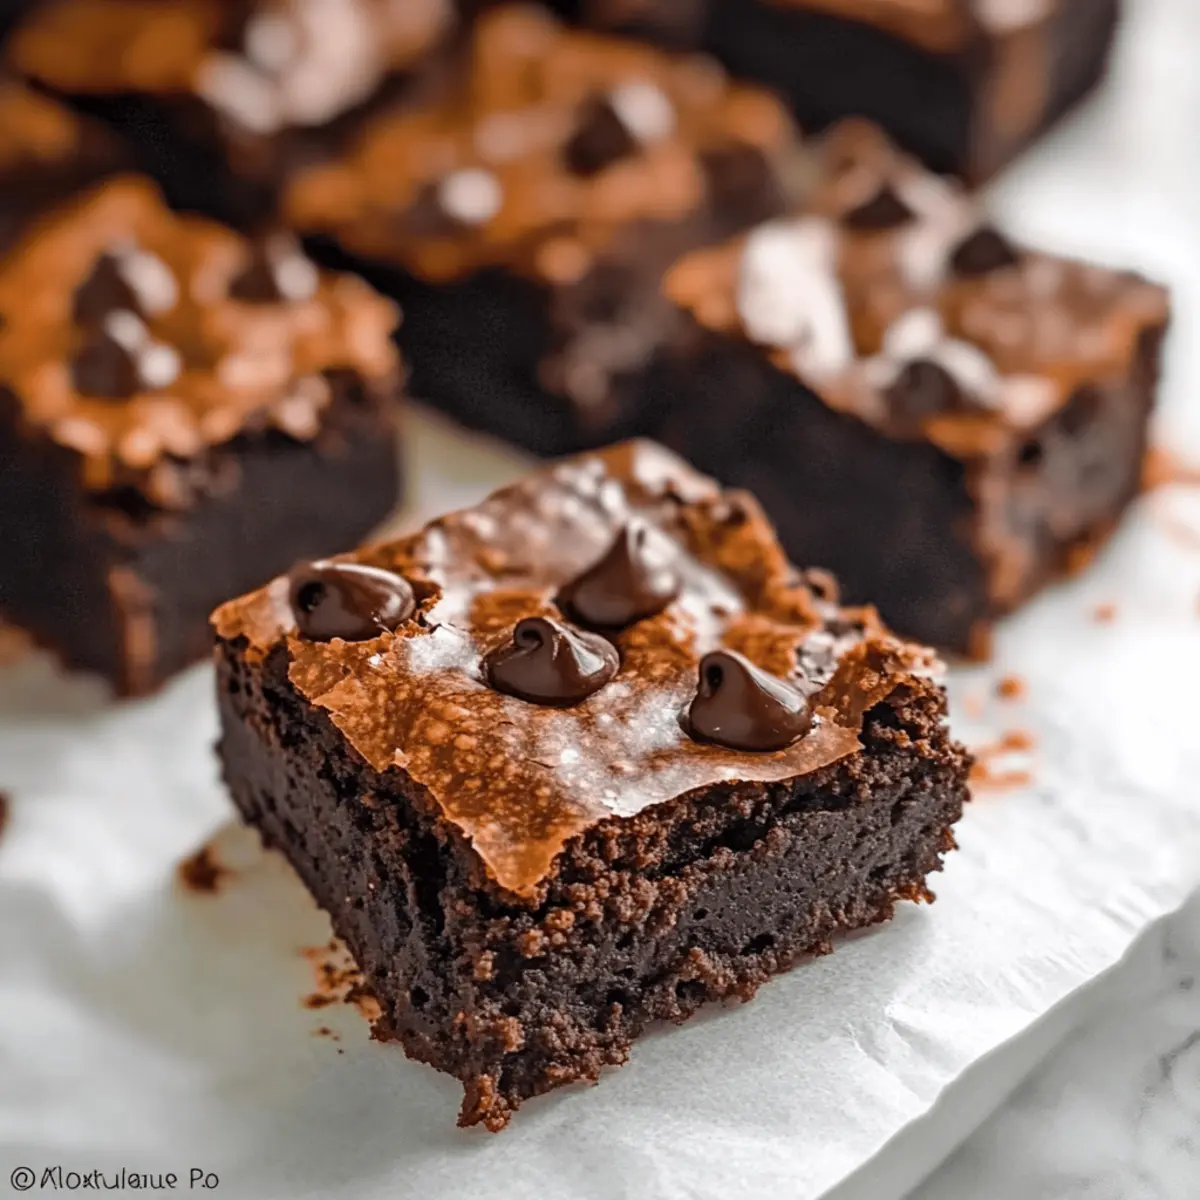
As I stood by the oven, the comforting scent of warm spices wafted through my kitchen, instantly transporting me to cozy autumn evenings. This is the magic of these 4-Ingredient Flourless Pumpkin Brownies – a vegan and gluten-free dessert that combines indulgence with health in one delightful package. Made with just four simple ingredients, this recipe proves that whipping up a crowd-pleaser doesn’t have to be complicated. Not only are these brownies rich and fudgy, but they also deliver a healthy twist on traditional sweets, making them perfect for anyone looking to satisfy their sweet tooth without the guilt. Ready to dive into a world of delicious flavors and heartwarming textures? Trust me, you won’t want to miss out on this fall-inspired treat!
Why Are These Pumpkin Brownies Special?
Simplicity at Its Finest: With just four ingredients, whipping up these brownies is effortless—perfect for those hectic days.
Guilt-Free Indulgence: These pumpkin brownies are both vegan and gluten-free, allowing everyone to enjoy a sweet treat without compromising health.
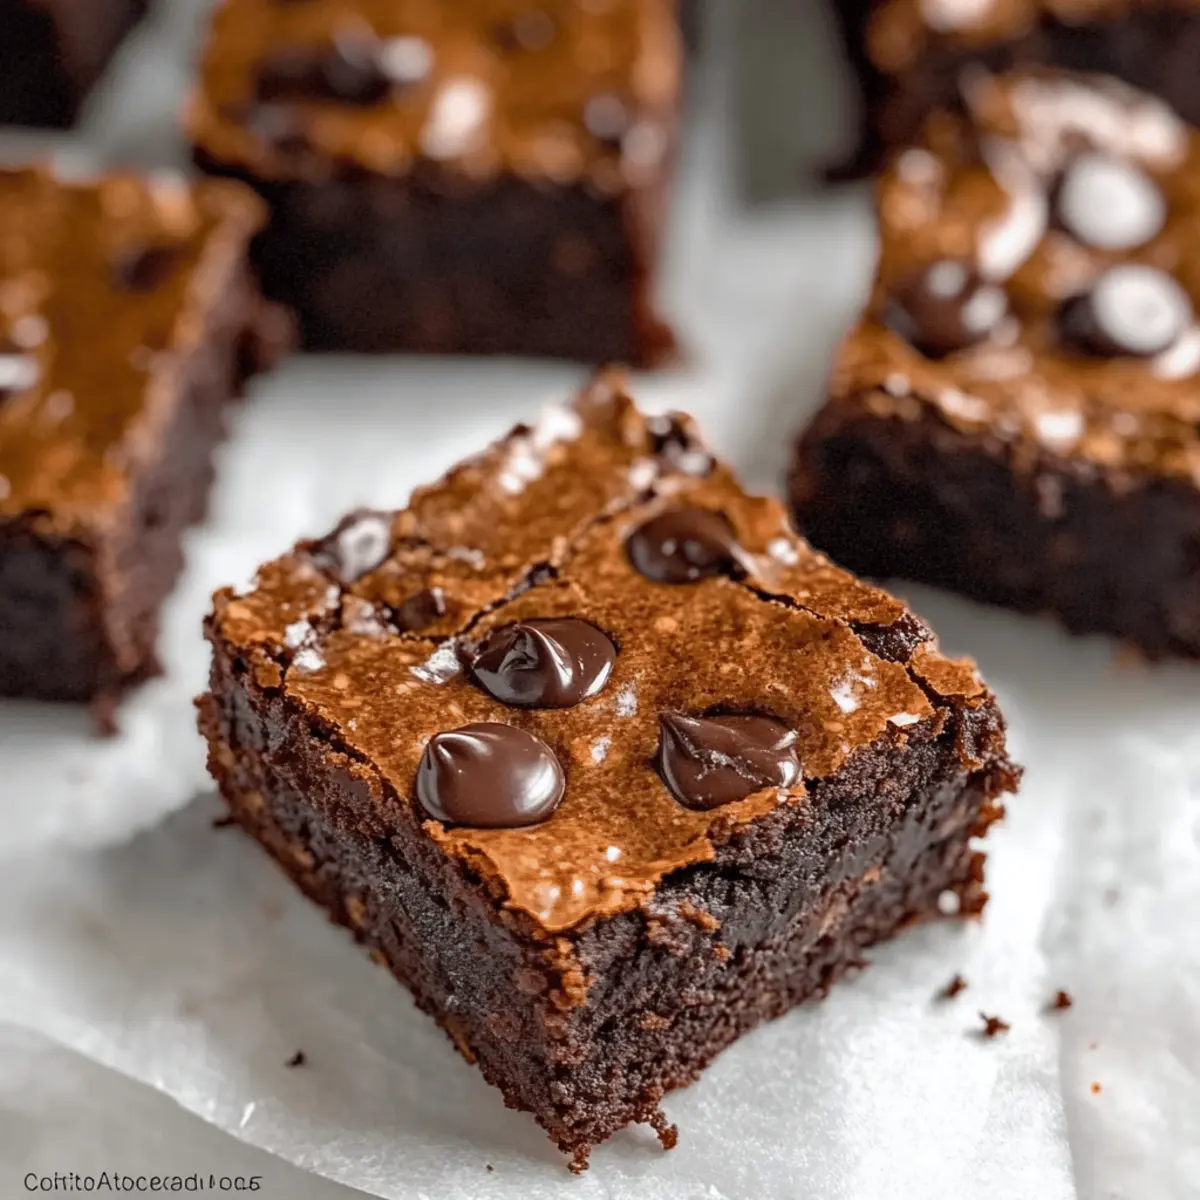
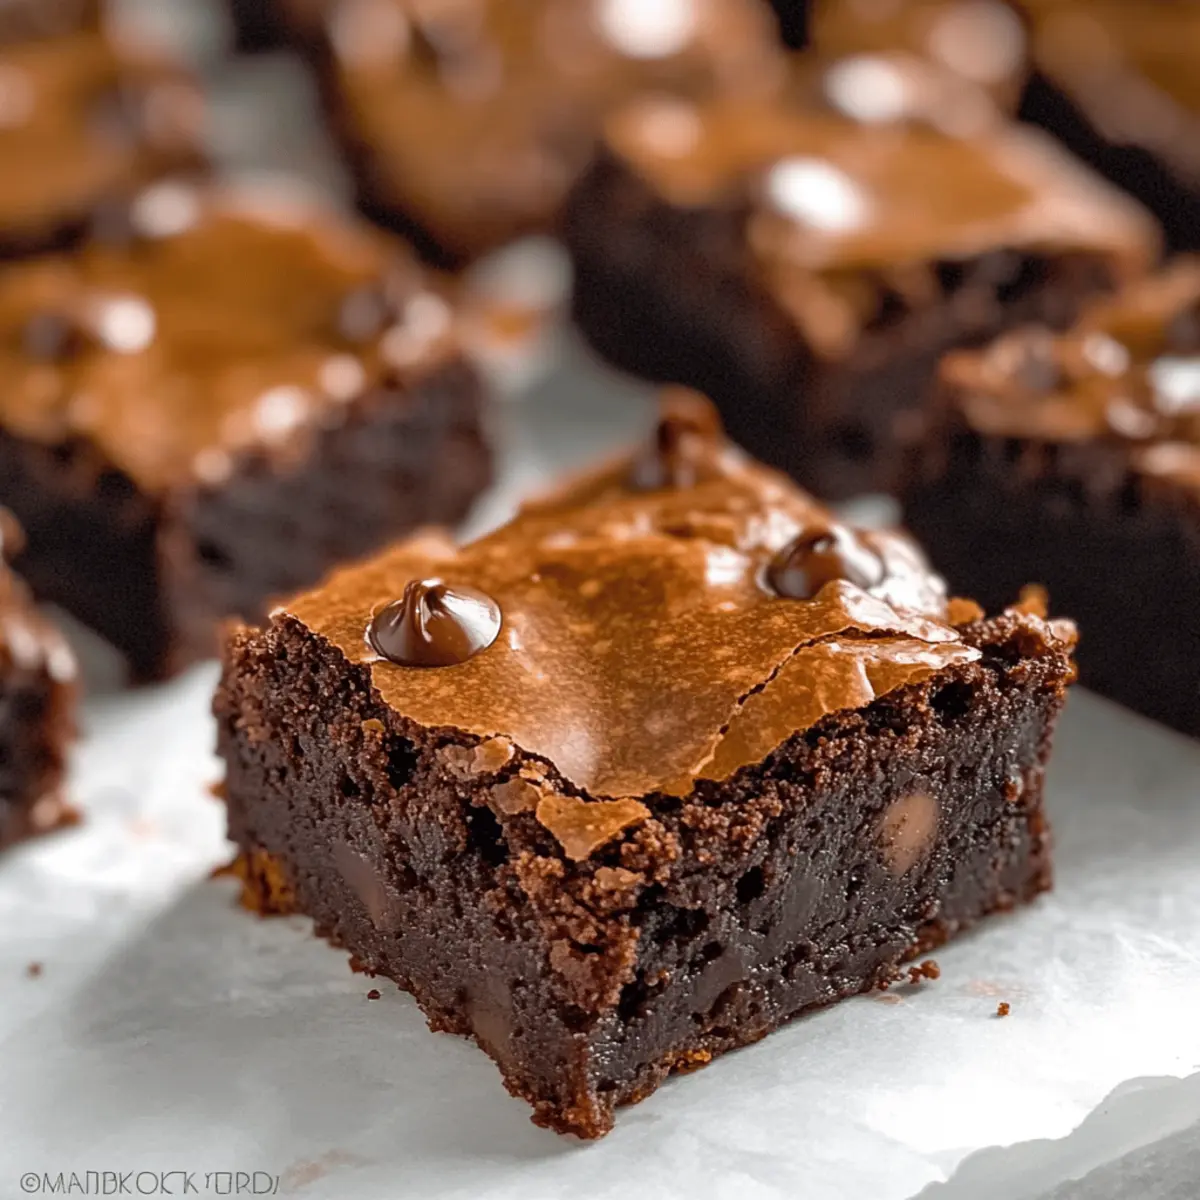
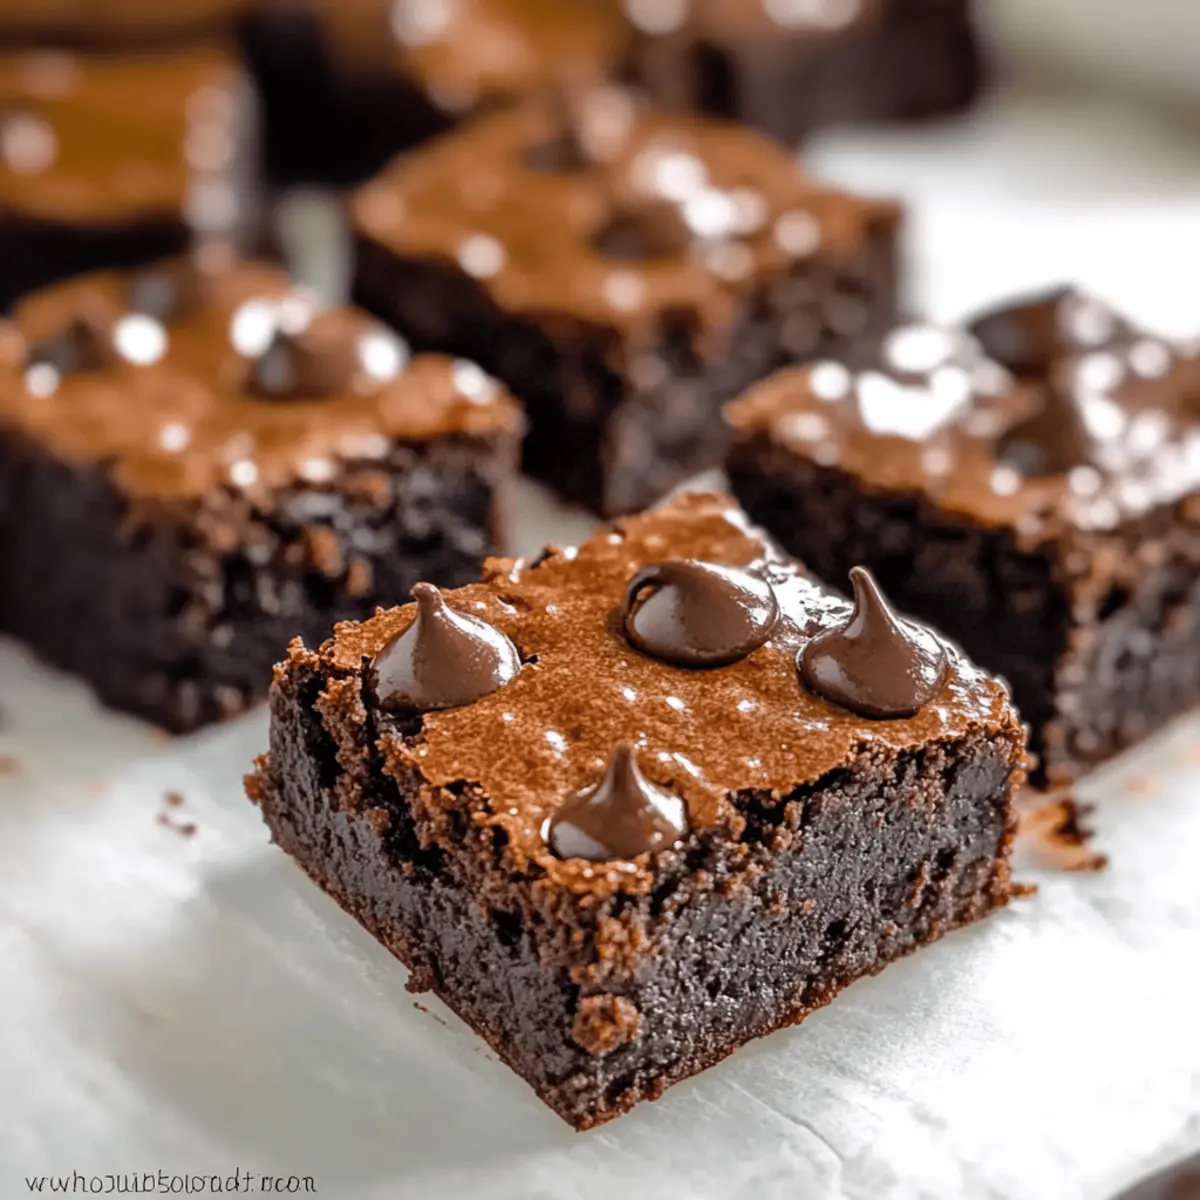
Rich and Fudgy Texture: You’ll love the dense, fudgy consistency that this recipe delivers. It rivals any traditional brownie!
Versatile Options: Feel free to swap almond butter for your favorite nut butter or mix in chocolate chips for an added indulgence.
Perfect for Fall Gatherings: These brownies are not just a dessert—they’re a conversation starter and a crowd pleaser. Serve them warm with a scoop of vegan ice cream for an extra treat, just like in my recipe for Salt Caramel Brownies. You’ll have guests coming back for more!
Pumpkin Brownie Ingredients
For the Brownies
- Pumpkin Puree – Use 100% pure pumpkin puree for moisture and flavor; avoid pumpkin pie filling as it has added sugars.
- Almond Butter – A binding agent that adds creaminess; substitute with peanut or cashew butter for a different taste.
- Maple Syrup – This natural sweetener elevates the sweetness; you can replace it with honey, agave syrup, or date syrup if desired.
- Cocoa Powder – Adds rich chocolate flavor; ensure it’s unsweetened, or try Dutch cocoa or cacao powder as alternatives.
Optional Enhancements
- Vanilla Extract – A dash boosts the flavor profile of these pumpkin brownies.
- Chocolate Chips – Fold in some chocolate chips for an extra layer of indulgence and richness.
These Pumpkin Brownies are as easy to make as they are delightful to eat, and with such simple ingredients, it’s hard to resist whipping up a batch!
Step‑by‑Step Instructions for Pumpkin Brownies
Step 1: Prep the Oven and Pan
Begin by preheating your oven to 350°F (180°C). While it warms, prepare a 7×7 inch (15 cm x 15 cm) brownie pan by lining it with parchment paper, allowing some overhang for easy removal later. This ensures your flourless Pumpkin Brownies come out easily and maintain a beautiful shape.
Step 2: Mix the Ingredients
In a large mixing bowl, combine 1 cup of pumpkin puree, 1 cup of almond butter, 1/2 cup of maple syrup, and 1/2 cup of unsweetened cocoa powder. Use a spatula or whisk to blend these ingredients until they form a smooth and creamy batter, making sure there are no lumps. If desired, stir in a splash of vanilla extract or a handful of chocolate chips for an extra touch of decadence.
Step 3: Spread the Batter
Once your batter is well-mixed, pour it into the prepared brownie pan. Use a spatula to spread it evenly, ensuring the top is level for uniform baking. Take a moment to admire the rich chocolate color before placing the pan in the oven. This step is crucial for achieving a fudgy texture in your flourless Pumpkin Brownies.
Step 4: Bake the Brownies
Bake the brownies in your preheated oven for 25-30 minutes. Keep an eye on them toward the end of the baking time; they are ready when the center no longer appears wet and a toothpick inserted comes out clean. The edges may look slightly firm, but the center will feel soft and gooey, which is ideal for this recipe.
Step 5: Cool Before Slicing
After removing the pan from the oven, let the brownies cool completely in the pan on a wire rack. Patience is key! Cooling allows the brownies to set, ensuring that they slice neatly without crumbling. This step can take about 30-45 minutes, so you can prepare your favorite toppings while you wait.
Step 6: Slice and Serve
Once fully cooled, carefully lift the cooled brownies from the pan using the parchment paper overhang and place them on a cutting board. Slice your flourless Pumpkin Brownies into squares or bars, as you prefer. Enjoy them as they are, or serve warm with a scoop of vegan ice cream for a truly delightful dessert experience.
Expert Tips for Pumpkin Brownies
Perfect Consistency: Ensure your pumpkin puree is 100% pure to achieve the ideal fudgy texture in your brownies. Avoid pumpkin pie filling to prevent excess sugars.
Cool Completely: Let the brownies cool fully before slicing. This step prevents crumbling and results in perfectly shaped pumpkin brownies.
Flavor Boost: Refrigerate the brownies overnight. Doing so enhances their rich flavor and allows the ingredients to meld beautifully for a more satisfying treat.
Storage Know-How: Keep your brownies in an airtight container at room temperature for up to 2 days. For longer freshness, store them in the fridge for 4 days or freeze for up to 3 months.
Experiment with Flavors: Don’t hesitate to swap almond butter for other nut butters like peanut or cashew, or add mix-ins like chocolate chips to customize your pumpkin brownies!
Make Ahead Options
These Flourless Pumpkin Brownies are perfect for busy home cooks looking to simplify their meal prep! You can mix the batter up to 24 hours in advance and store it in the refrigerator, allowing the flavors to meld beautifully. Alternatively, bake the brownies and cool them completely, then store in an airtight container for up to 4 days in the fridge. For longer storage, freeze the brownies for up to 3 months; just ensure they’re well-wrapped to prevent freezer burn. When ready to serve, simply thaw in the refrigerator overnight, and enjoy them as delightful treats that are just as fudgy and rich as when freshly baked!
What to Serve with Flourless Pumpkin Brownies
Indulging in these decadent flourless pumpkin brownies opens the door to a delightful meal experience, pairing perfectly with complementary sides and treats.
-
Vegan Ice Cream: Add a scoop of creamy vegan ice cream for a delightful temperature contrast. The coolness pairs beautifully with the fudginess of the brownies.
-
Whipped Coconut Cream: Light and airy whipped coconut cream enhances the brownies’ chocolatey richness. It’s a luscious topping that feels indulgent yet guilt-free.
-
Fresh Berries: A mix of fresh raspberries or strawberries brings bright acidity, cutting through the sweetness for a balanced bite. They also add a pop of color to your dessert plate!
-
Nutty Granola: Sprinkle some nutty granola on top for crunch! The textured layers balance the soft brownies and provide a satisfying crunch in every bite.
-
Chai Latte: Enjoy these brownies with a warm chai latte, an aromatic drink that complements the warm spices in the brownies and elevates the overall cozy experience.
-
Espresso: A shot of rich espresso intensifies the chocolatey notes, making for a sophisticated pairing that’s perfect for coffee lovers.
-
Powdered Sugar Dusting: For a simple but elegant touch, a dusting of powdered sugar creates a beautiful finish while adding a hint of sweetness to the surface.
With these delightful accompaniments, your flourless pumpkin brownies will shine brighter than ever, creating a warm and inviting dessert experience perfect for gathering with loved ones!
Pumpkin Brownies Variations & Substitutions
Feel free to customize these delicious pumpkin brownies to suit your taste and dietary needs; the possibilities are as delightful as the brownies themselves!
- Peanut Butter: Swap almond butter for peanut butter to add a nutty flavor that pairs beautifully with chocolate.
- Cashew Butter: Try cashew butter for a creamier texture and a hint of sweetness; it really complements the pumpkin!
- Agave Syrup: Use agave syrup in place of maple syrup for a similar sweetness with a slightly different flavor profile.
- Dutch Cocoa: Consider Dutch cocoa for a smoother chocolate taste; it can elevate the richness even further.
- Spices Lift: Add a dash of cinnamon or nutmeg to enhance the fall flavors and evoke that cozy feeling this season.
- Chocolate Chips: Fold in dark chocolate chips for an extra layer of indulgence or some chopped nuts for a delightful crunch.
- Fruit Twists: Toss in some dried fruit like cranberries or cherries for a pop of tartness that balances the sweetness beautifully.
- Vegan Chocolate Swaps: If you prefer, switch to vegan chocolate chips, which can create an even more decadent brownie experience.
Don’t forget, if you’re looking for more delicious treats, you could try my Pumpkin Chocolate Chip cookies or even Pumpkin Oat cookies for something a little different. Happy baking!
How to Store and Freeze Pumpkin Brownies
Room Temperature: Store your brownies in an airtight container at room temperature for up to 2 days to maintain their fudgy texture without drying out.
Fridge: For extended freshness, keep the brownies in the fridge for up to 4 days. Just ensure they are properly sealed to avoid absorbing any odors.
Freezer: You can freeze pumpkin brownies for up to 3 months. Wrap them individually in plastic wrap and then place them in a freezer-safe bag to keep them fresh.
Reheating: When ready to enjoy, thaw the brownies in the fridge overnight, then warm them in the microwave for a few seconds for a delightful, gooey treat!
4-Ingredient Flourless Pumpkin Brownies Recipe FAQs
What kind of pumpkin puree should I use?
Absolutely! Always opt for 100% pure pumpkin puree for these brownies. Avoid pumpkin pie filling, as it contains extra sugars and spices that might change the flavor and texture of your dessert.
How should I store leftover brownies?
Very! Store your pumpkin brownies in an airtight container at room temperature for up to 2 days to retain their fudgy texture. If you want to keep them fresh longer, refrigerate for up to 4 days. Just make sure they are well-sealed to avoid any unwanted odors.
Can I freeze these brownies?
Yes, indeed! To freeze, wrap the brownies individually in plastic wrap and then place them in a freezer-safe bag. Make sure to remove as much air as possible. They’ll stay fresh for up to 3 months. When you’re ready to enjoy, just thaw them in the fridge overnight and warm them slightly in the microwave for that fresh-baked taste!
What if my brownies are too crumbly?
No worries! If your brownies crumble when you cut them, it’s likely they didn’t cool completely before slicing. Always allow them to cool in the pan until they are room temperature. Additionally, make sure your pumpkin puree is of good consistency—too little moisture can lead to dryness. If they still crumble, try adding a bit more almond butter next time to help bind the ingredients more effectively.
Are these brownies safe for those with nut allergies?
If you or someone you’re serving has nut allergies, be cautious! While almond butter is the star ingredient, you can substitute it with sun butter or another nut-free butter alternative for a safe, delicious treat without compromising the outcome. Just ensure that all other ingredients are also free from cross-contamination.
Can I add more ingredients to customize my brownies?
Absolutely! These brownies are very versatile! Feel free to mix in chocolate chips, nuts, or dried fruits for added texture and flavor. You can even experiment with swapping out almond butter for peanut or cashew butter. The more, the merrier!
Indulge in Guilt-Free Pumpkin Brownies You’ll Love
Ingredients
Equipment
Method
- Preheat your oven to 350°F (180°C) and prepare a 7x7 inch brownie pan lined with parchment paper.
- In a large mixing bowl, combine pumpkin puree, almond butter, maple syrup, and cocoa powder until smooth.
- Pour the batter into the brownie pan and spread it evenly.
- Bake for 25-30 minutes, until the center is no longer wet.
- Cool completely in the pan on a wire rack before slicing.
- Lift the brownies from the pan and slice them into squares or bars.
Leave a Reply