
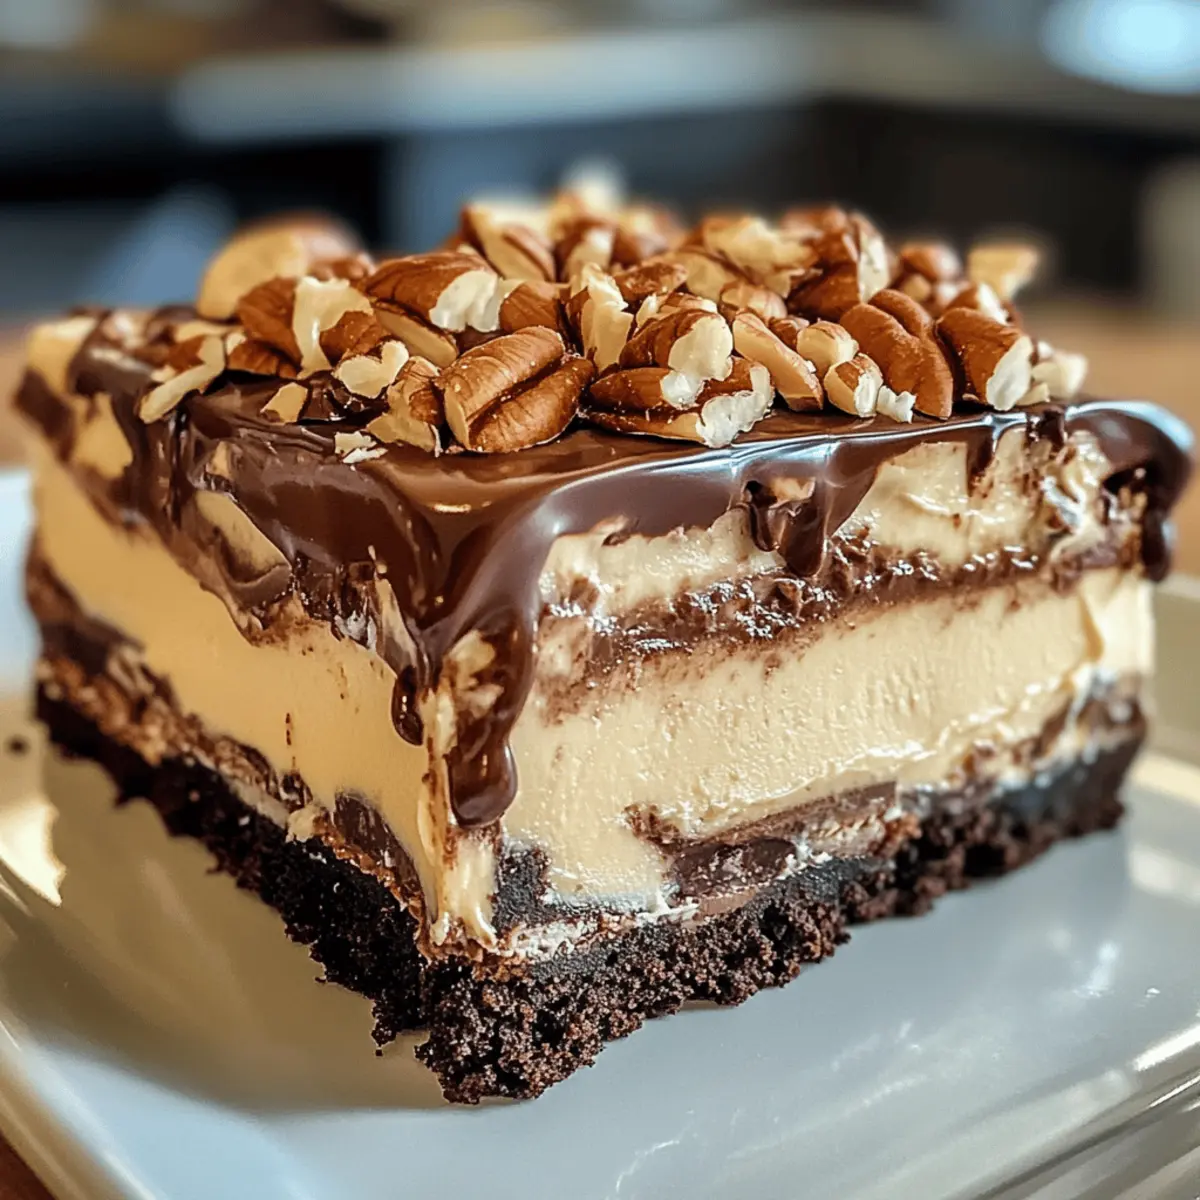
As I rummaged through my pantry on a warm summer afternoon, I stumbled upon a treasure trove of ingredients just waiting to come together for something extraordinary. This is how the No Bake Turtle Lush came to life—an effortlessly indulgent dessert that combines a crunchy Oreo crust with layers of creamy goodness, rich chocolate, and melt-in-your-mouth caramel. What sets this delightful treat apart is its quick prep time, allowing you to whip it up without breaking a sweat, and the fact that there’s no need to fire up the oven. Whether you’re hosting a gathering or simply craving a sweet pick-me-up, this decadent, layered dessert is sure to please all palates. Curious about how you can put this simple yet scrumptious recipe to the test? Let’s dive in!
Why is No Bake Turtle Lush a Must-Try?
Effortless Preparation: With no baking required, this dessert is ready in a snap, making it perfect for spontaneous cravings or last-minute gatherings.
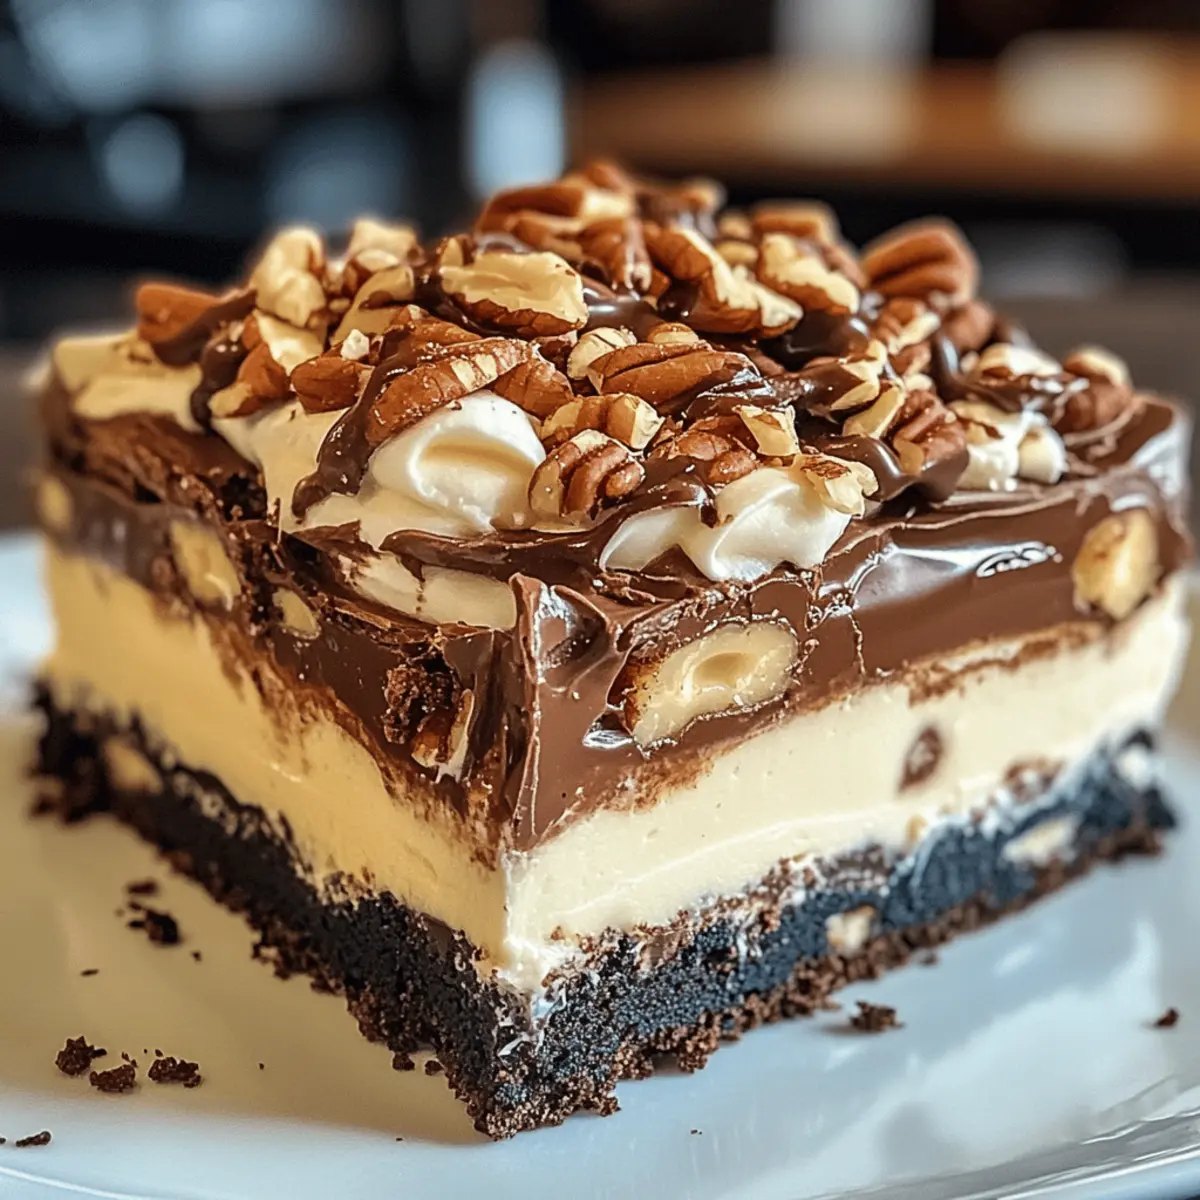
Decadent Layers: Each bite combines a crunchy Oreo crust with silky cream cheese, rich chocolate, and gooey caramel, creating an irresistible flavor explosion.
Crowd-Pleasing Treat: Whether for a family dinner or a potluck, the No Bake Turtle Lush is guaranteed to impress everyone at the table.
Versatile Options: Want to mix things up? This recipe accommodates various pudding flavors and can be made nut-free—just go for sunflower seeds!
Advanced Flavor: Prepare it a day in advance for a dessert that tastes even better the next day. If you love layered delights, check out the Lemon Raspberry Bake and Mashed Potato Bake for more options!
No Bake Turtle Lush Ingredients
For the Crust
• Oreo Cookies – The perfect base for a crunchy crust; feel free to substitute with graham crackers or gluten-free options.
• Butter – Binds the crust together; always use unsalted for better flavor control.
For the Creamy Layers
• Cream Cheese – Adds a delightful creaminess; make sure it’s softened for easy mixing.
• Powdered Sugar – Sweetens the cream cheese mixture; coconut sugar is a great alternative for a less processed option.
• Instant Pudding Mix (Chocolate or Vanilla) – Forms the creamy layers; mix flavors for a fun twist!
• Milk – Combines with pudding mix for the desired consistency; any milk will do, including dairy-free types.
• Cool Whip or Whipped Cream – Provides lightness; heavy cream is a suitable alternative if you prefer.
For the Decadent Finish
• Chocolate Sauce – Drizzle on top to add richness; caramel sauce also works beautifully as a substitute!
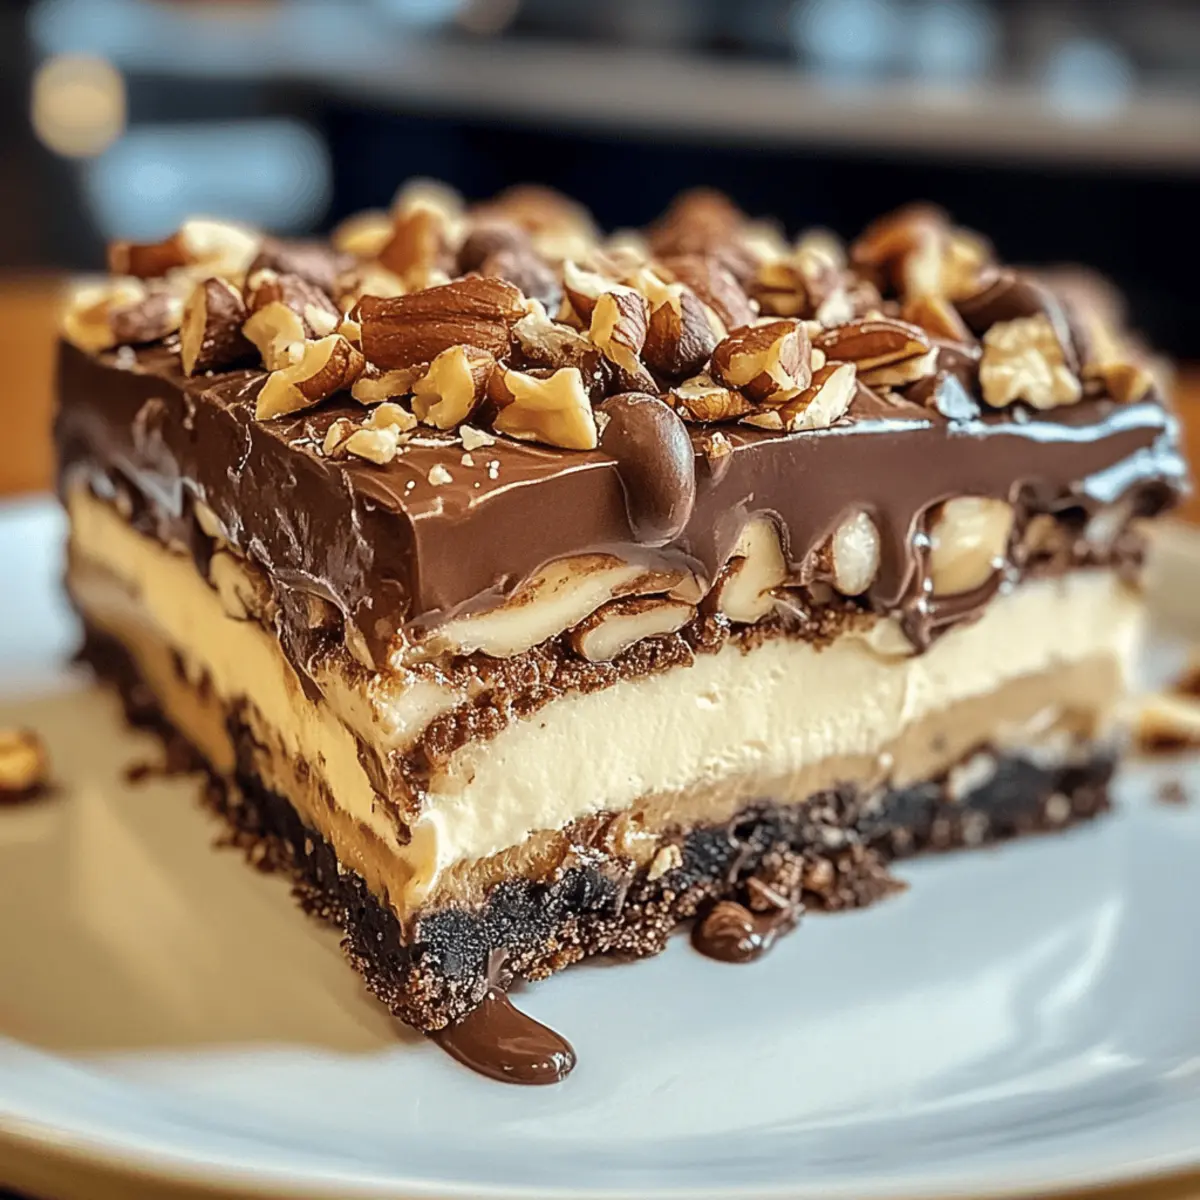
• Chopped Pecans – Adds crunch and elevates the flavor; feel free to replace with your favorite nut or eliminate altogether for nut-free diets.
This tantalizing No Bake Turtle Lush is all about layers of goodness; let’s gather these ingredients and get started!
Step‑by‑Step Instructions for No Bake Turtle Lush
Step 1: Prepare the Crust
Start by crushing 24 Oreo cookies in a food processor until they resemble fine crumbs. Melt ½ cup of unsalted butter in a microwave-safe bowl. Combine the crushed cookies with the melted butter until the mixture feels like wet sand. Press this blend evenly into the bottom of a 9×13 inch dish, creating a firm crust. Refrigerate for 15 minutes to set while you work on the next layer.
Step 2: Make the Cream Cheese Layer
In a large mixing bowl, beat 8 ounces of softened cream cheese with 1 cup of powdered sugar using an electric mixer on medium speed until the mixture is smooth and free of lumps. Gently fold in 1 cup of Cool Whip until fully incorporated to achieve a light and airy texture. Spread this creamy layer over the chilled crust, ensuring an even coverage, and refrigerate for about 10 minutes to help it firm up.
Step 3: Prepare Pudding Mix
In a medium bowl, whisk together one 3.4-ounce package of instant chocolate pudding mix and 2 cups of milk until the mixture thickens, which should take about 2 minutes. This concoction will create a luscious layer for your No Bake Turtle Lush. Pour the thickened pudding over the cream cheese layer, spreading it out evenly for a nice finish. Return to the refrigerator for another 10 minutes to set.
Step 4: Add Whipped Cream Layer
Remove the dish from the refrigerator and take 1 ½ cups of Cool Whip or freshly whipped cream. Gently spread this layer over the chocolate pudding, ensuring it’s evenly distributed for a satisfying finish. Now, it’s time to cover the dessert with plastic wrap, allowing it to chill in the refrigerator for at least 2 hours, or longer if possible, for the layers to set perfectly.
Step 5: Finish and Serve
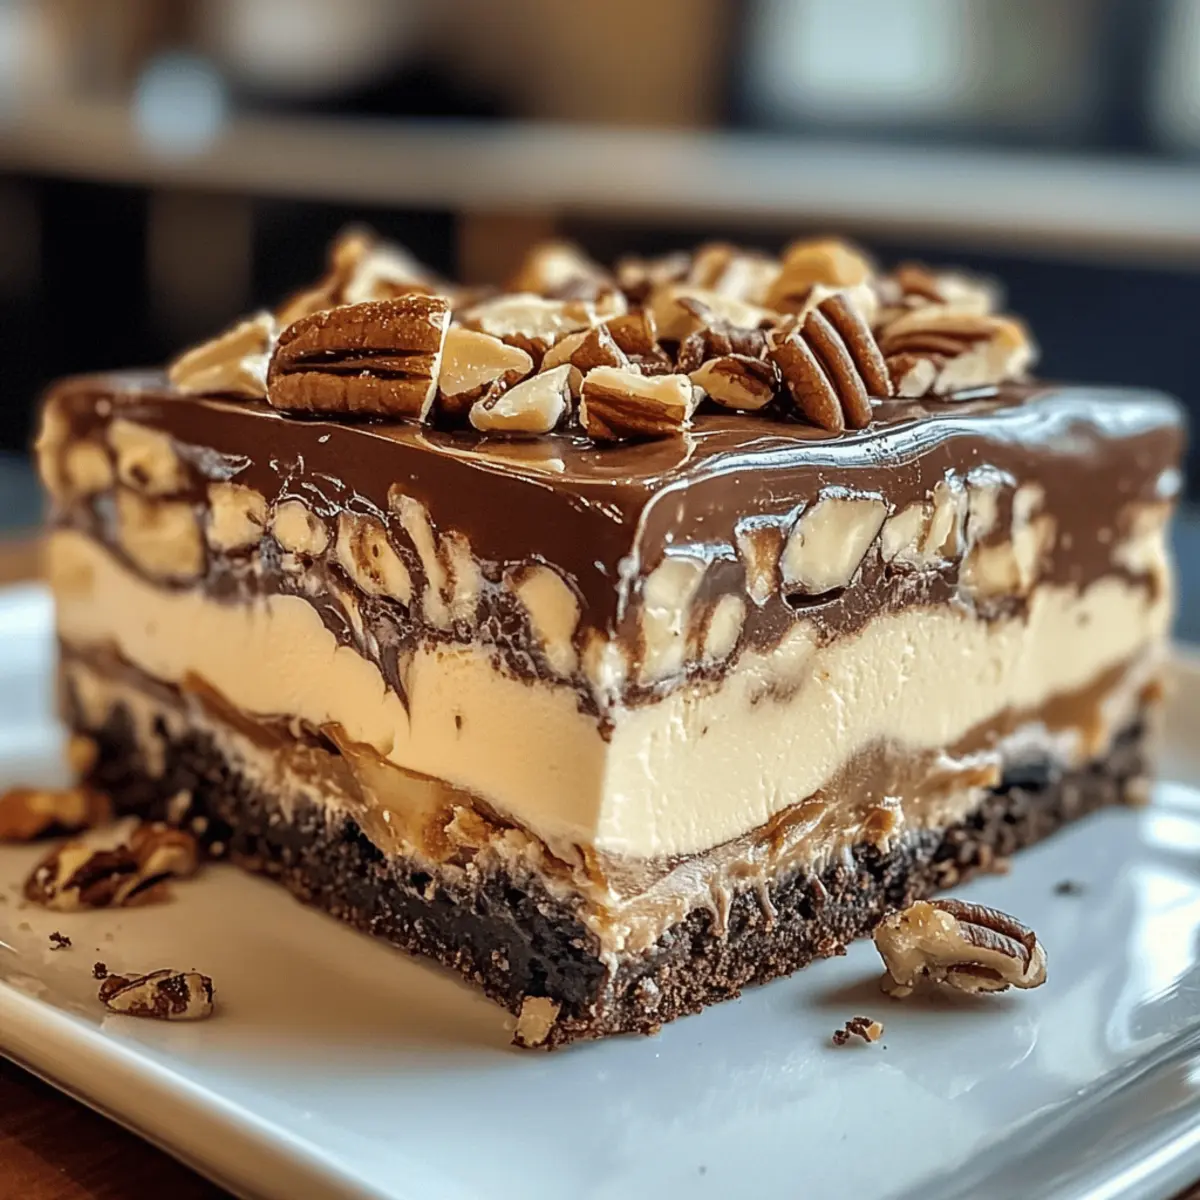
Once chilled and set, drizzle your choice of chocolate or caramel sauce over the top of the No Bake Turtle Lush, creating a decadent touch. Sprinkle ½ cup of chopped pecans evenly across the surface for added crunch and flavor. Cut into squares and serve chilled, delighting everyone with every indulgent bite of this layered chocolate paradise!
Make Ahead Options
These No Bake Turtle Lush desserts are perfect for meal prep enthusiasts! You can prepare the crust and creamy layers up to 24 hours in advance, which allows the flavors to meld beautifully. Simply crush the Oreo cookies, mix with melted butter, and set the crust in the dish. Then, whip the cream cheese and fold in the whipped cream to create the smooth layer—store these components separately in the refrigerator until you’re ready to assemble. When it’s time to serve, layer the pudding mix and the whipped cream on top, then let it set for a bit before drizzling with chocolate sauce and sprinkling with pecans. This make ahead approach ensures your dessert is just as delicious and saves precious time on busy weekdays!
No Bake Turtle Lush Variations & Substitutions
Feel free to explore your creativity with these fun twists on the No Bake Turtle Lush recipe!
-
Nut-Free Alternative: Replace chopped pecans with sunflower seeds for a crunchy texture without nuts. It’s a great way to cater to those with allergies while still enjoying that satisfying crunch.
-
Flavor Twist: Experiment with butterscotch or caramel pudding mix instead of chocolate for a delightful flavor variation that brings a new sweetness to the decadent layers.
-
Tropical Delight: Add diced pineapple or shredded coconut into the cream cheese layer for a refreshing tropical twist. The addition of fruit not only brightens the flavor but also adds a lovely texture.
-
Dairy-Free Option: For a dairy-free version, substitute cream cheese with a vegan cream cheese and use coconut whipped cream instead of Cool Whip. This alternative maintains that creamy texture without dairy.
-
Chocolate Lovers: Boost the chocolatey goodness by adding chocolate chips into the cream cheese layer or drizzling more chocolate sauce on top before serving. It truly elevates the indulgence!
-
Healthier Sweetener: Swap powdered sugar with maple syrup or honey for a more natural sweetening option. The nuances in flavors can add an exciting depth to your dessert.
-
Mixed Berry Version: Layer in some fresh berries, like strawberries or raspberries, between the cream cheese and chocolate layers for a burst of freshness. It’s perfect for summer gatherings!
-
Gourmet Finish: Top with flaky sea salt right before serving for a sweet-and-salty finish that complements the sweetness of the caramel and chocolate beautifully.
For those who enjoy exploring more layered delights, consider trying the luscious Baked Eggs Napoleon or the savory Mashed Potato Bake for delightful culinary adventures! Each option offers a unique twist, making your cooking experience endlessly enjoyable.
Expert Tips for No Bake Turtle Lush
-
Chill Time Matters: Allowing the No Bake Turtle Lush to set for a full 6 hours or overnight enhances the flavors and texture, making each bite irresistible.
-
Cream Cheese Softness: Fully soften your cream cheese prior to mixing; this prevents lumps and ensures a smooth, creamy layer.
-
Layering Technique: Spread each layer carefully to maintain that beautiful tiered look; a spatula can help smooth surfaces for even presentation.
-
Crust Consistency: Press the Oreo crust firmly into the dish; a well-set crust prevents the layers from mixing together when served.
-
Flavor Experimentation: Don’t be afraid to try different pudding flavors or add fruit; this No Bake Turtle Lush can be customized to fit your taste!
What to Serve with No Bake Turtle Lush?
Imagine treating your family and friends to a delightful spread that perfectly complements the indulgent layers of your No Bake Turtle Lush, enhancing every bite!
-
Fresh Fruit Salad: Combining seasonal fruits not only adds a refreshing contrast but also colors the table beautifully, enhancing that rich, creamy dessert.
-
Coffee Affogato: A scoop of vanilla ice cream topped with hot espresso creates a delightful temperature contrast, balancing the sweetness of the Turtle Lush.
-
Chocolate Chip Cookies: These classic treats provide a chewy texture that contrasts with the creamy layers, making for an unforgettable dessert experience.
-
Whipped Cream Topping: Elevate your No Bake Turtle Lush with a dollop of flavored whipped cream; vanilla or cinnamon cream adds a unique twist to each slice!
-
Nutty Caramel Ice Cream: A scoop of this rich ice cream complements the pecans in the Turtle Lush, making it a delightful pairing during warmer days.
-
Tropical Sorbet: Pair with a light mango or passionfruit sorbet for a refreshing bite, providing bright flavors that dance delightfully with the sweet layers.
-
Chocolate Martini: For an adult twist, serve chocolate martinis side by side. The creamy, sweet cocktail complements the luscious layers beautifully.
Storage Tips for No Bake Turtle Lush
-
Fridge: Store leftovers in an airtight container in the refrigerator for up to 5 days to maintain freshness and flavor. This decadent dessert is best enjoyed chilled!
-
Freezer: For longer storage, you can freeze No Bake Turtle Lush for up to 2 months. Ensure it’s well-wrapped to prevent freezer burn.
-
Thawing: To enjoy frozen portions, thaw in the refrigerator overnight. Avoid thawing at room temperature to keep the texture intact.
-
Reheating: This dessert is best served cold, so there’s no need for reheating. Just slice and serve straight from the fridge for a refreshing treat!
No Bake Turtle Lush Recipe FAQs
What kind of Oreo cookies should I use for the crust?
Absolutely! Classic Oreo cookies work best for the crust, but if you’re looking for alternatives, feel free to use graham crackers, vanilla wafers, or even gluten-free cookie options. Just make sure whatever you choose can be crushed easily to form a solid base.
How should I store my No Bake Turtle Lush in the fridge?
Very! To keep your No Bake Turtle Lush fresh, store leftovers in an airtight container in the refrigerator for up to 5 days. It’s a dessert that tastes even better after sitting for a while, so feel free to make it ahead of time!
Can I freeze No Bake Turtle Lush?
Yes, indeed! You can freeze your No Bake Turtle Lush for up to 2 months. Be sure to wrap it securely with plastic wrap or foil to prevent freezer burn. When you’re ready to enjoy it, thaw it in the refrigerator overnight for the best texture. It’ll be just as delicious when it comes out!
What should I do if my cream cheese mixture has lumps?
No worries! If you find lumps in your cream cheese mixture, it’s likely that the cream cheese wasn’t softened enough. Make sure to leave it out at room temperature for at least 30 minutes before mixing. If lumps persist, you can use a hand mixer and beat the mixture a bit longer, or even pass it through a fine mesh strainer to achieve a silky texture.
Is there a nut-free option for this recipe?
Absolutely! If you want to make your No Bake Turtle Lush nut-free, simply replace the chopped pecans with sunflower seeds or omit them altogether. The layers will still be luscious, and you won’t miss out on that satisfying crunch!
Decadent No Bake Turtle Lush You'll Want to Make Today
Ingredients
Equipment
Method
- Crush 24 Oreo cookies in a food processor until fine crumbs form.
- Melt ½ cup of unsalted butter in a microwave-safe bowl.
- Combine crushed cookies with melted butter until it resembles wet sand.
- Press the mixture evenly into the bottom of a 9x13 inch dish and refrigerate for 15 minutes.
- In a large mixing bowl, beat 8 ounces of softened cream cheese with 1 cup of powdered sugar until smooth.
- Fold in 1 cup of Cool Whip until fully incorporated.
- Spread this layer over the chilled crust and refrigerate for 10 minutes.
- Whisk together one 3.4-ounce package of instant chocolate pudding mix and 2 cups of milk until thickened.
- Pour the thickened pudding over the cream cheese layer, spreading it evenly.
- Return to the refrigerator for another 10 minutes to set.
- Spread 1½ cups of Cool Whip over the chocolate pudding evenly.
- Cover the dessert with plastic wrap and chill for at least 2 hours.
- Drizzle chocolate or caramel sauce over the top and sprinkle ½ cup of chopped pecans.
- Cut into squares and serve chilled.
Leave a Reply