
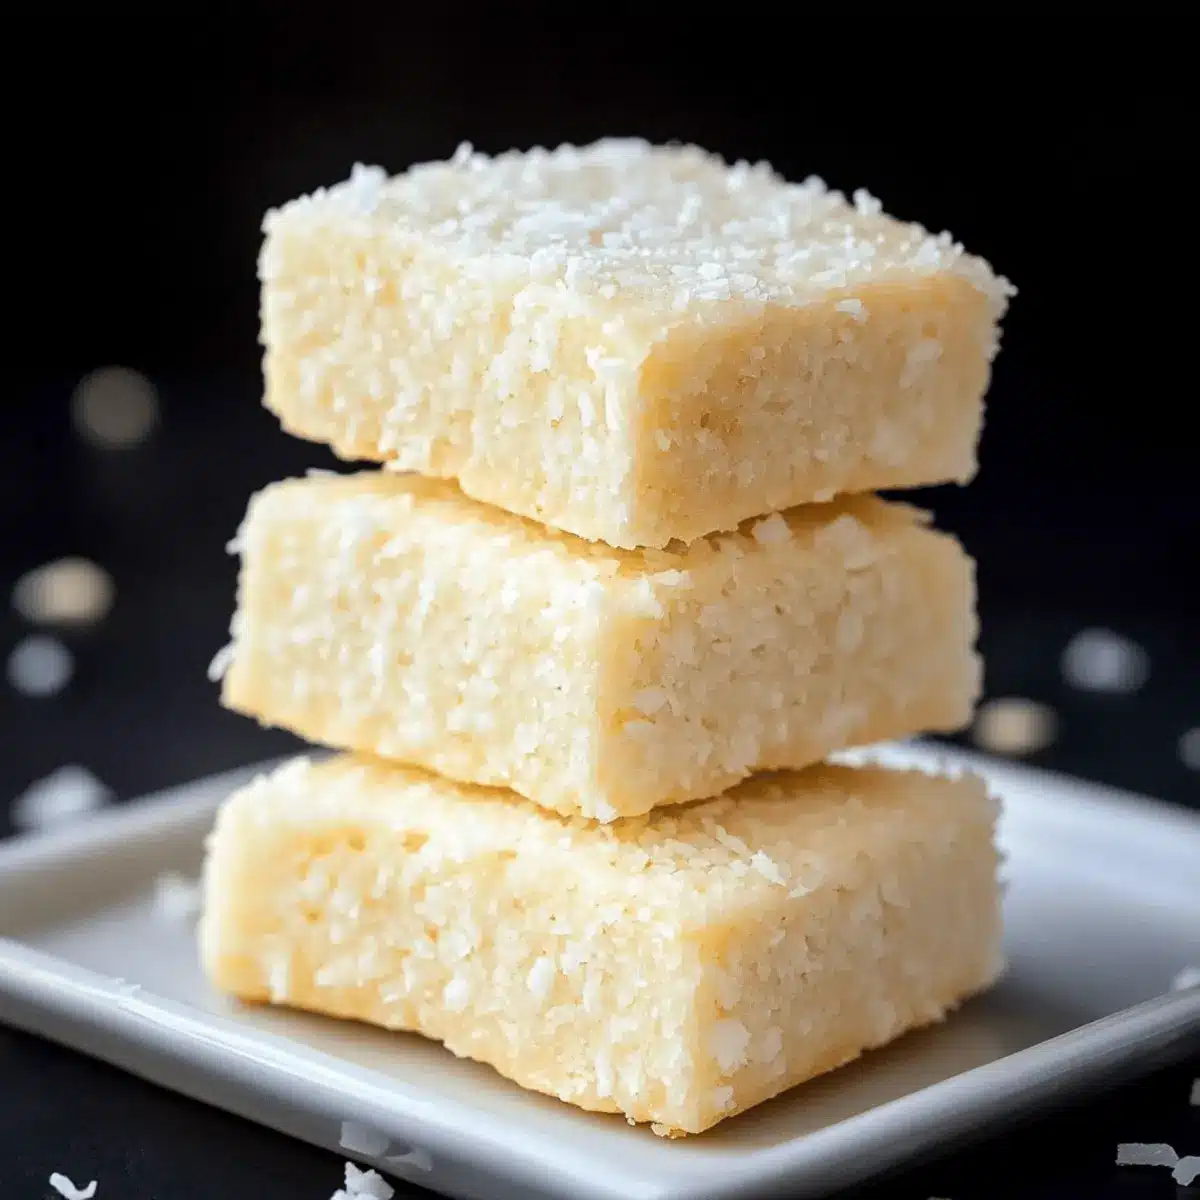
As the sun streams in, I find myself captivated by the tropical essence of coconut, enveloped in nostalgia. That’s how I stumbled upon these delightful no-bake Coconut Bars—an easy 3-ingredient treat that truly embodies the simple joys of home cooking. With just a few minutes of prep, these gluten-free bars come together swiftly, satisfying your sweet cravings without the fuss of baking. Not only are they a fantastic way to indulge your love for sweets, but they also allow for endless customization options. Whether you’re looking to impress guests at a gathering or treat yourself to a wholesome snack, these coconut bars have you covered. Curious to learn how to whip up this tropical delight? Let’s dive in!

Why Are Coconut Bars So Irresistible?
Simplicity at Its Best: With just three ingredients, these no-bake coconut bars are a breeze to make, perfect for even novice cooks.
Endless Customization: Whether you want to go sugar-free or add your favorite nuts, you can easily personalize these bars to suit your taste.
Tropical Indulgence: Every bite bursts with fresh coconut flavor, transporting you to sun-kissed beaches without the need for a vacation.
Perfect for Any Occasion: These bars shine at gatherings, as an afternoon snack, or a satisfying dessert, making them versatile for every palate.
Quick Prep Time: Spend only 5 minutes mixing, allowing you to indulge in homemade goodness in no time! If you love coconut flavors, consider pairing these bars with a Spicy Brazilian Coconut dish for a complete experience.
Coconut Bars Ingredients
For the Base
- Unsweetened Shredded Coconut – This is the primary flavor base, providing that delightful chewy texture characteristic of coconut bars.
- Coconut Condensed Milk – Acts as both a binding agent and sweetener, ensuring the bars are moist and delicious. Do not substitute with coconut cream as it alters the texture and sweetness.
- Confectioners Sugar – Adds necessary sweetness and helps achieve that perfect, thick, doughy consistency. Try a powdered sugar substitute for a sugar-free version!
Optional Toppings
- Toasted Coconut Flakes – Adds a crunchy texture and enhances the coconut flavor beautifully.
- Chocolate Chips – Fold in sugar-free chocolate chips for an extra layer of sweetness and richness.
These Coconut Bars are not just a dessert; they’re an experience filled with tropical delight!
Step‑by‑Step Instructions for Coconut Bars
Step 1: Prepare the Baking Pan
Start by lining an 8 x 8-inch baking pan with parchment paper, allowing some overhang for easy removal later. This ensures your no-bake Coconut Bars won’t stick to the pan. Make sure the paper is pressed smoothly into the corners so it’s ready for the mixture.
Step 2: Mix the Ingredients
In a large mixing bowl, combine the unsweetened shredded coconut, coconut condensed milk, and confectioners sugar. Use a sturdy spatula to mix until a thick, dough-like consistency forms—about 2-3 minutes. You’ll know it’s ready when it holds together well and feels sticky yet cohesive.
Step 3: Transfer the Mixture
Pour the coconut mixture into the prepared baking pan. To create an even surface, use lightly wet hands to press the mixture down firmly into the corners and smooth the top. Aim for an even thickness throughout, ensuring that your Coconut Bars will slice beautifully later.
Step 4: Chill Until Firm
Place the baking pan in the refrigerator and let it chill for at least one hour. This step is crucial for the Coconut Bars to set properly, becoming firm enough for easy slicing. You’ll know they’re ready when the top feels firm to the touch and holds its shape.
Step 5: Cut into Bars
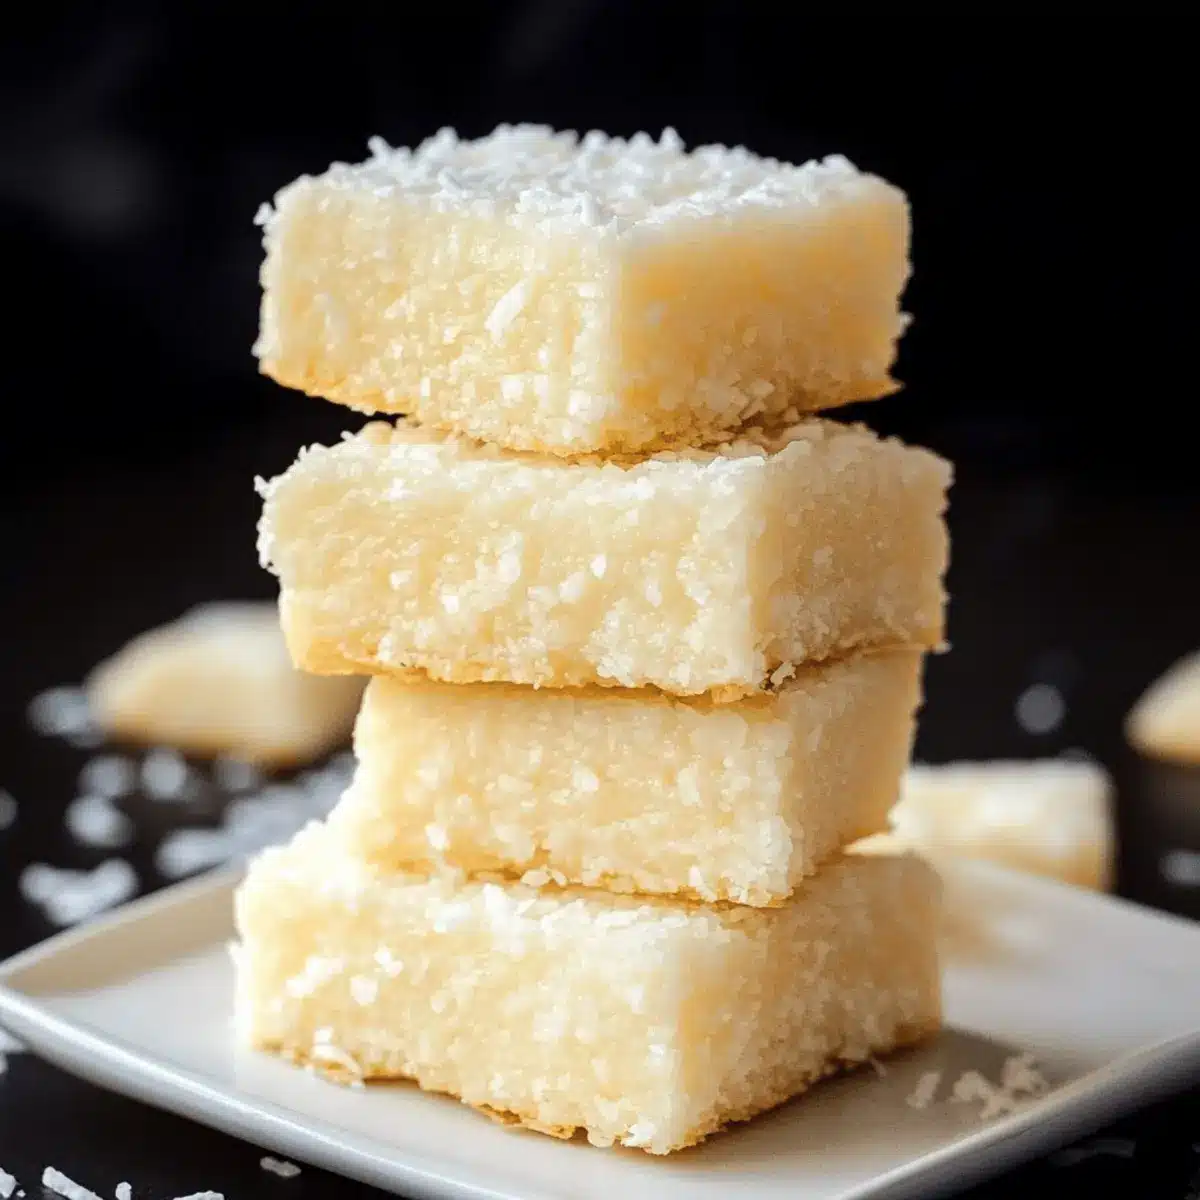
Once chilled, remove the pan from the refrigerator and use a sharp knife to cut the mixture into even rectangular bars. Aim for your preferred size, typically 1-inch by 3-inch pieces, for the perfect bite. These Coconut Bars will now be ready to enjoy or share with friends and family!
Expert Tips for No-Bake Coconut Bars
- Coconut Consistency: Use finely shredded coconut for the best texture; avoid flakes to prevent a gritty feel in your bars.
- Dough Formation: Mix until you achieve a thick dough that holds together well; this is key for perfect Coconut Bars.
- Chilling Time: Don’t rush the chilling process! A full hour in the refrigerator ensures your Coconut Bars are firm enough for easy slicing.
- Customization Ideas: Experiment with variations, such as adding nuts or using sugar-free ingredients to suit your dietary preferences.
Coconut Bars: Endless Customization Options
Embrace your creativity in the kitchen and customize these delightful coconut bars to match your taste and dietary needs!
- Sugar-Free: Use sugar-free condensed milk and powdered sugar substitutes for a guilt-free indulgence that’s just as tasty.
- Toasted Bliss: Top your bars with toasted coconut flakes for a crunchy contrast that elevates the coconut flavor.
- Graham Cracker Base: Add a graham cracker crust by mixing crushed graham crackers with melted coconut oil and brown sugar before adding the coconut mixture on top.
- Nutty Texture: Fold in crushed walnuts or pecans into the mixture for an added crunch and depth of flavor.
- Chocolatey Delight: Incorporate sugar-free chocolate chips for a rich and indulgent twist that complements the coconut beautifully.
- Fruit Fusion: Add dried fruits like cranberries or apricots for a burst of sweetness and a chewy texture that pairs wonderfully with coconut.
- Spiced Variation: If you love a sprinkle of spice, consider adding a touch of cinnamon or nutmeg to the mixture for warmth and complexity.
- Coconut Curry Pairing: For a unique culinary adventure, serve your coconut bars alongside a bowl of Coconut Curry Soup to balance the sweetness with savory notes.
Whether you’re enhancing flavors or adjusting the recipe to suit various diets, these variations will help you create a unique coconut experience every time!
What to Serve with Coconut Bars?
Indulge in a delightful array of flavors as you pair these coconut bars with accompaniments that enhance their tropical essence.
- Tropical Fruit Salad: Fresh fruits like pineapple, mango, and kiwi provide a zesty contrast to the chewy bars, making every bite refreshing.
- Coconut Whipped Cream: A dollop adds a light and airy touch, enriching the coconut experience and delivering a sweet, creamy layer to each bar.
- Chocolate Dipping Sauce: A warm, velvety chocolate sauce drizzled on top creates a decadent twist, harmonizing beautifully with the mild coconut flavor.
- Almond-Crusted Ice Cream: The crunchy almond topping complements the chewy texture of the bars, while a scoop of vanilla ice cream adds a blissful creaminess.
- Herbal Iced Tea: Try serving iced mint or chamomile tea for a refreshing contrast that awakens the senses while maintaining a light, balanced meal.
- Toasted Nuts: Offer a side of toasted almonds or walnuts for a delightful crunch that balances the soft texture of the coconut bars. These savory bites can add an interesting texture contrast.
- Coffee-Based Drinks: A rich cappuccino or an espresso pairs wonderfully, enhancing the tropical flavors while providing an elegant boost to your dessert experience.
Make Ahead Options
These Coconut Bars are a fantastic choice for meal prep, allowing you to indulge in homemade treats without any last-minute fuss! You can prepare the coconut bar mixture up to 24 hours in advance by following the first three steps of the recipe. Simply mix the ingredients, transfer them to the lined pan, and refrigerate the mixture until you’re ready to serve. When you’re set to enjoy these bars, slice them right before serving—this ensures they remain fresh and maintain their chewy texture. For optimal quality, just remember to keep them tightly sealed in the refrigerator, and they’ll be just as delicious as when they were freshly made!
Storage Tips for Coconut Bars
Room Temperature: Store your coconut bars in a cool place for up to 2 days if they will be consumed quickly. Just make sure they are covered or wrapped to keep them fresh.
Fridge: For optimal freshness, keep leftover coconut bars in an airtight container in the refrigerator for up to 2 weeks. This helps maintain their chewy texture and keeps them delectable.
Freezer: For longer storage, individually wrap each coconut bar in parchment paper, then place them in a ziplock bag. They can be frozen for up to six months, allowing you to enjoy a quick treat anytime.
Reheating: If you prefer your bars slightly warm, pop them in the microwave for about 10-15 seconds, just until they’re warm and slightly soft. Enjoy your Coconut Bars as a delightful snack!

Coconut Bars Recipe FAQs
How do I choose the right shredded coconut?
Absolutely! For the best results, select unsweetened shredded coconut, which provides a chewy texture and allows for flexibility in sweetness. Avoid using flaked coconut, as it can result in a grittier feel in your bars. If you can, look for finely shredded coconut for the most pleasant texture, and consider blending larger flakes in a food processor if that’s all you have.
How should I store leftover coconut bars?
Very! You can store your leftover coconut bars in an airtight container in the refrigerator for up to 2 weeks, which helps maintain their delightful chewy texture. Ensure the container is sealed well to prevent them from drying out. If you don’t think you’ll eat them within that time, freezing is a great option!
Can I freeze coconut bars for later?
Yes, you can! To freeze the bars, individually wrap each one in parchment paper, then place them in a ziplock bag. They can be stored in the freezer for up to six months. When you’re ready to enjoy one, simply remove it from the freezer and let it thaw in the fridge for a few hours or pop it in the microwave for about 10-15 seconds for a warm treat.
What should I do if my coconut bars are too crumbly?
If your coconut bars are too crumbly, it’s likely they didn’t have enough moisture. To remedy this, you can try pressing them together more firmly before chilling. Next time, ensure you’re using the correct proportions of coconut condensed milk, as this is crucial for achieving the right texture. If they still seem crumbly after mixing, you might want to add a bit more condensed milk until the mixture holds together better.
Are coconut bars safe for my pets?
Great question! While coconut in small amounts is typically safe for pets, the ingredients in these coconut bars—especially the sugar and condensed milk—aren’t suitable for them. Always consult your veterinarian regarding your pets’ diets and refrain from giving them treats that could upset their stomachs.
Can I make coconut bars sugar-free?
Yes, you can create sugar-free coconut bars! Simply substitute the coconut condensed milk with a sugar-free version and use a powdered sugar alternative for the confectioners sugar. This way, you can indulge in a guilt-free treat that still delivers on flavor without compromising on quality!
Coconut Bars: Irresistible 3-Ingredient No-Bake Delight
Ingredients
Equipment
Method
- Line an 8 x 8-inch baking pan with parchment paper, allowing some overhang for easy removal later.
- In a large mixing bowl, combine the unsweetened shredded coconut, coconut condensed milk, and confectioners sugar. Mix until a thick, dough-like consistency forms.
- Pour the coconut mixture into the prepared baking pan. Press the mixture down firmly and smooth the top.
- Place the baking pan in the refrigerator and let it chill for at least one hour.
- Once chilled, remove the pan and cut the mixture into even rectangular bars.
Leave a Reply