
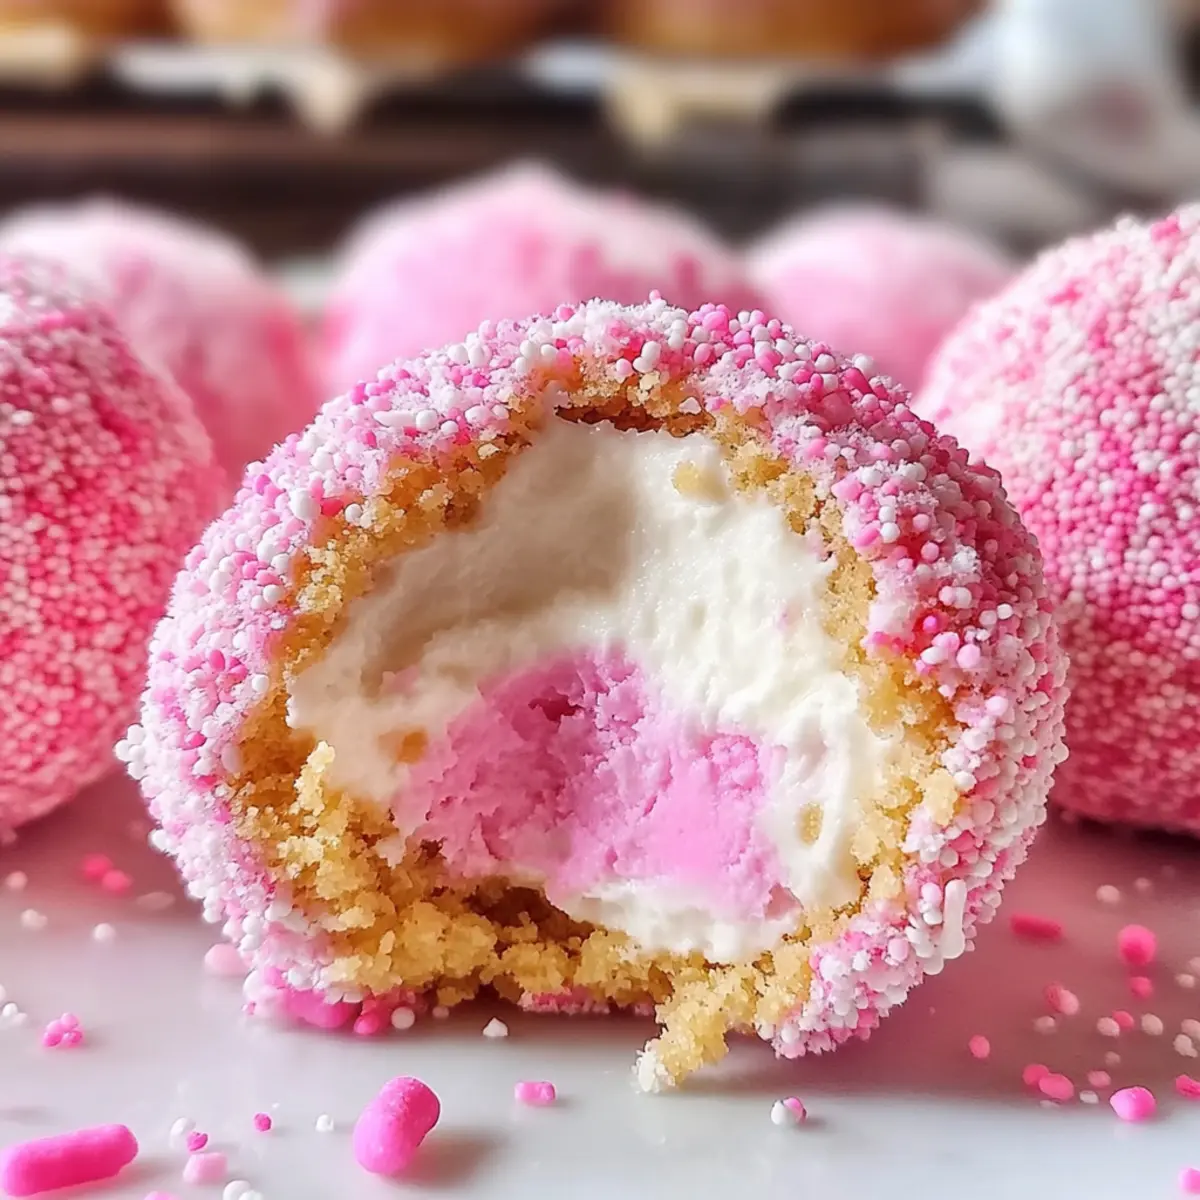
Have you ever felt that rush of nostalgia when you catch a whiff of cotton candy at a fair? Today, I’m bringing that joyful memory right into your kitchen with a fun twist: No-Bake Crispy Cotton Candy Cheesecake Bombs! These delightful dessert bites are not only incredibly easy to whip up, making them perfect for those busy afternoons or spontaneous get-togethers, but they also offer a vegetarian-friendly option that everyone will love. Imagine the smooth, creamy cheesecake filling perfectly wrapped in a crunchy cookie shell, accented by that sweet cotton candy flavor. They’re a whimsical treat that promises to spark joy and bring a smile to your face. Curious about how to make these enchanting bites? Let’s dive into the recipe!
Why Are These Cheesecake Bombs a Must-Try?
Playful Flavor: The blend of cotton candy and creamy cheesecake creates a delightful explosion of taste that transports you back to childhood fun.
No-Bake Ease: With minimal effort and no baking required, you can impress your guests without the heat of the oven.
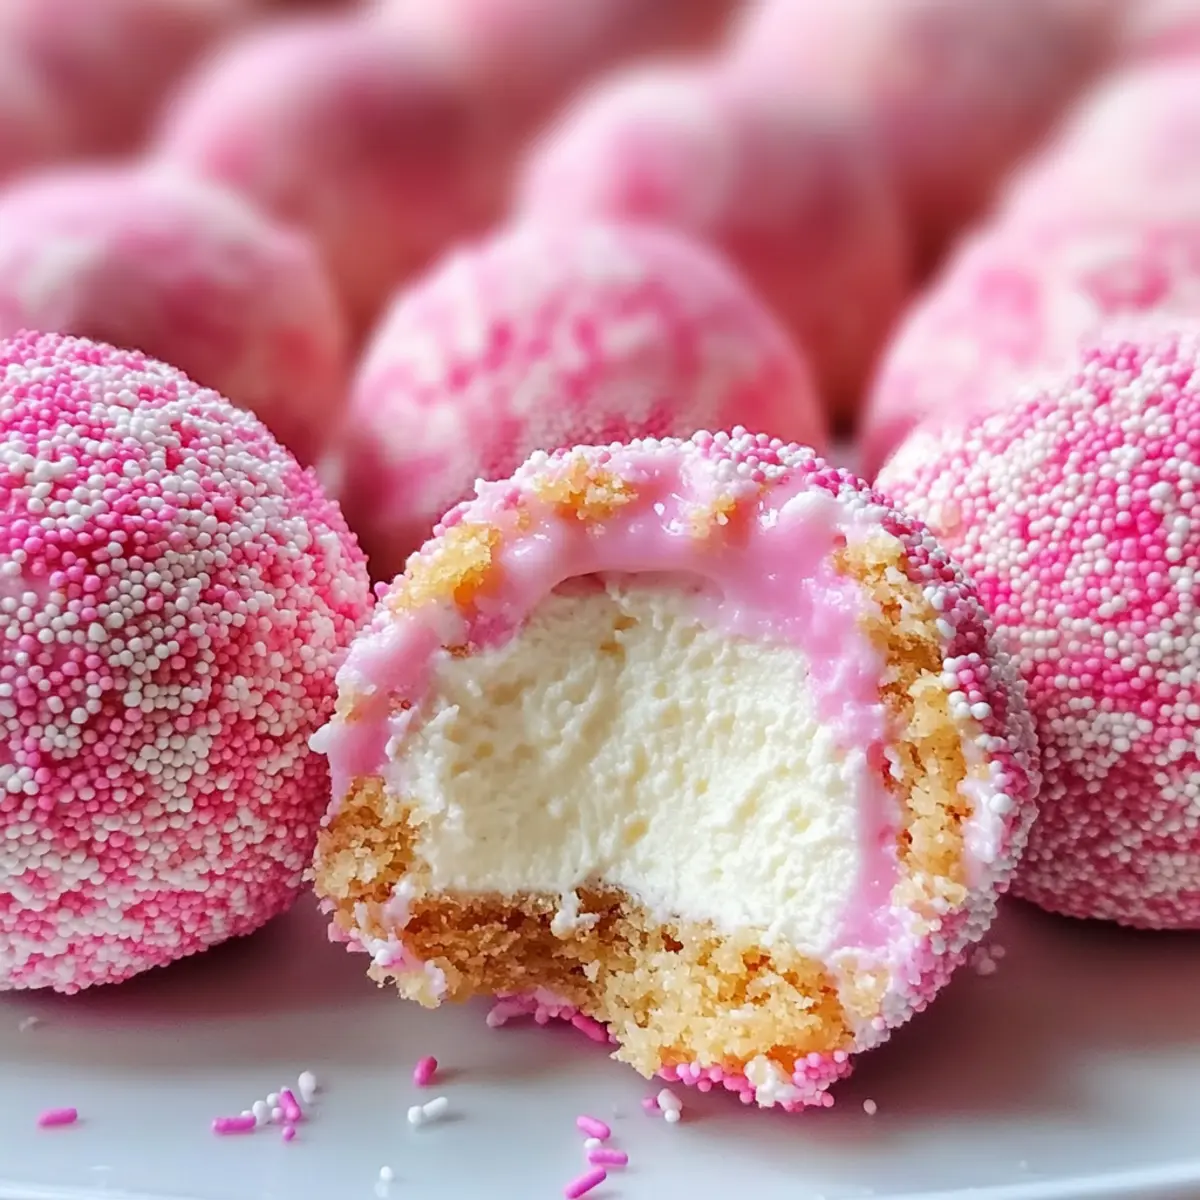
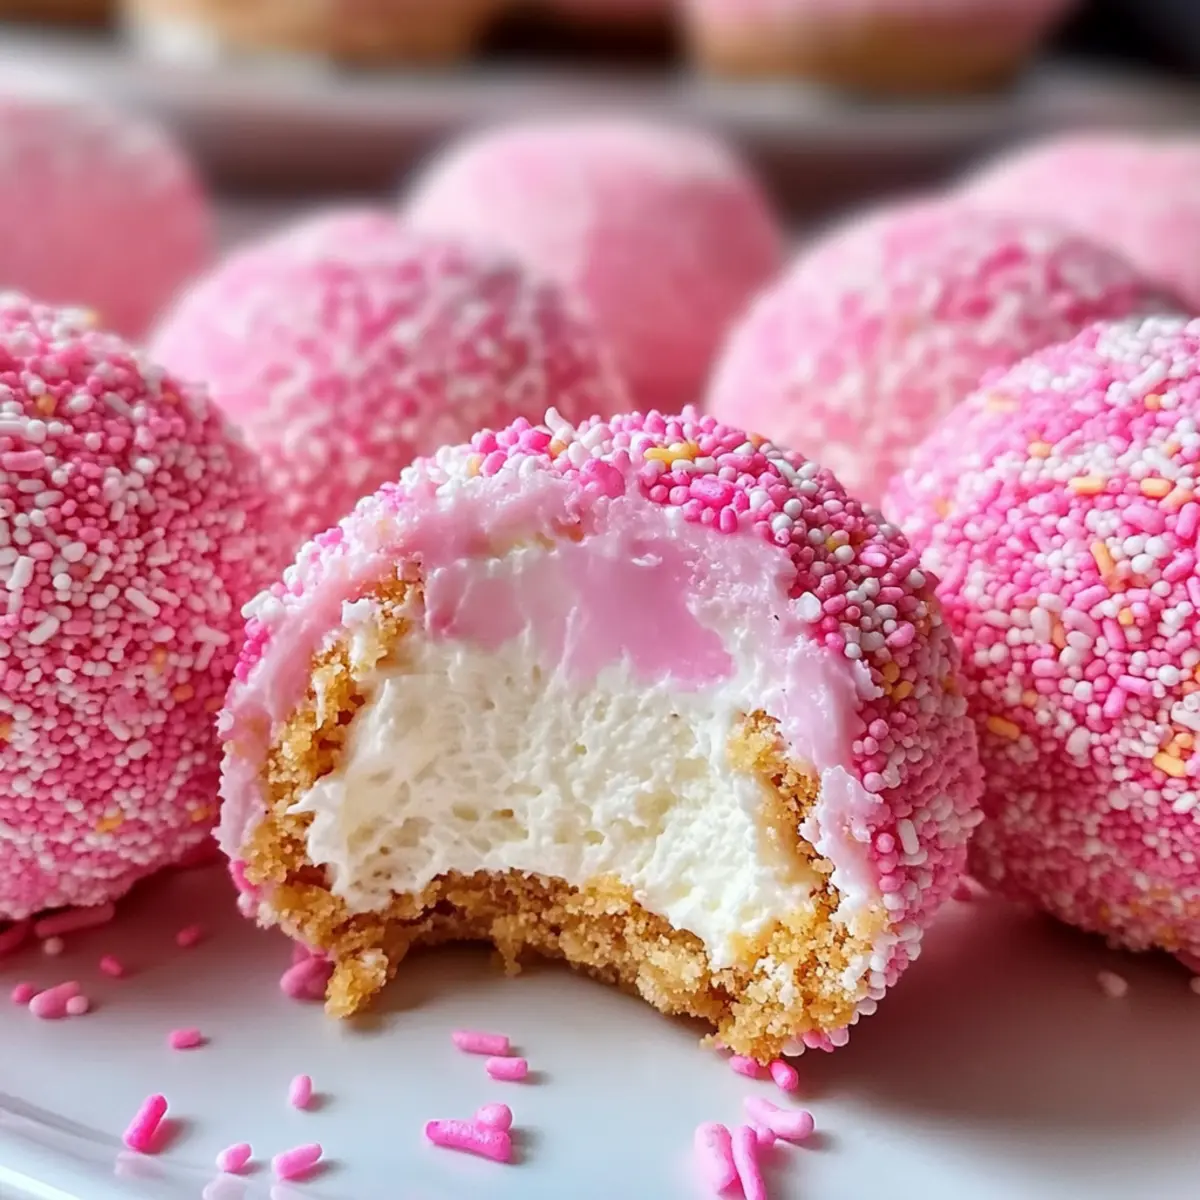
Visual Appeal: Lively colors and sprinkles make these bombs a feast for the eyes—the perfect centerpiece for parties or family gatherings.
Customizable: Switch up the flavor or coating to match your mood or event, like incorporating chocolate or fresh fruit!
Crowd-Pleasing: Everyone, from kids to adults, will love indulging in these sweet bites, sparking smiles all around.
For more fun twists, consider pairing them with a classic dessert like White Chocolate Cheesecake to elevate your dessert game!
Cotton Candy Cheesecake Bombs Ingredients
For the Cheesecake Filling
• Cream Cheese – Adds richness and creamy texture; ensure it’s softened for easy mixing.
• Powdered Sugar – Provides sweetness and smooth consistency to the cheesecake filling.
• Vanilla Extract – Enhances flavor with a hint of warmth.
• Whipped Topping/Heavy Cream – Lightens the filling, creating an airy texture; substitute with dairy-free options if desired.
For the Cookie Shell
• Vanilla Sandwich Cookies – Forms the base of the cookie shell; can replace with gluten-free cookies if needed.
• Cotton Candy-Flavored Sugar – Provides the signature cotton candy flavor; substitute with granulated sugar mixed with cotton candy extract if unavailable.
For Topping
• Freeze-Dried Strawberries – Adds a fruity crunch and visual appeal; optional but recommended for flavor depth.
• Pink Sprinkles – For decoration and an aesthetic boost; can be omitted for simplicity.
Step‑by‑Step Instructions for No-Bake Crispy Cotton Candy Cheesecake Bombs
Step 1: Prepare the Cheesecake Filling
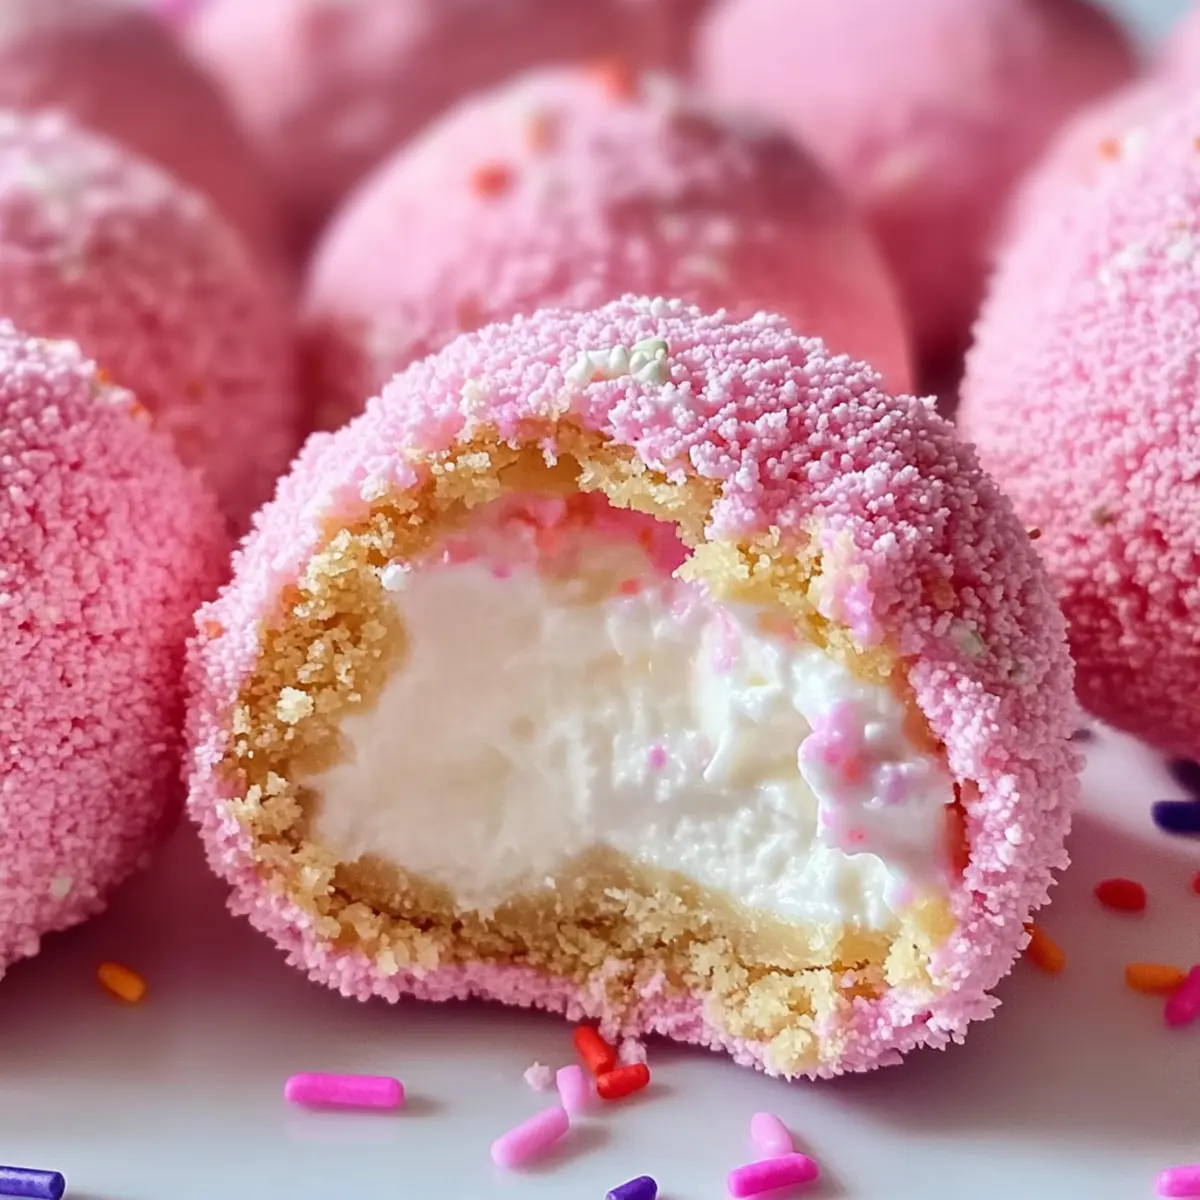
In a mixing bowl, combine 8 oz. of softened cream cheese, 1 cup of powdered sugar, and 1 tsp of vanilla extract. Using an electric mixer, blend until the mixture is smooth and creamy, about 2-3 minutes. Gently fold in 1 cup of whipped topping or heavy cream to lighten the filling, ensuring it’s fluffy and airy. Set aside your delightful cheesecake mixture while you move on to the next step.
Step 2: Form Cheesecake Balls
Scoop out approximately 1-inch portions of the cheesecake filling and roll them into balls using your hands. Place these balls on a parchment-lined baking sheet for easy removal later. Once all the cheesecake balls are formed, freeze them for about 20-30 minutes, or until they are firm enough to handle without losing shape.
Step 3: Create the Cookie Shell
While the cheesecake balls are freezing, crush about 12 vanilla sandwich cookies in a food processor or by placing them in a zip-top bag and using a rolling pin until they turn to fine crumbs. In a bowl, combine the cookie crumbs with 2 tbsp of softened cream cheese. This mixture will form a dough-like consistency that will encase the cheesecake balls later.
Step 4: Wrap the Cheesecake Bombs
Remove the cheesecake balls from the freezer, and take a small amount of the cookie dough. Flatten this dough into a disc, then place a frozen cheesecake ball in the center. Carefully wrap the dough around the cheese ball, rolling it into a smooth shape, ensuring the cheesecake is fully encased. Repeat this process until all cheesecake balls are wrapped in cookie dough.
Step 5: Coat the Bombs
Prepare your coating by mixing equal parts of cotton candy-flavored sugar, crushed freeze-dried strawberries, and pink sprinkles in shallow bowls. Take each cookie-wrapped cheesecake bomb and roll it in the cotton candy sugar mixture, ensuring an even coating that adds both flavor and visual appeal. Repeat until all the bombs are beautifully coated.
Step 6: Chill Before Serving
Place the coated cotton candy cheesecake bombs back on the lined baking sheet and refrigerate them for at least 1 hour. This chilling time will help the flavors meld and firm up the treats, making them deliciously easy to bite into. Once chilled, your no-bake crispy cotton candy cheesecake bombs are ready to be served!
Expert Tips for Cotton Candy Cheesecake Bombs
-
Room Temperature Cream Cheese: Make sure your cream cheese is softened to room temperature. This ensures a smooth and creamy filling without lumps.
-
Use a Food Processor: For perfectly uniform cookie crumbs, a food processor is your best friend. Avoid uneven textures that can disrupt the bomb’s smooth finish.
-
Avoid Sticky Dough: If your cookie dough is too sticky to handle, dust your hands with cookie crumbs. This simple trick makes rolling much easier and mess-free!
-
Chill Thoroughly: Don’t rush the chilling process—refrigerate your coated cheesecake bombs for at least an hour. This step ensures they hold their shape and taste best.
-
Personalize the Flavor: Experiment with various flavored extracts or different cookie options for unique twists. This flexibility keeps your cotton candy cheesecake bombs fresh and exciting!
How to Store and Freeze Cotton Candy Cheesecake Bombs
Fridge: Store your cotton candy cheesecake bombs in an airtight container for up to 3-4 days. This keeps them fresh and ready to enjoy anytime!
Freezer: If you want to make them ahead of time, these delightful treats can be frozen for up to 1 month. Just ensure they’re in a well-sealed container to prevent freezer burn.
Thawing: To serve, simply remove from the freezer and thaw in the refrigerator for several hours before enjoying. This helps maintain their creamy texture.
Reheating: There’s no need to reheat these no-bake cheesecake bombs; serve them chilled for the best taste and texture experience!
Variations & Substitutions for Cotton Candy Cheesecake Bombs
Feel free to let your imagination run wild as you customize these delightful no-bake cheesecake bombs!
-
Flavor Twist: Experiment with different flavored extracts like almond or lemon to give the cheesecake a unique flair. You’ll discover unexpected combinations that delight the palate!
-
Chocolate Lovers: Dip the entire cheesecake bomb in melted chocolate and then roll in crushed cookies or sprinkles for a rich, indulgent touch. It adds a lovely contrast to the sweet cotton candy flavor.
-
Dairy-Free Delight: Substitute cream cheese and whipped topping with dairy-free alternatives such as cashew cream for a plant-based version that everyone can enjoy. Your vegan friends will thank you!
-
Gluten-Free Option: Swap vanilla sandwich cookies with gluten-free cookie alternatives to cater to those with gluten sensitivities. No one will miss out on the fun of these treats!
-
Fruity Additions: Add small pieces of freeze-dried fruit like raspberries or blueberries to the cheesecake filling for a burst of fresh flavor. The little surprises inside will create moments of delight with every bite.
-
Dazzling Coating: Try rolling the bombs in crushed nuts or coconut flakes instead of cotton candy sugar for a crunchy texture that complements the creamy filling perfectly. It’s a great way to add variety to each batch!
-
Cotton Candy Extract Swap: If cotton candy-flavored sugar isn’t available, blend granulated sugar with a few drops of cotton candy extract for a DIY alternative that captures that sweet fairground essence.
For delightful inspirations on other desserts, you might want to check out our dreamy White Chocolate Cheesecake or get creative with toppings!
What to Serve With No-Bake Crispy Cotton Candy Cheesecake Bombs
Imagine a delightful gathering where every bite of your dessert brings back childhood memories of fairs and fun.
-
Fruity Parfait: Layer fresh berries and granola in a glass for a bright contrast, balancing the sweetness of the cheesecake bombs.
-
Chocolate Dipped Strawberries: The rich chocolate pairs wonderfully with the light sweetness of the cheesecake, creating a harmonious flavor duo.
-
Minty Lemonade: A refreshing mint lemonade can provide a zesty counterpoint to the creamy richness, making each bite feel lighter.
-
Whipped Cream: Top the bombs with freshly whipped cream for an indulgent finishing touch that enhances their dreamy texture.
-
Mixed Fruit Salad: Tossed citrus, berries, and melon offer a refreshing crunch that harmonizes beautifully with the creamy, sweet cheesecake.
-
Sparkling Water with Lime: A bubbly drink refreshes the palate, cutting through the richness while adding an elegant flair to your dessert table.
-
Chocolate Mousse: This lush dessert complements the cotton candy flavors with its deep richness, creating a decadent treat that pleases any chocoholic.
Serve these delightful bombs alongside any of these options to create a delightful spread that guests won’t forget!
Make Ahead Options
These No-Bake Crispy Cotton Candy Cheesecake Bombs are a fantastic choice for busy home cooks looking to save time. You can prepare the cheesecake filling and form the balls up to 24 hours in advance; simply freeze them before wrapping in the cookie shell. To maintain quality, store the cheesecake balls in an airtight container while chilling. Once ready to serve, follow the wrapping and coating steps and chill the assembled bombs for at least 1 hour. For longer storage, these treats can be made up to 3 days in advance and kept in the fridge, allowing flavors to develop beautifully. Enjoy the ease of having delicious desserts ready at a moment’s notice!
Cotton Candy Cheesecake Bombs Recipe FAQs
How do I know if my cream cheese is ripe enough for the recipe?
Absolutely! The cream cheese should be softened to room temperature, which typically takes about 30 minutes after taking it out of the fridge. If it feels smooth and easy to mix without lumps, you’re good to go!
How should I store the Cotton Candy Cheesecake Bombs?
Very! Keep these delightful cheesecake bombs in an airtight container in the refrigerator for up to 3-4 days. This will ensure they stay fresh and ready for your sweet tooth cravings!
Can I freeze the cheesecake bombs, and if so, how?
Absolutely! To freeze, place the assembled but uncoated cheesecake bombs in a single layer on a baking sheet and freeze for about 2 hours until solid. Once firm, transfer them to a freezer-safe container or zip-top bag, separating layers with parchment paper to prevent sticking. They can be frozen for up to 1 month!
What if my cookie dough is too sticky to work with?
Very common! If you find your cookie dough is sticky when you’re forming the cheesecake bombs, just dust your hands with some cookie crumbs. This will make it much easier to shape them without making a mess!
Can these cheesecake bombs be made gluten-free or dairy-free?
Absolutely! You can easily substitute the vanilla sandwich cookies with gluten-free alternatives. For a dairy-free version, use dairy-free cream cheese and whipped topping. These flexible substitutions allow everyone to join in on the fun!
Delightfully Sweet Cotton Candy Cheesecake Bombs to Try Now
Ingredients
Equipment
Method
- In a mixing bowl, combine 8 oz. of softened cream cheese, 1 cup of powdered sugar, and 1 tsp of vanilla extract. Blend until smooth.
- Gently fold in 1 cup of whipped topping or heavy cream until fluffy.
- Scoop 1-inch portions of the cheesecake filling and roll them into balls. Freeze for 20-30 minutes.
- Crush 12 vanilla sandwich cookies until fine, then combine with 2 tbsp of softened cream cheese.
- Flatten the cookie dough, wrap it around each cheesecake ball, and roll into a smooth shape.
- Coat with a mixture of cotton candy sugar, crushed strawberries, and pink sprinkles.
- Refrigerate for at least 1 hour before serving to meld the flavors.
Leave a Reply