
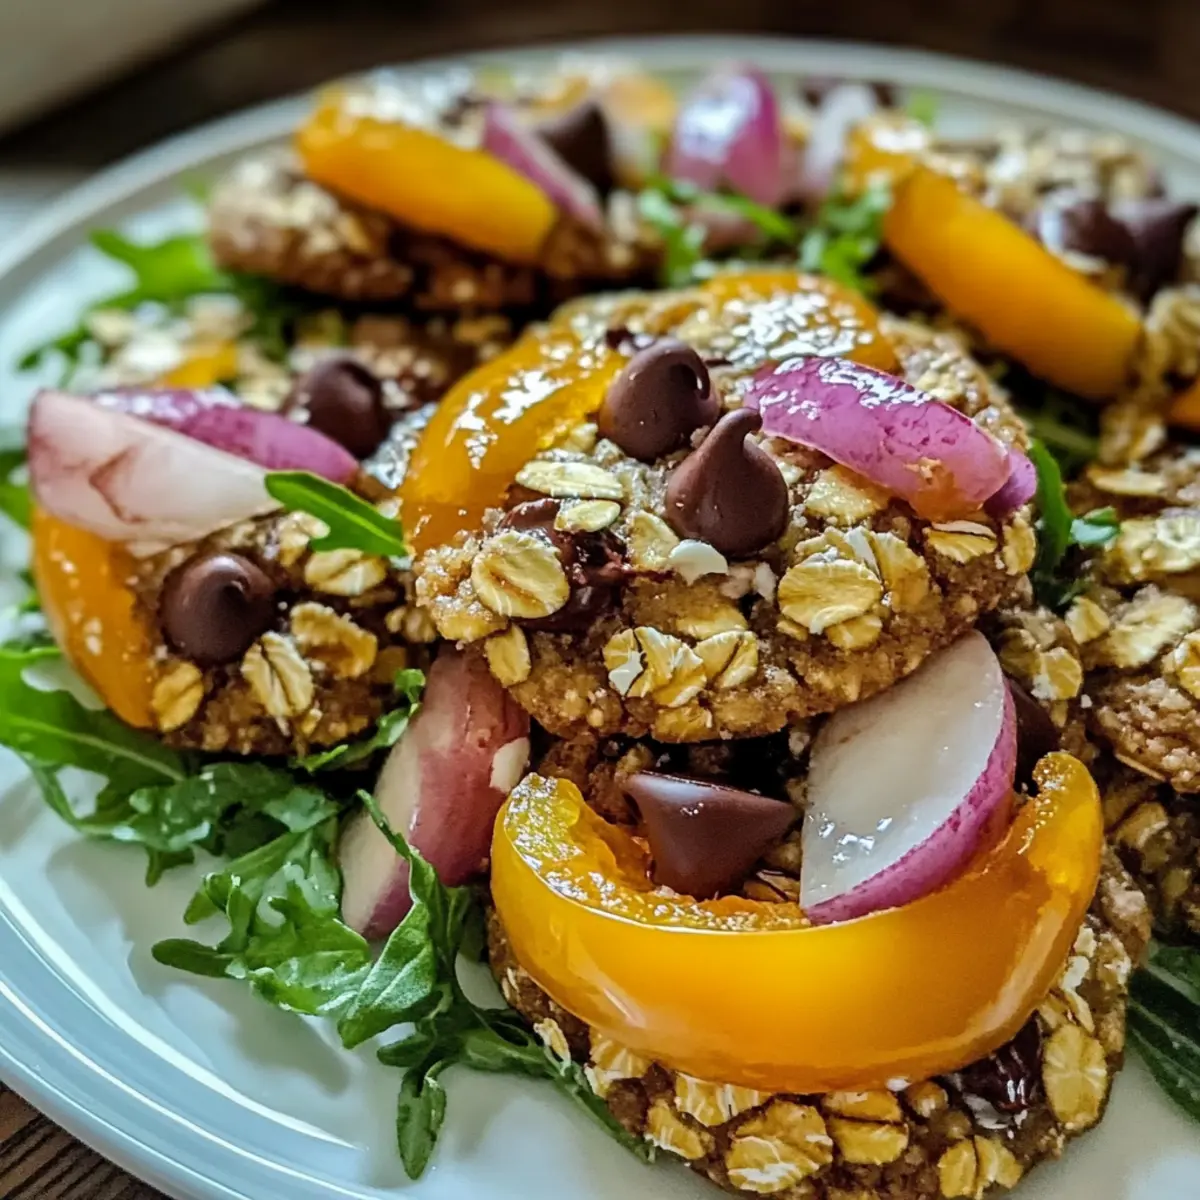
As I stood in my kitchen, the inviting aroma of melting chocolate filled the air—an instant reminder of life’s simple joys. That’s the magic of these 4-Ingredient Crispy Chocolate Oat Cookies; they combine minimal effort with maximum delight. Perfect for those bustling days when time is tight, these cookies come together quickly, making them a go-to for a sweet pick-me-up or an impromptu gathering. Best of all, they’re gluten-free, ensuring that everyone can join in on the fun! With just oats, chocolate chips, peanut butter, and honey, you’ll have a delectable treat ready in no time. Curious about how to achieve that crisp edge while keeping a chewy center? Stick around, because I’m excited to share how you can whip up this irresistible recipe in a flash!
Want a Quick and Delicious Cookie Recipe?
Simplicity reigns here with just four ingredients, making these cookies an effortless treat anyone can master. Crispy edges combined with a chewy center create a delightful texture that pleases every palate. Gluten-free and versatile, swap chocolate chips for dried fruit or use different nut butters to tailor them to your taste. Perfect for those busy afternoons or surprise guests, these cookies are sure to become a staple in your home, just like my Chickpea Peach Salad for something refreshing on the side! Don’t forget to enjoy them with a cold glass of milk or coffee for the ultimate indulgence!
Chocolate Oat Cookie Ingredients
• Looking to whip up these delicious treats?
For the Cookie Base
- Oats – Essential for structure and chewiness; use rolled oats for the best texture.
- Chocolate Chips – Sweetness and rich chocolate flavor; dark chocolate enhances the taste even more.
- Peanut Butter – Provides creaminess and acts as a binder; any nut or seed butter can serve as a substitute.
- Honey (or Maple Syrup) – Adds moisture and sweetness; agave syrup can be used for a vegan option.
These ingredients meld perfectly to create the essence of your new favorite Chocolate Oat Cookies!
Step-by-Step Instructions for 4-Ingredient Crispy Chocolate Oat Cookies
Step 1: Preheat the Oven
Begin by preheating your oven to 350°F (175°C). While it warms up, prepare a baking tray by lining it with parchment paper to prevent the cookies from sticking. This simple step is crucial for achieving those perfectly crisp edges on your delicious Chocolate Oat Cookies.
Step 2: Mix the Dry Ingredients
In a large mixing bowl, combine your rolled oats and chocolate chips. Use a wooden spoon or spatula to gently mix them together until they’re evenly dispersed. This ensures each cookie will have that delightful chocolate burst. Take a moment to admire the hearty texture that the oats provide!
Step 3: Add the Peanut Butter
Next, add the creamy peanut butter to the oat and chocolate chip mixture. Stir everything together until the ingredients are well combined, forming a thick, cohesive dough. The peanut butter acts as the glue here, giving these cookies their scrumptious flavor. Keep mixing until you no longer see dry oats.
Step 4: Incorporate the Sweetener
Slowly drizzle in the honey or maple syrup, stirring continuously until you have a smooth cookie dough. This step is essential for binding and sweetening your mixture, creating that perfect balance of flavor. You’ll know it’s ready when the dough is slightly sticky but holds together well.
Step 5: Shape the Cookies
Using a tablespoon, scoop out portions of the dough and place them on the prepared baking tray, spacing them about two inches apart. Gently flatten each scoop with your fingers or the back of the spoon to form even disks. This will help them bake evenly and achieve that desired crispy texture.
Step 6: Bake the Cookies
Slide the baking tray into the preheated oven and bake for 10-12 minutes. Keep a close eye on them; you want the edges to turn golden brown while the centers remain slightly soft. This contrast creates the perfect combination of crispiness and chewiness in your Chocolate Oat Cookies.
Step 7: Cool Before Serving
Once baked, remove the tray from the oven and let the cookies cool on the baking sheet for about 5 minutes. This cooling time is vital for the cookies to firm up. After that, transfer them to a wire rack to cool completely, allowing you to enjoy their delightful crunch at its best.

Variations for Chocolate Oat Cookies
Unleash your creativity in the kitchen by customizing these delightful cookies to suit your taste!
-
Dried Fruit: Replace chocolate chips with dried fruit like cranberries or apricots for a chewy, fruity twist. This adds natural sweetness and a pop of color to your cookies.
-
Nutty Crunch: Swap peanut butter for almond or cashew butter to explore different nutty flavors. Feel free to add chopped nuts for an extra crunchy surprise!
-
Cocoa Powder: For a richer chocolate experience, mix in a tablespoon or two of unsweetened cocoa powder with the oats. This simple addition deepens the flavor and adds a chocolatey punch.
-
Sea Salt Sprinkle: Finish the cookies with a sprinkle of flaky sea salt just before baking. This enhances the sweetness and creates a delightful sweet-salty combination, reminiscent of gourmet treats.
-
Coconut Flakes: Stir in unsweetened shredded coconut for a touch of tropical flavor. It not only adds great texture but also pairs beautifully with the chocolate.
-
Spicy Kick: If you like a bit of heat, try adding a pinch of cayenne pepper or cinnamon to the dough. This unexpected twist brings warmth that complements the chocolate beautifully.
-
Vegan Option: Replace honey with agave syrup and use a nut-free butter alternative like sunflower seed butter. This way, everyone can enjoy your cookies, regardless of dietary preferences.
-
Fruity Flair: Mix in some mashed banana or applesauce to the dough for a moist and whimsical cookie. This yields a delightful flavor and makes your cookies even softer!
Keep these variations in mind when you’re ready to indulge, and for some refreshing accompaniments, you might consider pairing them with a crisp Cucumber Caesar Salad or perhaps a slice of Burrata Rosemary Peach for a truly delightful meal!
What to Serve with 4-Ingredient Crispy Chocolate Oat Cookies
These cookies are perfect companions to create a balanced meal that delights the senses and satisfies your cravings.
-
Fresh Fruit Salad: A bright medley of seasonal fruits to contrast the cookies’ sweetness, adding a refreshing crunch.
-
Vanilla Ice Cream: Creamy, smooth, and indulgent; a scoop beautifully pairs with the chocolatey goodness of the cookies for dessert bliss.
-
Greek Yogurt Parfait: Layered with granola and berries, this adds a creamy texture and tangy flavor that complements the cookies wonderfully.
-
Nutty Trail Mix: A savory mix of nuts and seeds enhances the crunchy texture while offering a nutritious boost to your snack time.
-
Warm Coffee: Great for any time of day, this drink’s deep flavor profile complements the chocolate flavor beautifully, inviting cozy moments.
-
Milkshake: A rich and creamy milkshake balances out the crispy texture of the cookies, creating a delightful treat worth savoring.
-
Chocolate Dipped Strawberries: These treats harmonize well, enhancing the chocolatey theme while adding a fresh, fruity brightness.
Don’t forget, these recipes will elevate your snacking experience, turning simple moments into memories anchored in taste!
Storage Tips for Chocolate Oat Cookies
Room Temperature: Store cookies in an airtight container at room temperature for up to 7 days to keep them fresh and maintain their delightful crunch.
Freezer: For longer storage, freeze your Chocolate Oat Cookies for up to 3 months. Place them in a single layer in a freezer-safe container, separating layers with parchment paper.
Reheating: To enjoy your cookies warm, reheat them in the microwave for 10-15 seconds or in the oven at 350°F (175°C) for a few minutes until warmed through.
Thawing: When ready to eat, simply remove from the freezer and let them thaw at room temperature for about 15 minutes. Enjoy the perfect combination of crisp and chewy!
Expert Tips for 4-Ingredient Crispy Chocolate Oat Cookies
-
Mix Thoroughly: Ensure even mixing of the oats, chocolate chips, and peanut butter to prevent dry pockets in your cookies.
-
Watch the Time: Keep an eye on the cookies towards the end of the baking time; ovens can vary, and you want that perfect golden edge.
-
Certified Gluten-Free: If needed, double-check that your oats are certified gluten-free to ensure an inclusive treat for everyone.
-
Flatten Evenly: When shaping the cookies, make sure to flatten them slightly for even baking and a satisfying crispy texture.
-
Storage Secrets: Store leftover cookies in an airtight container at room temperature to maintain freshness and avoid sogginess.
Make Ahead Options
These 4-Ingredient Crispy Chocolate Oat Cookies are perfect for those who want to save time during busy weeknights! You can mix the dry ingredients (oats and chocolate chips) and store them in an airtight container for up to 3 days. Additionally, you can prepare the cookie dough and refrigerate it for up to 24 hours—just be sure to keep it tightly sealed to maintain freshness. When you’re ready to bake, simply scoop and flatten the dough on your prepared tray, and follow the baking instructions as usual. This way, you’ll have freshly baked cookies that are just as delicious without the last-minute rush!

Chocolate Oat Cookies Recipe FAQs
How do I choose the right oats for these cookies?
Absolutely! For the best texture, I recommend using rolled oats. They provide the ideal structure and chewiness that you’ll want in a cookie. Avoid instant oats as they can turn mushy and affect the crunchiness of your final product.
What’s the best way to store Chocolate Oat Cookies?
To keep your cookies fresh, store them in an airtight container at room temperature for up to 7 days. Placing a slice of bread in the container can help absorb moisture and maintain their delightful crunch longer!
Can I freeze Chocolate Oat Cookies, and how should I do it?
Certainly! To freeze your cookies, place them in a single layer in a freezer-safe container, separating each layer with parchment paper to prevent sticking. They can be frozen for up to 3 months. When you’re ready to enjoy, just let them thaw at room temperature for about 15 minutes, or reheat them for a few seconds in the microwave for that fresh-baked feel.
What should I do if my cookies don’t turn out crispy?
If your cookies are not as crispy as you’d like, consider flattening them a bit more before baking, as this will help them spread and achieve the desired texture. Also, be sure to bake them until the edges are golden brown; if unsure, I recommend adding an extra minute or two while keeping an eye to prevent burning.
Are these Chocolate Oat Cookies suitable for people with allergies?
Great question! These cookies are naturally gluten-free if you use certified gluten-free oats. However, be mindful of the peanut butter; for those with nut allergies, you can substitute it with sunflower seed butter or tahini. Always check labels to ensure there are no hidden allergens.
Can I customize the ingredients in this cookie recipe?
Very much so! This recipe is versatile. You can substitute chocolate chips with dried fruits for a fruity twist or experiment with different nut or seed butters to find your favorite. Adding a pinch of sea salt on top before baking can also elevate the flavor with a sweet-salty contrast. The more the merrier!

Peach Arugula Salad: A Fresh Twist on Summer Flavors
Ingredients
Equipment
Method
- In a large mixing bowl, combine the arugula and sliced peaches.
- Add crumbled feta cheese on top, if using.
- Drizzle with balsamic vinaigrette and toss gently to combine.
- Serve immediately in a serving dish.
Leave a Reply