
The aroma of dashi wafting through the kitchen instantly transported me to a cozy izakaya in Japan, where comfort meets tradition in every bite. Today, I’m thrilled to share my favorites: Rice Cooker Oyakodon, a delightful Japanese chicken and egg rice bowl that brings the warmth of home-cooked meals to your table without the fuss. This quick and easy recipe allows you to whip up a satisfying one-pot meal, perfect for busy weeknights when you crave something hearty yet uncomplicated. With tender chicken and velvety eggs nestled in savory-sweet sauce over fluffy rice, it’s a dish that truly delivers comfort. Ready to elevate your weeknight dinners with this simple yet authentic recipe? Let’s dive in and discover the joy of making Oyakodon together!
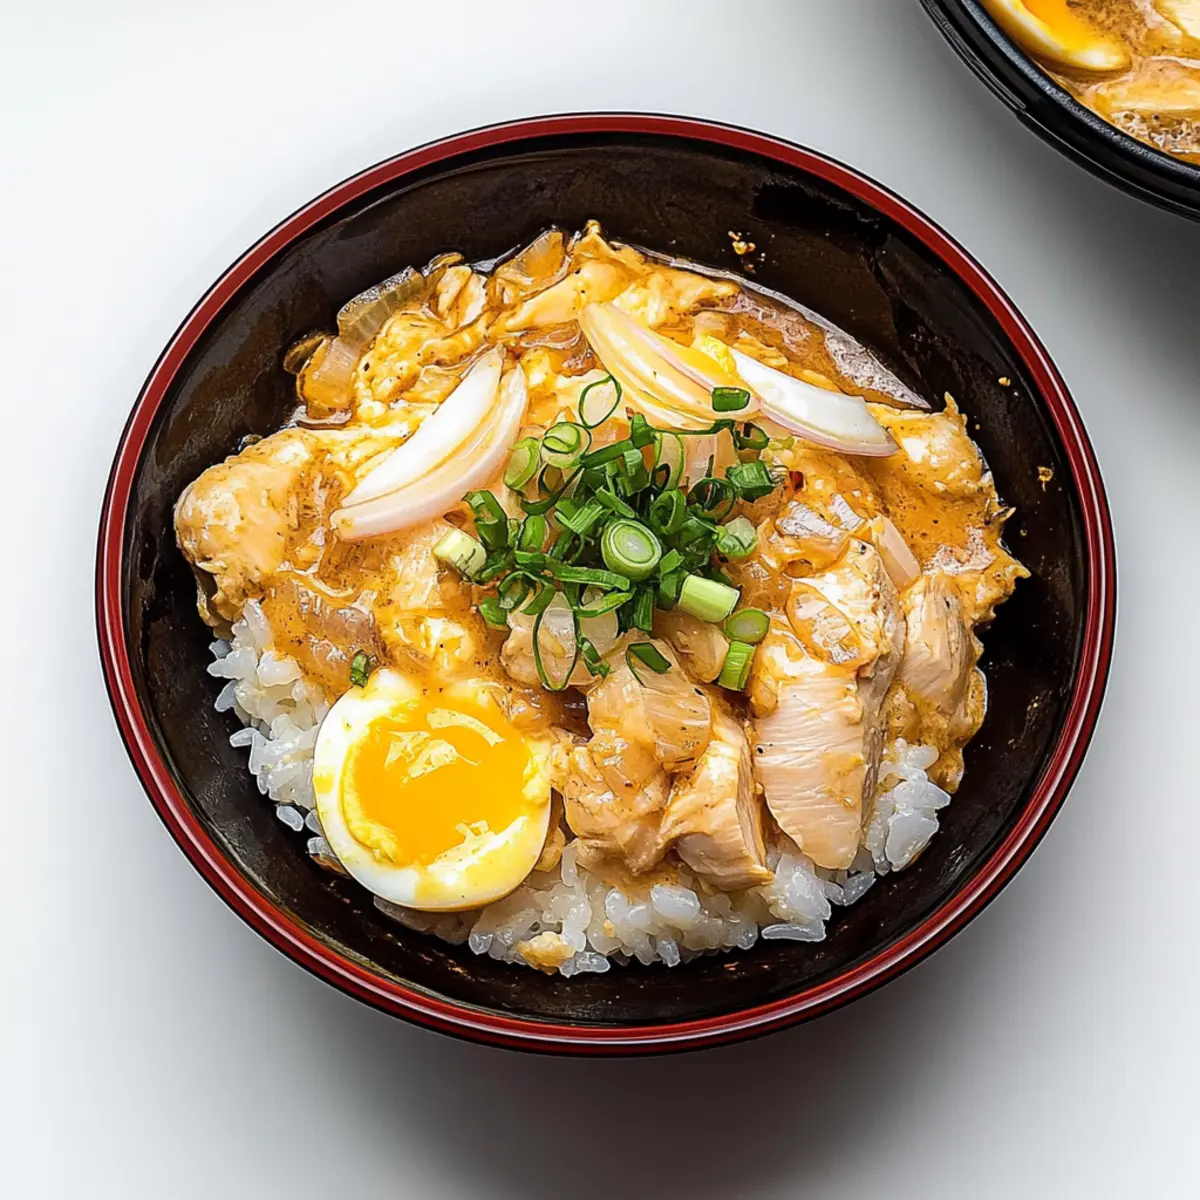
Why is Oyakodon a Must-Try?
Simplicity at its Best: This one-pot wonder is a breeze to prepare, making it ideal for busy nights.
Authentic Flavor: Enjoy the savory umami of dashi that transforms everyday ingredients into a memorable meal.
Versatile Options: Easily switch chicken with firm tofu for a vegetarian delight or toss in seasonal vegetables to elevate nutrition.
Crowd-Pleasing Comfort: Each bite combines tender chicken and creamy eggs over fluffy rice, creating a dish loved by all.
Minimal Cleanup: Cooked entirely in your rice cooker, this recipe saves time in the kitchen, so you can spend more time with loved ones.
Elevate your cooking game with this Rice Cooker Oyakodon, and if you’re in the mood for more delicious one-pot meals, check out Slow Cooker Beef for another delightful option!
Rice Cooker Oyakodon Ingredients
• Perfect for a quick comfort meal!
For the Rice
- Japanese Short Grain Rice – This rice gives the dish its signature sticky texture; substitutes with brown rice need liquid adjustments.
For the Chicken
- Chicken (thigh or breast) – A tender protein source that enhances flavor during cooking; can swap with firm tofu or mushrooms for a vegetarian variation.
For the Eggs
- Eggs – These add a creamy richness to the dish; fresh eggs yield the best results.
For the Sauce
- Dashi (or mentsuyu) – An essential ingredient providing that savory umami flavor; vegetarian alternatives include plant-based dashi.
For the Aromatics
- Onion – This vegetable adds sweetness and depth; yellow onion is the recommended choice for a more rounded flavor profile.
Enjoy the delightful fusion of flavors with this Rice Cooker Oyakodon!
Step‑by‑Step Instructions for Rice Cooker Oyakodon
Step 1: Rinse the Rice
Begin by rinsing 1 cup of Japanese short grain rice under cold running water. Swirl it gently for about 1-2 minutes until the water runs clear. This step removes excess starch and ensures the rice cooks perfectly. Once rinsed, drain the rice and transfer it to your rice cooker along with 1.2 cups of water, allowing it to soak for 30 minutes for optimal texture.
Step 2: Prepare Chicken and Onion
While the rice soaks, slice 1 cup of chicken (thigh or breast) into bite-sized pieces and thinly slice half a yellow onion. Set both ingredients aside in separate bowls. The chicken should be tender and ready to absorb the delicious flavors, while the onion adds a gentle sweetness, enhancing the overall taste of your Rice Cooker Oyakodon.
Step 3: Mix the Dashi Sauce
In a small bowl, combine 1 cup of dashi (or mentsuyu) with 1 tablespoon of soy sauce and 1 tablespoon of mirin. Stir until well mixed, creating a savory-sweet sauce that will coat the rice and chicken. This flavorful mixture is crucial for achieving that authentic taste in your Rice Cooker Oyakodon, bringing all the ingredients together beautifully.
Step 4: Layer Ingredients in the Cooker
Pour the dashi sauce over the soaked rice in the rice cooker, spreading it evenly. Then, lay the sliced chicken and onions on top, ensuring they are distributed well. Close the rice cooker lid and select the standard cooking setting. Allow it to cook for about 25-30 minutes, or until the rice is fluffy and the chicken is fully cooked through, taking note of the pleasant aroma.
Step 5: Add the Eggs
Once the rice cooker signals that cooking is complete, carefully crack 2 eggs directly over the warm mixture without stirring. Close the lid and let the residual steam cook the eggs for an additional 5-7 minutes. You want the eggs to be lightly set and still creamy, allowing them to gently envelop the chicken and rice, creating that comforting Rice Cooker Oyakodon experience.
Step 6: Serve and Garnish
After steaming, lift the lid and gently fluff the rice and eggs together with a fork to combine. Taste for seasoning and adjust as needed. Serve your Rice Cooker Oyakodon warm, garnished with sliced green onions or sesame seeds for a touch of freshness. This delightful dish is perfect for a quick and satisfying meal that the whole family will love.
Make Ahead Options
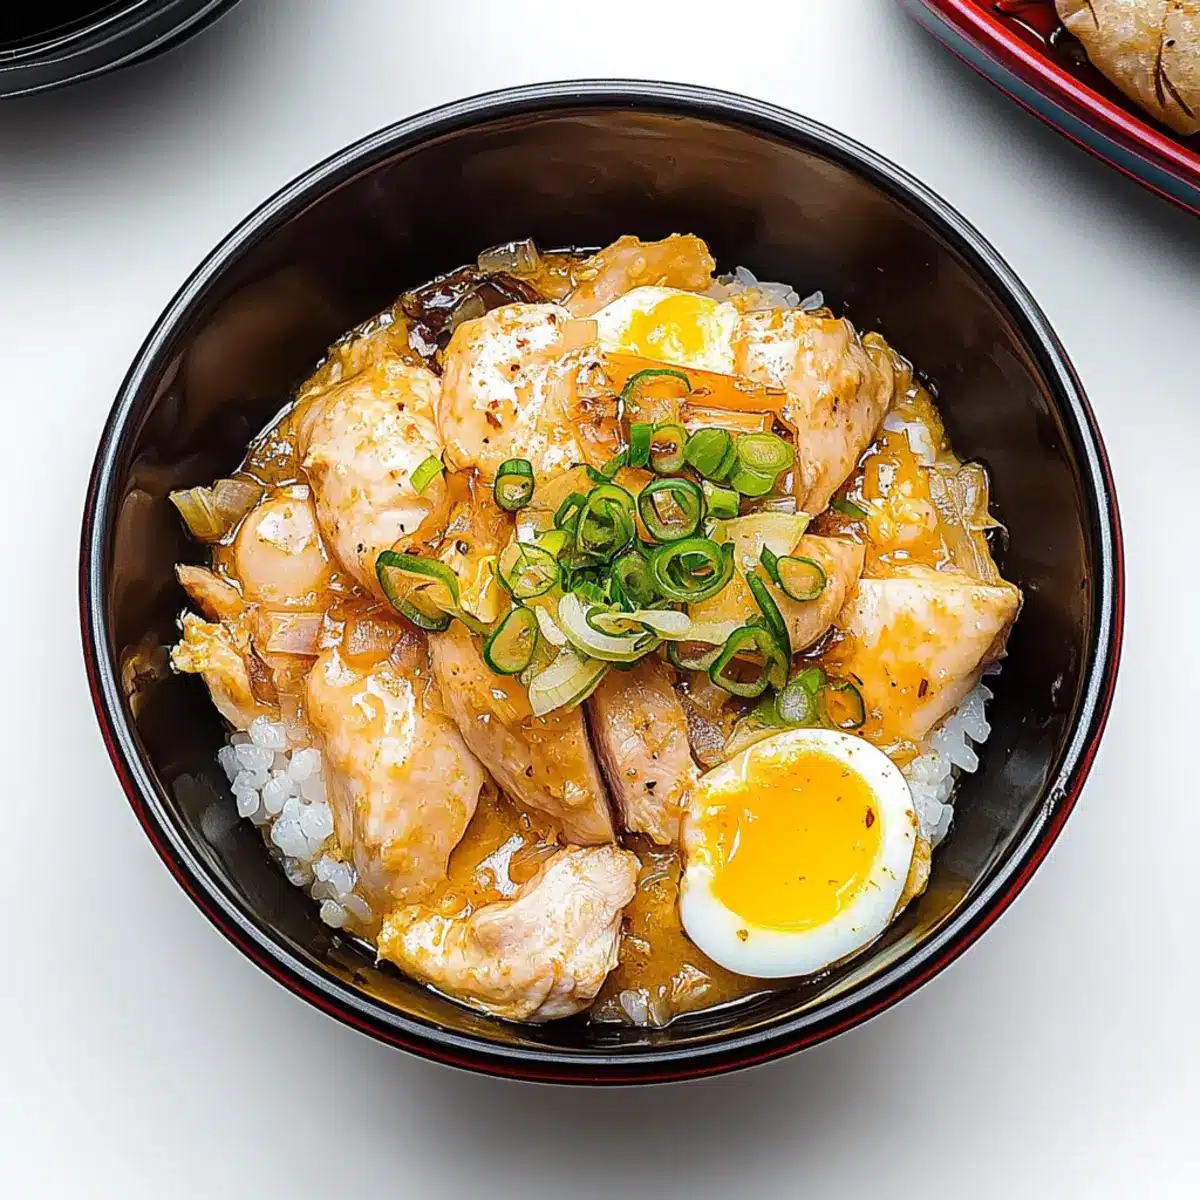
These Rice Cooker Oyakodon meals are perfect for busy cooks who want to save time during the week! You can prepare the rice, chicken, and onion mixture up to 24 hours in advance; just store them separately in airtight containers in the refrigerator to maintain freshness. Additionally, you can mix the dashi sauce and keep it in the fridge for easy access. When it’s time to enjoy your meal, simply combine the ingredients in your rice cooker, add the cracked eggs, and cook as directed, allowing for a cozy, home-cooked experience with minimal effort. This way, you can relish in delicious Rice Cooker Oyakodon without the last-minute scramble!
Expert Tips for Rice Cooker Oyakodon
-
Rinse Thoroughly: Remove excess starch by rinsing the rice until the water runs clear; this prevents sticking and ensures a fluffy texture.
-
Check Egg Consistency: Monitor the steaming time for the eggs, as they can go from perfectly creamy to overcooked quickly. Aim for a soft set.
-
Adjust for Size: If your rice cooker is smaller, consider reducing the amount of chicken and rice to ensure even cooking in your Rice Cooker Oyakodon.
-
Flavor Boost: Don’t shy away from seasoning! Taste your dashi sauce before cooking and add a pinch of salt or soy sauce if needed for an extra umami kick.
-
Garnish for Enjoyment: Enhancing the dish with fresh green onions or sesame seeds not only adds flavor but also a delightful visual appeal.
Rice Cooker Oyakodon Variations
Feel free to personalize your Oyakodon and make it uniquely yours with these fun variations!
-
Vegetarian Delight: Swap chicken for firm tofu or mushrooms, marinating them in soy sauce for enhanced flavor.
-
Seasonal Veggies: Add seasonal vegetables like bell peppers or snap peas for extra nutrition and a vibrant twist that bursts with color.
-
Spicy Kick: Incorporate chili flakes or a splash of sriracha for a gentle heat that elevates the savory goodness of your dish.
-
Creamier Eggs: For a silkier texture, whisk the eggs with a dash of milk before adding them to the rice cooker.
-
Miso Umami: Mix in a tablespoon of miso paste with your dashi for an extra layer of umami glory that’s simply irresistible.
-
Citrus Zing: Add a bit of zest from an orange or lemon for a bright, fresh flavor that complements the savory elements beautifully.
-
Edamame Boost: Toss in a handful of shelled edamame for a protein punch and a lovely pop of color.
For those exploring more one-pot wonders, be sure to check out my recipe for Slow Cooker Garlic or our Slow Cooker Unstuffed for delightful alternatives. Each variation adds its unique flair! Enjoy your culinary journey with this Rice Cooker Oyakodon!
What to Serve with Rice Cooker Oyakodon?
Create a complete and satisfying meal with these delightful side dishes and accompaniments that perfectly complement your Oyakodon.
- Steamed Edamame: These tender, slightly salty beans bring a refreshing crunch, balancing the richness of the Oyakodon beautifully.
- Simple Cucumber Salad: A crisp, tangy salad with rice vinegar and sesame adds brightness, enhancing the flavors of this comforting dish.
- Miso Soup: Warm and soothing, miso soup offers umami depth that harmonizes wonderfully with the savory notes of the Oyakodon.
- Pickled Ginger: Its sharpness contrasts the creamy eggs, providing a zesty palate cleanser between bites. A little goes a long way!
- Grilled Asparagus: Lightly charred, these tender stalks add a lovely smoky flavor and a touch of green for a vibrant plate.
- Japanese Green Tea: Sipped alongside the meal, this aromatic tea enhances the dining experience with its earthy notes, refreshing your palate.
- Sesame Spinach Salad: Tossed in sesame oil, this dish introduces nutty flavors and texture, complementing the rice bowl’s softness.
- Mochi Ice Cream: For dessert, enjoy this sweet treat with its chewy exterior and creamy filling; the contrast makes for an unforgettable finish!
- Fried Tofu Bites: Crispy on the outside and soft within, these protein-packed bites are perfect for guests and add a delightful texture contrast to the meal.
How to Store and Freeze Rice Cooker Oyakodon
Fridge: Cool completely before transferring to an airtight container. Store leftovers in the fridge for up to 2 days for optimal freshness.
Freezer: If storing for longer, freeze individual portions in airtight containers for up to 1 month. Thaw overnight in the fridge before reheating.
Reheating: Gently reheat on the stovetop with a splash of water to refresh the creamy texture of the eggs and prevent drying out.
Avoid Overcooking: When reheating, monitor closely to ensure the eggs don’t overcook and remain luscious in your Rice Cooker Oyakodon.
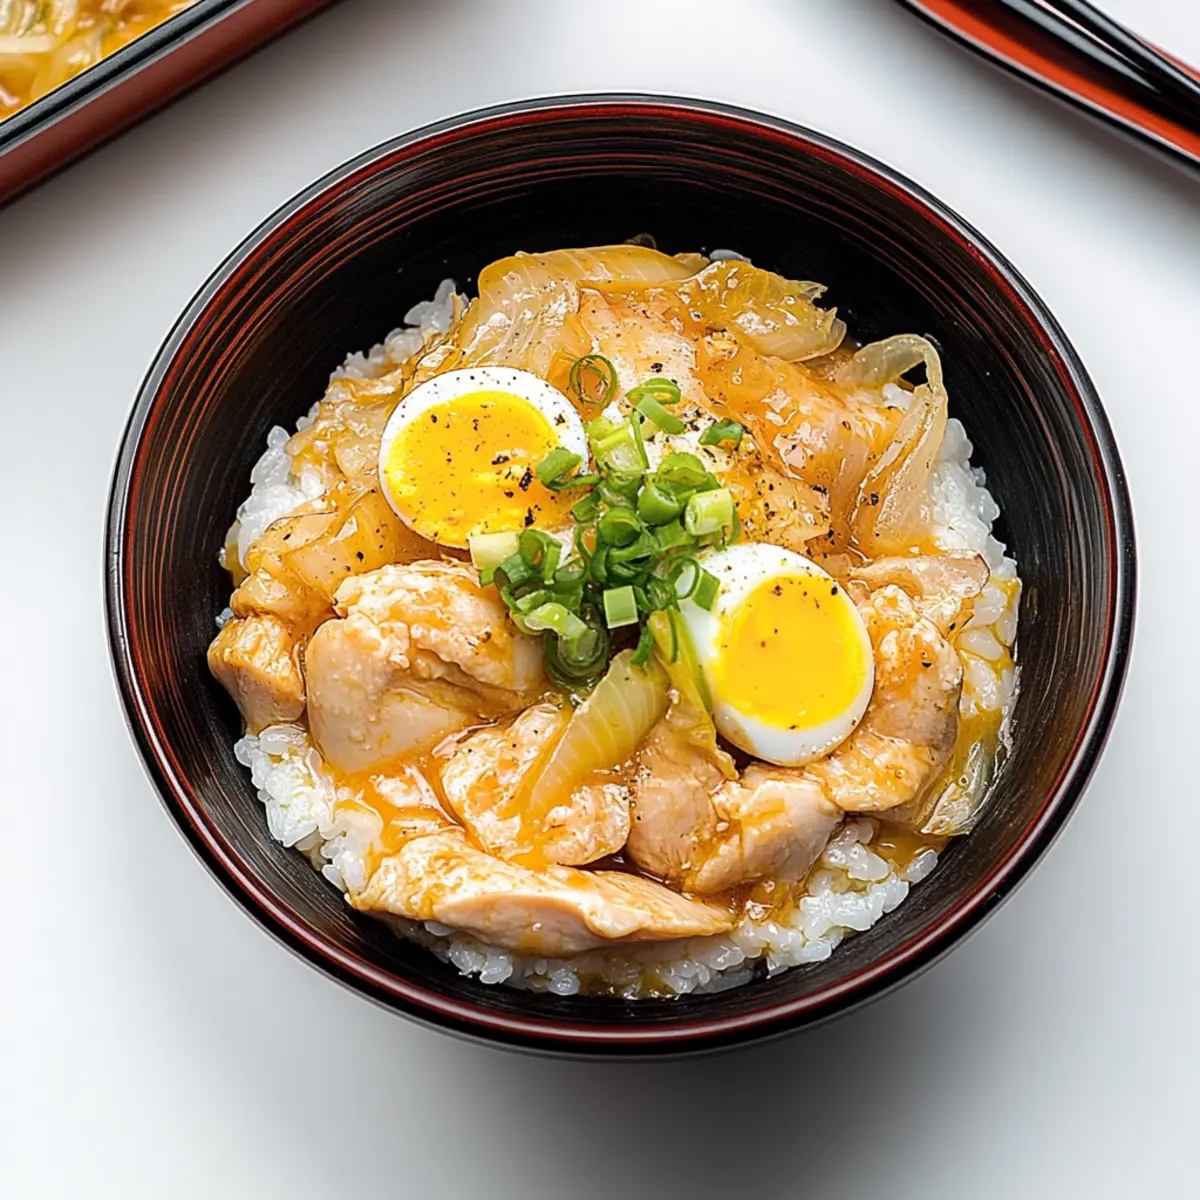
Rice Cooker Oyakodon Recipe FAQs
What kind of rice should I use for Oyakodon?
Absolutely, Japanese short grain rice is ideal for Oyakodon because it provides that signature sticky texture! If you’d prefer a healthier option, you can substitute with brown rice, but make sure to adjust the liquid amount since brown rice typically requires more water.
How do I store leftover Oyakodon?
To store, cool the Oyakodon completely before transferring it to an airtight container. It can be refrigerated for up to 2 days. When you’re ready to enjoy it again, just reheat gently to maintain its creamy texture.
Can I freeze Oyakodon?
Certainly! To freeze, portion the Oyakodon into airtight containers and store it for up to 1 month. Thaw in the fridge overnight before reheating. I recommend adding a splash of water when reheating to help rehydrate the dish and avoid drying it out.
What if my eggs overcook during steaming?
Very understandable! If you find that your eggs are overcooked, it may be due to the residual heat from the rice. Next time, try reducing the steaming time to 5 minutes. Alternatively, monitor closely to achieve that perfect soft-set texture that works wonderfully with the creamy chicken and rice.
Are there any dietary considerations for pets or allergies?
Definitely take care with this dish! Oyakodon contains eggs and chicken, which aren’t suitable for pets like dogs and cats, and it’s also important to consider lactose intolerance as dashi might not be appropriate for everyone. Always check for allergies related to the ingredients, especially if sharing with guests!
Can I make a vegetarian version of Oyakodon?
Of course! I often make a vegetarian version by substituting chicken with firm tofu or mushrooms for a delightful mix. Just follow the same steps, ensuring your dashi is plant-based. Add seasonal vegetables for an added nutrient boost and delicious flavor variation!
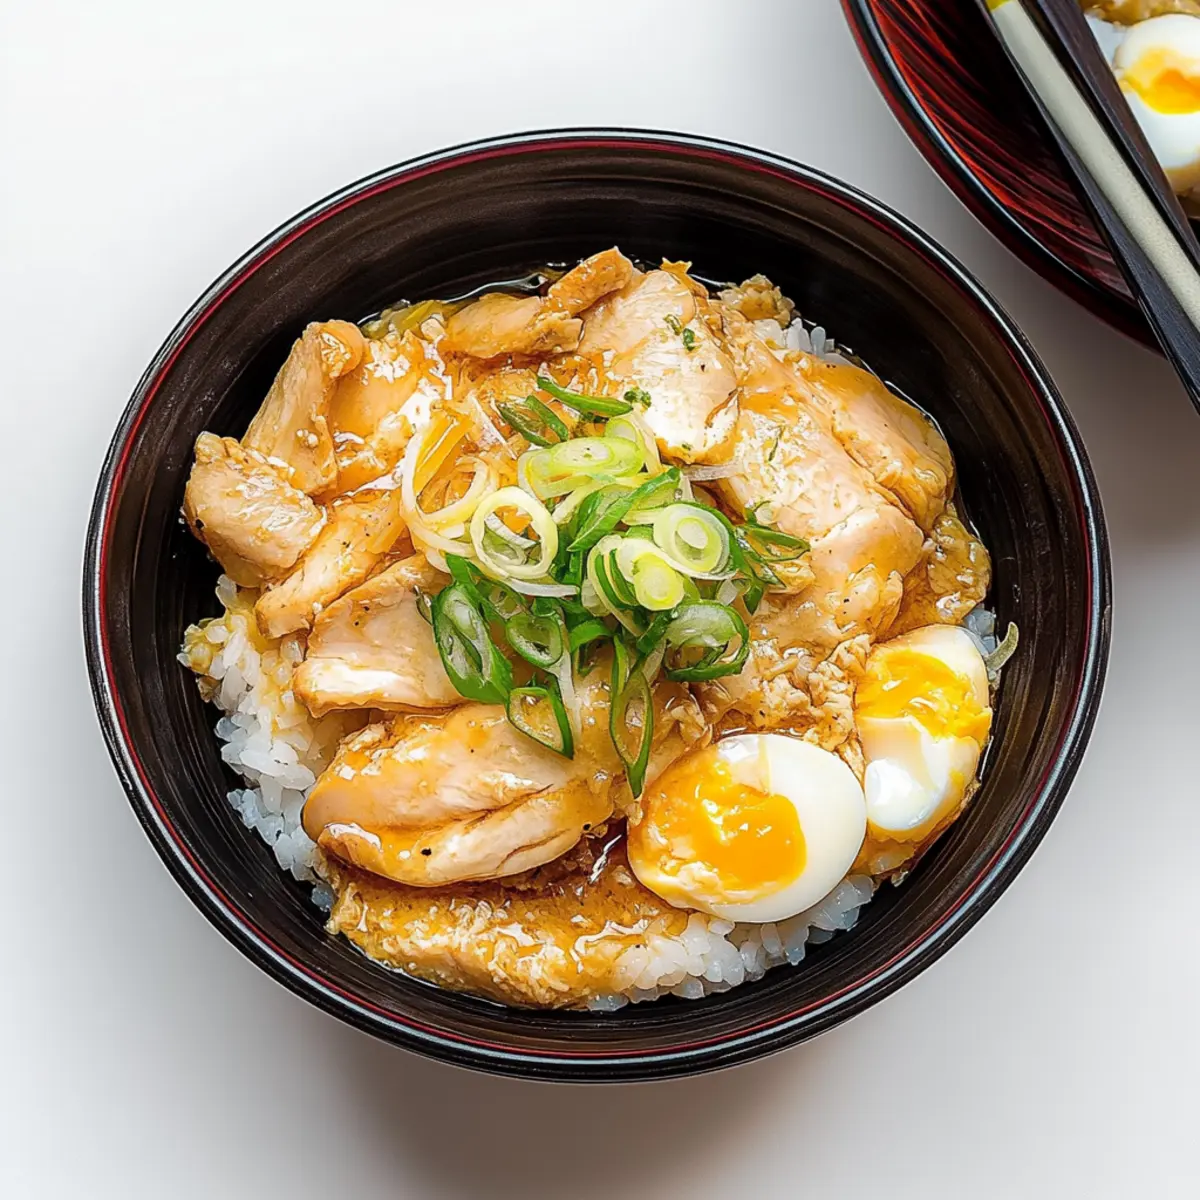
Delicious Rice Cooker Oyakodon: Your Quick Comfort Meal
Ingredients
Equipment
Method
- Rinse the rice under cold running water until the water runs clear. Transfer it to the rice cooker with 1.2 cups of water and soak for 30 minutes.
- Slice chicken into bite-sized pieces and thinly slice the onion. Set both ingredients aside.
- Combine dashi with soy sauce and mirin in a small bowl to create the sauce.
- Pour the dashi sauce over the soaked rice, then lay the chicken and onions on top. Cook in the rice cooker.
- Once cooking is complete, crack the eggs over the mixture, close the lid, and let steam for 5-7 minutes.
- Fluff rice and eggs together, taste for seasoning, and serve warm with garnishes.
Leave a Reply