
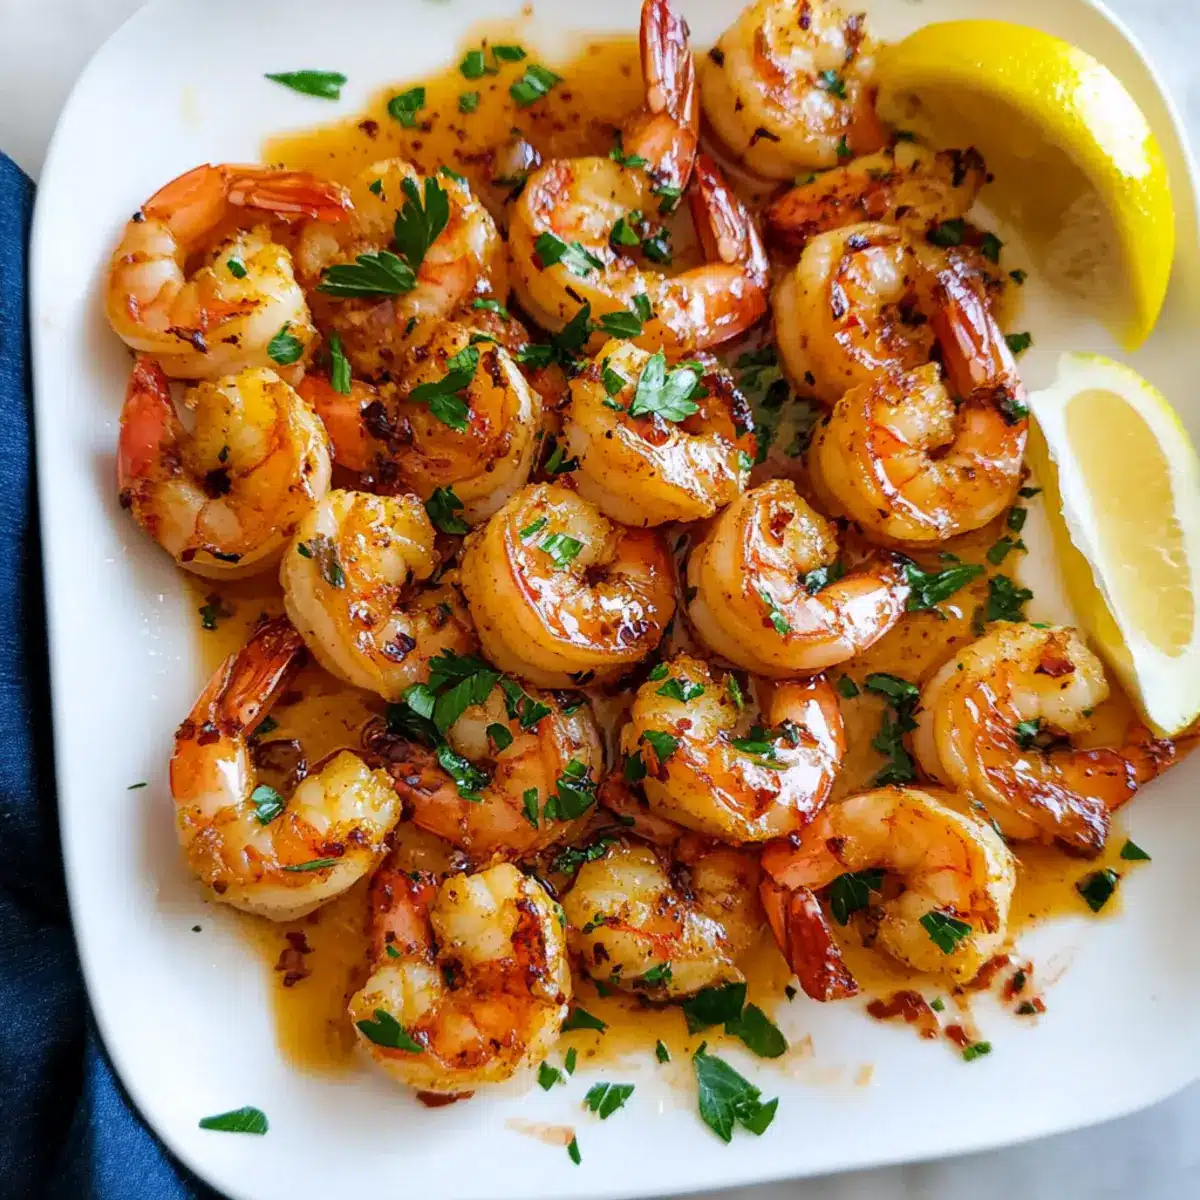
As I stood on my balcony, the salty breeze whispered tales of Hawaiian shores, igniting a craving for something exotic yet comforting. Enter Hawaiian Garlic Shrimp—my quick answer to those evenings when time is short but flavor is non-negotiable. This dish transforms succulent shrimp into a culinary masterpiece, immersed in a buttery garlic sauce that’s pure magic. It’s not just a recipe; it’s a vibrant taste of island life that you can whip up in no time. With minimal prep and a promise to wow any crowd, this dish is perfect for busy weeknights or when you want to impress guests without hours in the kitchen. Are you ready to dive into a Hawaiian escape right at your dinner table?
Why is Hawaiian Garlic Shrimp a must-try?
Quick and Easy: This recipe is perfect for weeknights, taking just minutes to whip up. Bold Flavors: The garlic and butter combination creates an irresistible sauce sure to satisfy your cravings. Versatile Dish: Feel free to substitute shrimp with scallops or even chicken, making it adaptable for any occasion. Impress Your Guests: Serve this alongside pineapple rice for an island-inspired feast that will leave everyone talking about your cooking! Crowd-Pleaser: Whether it’s a family dinner or a small gathering, this dish will undoubtedly garner compliments. Discover the yumminess of this dish and make it a staple like my other favorites such as Lemon Garlic Butter or Parmesan Garlic Beef.
Garlic Shrimp Ingredients
• Discover the essentials for this delightful dish!
For the Shrimp
- Extra Large Shrimp – Choose peeled and deveined for quick cooking and ease.
- All-Purpose Flour – Coats shrimp for a slight crisp texture that adds depth.
For the Garlic Sauce
- Fresh Garlic – A key ingredient that imparts that rich, garlicky flavor essential to garlic shrimp.
- Unsalted Butter – Provides a luscious base for the sauce; make sure to dice it for even melting.
- Olive Oil – Pairs with butter to sauté the shrimp without burning—it creates the perfect cooking blend.
For Seasoning
- Paprika – Adds subtle smokiness and enhances the dish’s color.
- Cayenne Pepper – Optional for those who love a bit of heat; adjust according to your taste.
- Salt and Black Pepper – Essential seasonings to balance and elevate the overall flavor.
For Finishing Touches
- Fresh Lemon Juice – Brightens up the dish, adding that wonderful zesty kick to complement the shrimp.
- Fresh Parsley – A vibrant garnish that adds fresh flavor and a pop of color to your plate.
Step‑by‑Step Instructions for Hawaiian Garlic Shrimp
Step 1: Prepare the Shrimp
Pat the extra large shrimp dry with paper towels to remove any excess moisture, ensuring a nice sear during cooking. This step is crucial for achieving that delightful texture in your Hawaiian garlic shrimp. Set the shrimp aside while you prepare the seasoning mixture to maximize flavor.
Step 2: Season the Shrimp
In a medium bowl, combine all-purpose flour, paprika, cayenne pepper, salt, and black pepper. Toss the dried shrimp in the seasoned flour mixture until they’re evenly coated, highlighting every shrimp’s plumpness and flavor. The coating will help achieve a beautiful, light crispiness when sautéed.
Step 3: Heat the Skillet
In a large non-stick skillet, heat a tablespoon of olive oil and a couple of tablespoons of diced unsalted butter over medium heat. Allow the mixture to melt and bubble gently, creating a rich base for your Hawaiian garlic shrimp. This should take about 1-2 minutes, making sure the butter doesn’t brown.
Step 4: Sauté the Garlic
Add minced garlic to the sizzling butter and oil mixture, stirring gently for about 30 seconds. You want the garlic to become fragrant and golden without burning, as burnt garlic lends a bitter taste to your sauce. Keep an eye on it while preparing for the next step to maintain that freshness.
Step 5: Cook the Shrimp
Carefully place the seasoned shrimp in a single layer in the skillet. Cook for approximately 2 minutes without stirring, allowing the bottom to turn pinkish and slightly crispy. This step ensures that every shrimp absorbs the garlicky goodness, making your Hawaiian garlic shrimp irresistible.
Step 6: Flip the Shrimp
Using tongs, gently flip each shrimp to cook the opposite side for another 2 minutes. You’ll know they are just cooked through when they turn an opaque white color. Avoid overcooking, as shrimp can quickly become rubbery; aim for that perfect tender texture.
Step 7: Finish with Lemon Juice
Once done, remove the skillet from the heat and squeeze fresh lemon juice over the shrimp. Toss everything gently to combine, allowing the sauce to coat the shrimp beautifully and enhancing the dish’s vibrant flavors. This bright finish elevates your Hawaiian garlic shrimp to mouthwatering heights.
Step 8: Serve and Garnish
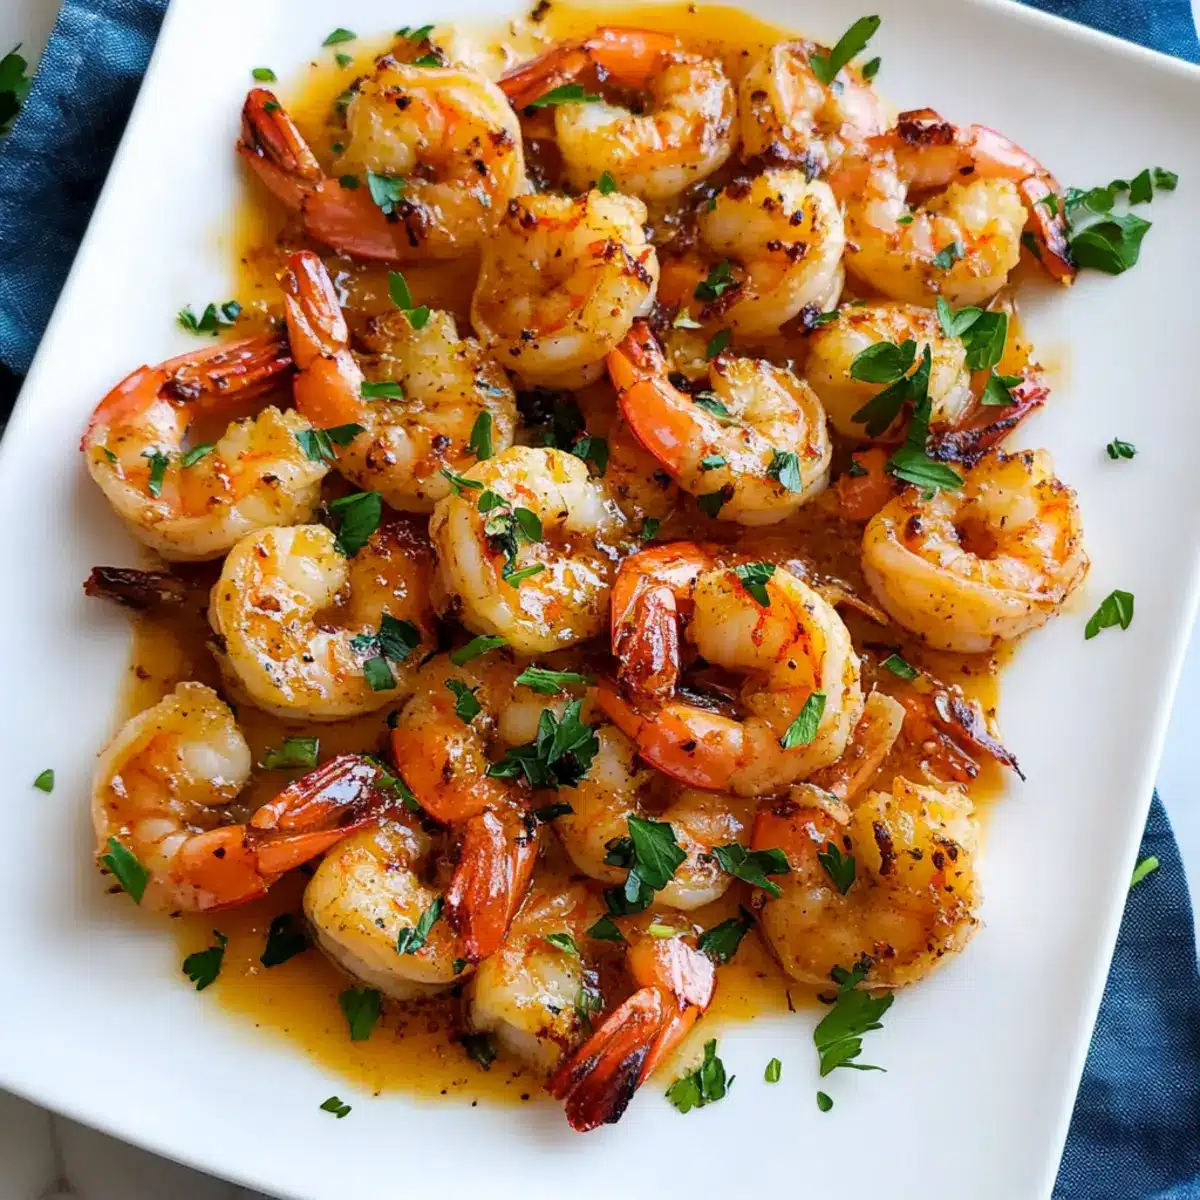
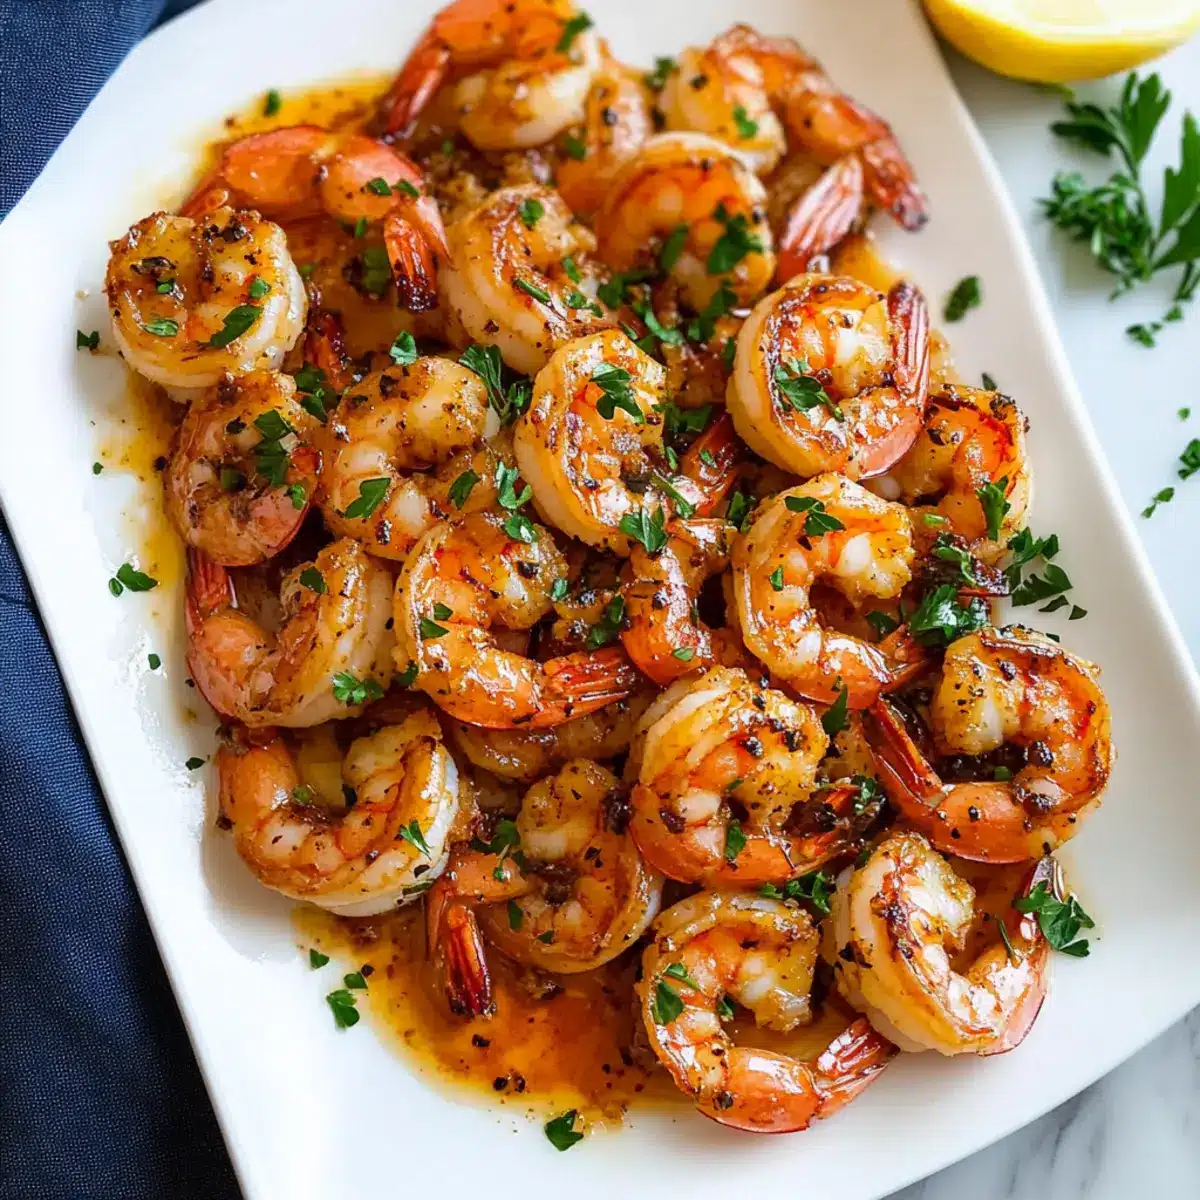
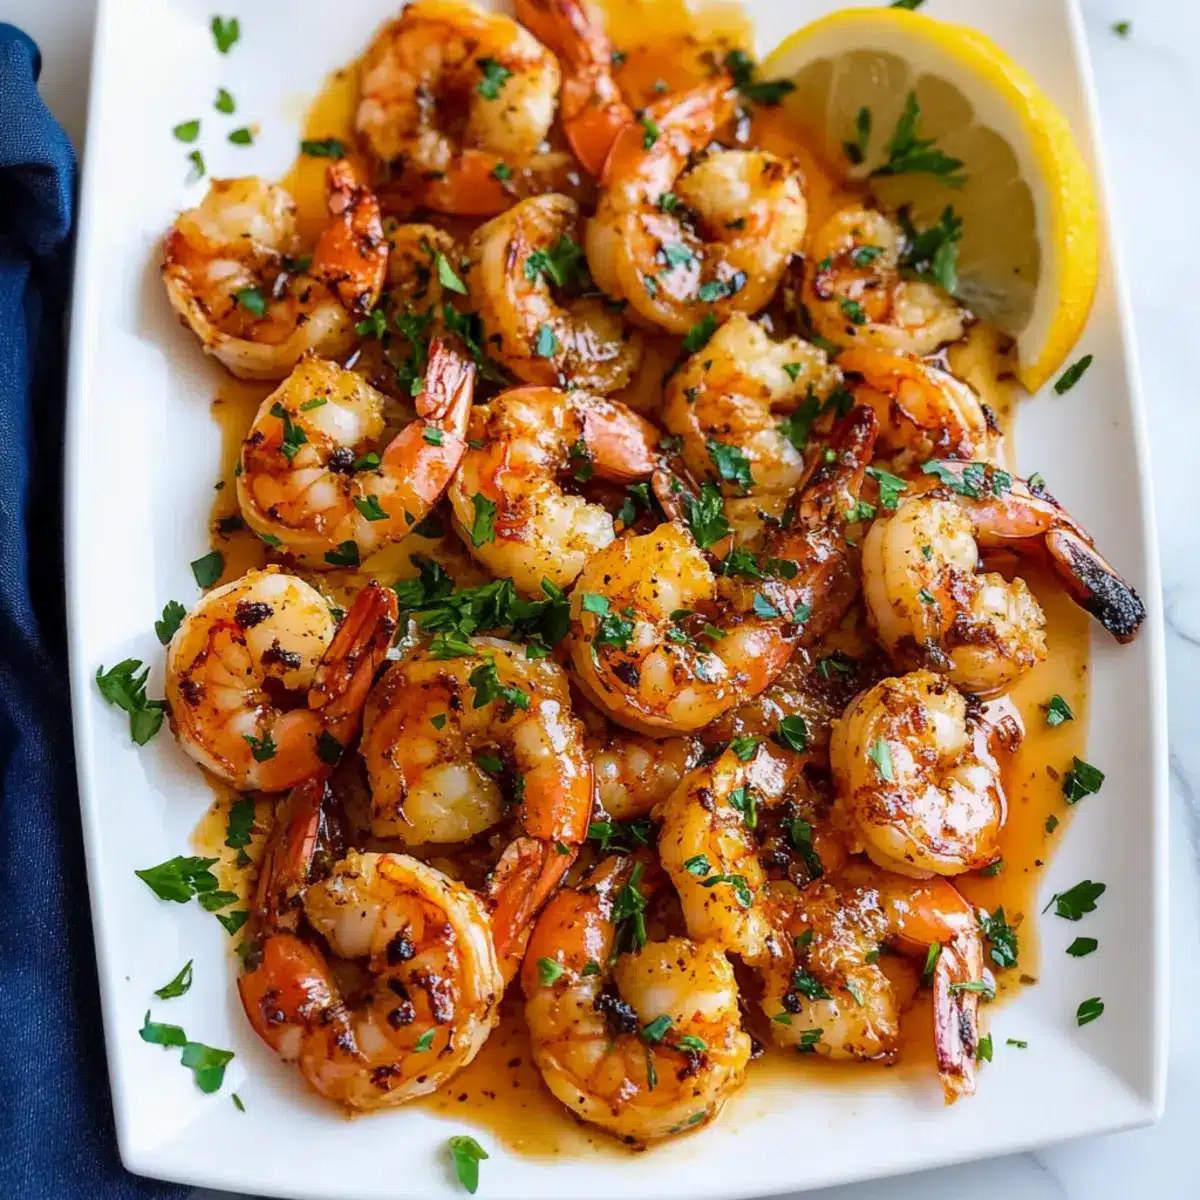
Serve the Hawaiian garlic shrimp hot, drizzling the extra garlic butter sauce from the pan over the top. For an eye-catching presentation, garnish with freshly chopped parsley, introducing a pop of color and an additional layer of freshness to your splendid dish. Enjoy this delightful taste of the islands!
Garlic Shrimp Customization Ideas
Embrace the freedom to tailor your Hawaiian Garlic Shrimp with delightful twists that suit your taste buds and pantry!
- Seafood Swap: Use scallops instead of shrimp for a buttery and luxurious bite. The sweet scallop flavor pairs beautifully with the garlic sauce.
- Chicken Alternative: Substitute shrimp with chicken breast for a hearty version; simply adjust cooking time to ensure it’s tender and juicy. This twist is perfect for the meat lovers in your life!
- Sweetness Boost: Add a tablespoon of honey or brown sugar to the sauce for a hint of sweetness that balances the savory garlic flavor beautifully.
- Spicy Kick: If you love heat, double the cayenne pepper or include crushed red pepper flakes for an extra punch. This addition will make your taste buds dance with joy!
- Coconut Cream: Stir in a splash of coconut cream towards the end for a rich, tropical flair that complements the Hawaiian theme. It adds a creamy texture that enhances the overall dish.
- Garlicky Goodness: Increase the amount of fresh garlic for those who can’t get enough of that aromatic flavor. More garlic means more of that irresistible fragrance wafting through your kitchen!
- Vegetable Medley: Toss in some chopped bell peppers or snap peas during cooking for an added crunch and a pop of color that makes the dish even more appealing.
- Garnish Variation: Swap out fresh parsley for cilantro if you prefer its zestier flavor. Cilantro adds a fresh brightness that contrasts beautifully with the rich buttery sauce.
Each variation is a new opportunity to experience this vibrant, island-inspired dish! Feel free to explore these suggestions and even mix and match with favorites like Lemon Garlic Butter or plunge into the world of Parmesan Garlic Beef for even more culinary inspiration!
Make Ahead Options
These Hawaiian Garlic Shrimp are a fantastic choice for meal prep! You can season and coat the shrimp in flour up to 24 hours in advance, storing them in an airtight container in the refrigerator to keep them fresh and flavorful. If you’re short on time, you can also mince the garlic and mix the seasoning blend ahead of time, which can be done up to 3 days prior. When you’re ready to enjoy your dish, simply heat the butter and olive oil, sauté the garlic, and cook the shrimp as instructed. This way, you’ll have an effortless tropical delight on your table, just as delicious as if you made it fresh!
What to Serve with Hawaiian Garlic Shrimp
Elevate your dining experience with delicious sides that perfectly balance the rich flavors of this island-inspired dish.
- Pineapple Fried Rice: Sweet and savory, this rice dish complements the garlicky shrimp beautifully, adding a tropical flair to your meal.
- Garlic Noodles: A deliciously simple side that echoes the garlic from the shrimp, making every bite a harmonious delight.
- Roasted Vegetables: Seasonal veggies like bell peppers and zucchini provide a fresh crunch and colorful presentation, balancing richness with their natural sweetness.
- Coconut Rice: Creamy and subtly sweet, this dish contrasts the spice of the shrimp while amplifying the island vibes with its coconut flavor.
- Crispy Green Salad: A refreshing mix of greens dressed in a light vinaigrette brings brightness and enhances the dish without overwhelming the palate.
- Mango Salsa: A fruity and zesty topping that adds a refreshing punch—perfect for cutting through the richness of the garlic sauce.
- Hibiscus Iced Tea: A cool and floral drink, ideal for quenching your thirst while enhancing the tropical theme of your meal.
- Chocolate Haupia Pie: For dessert, this creamy coconut pie will sweeten the ending of your Hawaiian-inspired dinner, leaving everyone satisfied.
Expert Tips for Hawaiian Garlic Shrimp
- Dry Shrimp First: Patting shrimp dry is key to achieving that perfect sear—excess moisture can lead to steaming instead of sautéing!
- Keep Garlic Golden: Sauté garlic on medium heat for just 30 seconds; burning can ruin the dish with bitterness.
- Single Layer Cooking: Arrange shrimp in a single layer to ensure even cooking; overcrowding the pan will lead to steaming, not sautéing.
- Watch the Time: Shrimp cook quickly; overcooking can make them tough. Aim for just 2 minutes per side for a tender finish.
- Finish with Freshness: Fresh lemon juice is vital for adding brightness; don’t skip this step to enhance the overall flavor of your garlic shrimp.
Storage Tips for Garlic Shrimp
Fridge: Store leftovers in an airtight container for up to 2 days. This helps maintain the dish’s flavor and prevents spoilage.
Freezer: If you need to freeze, place the cooled garlic shrimp in a freezer-safe container for up to 3 months. To maintain quality, ensure it’s well-sealed.
Reheating: Reheat gently on low heat in a skillet, adding a splash of water or broth to prevent the shrimp from drying out. Avoid microwaving, as it can overcook the shrimp.
Hawaiian Garlic Shrimp Recipe FAQs
What type of shrimp should I use?
Absolutely! For the best results, opt for extra large shrimp that are peeled and deveined. This not only saves time in the kitchen but also ensures a tender texture in your final dish. Fresh or frozen work, but if using frozen, make sure they are fully thawed before cooking for even sautéing.
How long can I store my leftovers?
You can store leftovers in an airtight container in the refrigerator for up to 2 days. Make sure to cool them down before sealing to prevent condensation. Gently reheat on low heat to avoid overcooking the shrimp and retaining its delicious flavor.
Can I freeze Hawaiian garlic shrimp?
Yes, you can freeze garlic shrimp! Allow the dish to cool completely, then transfer it to a freezer-safe container. It will stay fresh for up to 3 months. For best results, when you’re ready to enjoy, thaw it in the refrigerator overnight, and reheat gently on low heat with a splash of broth to maintain moisture.
How do I prevent shrimp from becoming rubbery?
Very important! Keep an eye on the cooking time—shrimp only need about 2 minutes per side. Overcooking leads to a rubbery texture. Additionally, patting them dry beforehand helps achieve that perfect sear without steaming!
Is this dish suitable for those with seafood allergies?
Unfortunately, Hawaiian garlic shrimp is not safe for those with seafood allergies, as it contains shrimp. If you’re looking for alternatives, consider substituting with chicken or scallops, but ensure there are no allergies to those proteins as well.
Can I modify the spice level?
The more the merrier! If you’re looking for a spicier kick, feel free to increase the amount of cayenne pepper or add crushed red pepper flakes to the seasoning mix. Just remember, a little goes a long way, so adjust according to your taste!
Savory Garlic Shrimp: Quick Island Flavors at Home
Ingredients
Equipment
Method
- Pat the extra large shrimp dry with paper towels to remove excess moisture.
- In a medium bowl, combine all-purpose flour, paprika, cayenne pepper, salt, and black pepper. Toss shrimp in the seasoned flour.
- In a skillet, heat olive oil and diced butter over medium heat until melted.
- Add minced garlic to the skillet and sauté for about 30 seconds until fragrant.
- Place seasoned shrimp in the skillet and cook for about 2 minutes without stirring.
- Flip shrimp to cook the opposite side for another 2 minutes until opaque.
- Remove skillet from heat and squeeze fresh lemon juice over the shrimp, tossing to combine.
- Serve hot, drizzling extra garlic butter sauce over the top and garnish with parsley.
Leave a Reply