
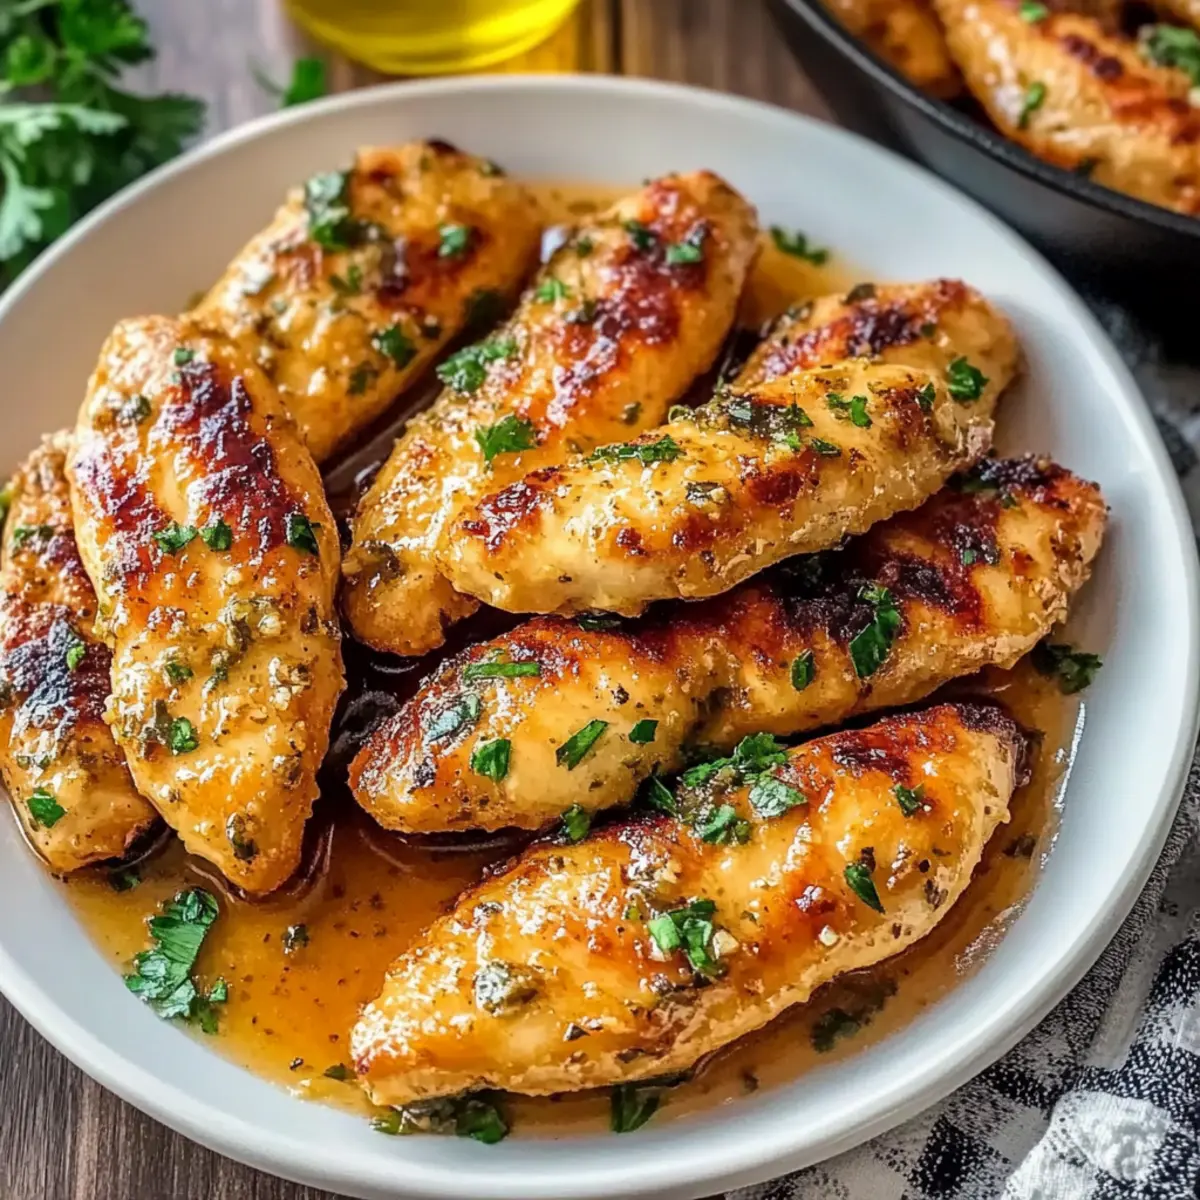
As I stood in my kitchen, the aroma of sizzling garlic and butter filled the air, whisking me away to my happiest culinary memories. It’s amazing how something as simple as Juicy Chicken Tenders can transform an ordinary evening into a delightful dining experience. In just 20 minutes, you can create this quick and easy dinner that’s not only family-friendly but also packs a punch of flavor, with no frying involved! These tenders are perfect for those busy weeknights when everyone’s hunger seems to peak at once. They’re made with fresh ingredients and promise a juicy interior sealed with a crispy, golden exterior. Curious to discover how this tantalizing dish can become your new go-to? Let’s dive into the recipe!
Why not make chicken tenders at home?
Simplicity at its core: This recipe requires just a handful of fresh ingredients and minimal prep work, making it ideal for anyone, regardless of cooking skill.
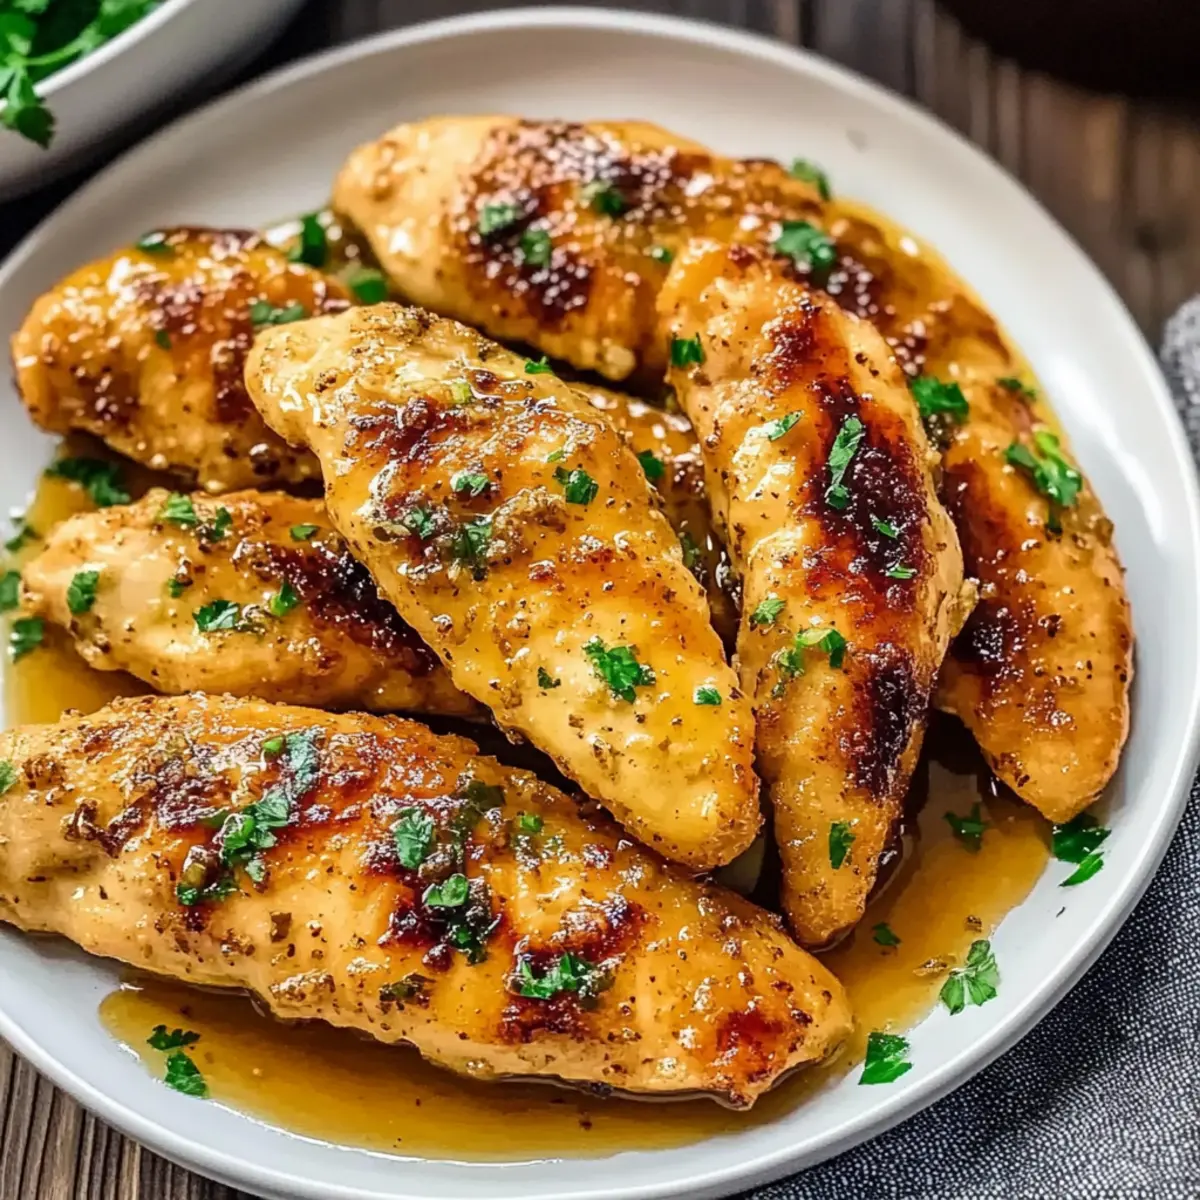
Delicious garlic butter bliss: The rich garlic butter sauce elevates these tenders, infusing each bite with an irresistible flavor that rivals your favorite restaurant dish.
Quick and easy: Ready in only 20 minutes, this dish is a lifesaver for busy weeknights when you need to satisfy the whole family fast.
Family-friendly appeal: These chicken tenders are sure to please everyone, making them a fantastic choice for both kids and adults alike. Pair with roasted vegetables, a fresh side salad, or creamy mashed potatoes for a complete meal. For extra inspiration, check out Garlic Parmesan Chicken or Lemon Chicken Tangy for delightful variations!
Versatility at its best: Feel free to swap chicken for shrimp or tofu, and add your favorite herbs to personalize this dish to your taste.
Chicken Tenders Ingredients
For the Chicken
• Olive Oil – Adds moisture and helps prevent sticking; substitute with avocado oil for a higher smoke point.
• Chicken Tenders (1 lb) – The main ingredient providing protein; can substitute with chicken breast cut into strips if preferred.
• Salt (1/2 tsp) – Enhances flavor; adjust to taste, especially if using salted butter.
• Black Pepper (1/4 tsp) – For a subtle heat; freshly cracked pepper is recommended for the best flavor.
For the Seasoning
• Paprika (2.5 tsp) – Adds color and a mild sweetness; smoked paprika can be used for an extra smoky flavor.
• Onion Powder (1 tsp) – Adds a sweet onion flavor; can be omitted if avoiding additional onion flavor.
• Italian Seasoning (1 tsp) – Blends herbs for a savory touch; substitute with dried oregano or basil if necessary.
For the Garlic Butter Sauce
• Unsalted Butter – Provides richness and flavor; can use salted butter, but adjust salt in the recipe accordingly.
• Fresh Garlic (5 cloves, minced) – Essential for flavor; avoid browning it for bitterness, or use jarred minced garlic as a quick substitute.
• Fresh Parsley (1 tbsp, chopped) – Adds freshness and color; can replace with fresh chives or omit if unavailable.
Step‑by‑Step Instructions for Juicy Chicken Tenders with Garlic Butter Sauce
Step 1: Prepare Ingredients
Begin by mincing five cloves of fresh garlic and chopping one tablespoon of fresh parsley; set these aside. These aromatic ingredients are essential for the garlic butter sauce that will elevate your chicken tenders. Take this time to gather your other ingredients too, creating an organized workspace for a smooth cooking experience.
Step 2: Dry the Chicken
Pat the chicken tenders dry using paper towels to create a golden, crispy exterior. This simple step is crucial as moisture can hinder browning. Set the chicken aside after drying, ensuring it’s uniformly coated and ready to absorb the delicious seasonings that will follow.
Step 3: Season the Chicken
In a mixing bowl, combine 2.5 teaspoons of paprika, 1/2 teaspoon of salt, 1/4 teaspoon of black pepper, 1 teaspoon of onion powder, and 1 teaspoon of Italian seasoning. Roll each chicken tender in this flavorful mix until they are thoroughly coated. This seasoning blend will ensure that your chicken tenders are packed with flavor.
Step 4: Heat the Skillet
Heat a large skillet over medium-high heat, adding 2 tablespoons of olive oil and 1 tablespoon of unsalted butter. Wait for the butter to foam, shimmering slightly, which indicates it’s hot enough to sear the chicken. This preheating step is vital for achieving that perfect golden crust on your juicy chicken tenders.
Step 5: Sear the Chicken Tenders
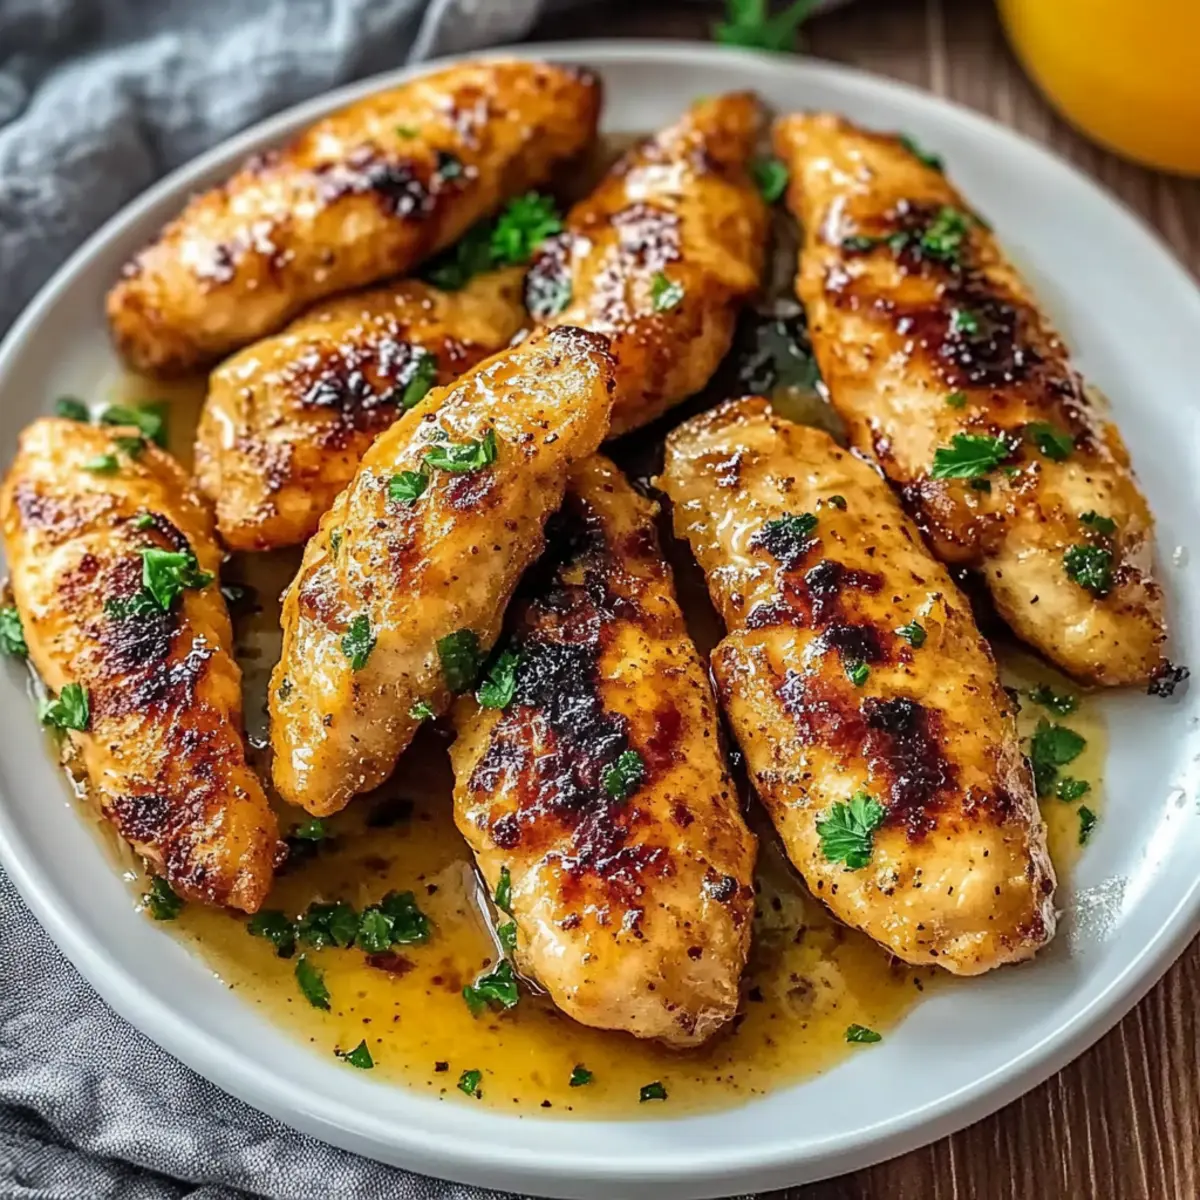
Carefully place the seasoned chicken tenders into the skillet, ensuring they don’t touch or overcrowd. Let them cook undisturbed for about 3 minutes, or until they develop a beautiful golden brown color. This technique helps to lock in moisture while creating a satisfying crispy texture on the outside.
Step 6: Flip and Finish Cooking
After 3 minutes, flip the chicken tenders gently using tongs. Cook them for an additional 3 minutes until they are golden brown and cooked through, with an internal temperature of 165°F. Keep an eye on them to avoid overcooking, which can lead to dryness instead of juicy tenders.
Step 7: Prepare the Garlic Butter Sauce
Once the chicken tenders are done, push them to one side of the skillet. Add the remaining tablespoon of butter and the minced garlic to the other side. Sauté this mixture for about 30 seconds until fragrant but not browned, as burnt garlic can turn bitter.
Step 8: Deglaze the Pan
Pour in 2 tablespoons of water to deglaze the skillet, scraping up any flavorful browned bits stuck to the bottom. Stir this mixture with the chicken tenders, allowing the sauce to infuse each piece with delicious garlic butter flavor. This crucial step enhances the overall taste of your juicy chicken tenders.
Step 9: Toss and Serve
Finally, gently toss the chicken tenders with the garlic butter sauce and the chopped parsley until they are well coated. This fresh touch of parsley not only adds flavor but also brightens up the dish. Serve immediately, enjoying the vibrant flavors of your homemade chicken tenders with garlic butter bliss.

Make Ahead Options
These Juicy Chicken Tenders are perfect for meal prep enthusiasts looking to save time on busy weeknights! You can season and coat the chicken tenders up to 24 hours in advance, simply wrapping them tightly in plastic wrap and refrigerating to maintain their freshness. For optimal flavor, prepare the garlic butter sauce in advance and store it in an airtight container for up to 3 days. Just reheat the sauce in a skillet before tossing in the cooked chicken tenders. When you’re ready to serve, quickly sear the tenders in a hot skillet for about 6 minutes and combine with your reheated garlic butter, ensuring a delicious meal with minimal effort!
What to Serve with Juicy Chicken Tenders
As you savor the rich flavors of these succulent tenders, envision the vibrant sides that can elevate your meal into a delightful feast.
-
Crispy French Fries: This classic pair provides a comforting crunch and complements the juicy chicken perfectly, making it an all-time favorite.
-
Creamy Mashed Potatoes: Silky and buttery, these potatoes offer a warm, velvety contrast to the crispy exterior of the chicken tenders. Just imagine that indulgent first bite!
-
Fresh Side Salad: A colorful mix of greens and veggies adds an invigorating freshness, balancing the richness of the chicken with its light and crunchy texture.
-
Roasted Vegetables: Tender and caramelized, roasted veggies like carrots or bell peppers bring sweetness and a burst of color that beautifully complements the dish.
-
Garlic Bread: A crunchy loaf warmed with garlic butter makes for a flavorful, textural delight. It’s perfect for soaking up any extra garlic butter sauce from your chicken!
-
Zesty Coleslaw: This crunchy, tangy side dish cuts through the richness of the chicken tenders, adding a refreshing crunch that keeps every bite exciting.
-
Iced Lemonade: For a refreshing drink, serve chilled lemonade; its bright citrus will contrast nicely with the savory flavors of the tender chicken.
Expert Tips for Chicken Tenders
• Pat Dry for Crispy: Ensure your chicken tenders are thoroughly dried before seasoning to achieve a golden, crispy exterior that can lock in moisture.
• Avoid Overcrowding: Cook in batches if necessary; overcrowding the skillet prevents proper browning and can result in uneven cooking.
• Monitor Garlic Closely: Add minced garlic near the end of cooking to prevent bitterness. Burned garlic can ruin the flavor of your chicken tenders.
• Proper Heat Control: Use medium-high heat to sear the tenders. Too high can burn the outside while leaving the inside undercooked.
• Deglazing is Key: Don’t skip deglazing! Scrape up the browned bits after cooking for a depth of flavor in your garlic butter sauce.
• Experiment with Spices: Feel free to adjust the seasoning to your taste or incorporate different herbs for a unique twist on your chicken tenders.
Chicken Tenders Variations & Substitutions
Feel free to mix things up and give these chicken tenders your personal touch for even more delightful meals.
-
Dairy-Free: Substitute unsalted butter with coconut oil or a dairy-free margarine for a creamy buttery flavor.
Banish dairy and still indulge in rich taste! Coconut oil adds a subtly sweet flavor that pairs beautifully with savory chicken. -
Spicy Twist: Add cayenne pepper to the seasoning mix for an exciting kick.
Want to spice things up? A sprinkle of cayenne will elevate the flavor, making dinner a fun taste adventure for those who crave heat! -
Herb Variation: Swap Italian seasoning with fresh herbs like thyme or rosemary for a fragrant finish.
Fresh herbs can breathe new life into your dish! Thyme or rosemary provide a wonderful aroma and flavor profile that’ll leave your guests raving. -
Crispy Coating Option: Dip chicken tenders in egg and breadcrumbs before cooking for added crunch.
If you’re after extra crispiness, this method is a must-try! You’ll enjoy a satisfying crunch that complements the juicy interior. -
Different Proteins: Use shrimp or firm tofu as a substitute for chicken tenders, adjusting the cooking time as needed.
Flexibility is key! Shrimp cooks quickly and brings a different texture, while tofu offers a hearty, plant-based option that’s equally delicious. -
Garlic Lovers: Add roasted garlic or garlic powder for an extra garlic punch in the sauce.
For garlic aficionados, ramping up the garlic flavor creates a comforting aroma and truly delicious dish that resonates with your palate. -
Smoky Flavor: Use smoked paprika in place of regular paprika for a delightful smokiness.
This twist awakens your taste buds! The subtle smoky notes transform chicken tenders into a dish reminiscent of outdoor grilling.
Feel inspired? Now it’s time to whip up your own version of these juicy chicken tenders! For more delightful chicken recipes, consider trying Skillet Chicken Mushroom or give Chicken Etouffee Savory a shot for something a little different!
Storage Tips for Chicken Tenders
Fridge: Store leftover Chicken Tenders in an airtight container for up to 4 days. Allow them to cool completely before sealing to preserve texture and flavor.
Freezer: For longer storage, freeze chicken tenders in a single layer on a baking sheet. Once frozen, transfer to a resealable bag, and they can last up to 3 months.
Reheating: Reheat chicken tenders in the oven at 350°F for about 10-15 minutes to restore their crispy texture. Avoid microwaving as it may make them soggy.
Serving Suggestions: When ready to enjoy, consider serving with a fresh side salad or your favorite dipping sauce to amplify the experience!
Juicy Chicken Tenders Recipe FAQs
How do I choose the best chicken tenders?
Absolutely! Look for chicken tenders that are plump and have a pink hue with no dark spots. Fresh chicken should feel firm to the touch and not emit any off-putting odors. If you can’t find tenders, you can use chicken breast cut into strips as an excellent substitute for this recipe.
What’s the best way to store leftover chicken tenders?
Very! Store any leftover chicken tenders in an airtight container in the fridge for up to 4 days. Make sure they are cooled completely before sealing to help maintain their texture and flavor. When you’re ready to enjoy them again, I recommend reheating them in the oven at 350°F for about 10-15 minutes to keep them crispy.
Can I freeze chicken tenders, and how?
Of course! To freeze chicken tenders, first place them in a single layer on a baking sheet, then put them in the freezer until solid. Once frozen, move the tenders into a resealable freezer bag and label them. They can last for up to 3 months in the freezer. When you’re ready to eat them, just thaw in the fridge overnight and reheat in the oven.
What should I do if my chicken tenders are not browning?
No worries! If your chicken tenders are not browning as expected, try the following: ensure your skillet is preheated properly before adding the tenders, as this helps develop that gorgeous crust. Additionally, avoid overcrowding the skillet, as it can lower the temperature and prevent proper browning. Each tender needs room to breathe!
Are these chicken tenders a good option for kids?
Absolutely! These juicy chicken tenders are family-friendly and loved by kids and adults alike. The mild seasoning and crispy texture are perfect for little ones. Moreover, you can customize the flavors or serve them with a kid-favorite dipping sauce like honey mustard or ketchup for extra appeal.
Crispy Chicken Tenders in Garlic Butter Bliss
Ingredients
Equipment
Method
- Begin by mincing five cloves of fresh garlic and chopping one tablespoon of fresh parsley; set these aside.
- Pat the chicken tenders dry using paper towels to create a golden, crispy exterior.
- In a mixing bowl, combine 2.5 teaspoons of paprika, 1/2 teaspoon of salt, 1/4 teaspoon of black pepper, 1 teaspoon of onion powder, and 1 teaspoon of Italian seasoning. Roll each chicken tender in this mixture until thoroughly coated.
- Heat a large skillet over medium-high heat, adding 2 tablespoons of olive oil and 1 tablespoon of unsalted butter.
- Carefully place the seasoned chicken tenders into the skillet and let them cook undisturbed for about 3 minutes.
- After 3 minutes, flip the chicken tenders gently using tongs and cook for an additional 3 minutes.
- Once the chicken tenders are done, push them to one side of the skillet. Add the remaining tablespoon of butter and the minced garlic to the other side. Sauté for about 30 seconds.
- Pour in 2 tablespoons of water to deglaze the skillet, scraping up any browned bits.
- Gently toss the chicken tenders with the garlic butter sauce and the chopped parsley until well coated. Serve immediately.
Leave a Reply