
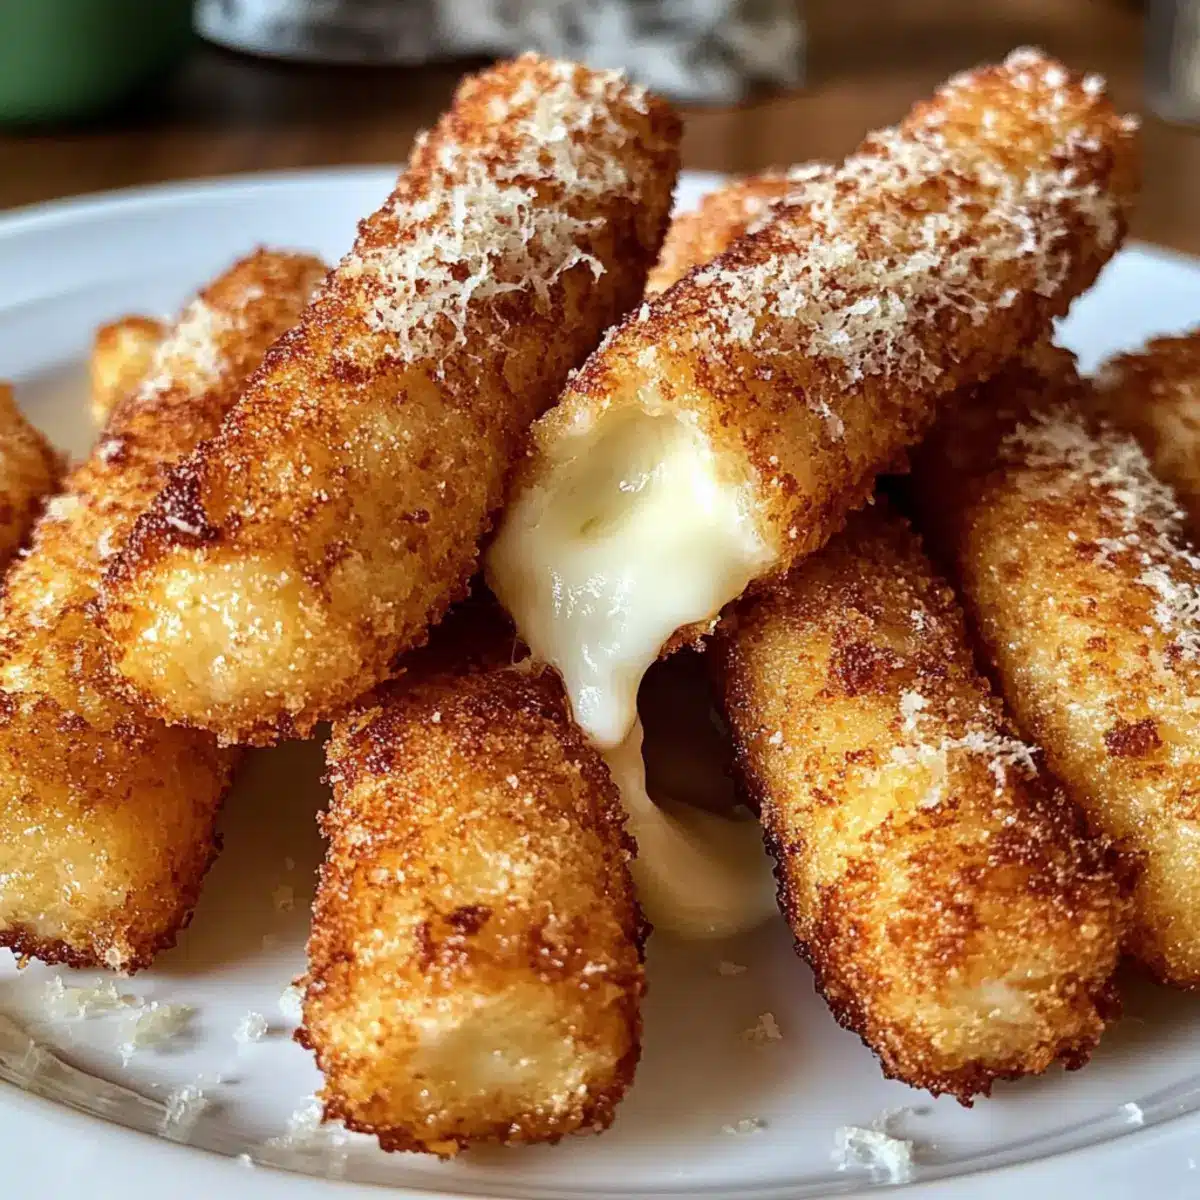
As I stood over the sizzling pan, the intoxicating aroma of frying cheese filled the air, instantly transporting me to cozy family gatherings spent over plates of comfort food. These Homemade Cheese Sticks are a delightful treat that transforms humble ingredients into a crave-worthy appetizer. With gooey mozzarella and sharp cheddar enveloped in a crispy, golden crust, they’re perfect for dipping in a tangy marinara or cool ranch dressing. What truly makes this recipe shine is its balance of moderate difficulty and unmatched flavor, ensuring you’re not just making a snack, but creating a moment of joy. Whether you’re hosting a party or simply rewarding yourself after a long day, indulging in these cheesy delights will make your kitchen feel like a warm embrace. Are you ready to bring this delicious comfort food into your home?
Why Homemade Cheese Sticks Are Amazing?
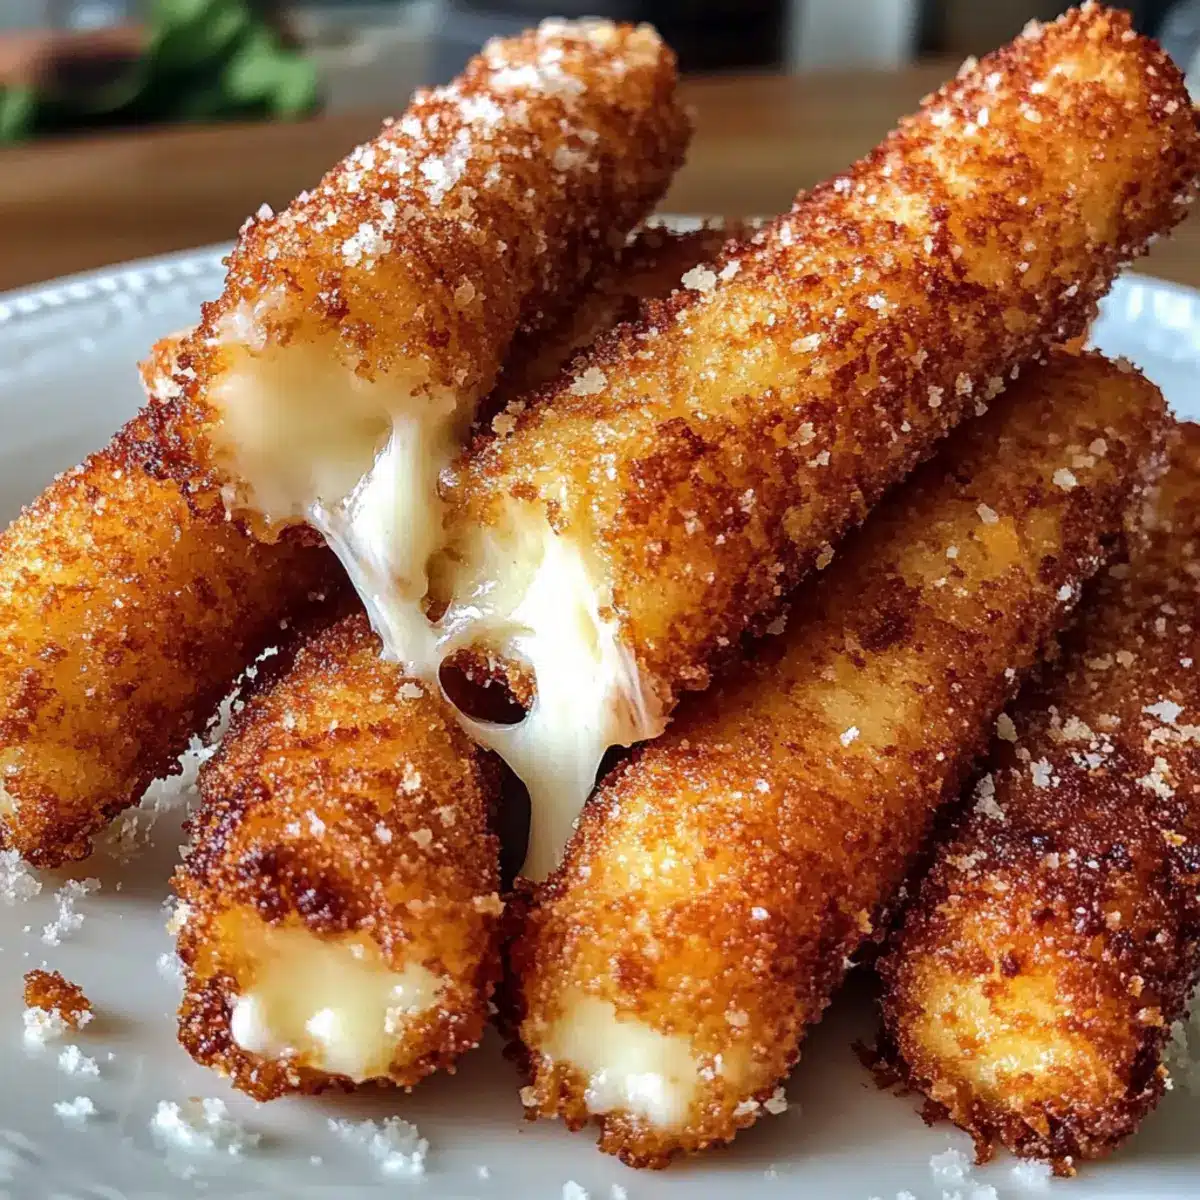
Unique Flavor Combination: The blend of mozzarella, cheddar, and parmesan creates a delightful mix of gooeyness and sharpness in every bite.
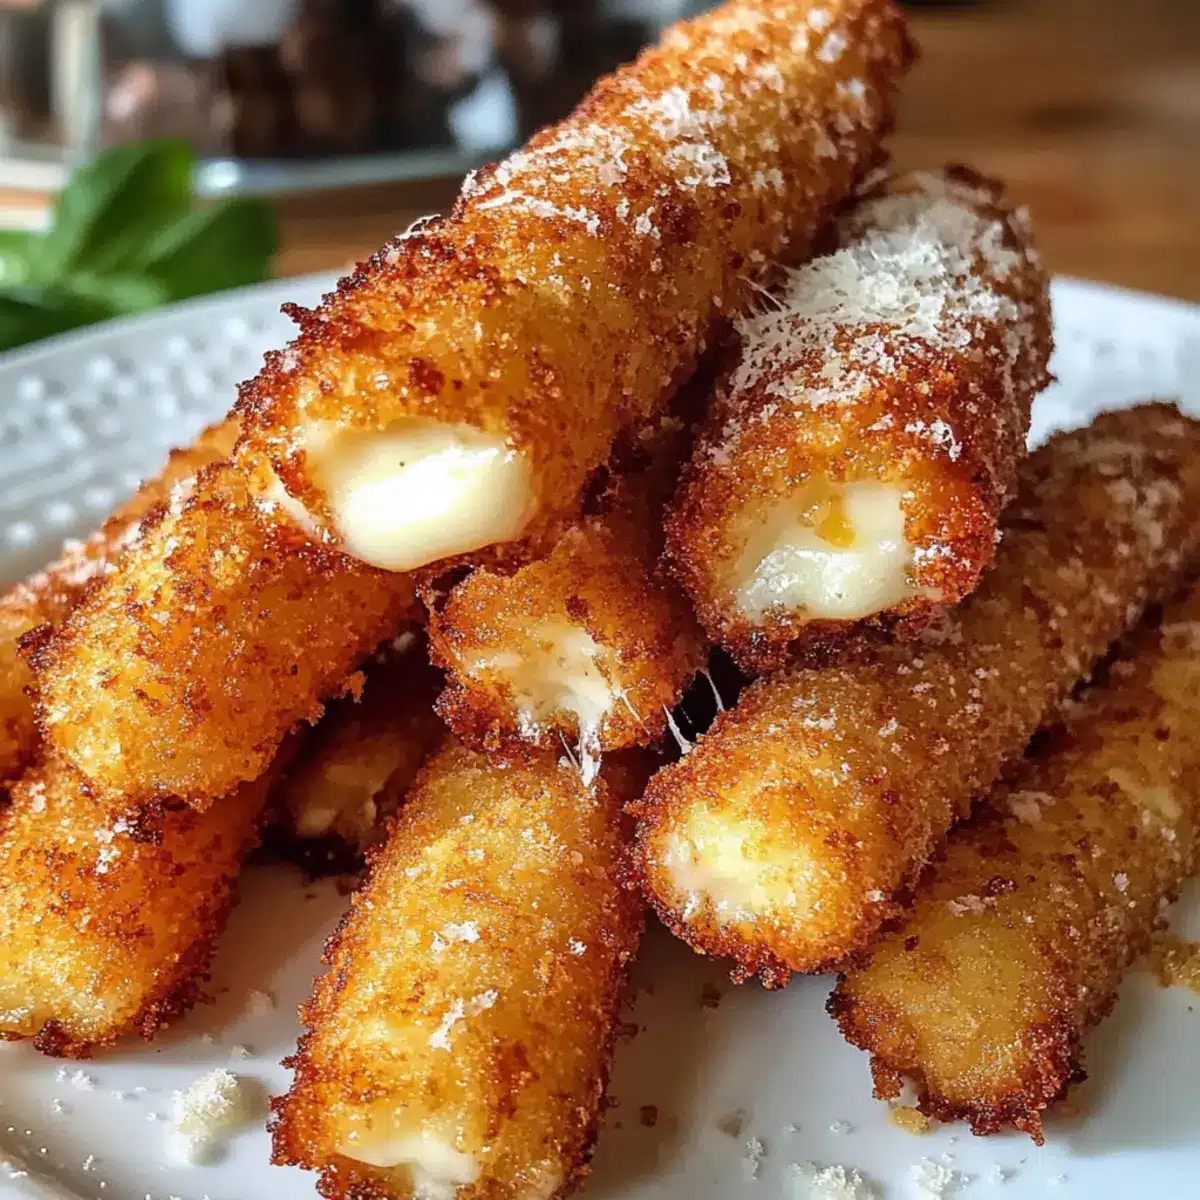
Crispy Perfection: These sticks feature a golden, crunchy breadcrumb coating, perfectly complementing the creamy interior.
Versatile Snacking: Not just for parties, enjoy them as an appetizer, game-day snack, or a decadent treat after dinner! Pair them with garlic aioli or spicy sriracha mayo for an extra flavor boost.
Easy to Customize: Feel free to mix in fresh herbs or experiment with different cheeses, making your cheese sticks uniquely yours.
Crowd-Pleasing Treat: With their universal appeal, these cheese sticks are sure to impress family and friends, turning any gathering into a festive occasion.
Homemade Cheese Sticks Ingredients
For the Batter
• All-Purpose Flour – Provides structure for the cheese sticks; can be substituted with gluten-free flour for a gluten-free version.
• Salt – Enhances the flavor of the cheese mixture; adjust to taste if necessary.
• Baking Powder – Helps create a lighter texture; substitute with baking soda if unavailable, adjusting the quantity.
For the Cheese Filling
• Shredded Mozzarella Cheese – The main cheese for creaminess and stretch; low-moisture mozzarella can be used as a substitute.
• Shredded Cheddar Cheese – Offers sharp flavor and richness; swap for Monterey Jack for a milder taste.
• Grated Parmesan Cheese – Adds depth and nutty notes; this is optional, but increasing cheddar can amplify the flavor.
For Binding and Coating
• Eggs – Binds the ingredients together and creates a crisp coating; a flax egg can be used for a vegan option.
• Breadcrumbs – Creates the crispy outer layer; consider using Panko for extra crunch or gluten-free breadcrumbs if needed.
For Frying
• Oil (for frying) – Necessary for frying the cheese sticks; any neutral oil like canola or vegetable works well.
Step‑by‑Step Instructions for Homemade Cheese Sticks
Step 1: Gather Ingredients and Equipment
Begin by assembling all your ingredients for the Homemade Cheese Sticks, including flour, eggs, and cheeses. Don’t forget your cooking equipment: a large mixing bowl, a frying pan, measuring cups, and paper towels for draining. This preparation sets the tone for a smooth cooking process, so take a moment to have everything within reach.
Step 2: Mix Dry Ingredients
In your mixing bowl, combine the all-purpose flour, salt, and baking powder. Whisk these dry ingredients together until they are lump-free, creating a uniform blend. This step should take about 2–3 minutes. The mixture is ready when it appears light and airy, a perfect foundation for the cheesy goodness to come.
Step 3: Incorporate the Cheeses
Now, stir in the shredded mozzarella, cheddar, and grated parmesan cheese until they are evenly coated with the flour mixture. This process allows the cheeses to meld together, which is crucial for that delightful cheese pull when you bite into your Homemade Cheese Sticks. Aim to achieve a homogenous mixture without leaving any dry spots.
Step 4: Prepare the Egg Mixture
In a separate bowl, beat the eggs until they are fully blended and slightly frothy. This should take about 1–2 minutes. Once blended, add the egg mixture to the cheese mixture, stirring until a sticky dough begins to form. Don’t worry if it feels a bit loose at this point; it will firm up when shaped.
Step 5: Shape the Cheese Sticks
Lightly flour a clean surface and take small portions of the dough, rolling them into sticks measuring about 4–5 inches long and ½ inch thick. This shaping step is vital, as it determines the size and texture of your Homemade Cheese Sticks. Ensure they are uniform in size for even cooking and a beautiful presentation.
Step 6: Bread the Cheese Sticks
Set up your dredging station by placing breadcrumbs in a shallow dish. Firmly coat each cheese stick in breadcrumbs, pressing gently to ensure an even covering. This crucial step enhances the crunch factor, resulting in a deliciously crispy exterior for your Homemade Cheese Sticks once fried.
Step 7: Heat the Oil
In a frying pan, pour enough oil to cover the bottom generously, heating it over medium temperature. Test the oil’s readiness by dropping in a breadcrumb – it should sizzle immediately. Aim for about 350°F to 375°F; maintaining this temperature is key to achieving that golden-brown crispiness while preventing the sticks from becoming greasy.
Step 8: Fry the Cheese Sticks
Carefully add the cheese sticks to the hot oil in batches, avoiding overcrowding. Fry each batch for about 2–3 minutes per side, or until they are beautifully golden brown and crispy. As you cook, watch for a nice bubbling action around the sticks, indicating that they’re frying to perfection.
Step 9: Drain Excess Oil
Using a slotted spoon, remove the fried cheese sticks from the pan and place them on paper towels to drain any excess oil. This step keeps your Homemade Cheese Sticks light and helps maintain their crispy texture. Let them rest for at least a minute before serving; the waiting will be worth it!
Step 10: Serve and Enjoy
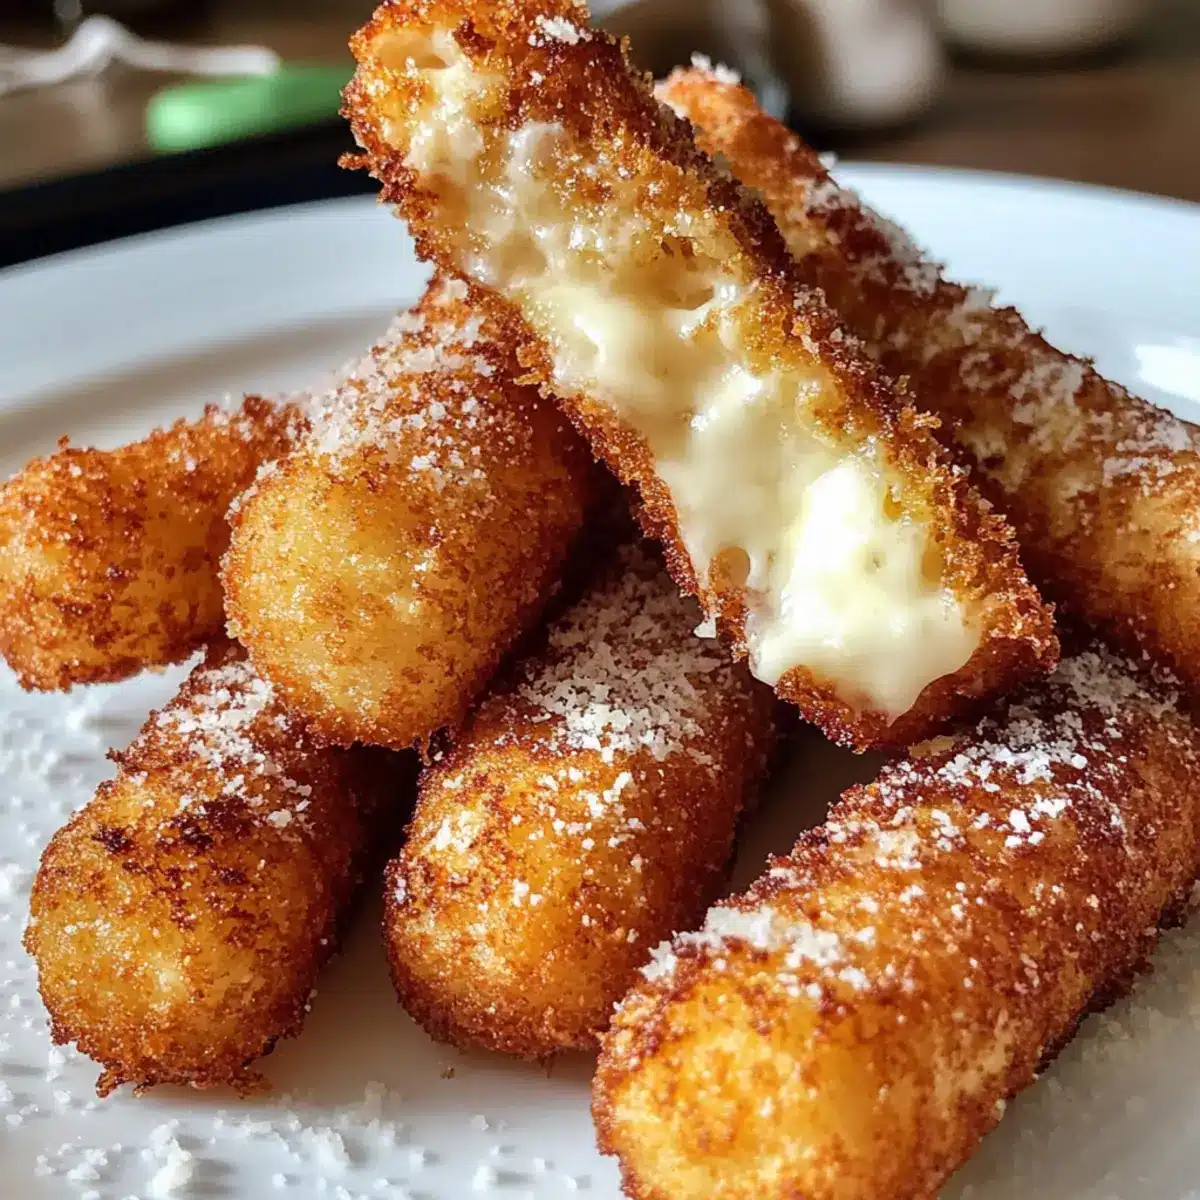
Now, it’s time to savor your delicious Homemade Cheese Sticks! Serve them warm alongside marinara sauce or ranch dressing for dipping. The gooey, melty interior and crispy exterior create a delightful treat perfect for sharing—or keeping all to yourself!
Expert Tips for Homemade Cheese Sticks
Temperature Check: Ensure oil is at 350°F to 375°F before frying; this prevents soggy cheese sticks and achieves that perfect golden crisp.
Batch Frying: Avoid overcrowding the frying pan; cook in small batches to maintain oil temperature and ensure even cooking.
Proper Coating: Press breadcrumbs firmly onto each stick for a thicker, crunchier crust, ensuring they maintain their shape while frying.
Freezing Method: To freeze, shape and coat the sticks, freeze them on a baking sheet, then transfer to a freezer bag. Fry directly from frozen, adding an extra minute per side.
Flavor Enhancements: Don’t hesitate to mix in fresh herbs or spices into the cheese mixture for added flavor, making your Homemade Cheese Sticks uniquely delightful!
Homemade Cheese Sticks Variations
Feel free to let your creativity shine and personalize these cheese sticks to suit your taste preferences!
-
Herb-Infused: Mix in fresh herbs like basil or thyme for a fragrant flavor twist, elevating your cheese sticks to a gourmet level. Aromatic herbs can bring a fresh appeal to the cheesy goodness.
-
Spicy Kick: Replace the mozzarella or cheddar with pepper jack cheese for a fiery bite! This variation adds warmth, making each cheesy pull a delightful surprise.
-
Smoky Flavor: Swap out cheddar for gouda to infuse a subtle smokiness into your cheese sticks — perfect for when you’re craving something different. The creamy texture remains while adding a unique twist.
-
Gluten-Free: Use a gluten-free flour blend and gluten-free breadcrumbs to ensure everyone can enjoy these cheesy bites without worry. The crispy exterior and melt-in-your-mouth cheese remain intact.
-
Cheddar Lover: Amp up the cheddar cheese content and reduce the mozzarella for a sharper flavor profile. This variation guarantees a robust cheesy experience that’s sure to please the cheese aficionados.
-
Dipping Delights: Try serving with different dips, such as homemade garlic aioli or bright pesto. These additions can enhance the overall experience with contrasting flavors.
-
Two-Cheese Wonders: Experiment with different cheese combinations like feta and mozzarella for a tangy uplift. The mix creates an interesting profile that contrasts beautifully with the crispy coating.
-
Sweet Surprise: Consider adding a touch of cinnamon and sugar to the breadcrumbs for a sweet twist, then serve with a raspberry dipping sauce for a dessert-like treat. It’s unexpected and a perfect ending to a meal!
With these imaginative variations and substitutions, you’ll transform these Homemade Cheese Sticks into a versatile family favorite. And remember, for another comforting snack idea, check out our delicious Pumpkin Cottage Cheese Muffins that pack a wholesome punch!
Make Ahead Options
These Homemade Cheese Sticks are perfect for meal prep enthusiasts! You can shape and coat the cheese sticks up to 24 hours in advance; simply refrigerate them on a baking sheet covered in plastic wrap to maintain freshness and prevent sticking. If you’re planning to freeze them, place the shaped sticks on a baking sheet and freeze until solid. Then, transfer them to a zip-top bag for up to 3 months. When you’re ready to enjoy, you can fry them directly from the freezer, adding an extra minute per side to ensure they are heated through. This way, you can indulge in these cheesy delights without a lengthy prep time, making your busy weeknights a little easier!
What to Serve with Homemade Cheese Sticks
Bring the warmth of homemade comfort food to your table by pairing these delightful cheese sticks with complementary sides and sauces.
- Garlic Aioli: This creamy dip adds a luxurious garlic flavor that elevates the cheesy bites to gourmet status.
- Tangy Marinara Sauce: A classic choice, the bright acidity of marinara balances the richness of cheese sticks perfectly.
- Spicy Sriracha Mayo: Add a kick to your cheese sticks with this zesty sauce, making each bite an explosion of flavor.
- Crisp Salad: A refreshing garden salad with a tangy vinaigrette contrasts the crunchy texture and richness of the cheese sticks beautifully.
- Potato Wedges: Crispy potato wedges seasoned with herbs provide a hearty side that pairs well with this appetizer.
- Fresh Veggie Platter: Combine fresh, crunchy veggies for a vibrant and healthful side that cuts through the indulgence.
- Coleslaw: The creamy, tangy notes of coleslaw bring a delightful crunch and a refreshing element to the meal.
- Craft Beer: A light, hoppy beer or a smooth lager complements the savory flavors of the deep-fried cheese sticks.
- Red Wine: Pair with a fruity red wine that enhances the bold flavors without overpowering the cheese.
- Chocolate Fondue: For dessert, a rich chocolate fondue can create a fun, interactive experience that wraps up the meal on a sweet note.
How to Store and Freeze Homemade Cheese Sticks
Fridge: Store cooled cheese sticks in an airtight container for up to 2 days. Reheat in the oven for 10 minutes at 375°F to retain crispiness.
Freezer: To freeze, shape and coat the sticks, freeze in a single layer on a baking sheet, then transfer to zip-top bags. They’ll last in the freezer for up to 3 months.
Reheating from Frozen: Fry directly from frozen for 3–4 minutes per side, adding an extra minute if needed, until golden brown and crispy.
Room Temperature: Avoid leaving cheese sticks out for more than 2 hours at room temperature to ensure freshness and safety.
Homemade Mozzarella and Cheddar Cheese Sticks Recipe FAQs
How do I choose the right cheese for my cheese sticks?
Absolutely! Opt for a high-quality shredded mozzarella for that gooey texture, and a sharp cheddar to balance the flavors. If you’re feeling adventurous, try using low-moisture mozzarella for a firmer bite or even pepper jack for a spicy twist. Freshly shredded cheese often melts better than pre-packaged options, so keep that in mind for the best results!
How should I store leftover cheese sticks?
After enjoying your cheesy masterpiece, let any leftover cheese sticks cool completely. Store them in an airtight container in the fridge for up to 2 days. For the best crispiness when reheating, place them in the oven at 375°F for about 10 minutes, and watch the magic happen as they regain their former glory!
Can I freeze my Homemade Cheese Sticks?
Very much so! To freeze, first shape and coat your cheese sticks, and then lay them flat on a baking sheet lined with parchment. Freeze for about 1 hour until solid, then transfer them to zip-top freezer bags—this method prevents them from sticking together. They’ll keep well for up to 3 months. Fry them straight from frozen, adding an extra minute or so to the fry time for crispy perfection!
What if my cheese sticks leak during frying?
The more the merrier! If you notice that any cheese is oozing out while frying, it might be due to excessive heat or overly thick sticks. Ensure your oil temperature remains between 350°F to 375°F, and consider making thinner sticks for more even cooking. Frying in small batches will also help maintain the oil’s temperature, giving you that perfectly crispy exterior without losing the cheesy goodness!
Are there any allergy considerations I should be aware of?
Definitely! If you’re baking for someone with dietary concerns, consider substituting all-purpose flour with a gluten-free blend and using a flax egg instead of regular eggs for a vegan option. Keep an eye on the cheese types too—some individuals may be sensitive to dairy. Always label your creations, so everyone knows what they’re enjoying.
Crispy Homemade Cheese Sticks: The Ultimate Comfort Snack
Ingredients
Equipment
Method
- Gather all ingredients and equipment including flour, eggs, and cheeses.
- Combine the all-purpose flour, salt, and baking powder in a mixing bowl and whisk until lump-free.
- Stir in shredded mozzarella, cheddar, and parmesan until evenly coated.
- In a separate bowl, beat the eggs and add to the cheese mixture, stirring to form a sticky dough.
- Flour a surface and shape the dough into sticks about 4-5 inches long.
- Coat each stick in breadcrumbs, pressing firmly for an even covering.
- Heat oil in a frying pan over medium heat, aiming for 350°F to 375°F.
- Fry cheese sticks in batches for 2-3 minutes per side until golden brown.
- Remove fried sticks and drain on paper towels for excess oil.
- Serve warm with dipping sauces like marinara or ranch dressing.
Leave a Reply