
As the aroma of peppermint wafts through my kitchen, I can’t help but feel the holiday spirit come alive. These Peppermint Kiss Cookies are a fantastic way to bring warmth and joy to your festivities. Soft, chewy, and topped with a delightful chocolate kiss, they effortlessly combine rich chocolate with a refreshing peppermint twist. They’re perfect for quick holiday baking, leaving you with delectable cookies that are sure to impress friends and family alike. Plus, they’re simple enough for even novice bakers to tackle, making them a go-to recipe for cookie exchanges or cozy gatherings. Ready to elevate your holiday cookie game? Let’s get started on these festive delights that will have everyone reaching for seconds!
Why Are Peppermint Kiss Cookies a Must-Bake?
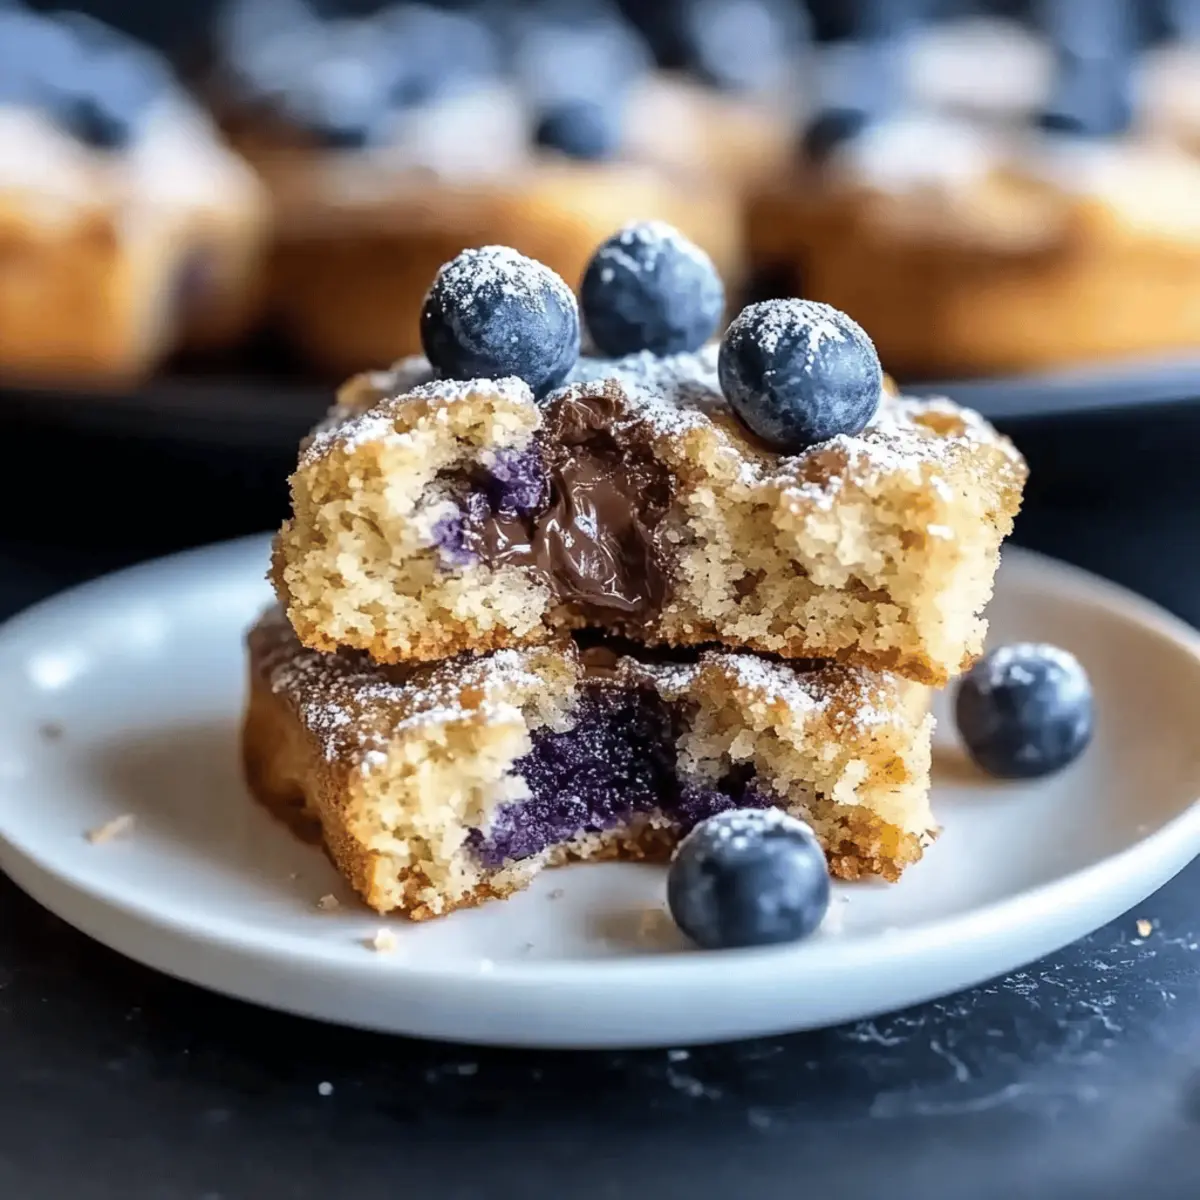
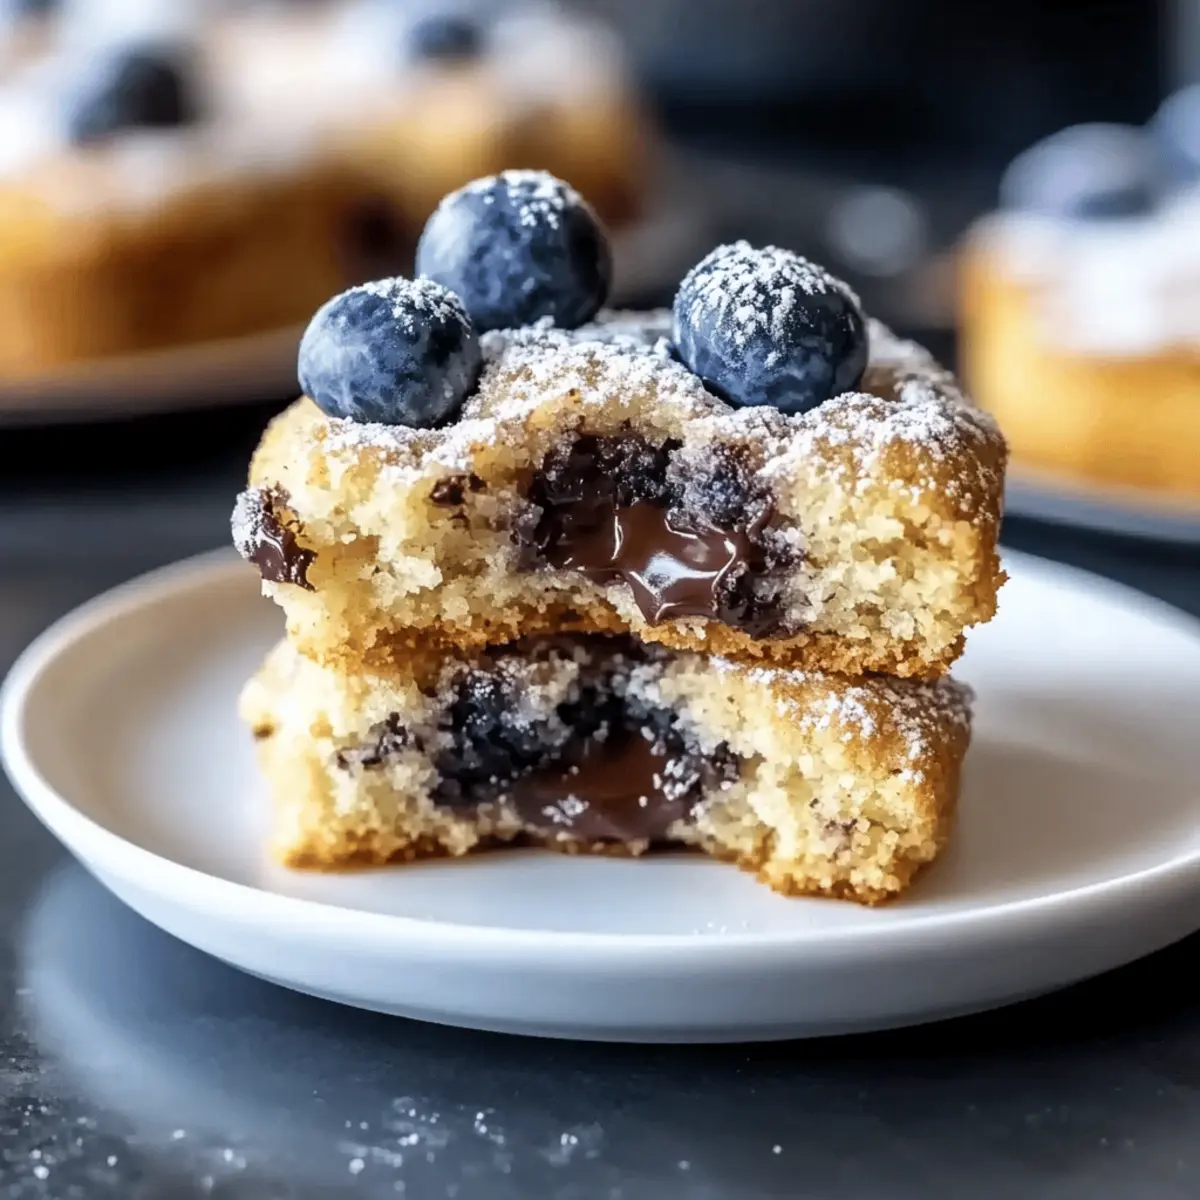
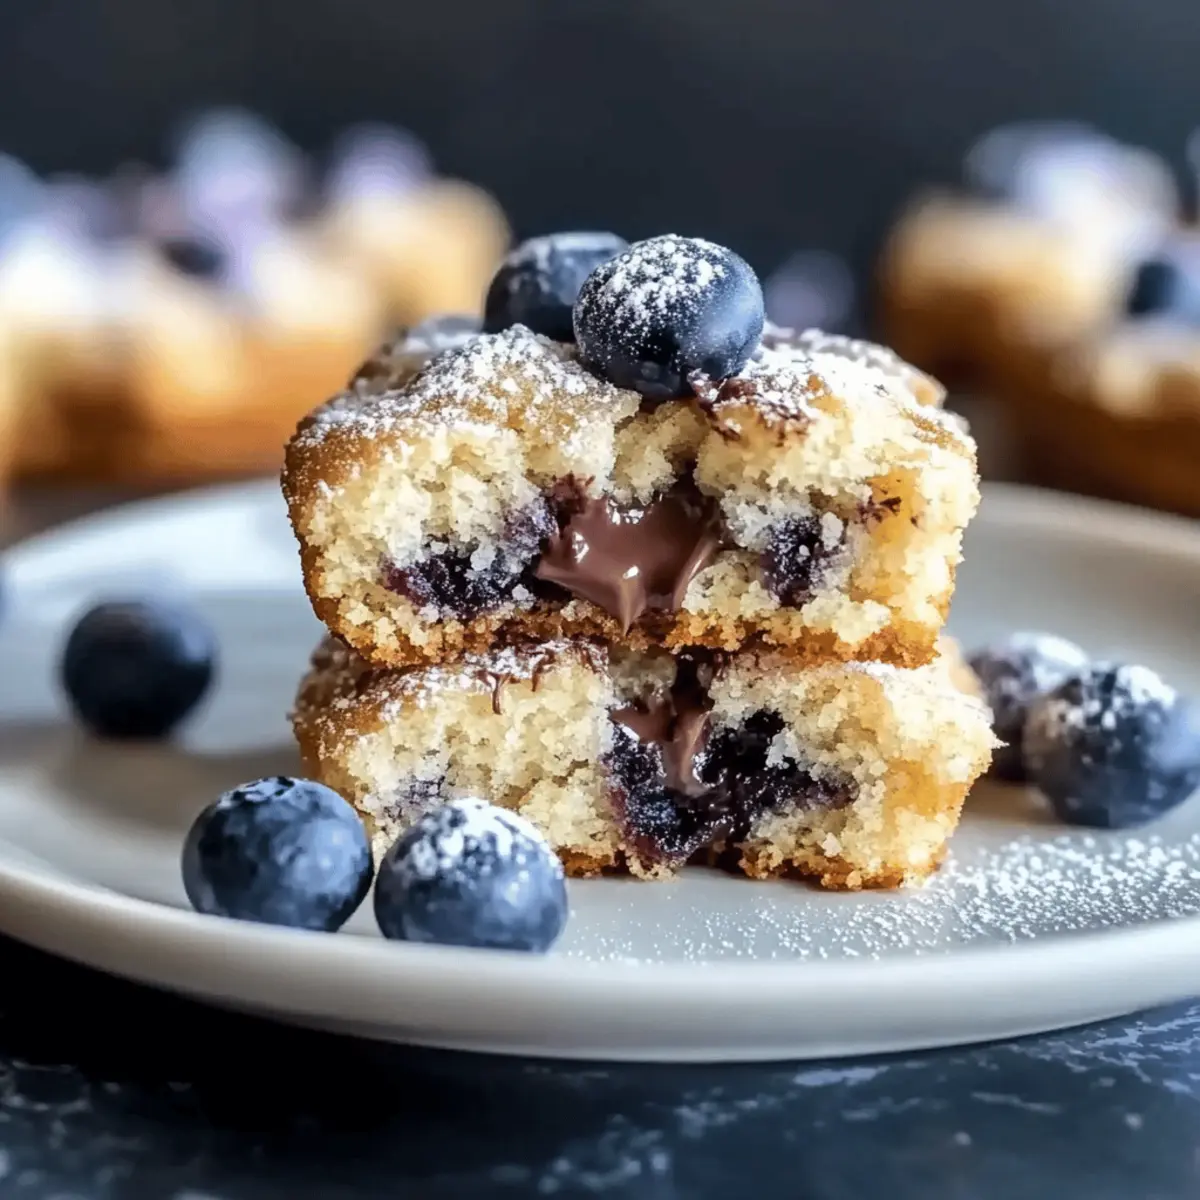
Deliciously unique: These cookies blend soft, chewy textures with a melty chocolate kiss, creating a treat that’s irresistible for everyone.
Festive flair: Perfect for holiday gatherings, they bring a pop of color and flavor to any dessert table.
Quick and easy: With simple ingredients and straightforward steps, even novice bakers can whip them up in no time.
Versatile variations: Experiment by swapping chocolate kisses for crushed peppermint candy or using white chocolate chips for a twist!
Crowd-pleaser: Whether at cookie swaps or cozy gatherings, these cookies are sure to be the star of the show!
Peppermint Kiss Cookies Ingredients
• To create your delightful Peppermint Kiss Cookies, gather the following ingredients:
For the Cookie Dough
- All-purpose flour – Provides essential structure to your cookies; substitute with gluten-free flour for a gluten-free option.
- Baking powder – Acts as a leavening agent for those perfectly risen cookies; always check for freshness.
- Unsweetened cocoa powder – Adds rich chocolate flavor to each bite; Dutch-process cocoa can deepen the chocolate taste.
- Sugar – Sweetens the dough; consider coconut sugar for a lower glycemic option.
- Brown sugar – Brings moisture and a hint of caramel sweetness to the mix.
- Unsalted butter – Ensures cookies remain tender and flavorful; coconut oil can replace this for dairy-free cookies.
- Egg – Binds all the ingredients and adds richness; a flax egg is a great vegan substitute.
- Peppermint extract – Offers that festive peppermint burst; opt for pure extract for the best flavor.
For Topping
- Chocolate kisses – The signature topping that gives a melty chocolate center; feel free to swap with crushed peppermint for added crunch.
Step‑by‑Step Instructions for Peppermint Kiss Cookies
Step 1: Preheat and Prepare
Begin by preheating your oven to 350°F (175°C) and lining a baking sheet with parchment paper. This sets your stage for baking delightful Peppermint Kiss Cookies. The parchment will help prevent sticking and promote even baking. Make sure your oven is fully heated before proceeding to the next step for the best results.
Step 2: Cream the Sugars and Butter
In a large mixing bowl, combine the unsalted butter, granulated sugar, and brown sugar. Using an electric mixer, cream these ingredients together on medium speed until they become light and fluffy, about 3-4 minutes. This process incorporates air into your mixture, giving your cookies a tender texture. Scrape down the sides of the bowl as needed to ensure everything is well mixed.
Step 3: Add Egg and Extract
Next, beat in the egg and peppermint extract until everything is well combined, which should take about 1-2 minutes. You’re looking for a smooth, homogenous mixture. The peppermint extract will infuse a wonderful holiday aroma into your dough, setting the mood for baking these Peppermint Kiss Cookies!
Step 4: Mix Dry Ingredients
In a separate bowl, whisk together the all-purpose flour, cocoa powder, baking powder, and a pinch of salt. This step is crucial for evenly distributing the leavening agent and ensuring that the chewy texture of the cookies comes together perfectly. Once combined, gradually add the dry ingredients to the wet mixture, stirring gently until just incorporated to avoid overmixing.
Step 5: Form the Cookie Dough
Using a cookie scoop or tablespoon, scoop out small portions of dough and roll them into balls. Place the dough balls onto the prepared baking sheet, ensuring they are spaced a couple of inches apart to allow for spreading as they bake. You’ll have a lovely lineup of unbaked Peppermint Kiss Cookies, ready for the oven.
Step 6: Bake the Cookies
Bake the cookies in the preheated oven for 10-12 minutes. They’re ready when the edges are set but the centers still appear soft. This will ensure the cookies remain chewy once cooled. Keep a close eye on them in the last few minutes to avoid overbaking, as they can quickly go from perfect to overdone.
Step 7: Add Chocolate Kisses
Once the cookies are out of the oven, immediately press a chocolate kiss into the center of each warm cookie. The heat will cause the chocolate to soften, creating that irresistible melty center. This step not only adds flavor but also gives your cookies their characteristic festive flair!
Step 8: Cool and Serve
Allow the cookies to cool completely on the baking sheet. This will help them set properly and maintain their shape. Once cooled, you can transfer them to a wire rack or an airtight container to keep them fresh. These Peppermint Kiss Cookies are now ready to share and spread holiday cheer!
Make Ahead Options
These Peppermint Kiss Cookies are perfect for meal prep enthusiasts looking to save time during the busy holiday season! You can prepare the cookie dough up to 24 hours in advance by wrapping it tightly in plastic wrap and refrigerating it. This allows the flavors to meld beautifully while maintaining the dough’s quality. For even longer storage, scoop and freeze the dough balls for up to 3 months. When you’re ready to bake, simply add a minute or two to the baking time if using frozen dough. When the cookies are fresh out of the oven, don’t forget to press a chocolate kiss into the center for that iconic, melty finish. Enjoy the convenience of having delightful Peppermint Kiss Cookies ready to bake at a moment’s notice!
What to Serve with Peppermint Kiss Cookies
As the warmth of peppermint and chocolate fills the air, it’s time to think about delightful companions for your festive cookies.
-
Rich Hot Cocoa: A classic pairing, hot cocoa amplifies the cozy vibes of the holidays while complementing the cookie’s chocolatey essence.
-
Freshly Brewed Coffee: The bold flavors of coffee provide a lovely contrast to the sweetness of the cookies, creating an invigorating afternoon treat.
-
Minty Iced Tea: A refreshing mint iced tea enhances the peppermint notes in the cookies, delivering a light and lively sip alongside each bite.
-
Vanilla Ice Cream: Creamy vanilla ice cream melts beautifully over warm cookies, creating a deliciously indulgent dessert that combines textures and flavors.
-
Chocolate Fondue: A fun and interactive option, serve a warm chocolate fondue for dipping. It adds rich decadence that pairs delectably with the sweet peppermint kick.
-
Chewy Caramel Squares: These add a chewy texture and buttery sweetness, balancing out the peppermint and chocolate with a luscious contrast that’s sure to please.
-
Sugary Almond Biscotti: For a crunchier alternative, biscotti offers lovely nutty flavors that beautifully complement the soft textures of the cookies, perfect for dipping in coffee.
-
Cream Cheese Frosting: Consider drizzling homemade cream cheese frosting over warm cookies for an extra layer of creamy flavor—a delightful twist on the classic!
-
Classic Eggnog: Embrace the holiday spirit with a glass of eggnog, its spiced richness beautifully elevating every bite of your Peppermint Kiss Cookies.
-
Chocolate Mint Mousse: A delightful, airy dessert that echoes the chocolate and mint flavor profile of the cookies, creating a cohesive dining experience after a festive meal.
How to Store and Freeze Peppermint Kiss Cookies
Room Temperature: Keep baked cookies in an airtight container at room temperature for up to 1 week. This helps retain their soft and chewy texture.
Fridge: If you prefer a longer storage solution, place the cookies in the fridge to extend freshness up to 2 weeks. Just ensure they’re in an airtight container to prevent them from drying out.
Freezer: To freeze, wrap cookie dough balls tightly in plastic wrap or place them in a freezer-safe bag. They can be frozen for up to 3 months. When ready to bake, simply add a few extra minutes to the baking time.
Reheating: For a warm treat, pop baked cookies in the microwave for about 10-15 seconds before serving. This will revive that gooey chocolate center, perfect for enjoying your Peppermint Kiss Cookies!
Expert Tips for Peppermint Kiss Cookies
- Chill the Dough: Make sure to chill the cookie dough for 30 minutes before baking; this prevents excessive spreading and ensures the cookies maintain their shape.
- Fresh Baking Powder: Always check that your baking powder is fresh. Stale baking powder can lead to dense, flat cookies instead of the light, fluffy texture you desire.
- Don’t Overmix: Mix the flour until just combined to retain the soft, chewy texture. Overmixing can lead to tough cookies, which nobody wants!
- Press Immediately: Remember to press the chocolate kisses into the cookies right after they come out of the oven for that melty center; waiting too long will make it harder to achieve that gooey effect.
- Storage Tips: Keep your Peppermint Kiss Cookies in an airtight container at room temperature; they’ll stay fresh for up to a week—if they last that long!
Peppermint Kiss Cookies Variations & Substitutions
Feel free to get creative with these cookie recipes and make them your own! Discover delightful twists that will surprise and tantalize your taste buds.
- Dairy-Free: Substitute the unsalted butter with coconut oil for a deliciously creamy, dairy-free option that doesn’t skimp on flavor.
- Gluten-Free: Swap all-purpose flour for gluten-free all-purpose flour—your cookies will still be delightfully soft and chewy.
- Low-Sugar: Use coconut sugar instead of regular sugar for a healthier sweet option that adds a hint of caramel flavor.
- Minty Crunch: Top with crushed peppermint candy instead of chocolate kisses to give your cookies a festive crunch and extra flair.
- Nutty Addition: Incorporate chopped walnuts or pecans into the dough for added texture and a heartier bite.
- White Chocolate Twist: Replace chocolate kisses with white chocolate chips for a lovely contrast of flavors—rich and creamy meets refreshing mint!
- Spicy Kick: Add a pinch of cayenne pepper or cinnamon for a subtle heat that pairs beautifully with the peppermint.
- Frozen Treat: Try chilling your dough balls and then baking them straight from the freezer for an exciting, freshly baked surprise!
With all these options, your Peppermint Kiss Cookies can be as unique as your celebrations. Enjoy exploring these variations, and for another festive treat, check out my recipe for delicious Chocolate Crinkle Cookies that will surely bring smiles! Or, pair these cookies with a cup of homemade Hot Chocolate for a cozy, comforting experience!

Peppermint Kiss Cookies Recipe FAQs
How do I know if my ingredients are ripe or fresh?
For optimal results, check your baking powder for freshness by adding a teaspoon to warm water; it should fizz if fresh. Also, for the best cookie texture, use room temperature butter, as it blends more easily into the dough, creating a lighter cookie.
What is the best way to store Peppermint Kiss Cookies?
Store your baked Peppermint Kiss Cookies in an airtight container at room temperature for up to 1 week. For longer storage, place them in the fridge, which can extend freshness to 2 weeks, or freeze them for up to 3 months—just ensure they are tightly wrapped to prevent freezer burn.
Can I freeze the cookie dough for later use?
Absolutely! To freeze the cookie dough, scoop out the dough balls and wrap each one tightly in plastic wrap or place them in a freezer-safe bag. When you’re ready to bake, simply preheat your oven and add an extra 2-3 minutes to the baking time for best results.
What if my cookies spread too much while baking?
If your Peppermint Kiss Cookies spread excessively, your dough might be too warm or the butter may have been too soft. To fix this, chill the dough for at least 30 minutes before baking to help maintain their shape. Additionally, ensure you’re not overmixing after adding flour as too much handling can cause spreading.
Are Peppermint Kiss Cookies safe to eat for those with allergies?
These cookies contain common allergens like gluten, dairy, and eggs. If you want to accommodate dietary restrictions, consider using gluten-free flour, dairy-free butter or oil, and a flax egg as a substitute. Always check your ingredients to ensure they meet the dietary needs of your guests.
Can I add extra ingredients or variations to Peppermint Kiss Cookies?
The more the merrier when it comes to variations! You can swap chocolate kisses for crushed peppermint candies for added crunch or incorporate chopped nuts like walnuts or almonds into the mix. For a seasonal twist, try adding white chocolate chips instead of kisses for a delightful contrast.
Blueberry Streusel Coffee Cake: A Cozy Morning Delight
Ingredients
Equipment
Method
- Preheat your oven to 350°F (175°C) and line a baking sheet with parchment paper.
- In a large mixing bowl, combine unsalted butter, granulated sugar, and brown sugar. Cream together on medium speed until light and fluffy, about 3-4 minutes.
- Beat in the egg and peppermint extract until well combined, about 1-2 minutes.
- In a separate bowl, whisk together all-purpose flour, cocoa powder, baking powder, and a pinch of salt.
- Gradually add the dry ingredients to the wet mixture, stirring gently until just incorporated to avoid overmixing.
- Scoop small portions of dough and roll into balls. Place on the prepared baking sheet.
- Bake for 10-12 minutes, until edges are set but centers appear soft.
- Immediately press a chocolate kiss into the center of each warm cookie.
- Allow cookies to cool completely on the baking sheet before transferring them to a wire rack or airtight container.
Leave a Reply