
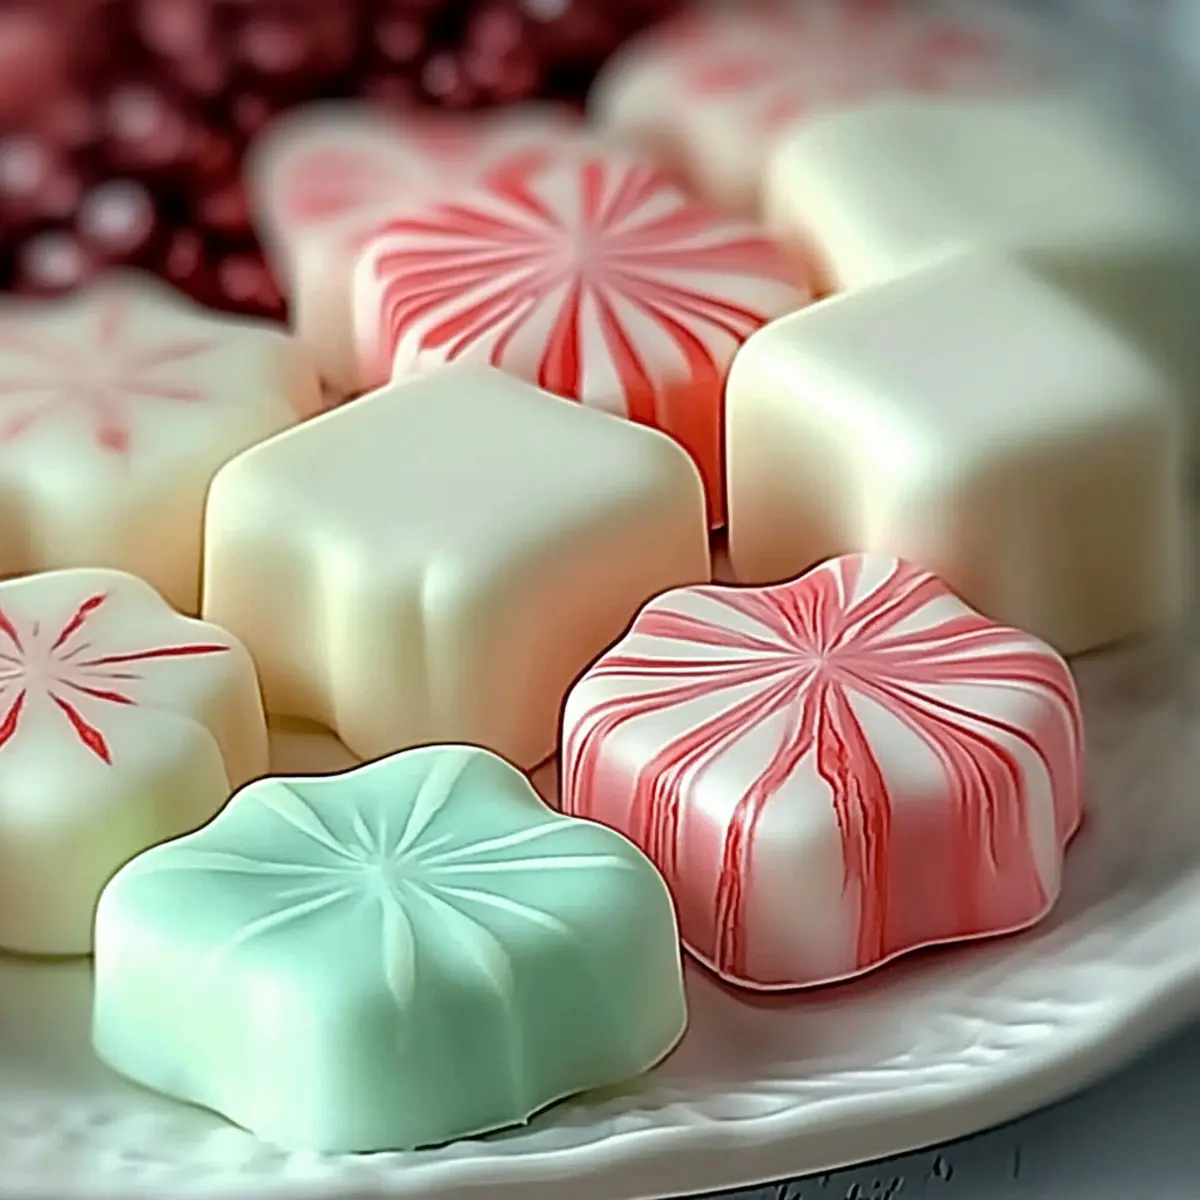
The aroma of sweet peppermint wafting through the kitchen transports me back to my grandmother’s cozy living room, where bowls of homemade treats always beckoned. Today, I’m excited to share my recipe for Old-Fashioned Butter Mints, a nostalgic no-bake treat that’s perfect for every occasion—from weddings to holiday celebrations. These delightful mints not only come together with minimal ingredients, but their effortless preparation means you’ll spend less time in the kitchen and more time making memories with loved ones. Plus, their vibrant colors and customizable flavors make them a fun project for anyone eager to add a personal touch to their edible gifts. Are you ready to bring a little vintage charm to your dessert table?
Why are Old-Fashioned Butter Mints Special?
Nostalgic Tradition: These mints evoke sweet memories of childhood and festive gatherings, making them a timeless favorite.
Easy to Make: With just a few simple ingredients, you can whip up a batch without any baking hassle—perfect for any skill level!
Versatile Flavor: Customize with different extracts or food colors to suit any occasion, adding your personal flair to this classic treat.
Guilt-Free Indulgence: Each mint is low in calories, so you can indulge without the guilt, making them a great addition to party favors or dessert tables.
Memorable Presentation: Serve them in decorative jars or bowls to create an eye-catching centerpiece at your next event. Whether paired with a festive punch or your favorite dessert, they’re sure to impress—just like my Cowboy Butter Chicken perfectly complements a gathering!
Old-Fashioned Butter Mints Ingredients
For the Mints
• Unsalted Butter – Use this for creamy richness and to control saltiness, ensuring your mints are perfectly sweet.
• Powdered Sugar – Essential for that melt-in-your-mouth texture; granulated sugar won’t yield the same delightful results.
• Heavy Cream or Milk – Adds the necessary moisture; if you’re out of heavy cream, milk does the job just fine.
• Peppermint Extract – The star of the show, giving your Old-Fashioned Butter Mints that refreshing zing; start light and adjust to your taste.
• Pinch of Salt – Balances sweetness beautifully; a small addition can elevate the flavor profile.
• Gel Food Coloring (Optional) – Customize your mints with pastel shades, making them visually appealing without compromising texture.
Step‑by‑Step Instructions for Old-Fashioned Butter Mints
Step 1: Prep Butter
Begin by taking your unsalted butter out of the refrigerator and allowing it to soften at room temperature for about 30 minutes. Once softened, place it in a mixing bowl and beat it with an electric mixer on medium speed until it becomes smooth, fluffy, and light in color. This creamy base is essential for your Old-Fashioned Butter Mints.
Step 2: Mix Ingredients
Add in the peppermint extract, a pinch of salt, and your choice of heavy cream or milk to the bowl with the butter. Using your mixer, combine these ingredients on low speed until they’re fully mixed together and smooth. This creates a sweet, aromatic mixture that is the heartbeat of your Old-Fashioned Butter Mints.
Step 3: Incorporate Sugar
Gradually sift in the powdered sugar while mixing on low speed to avoid a cloud of sugar dust. Once incorporated, increase the speed to medium and continue mixing until a soft dough starts to form. You may need to switch to hand mixing as the dough thickens, ensuring everything is well combined into a cohesive consistency.
Step 4: Color Dough (Optional)
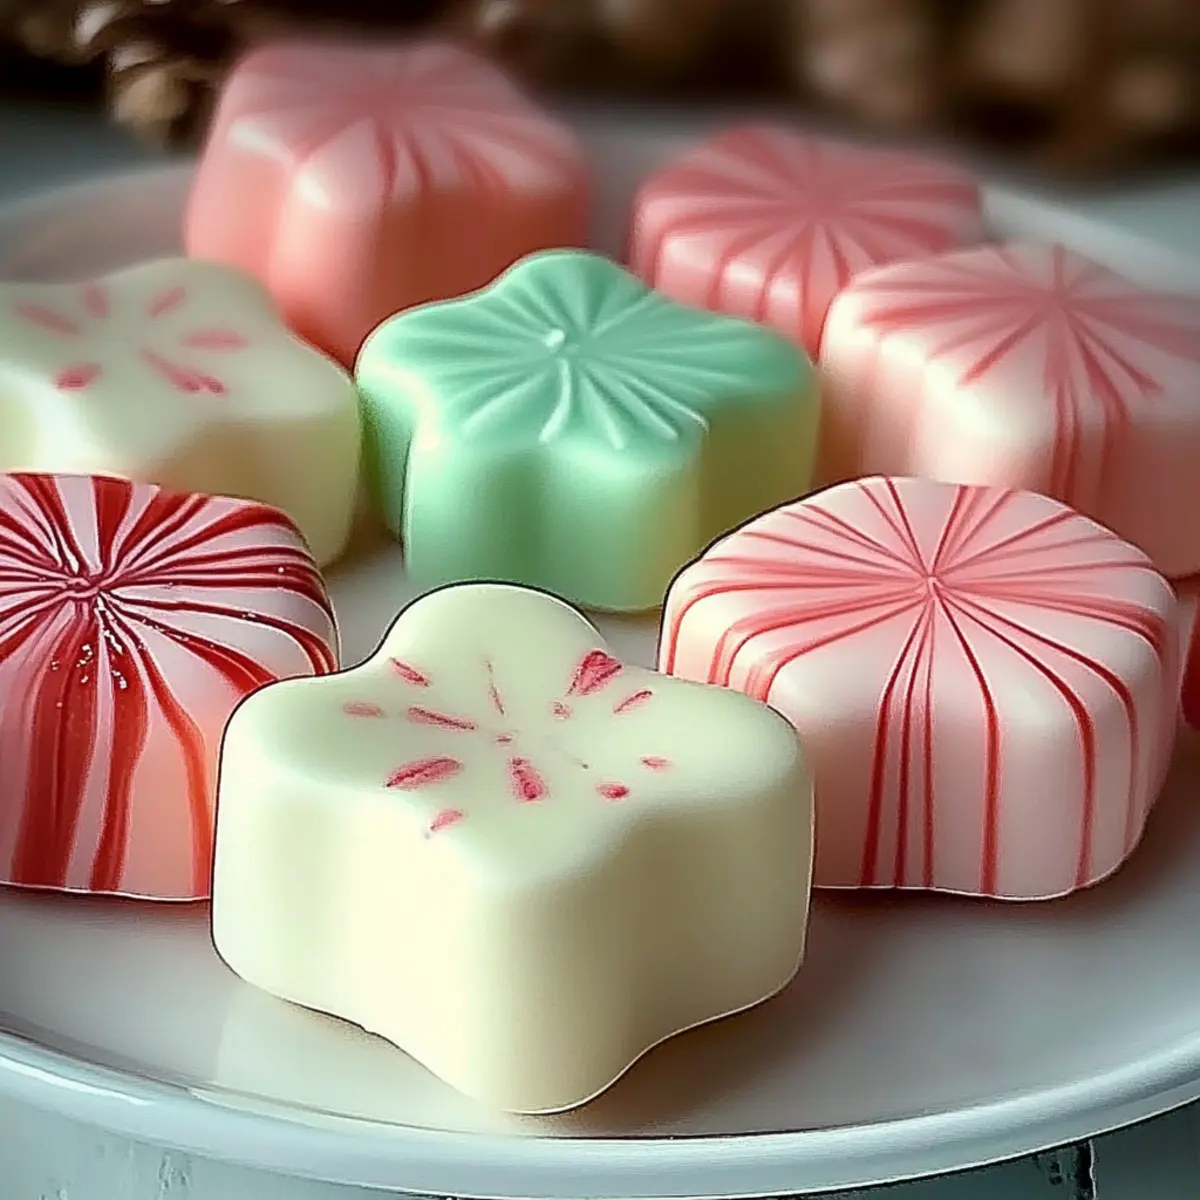
If you want to add a personal touch, divide the dough into several portions based on how many colors you’d like to use. Knead in gel food coloring one drop at a time until you achieve the desired pastel shades. This step adds visual appeal to your Old-Fashioned Butter Mints, making them perfect for any occasion.
Step 5: Shape Mints
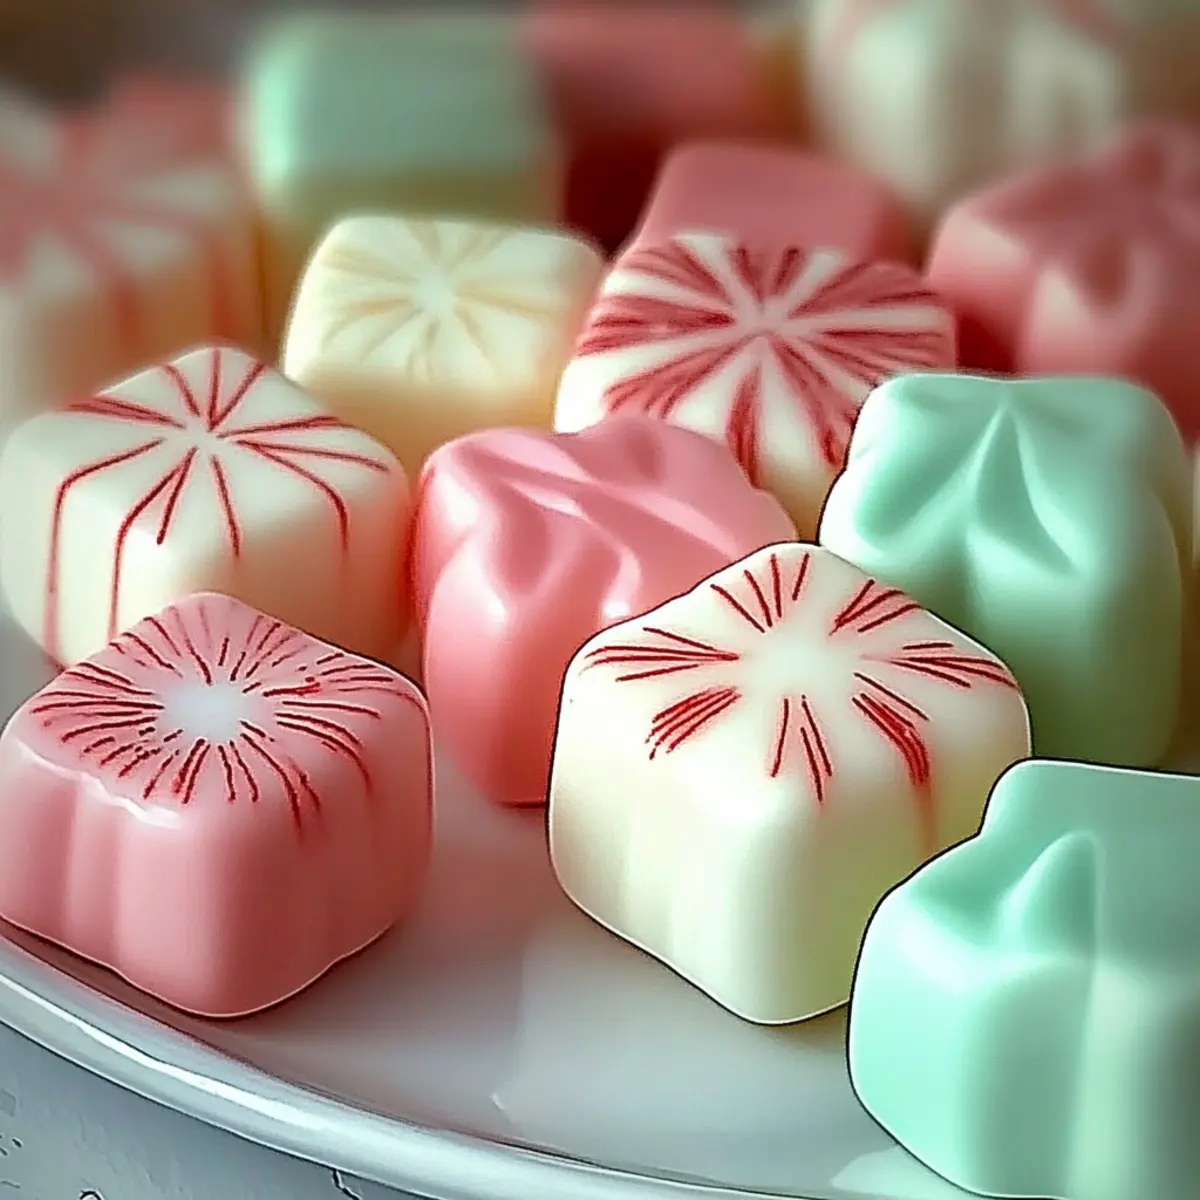
On a clean surface dusted with powdered sugar, take a portion of the dough and roll it into long, thin ropes about ¼ inch thick. Use a sharp knife to cut these ropes into bite-sized pieces, ensuring that each piece is uniform in size for a delightful presentation of your Old-Fashioned Butter Mints.
Step 6: Dry Mints
Once shaped, carefully arrange the mints in a single layer on a sheet of parchment paper. Allow them to air dry at room temperature for at least 8 hours or overnight. This drying process is crucial for achieving the right melt-in-your-mouth texture that defines Old-Fashioned Butter Mints, so be patient!
Make Ahead Options
These Old-Fashioned Butter Mints are a fantastic treat that can be prepped in advance, perfect for busy hosts looking to save time on their special occasions! You can prepare the mints up to 24 hours ahead by shaping them and allowing them to dry as instructed. Simply cover the drying mints with a clean kitchen towel to prevent them from becoming dusty. When you’re ready to enjoy them, just store the finished mints in an airtight container at room temperature. If you want to keep them fresh for longer, refrigerate for up to 1 month or freeze them for up to 3 months—simply let them come to room temperature before serving. Making these delightful butter mints ahead of time ensures they’re just as delicious and ready to impress your guests!
Old-Fashioned Butter Mints Variations
There’s so much fun in customizing your Old-Fashioned Butter Mints to make them truly your own!
-
Flavor Twist:
Use vanilla or almond extract instead of peppermint for a delightful alternative. Each offers a unique flavor profile that complements the buttery sweetness beautifully. -
Zesty Surprise:
Add lemon or orange zest for a refreshing citrus kick! This brightens up the flavor and adds a lovely chewiness to every mint. -
Chocolate Lovers:
Incorporate cocoa powder to create chocolate-flavored butter mints. Just mix in a couple of tablespoons to the dough—who can resist chocolate? -
Colorful Themes:
Use gel food coloring to match party themes or holidays. Imagine the joy of vibrant pastel mints for Easter or rich colors for a festive gathering. -
Crunch Factor:
Fold in finely chopped nuts or crushed candy canes for added texture. This gives your mints a delightful crunch that contrasts nicely with their creamy texture. -
Spicy Kick:
Enhance with a hint of cinnamon or ginger for an unexpected warm spice element. Try this twist during the winter months for a comforting flavor! -
Mint Medley:
Experiment with different mint extracts like spearmint or wintergreen for a refreshing twist. Each one brings its own character while remaining true to the classic spirit.
These variations not only keep your Old-Fashioned Butter Mints exciting but can be perfect for gifting. For even more delicious inspiration, check out these recipes for Lemon Garlic Butter or Cheesy Garlic Butter. Enjoy personalizing your treats!
What to Serve with Old-Fashioned Butter Mints?
The perfect accompaniment can elevate your no-bake mint treat into an unforgettable experience.
-
Festive Fruit Platter: A colorful mix of fresh fruits like strawberries, blueberries, and citrus adds a refreshing contrast to the sweetness of mints.
-
Hot Chocolate Bar: Cozy up with a hot chocolate bar featuring whipped cream and fun toppings. The richness of the chocolate pairs beautifully with the cool minty flavor.
-
Cheesecake Bites: Serve mini cheesecake bites for a velvety texture contrast. Their creamy sweetness complements the melting mints, creating a heavenly taste.
-
Coffee or Tea: Brewed coffee or herbal tea provides the perfect warm beverage to balance the mints’ sweetness. The aromatic notes will enhance the overall experience.
-
Chocolate-Dipped Pretzels: The salty crunch of pretzels dipped in chocolate offers a delightful textural balance against the soft mints, making for a tasty treat.
-
Sugar Cookies: These classic cookies add a comforting, nostalgic touch, with their buttery goodness pairing fabulously with the refreshing butter mints.
-
Mini Cupcakes: Light, fluffy mini cupcakes can be a delicious addition to your dessert table, their delightful frosting harmonizing with the refreshing taste of the mints.
-
Sparkling Lemonade: A fruity, effervescent drink like sparkling lemonade can cleanse the palate after indulging in sweet treats, complementing the mints beautifully.
How to Store and Freeze Old-Fashioned Butter Mints
Room Temperature: Keep mints in an airtight container in a cool, dry place for up to 2 weeks to maintain their delightful texture and flavor.
Fridge: For extended freshness, store mints in the refrigerator, where they will last for up to 1 month. Just be sure to let them come to room temperature before serving.
Freezer: If you want to prepare ahead, freeze mints in an airtight container for up to 3 months. To enjoy, simply allow them to thaw at room temperature without moisture.
Reheating: There’s no need to heat these treats! Simply enjoy them as they are for that classic melt-in-your-mouth experience.
Expert Tips for Old-Fashioned Butter Mints
• Room Temperature Butter: Always start with butter softened to room temperature for easy mixing and smooth texture. Cold butter can lead to clumpy mints.
• Sift Powdered Sugar: Sifting the powdered sugar before adding it helps prevent lumps and ensures a silky, smooth consistency in the dough.
• Adjust Peppermint: Begin with a small amount of peppermint extract, as its potency can vary; you can always add more to suit your taste.
• Knead Lightly: When incorporating food coloring, knead gently to avoid overworking the dough, which may lead to a tougher texture.
• Drying is Key: Allow ample drying time for the mints to achieve their signature melt-in-your-mouth quality; don’t rush this step!
• Avoid Sticky Dough: If your dough becomes too sticky while shaping, sprinkle extra powdered sugar on your hands and the surface to keep it manageable.
Old-Fashioned Butter Mints Recipe FAQs
What type of butter should I use for Old-Fashioned Butter Mints?
Always opt for unsalted butter! It ensures the buttery richness shines through without overwhelming saltiness. This kind of butter is essential for achieving that perfect creamy texture, allowing you to control the salt levels for the ideal sweet balance.
How long can I store Old-Fashioned Butter Mints?
You can store your mints in an airtight container in a cool, dry place for up to 2 weeks. For extended freshness, place them in the refrigerator, where they can last up to 1 month. Just remember to let them come back to room temperature for a delightful melt-in-your-mouth experience before enjoying them!
Can I freeze Old-Fashioned Butter Mints? How do I do it?
Absolutely! To freeze your mints, place them in a single layer on a parchment-lined baking sheet until firm, then transfer them to an airtight container, ensuring they are well-sealed to prevent moisture and freezer burn. They can be frozen for up to 3 months. When you’re ready to enjoy, just let them thaw at room temperature—no need to heat them!
What should I do if my dough becomes too sticky?
If your dough is overly sticky, don’t worry! Just sprinkle in a bit more powdered sugar while kneading until it reaches the right consistency. This helps to manage the stickiness and ensures you maintain that delightful texture of the mints. You can also dust your hands and surface with powdered sugar to make shaping the mints easier.
Can I customize the flavors of Old-Fashioned Butter Mints?
Yes, the more the merrier! You can experiment with other extracts like vanilla, almond, or even lemon for a twist on the classic. Just start with a small amount, mix, and taste—adjusting until you reach that perfect balance of flavor. Don’t forget to have fun with the colors too; use gel food coloring for those beautiful pastel shades!
Are Old-Fashioned Butter Mints safe for pets or those with allergies?
While these mints are delicious for you, they often contain ingredients like butter and dairy that aren’t suitable for pets and can be harmful to them. For those with allergies, it’s essential to check the ingredient labels carefully or opt for alternative recipes that suit your dietary needs. Always prioritize safety, and don’t hesitate to reach out for allergen-free suggestions!
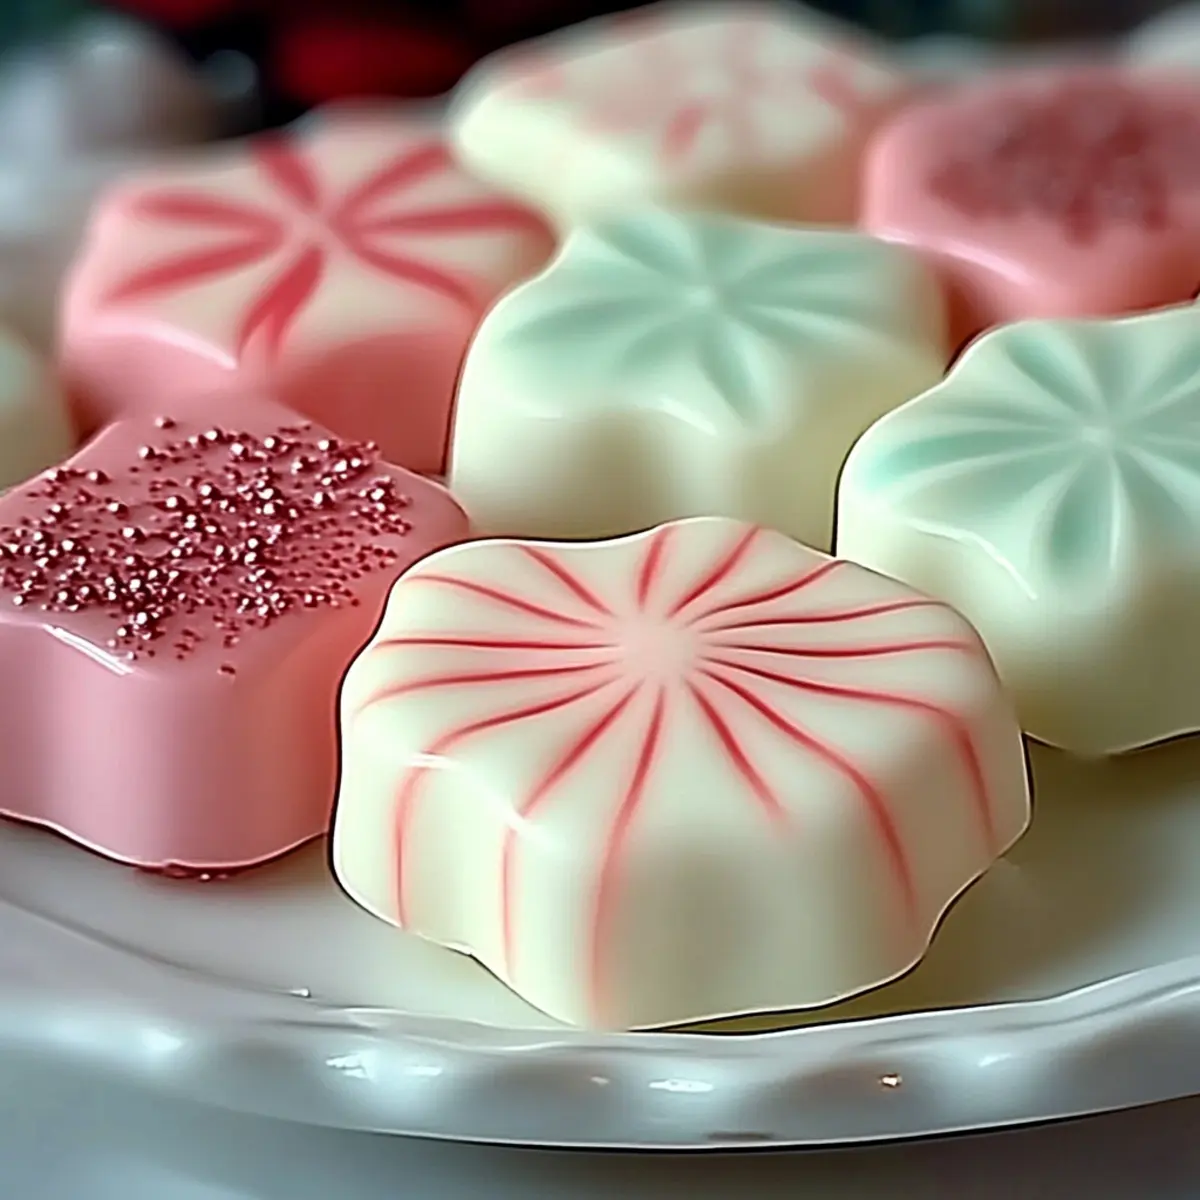
Old-Fashioned Butter Mints: Melt-In-Your-Mouth Nostalgia
Ingredients
Equipment
Method
- Begin by taking your unsalted butter out of the refrigerator and allowing it to soften at room temperature for about 30 minutes. Once softened, place it in a mixing bowl and beat it with an electric mixer on medium speed until it becomes smooth, fluffy, and light in color.
- Add in the peppermint extract, a pinch of salt, and your choice of heavy cream or milk to the bowl with the butter. Using your mixer, combine these ingredients on low speed until they're fully mixed together and smooth.
- Gradually sift in the powdered sugar while mixing on low speed to avoid a cloud of sugar dust. Once incorporated, increase the speed to medium and continue mixing until a soft dough starts to form.
- If you want to add a personal touch, divide the dough into several portions based on how many colors you'd like to use. Knead in gel food coloring one drop at a time until you achieve the desired pastel shades.
- On a clean surface dusted with powdered sugar, take a portion of the dough and roll it into long, thin ropes about ¼ inch thick. Use a sharp knife to cut these ropes into bite-sized pieces.
- Once shaped, carefully arrange the mints in a single layer on a sheet of parchment paper. Allow them to air dry at room temperature for at least 8 hours or overnight.
Leave a Reply