
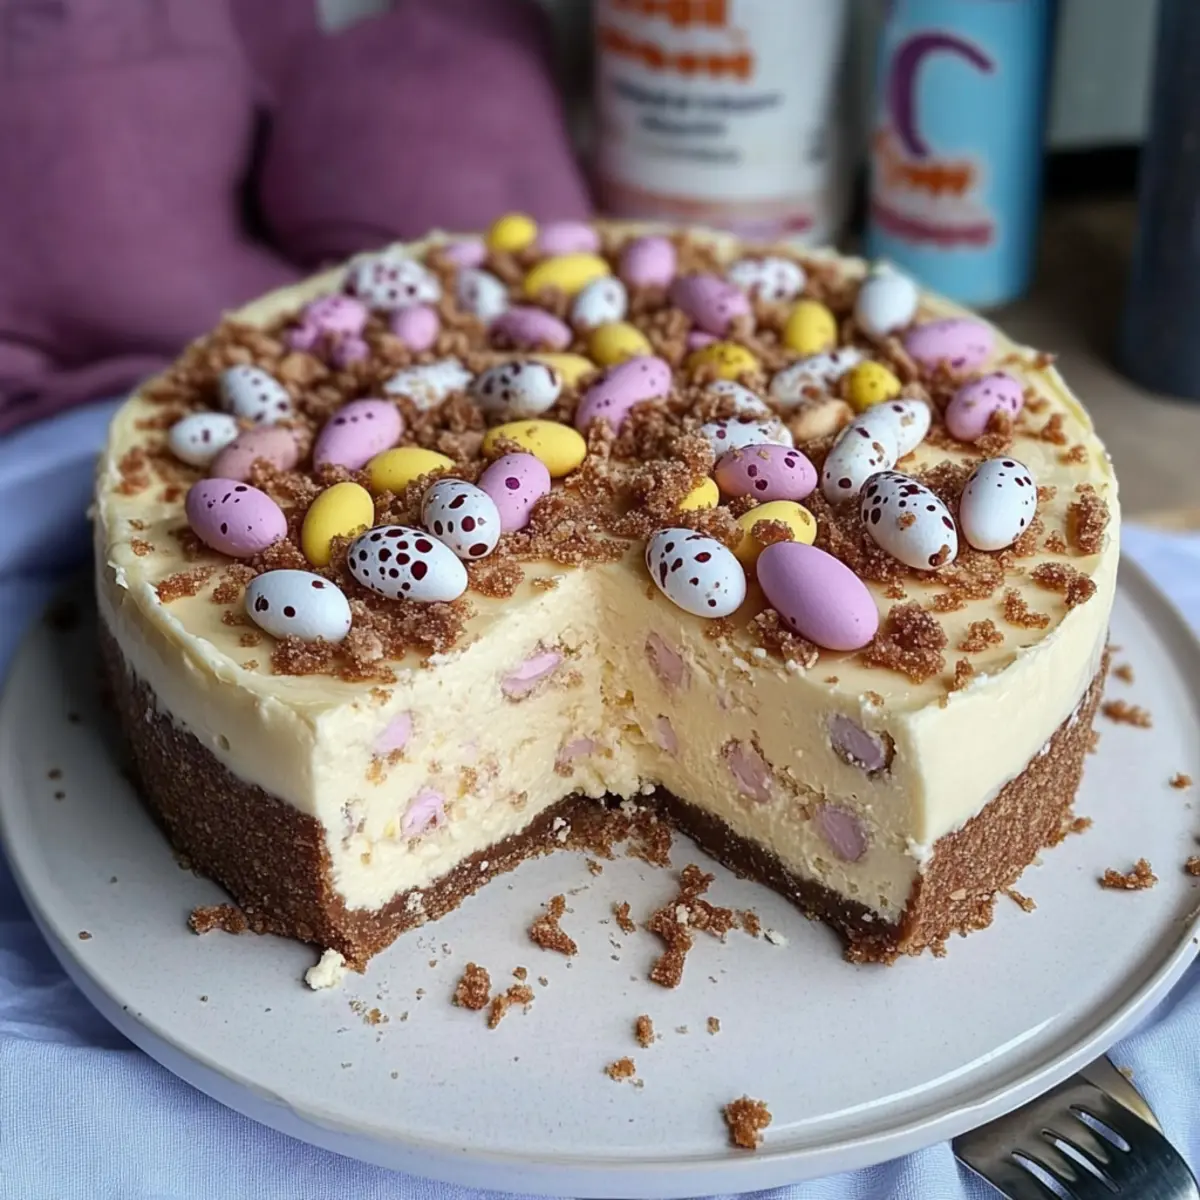
Easter is just around the corner, and I find myself yearning for a dessert that captures the spirit of the season. Enter the No-Bake Mini Egg Cheesecake—a delightful treat that marries the richness of creamy cheesecake with the playful crunch of mini eggs. This recipe not only makes a stunning centerpiece for your holiday table but also comes together quickly without the fuss of baking. It’s the perfect way to whip up something impressive that’ll have everyone asking for seconds! With a buttery biscuit base and an easy-to-master filling, you’ll have a foolproof dessert that brings smiles all around. Are you ready to indulge in a slice of joy? Let’s dive into this deliciously simple recipe!
Why is this cheesecake so irresistible?
Irresistible texture: Combining a smooth, creamy filling with a crunchy biscuit base makes each bite a delightful experience.
No-Bake convenience: This recipe is perfect for busy schedules, allowing you to whip up a stunning dessert without turning on the oven.
Perfect for celebrations: Celebrate Easter or any occasion with a show-stopping dish that looks as good as it tastes.
Customizable flavors: Mix and match different biscuit bases and flavored cream cheeses for a dessert that suits any palate.
Crowd-pleaser: Friends and family will rave about this cheesecake, making it a sure hit at gatherings. Try it with a savory touch by pairing it with some Bacon Egg Cheese or sweeten your morning with Mini Sausage Pancake muffins!
No-Bake Mini Egg Cheesecake Ingredients
Get ready to create a dessert masterpiece with these delightful ingredients!
For the Biscuit Base
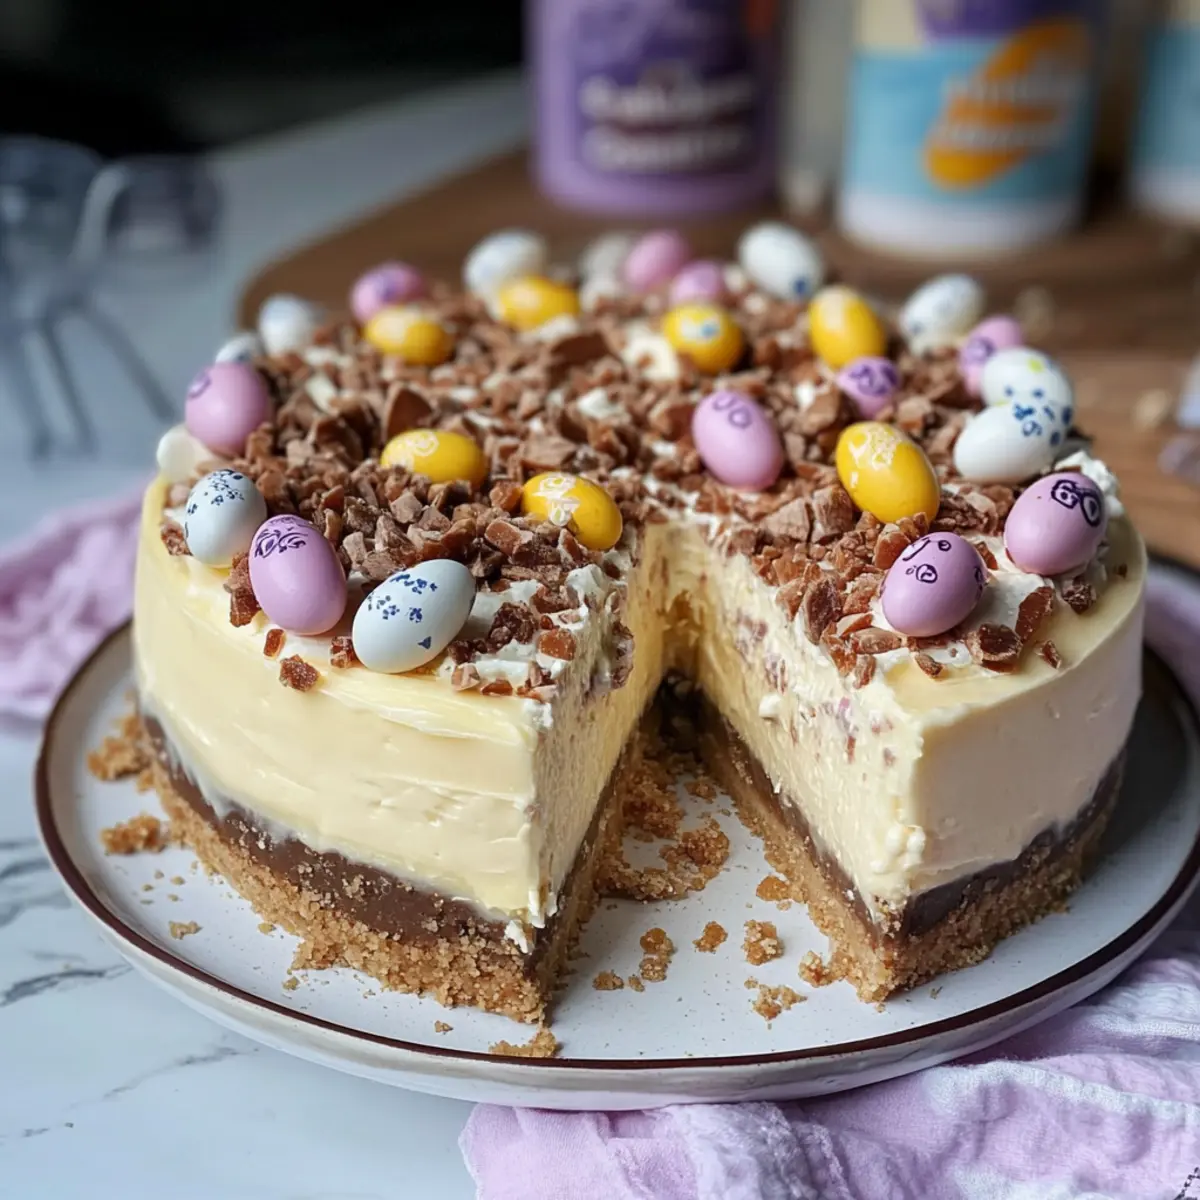
- Digestives – Provides a buttery biscuit base; chocolate digestives can add a fun twist.
- Unsalted Butter/Baking Spread – Binds the base together; make sure it’s melted for the perfect mix.
For the Cheesecake Filling
- Full-Fat Soft Cream Cheese – Essential for stability; avoid low-fat options to prevent a runny cheesecake.
- Icing Sugar – Adds sweetness to the filling; powdered sugar works as a good substitute.
- Double Cream – Ensures richness and a delightful, thick texture; you can use heavy cream if needed.
- Vanilla Extract – Enhances the flavor; opt for pure vanilla for the best results.
- Mini Eggs (Crushed) – The star ingredient that adds festive texture and sweetness; reserve extra for decoration!
For the Decoration
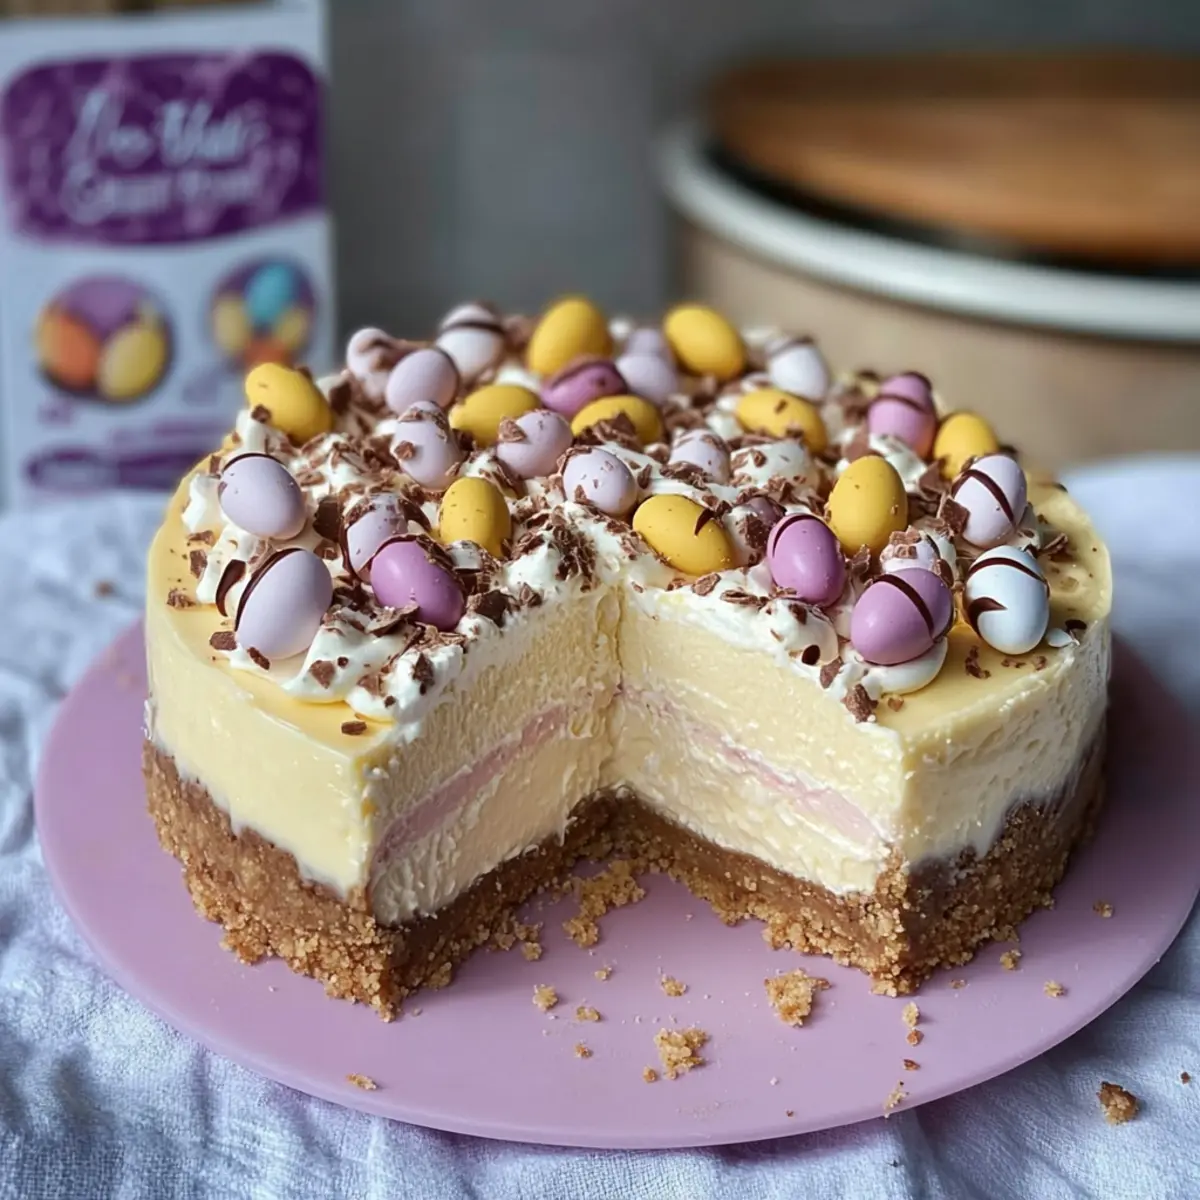
- Double Cream (for piping) – Whipped together with icing sugar for beautiful swirls.
- Icing Sugar (for piping) – Sweetens the whipped cream; adjust the amount based on your taste.
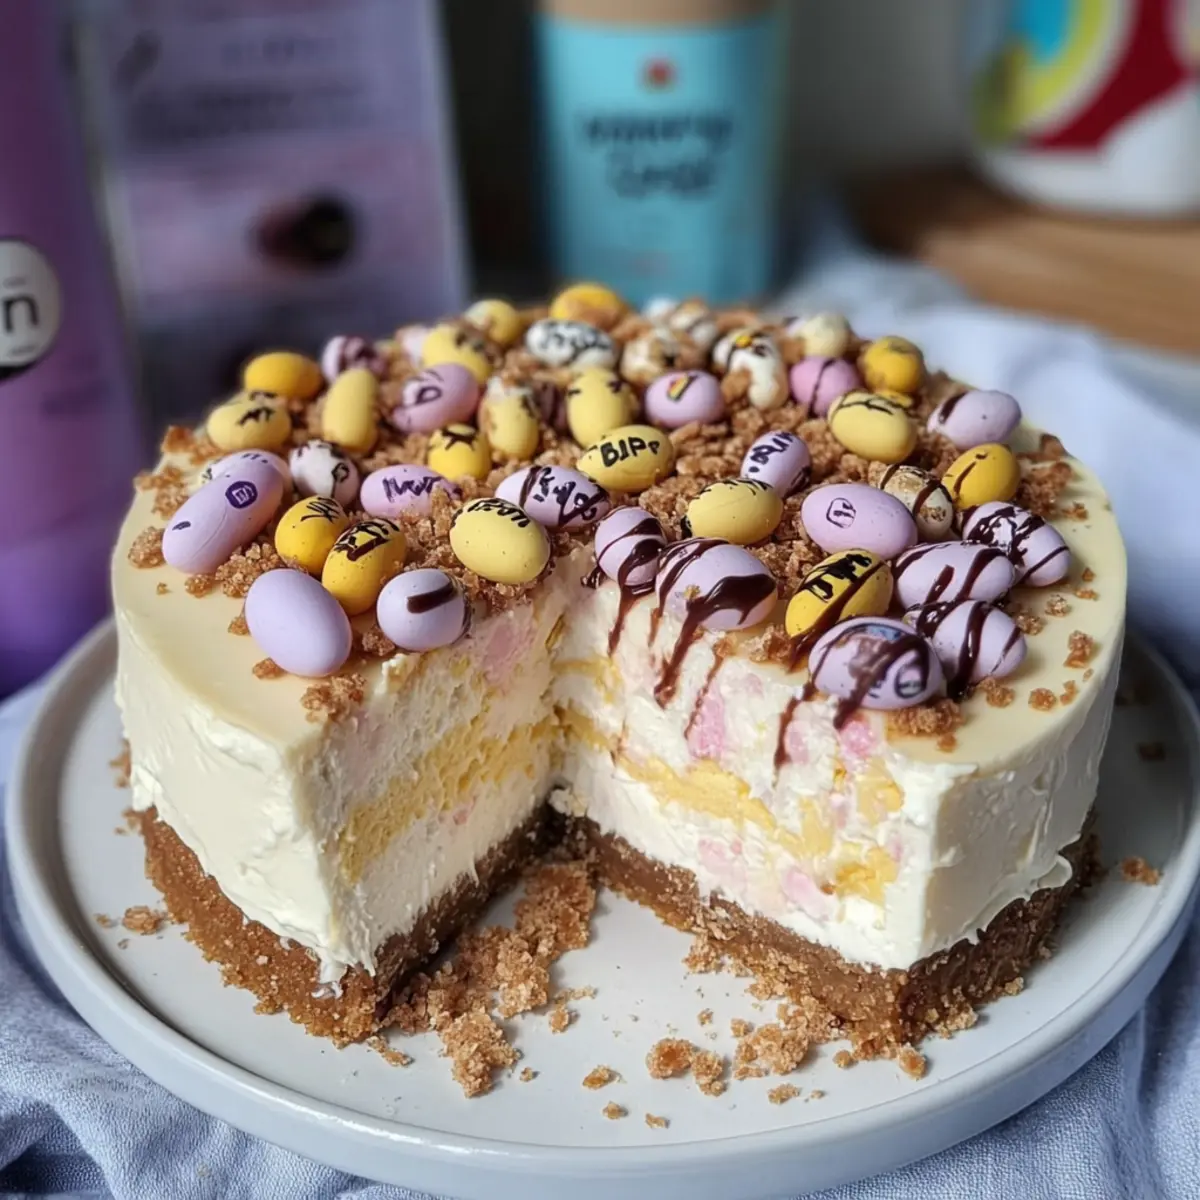
- Melted Milk Chocolate – Drizzle over the cheesecake for that extra indulgence; dark or white chocolate works too!
This No-Bake Mini Egg Cheesecake is sure to bring smiles and indulgence to your table!
Step‑by‑Step Instructions for No-Bake Mini Egg Cheesecake!
Step 1: Prepare the Biscuit Base
Begin by crushing the digestives in a food processor until they resemble fine crumbs, taking about 1-2 minutes. In a separate bowl, combine the melted unsalted butter with the crumbs, mixing until evenly coated. Firmly press this mixture into the bottom of an 8″/20cm deep springform tin to create an even base. Chill in the refrigerator for about 30 minutes to help it set.
Step 2: Make the Cheesecake Filling
In a large mixing bowl, whisk together the full-fat cream cheese, icing sugar, and vanilla extract until smooth and creamy, which should take about 3-4 minutes. Gradually add the double cream while continuously whipping the mixture until it thickens and forms soft peaks. This process will create a stable filling for your No-Bake Mini Egg Cheesecake, so ensure it’s thick and fluffy.
Step 3: Fold in Mini Eggs
Once your cheesecake filling is ready, gently fold in the crushed mini eggs, ensuring they’re evenly distributed throughout the mixture. This will add delightful sweetness and texture to your cheesecake. Avoid over-mixing to keep the fluffiness intact. After combining, carefully spread the mixture over the chilled biscuit base, smoothing the surface with a spatula for an even finish.
Step 4: Set in the Fridge
Cover the cheesecake with plastic wrap or a lid and place it in the refrigerator. Let it chill for at least 5-6 hours, or ideally overnight, until it’s fully set. This time allows the flavors to meld and the cheesecake to firm up. You’ll know it’s ready when it feels solid to the touch but has a slight jiggle in the center.
Step 5: Decorate
When you’re ready to serve your No-Bake Mini Egg Cheesecake, carefully remove it from the springform tin. Drizzle melted milk chocolate over the top for a rich finish. Then, whip some double cream with icing sugar until soft peaks form and pipe whimsical swirls on the cheesecake. Finish by decorating with reserved mini eggs scattered attractively on top for that festive touch.
What to Serve with No-Bake Mini Egg Cheesecake?
Elevate your holiday meal with delightful pairings that complement this creamy and crunchy indulgence.
-
Fresh Berries: A burst of tartness from strawberries or raspberries beautifully contrasts the sweetness of the cheesecake.
-
Chocolate Biscuit Tart: Rich and decadent, this dessert echoes the chocolate flavors in a soothing, crunchy texture that pairs well.
-
Vanilla Ice Cream: Creamy, smooth ice cream adds a cool touch, making every bite of cheesecake even more delightful—it’s a classic!
-
Fruit Salad: A refreshing mix of seasonal fruits can brighten the overall presentation while balancing the richness of the cheesecake. It’s like spring on a plate!
-
Minty Tea: Serve with a cup of peppermint or green tea for a light finish, helping to cleanse the palate after the sweet indulgence.
-
Elderflower Lemonade: This sparkling drink with a floral note is refreshing and offers a lovely contrast to the cheesecake’s richness.
-
Cupcakes: Mini dessert cupcakes in complementary flavors (like lemon or chocolate) can create an enticing dessert spread, ensuring variety.
-
Chocolate-Covered Pretzels: Crunchy and sweet with a hint of saltiness, these bites make for a perfect contrast to the creamy cheesecake while adding fun texture.
Each of these pairings adds its unique touch, inviting love and joy to your gatherings!
How to Store and Freeze No-Bake Mini Egg Cheesecake
Fridge: Store the cheesecake in the fridge, covered with plastic wrap or a lid, for up to 3 days. This keeps it fresh and maintains its creamy texture.
Freezer: If you want to enjoy your No-Bake Mini Egg Cheesecake later, slice it and wrap individual portions tightly in plastic wrap before placing them in an airtight container. It can be frozen for up to 2 months.
Thawing: To enjoy frozen slices, transfer them to the fridge for a few hours or overnight to thaw. This helps retain the cheesecake’s rich flavor and texture.
Reheating: There’s no need to reheat this cheesecake as it’s delightful served cold! Just garnish with fresh toppings before serving for the best experience.
No-Bake Mini Egg Cheesecake Variations
Feel free to get creative with this No-Bake Mini Egg Cheesecake and personalize it just the way you like!
-
Nutty Delight: Add crushed nuts like almonds or hazelnuts to the biscuit base for an extra layer of crunch. This simple adjustment introduces a delightful flavor and texture twist.
-
Chocolate Biscuit Base: Swap out the digestives for chocolate digestives or crushed Oreos to give your cheesecake a rich, chocolatey foundation. This creates an indulgent dessert that chocolate lovers will adore.
-
Flavored Cream Cheese: Try using flavored cream cheese like strawberry or lemon for a fresh twist. This is an easy way to add a unique taste to your cheesecake that pairs beautifully with the mini eggs.
-
Citrus Zest: Incorporate lemon or orange zest into your cheesecake filling for a bright citrus kick. The zest enhances the flavor profile and balances the sweetness of the mini eggs perfectly.
-
Holiday Spice: Add ground cinnamon or nutmeg to the filling or crust for a warm spice note that evokes the season. This sumptuous hint of spice pairs wonderfully with the creaminess of the cheesecake.
-
Fruit Portions: Fold in some fresh berries like raspberries or blueberries along with the mini eggs. This not only adds a burst of freshness but also a splash of color that looks inviting on the dessert table.
-
Vegan Version: Substitute full-fat cream cheese with cashew cream or a vegan cream cheese alternative, and use plant-based butter for the base. This way, everyone can enjoy this lovely dessert, regardless of dietary preferences!
Each of these variations opens up a world of possibilities for your No-Bake Mini Egg Cheesecake. Whether you want to stick to classic flavors or venture out into new territories, there’s a twist here for everyone. Looking for more inspiration? Try delicious Baked Eggs Napoleon or complement your snacks with sweet Mini Sausage Pancake muffins for a delightful feast!
Expert Tips for the Best No-Bake Mini Egg Cheesecake
-
Use Full-Fat Cream Cheese: Always opt for full-fat cream cheese to achieve a sturdy cheesecake; low-fat alternatives may not set properly and lead to a runny texture.
-
Chill the Base: Ensure you chill the biscuit base long enough to firm up—about 30 minutes in the fridge will provide stability for the filling.
-
Fold, Don’t Stir: Gently fold in the crushed mini eggs to maintain the fluffy texture of your filling; over-mixing can result in a dense cheesecake.
-
Refrigeration Time: For the best results, allow the cheesecake to set overnight in the fridge. This helps flavors meld beautifully and achieves a perfect consistency.
-
Avoid Sticking: Run a knife around the edge of the cheesecake before removing the springform tin; this prevents any sticking and ensures a clean release.
-
Decorate to Impress: Use melted chocolate and mini eggs thoughtfully for decorating; a beautiful presentation elevates the overall experience of your No-Bake Mini Egg Cheesecake.
Make Ahead Options
If you’re juggling a busy schedule, this No-Bake Mini Egg Cheesecake is perfect for meal prep! You can prepare the biscuit base and cheesecake filling up to 24 hours in advance, ensuring you have a stress-free dessert ready to impress your guests. Simply crush the digestives, mix with melted butter, and refrigerate until set. For the filling, whisk together the cream cheese, icing sugar, and vanilla, then fold in the mini eggs before spreading it over the biscuit base. Cover and refrigerate until ready to serve. When it’s time to enjoy, just drizzle with melted chocolate and pipe the whipped cream swirls for a touch of elegance. This way, you maintain the cheesecake’s delightful texture and flavor, making it just as delicious as when freshly made!
No-Bake Mini Egg Cheesecake Recipe FAQs
How do I choose ripe ingredients for this cheesecake?
Absolutely! For the best flavor in your No-Bake Mini Egg Cheesecake, use fresh, high-quality ingredients. Select heavy cream and full-fat cream cheese with no expiration dates approaching. When picking mini eggs, look for a good mix of colors and check for any dark spots on the shells, which might indicate they’re past their prime.
How should I store the leftover cheesecake?
Very important! Store any leftover No-Bake Mini Egg Cheesecake in the fridge, covered with plastic wrap or placed in an airtight container, for up to 3 days. This will keep the cheesecake fresh and maintain its wonderful creamy texture. If you can, try to consume it within this timeframe for the best taste!
Can I freeze the No-Bake Mini Egg Cheesecake?
Of course! Freezing this cheesecake is a great way to save it for later. Once it’s fully chilled and set, slice the cheesecake into individual portions, then wrap each slice tightly in plastic wrap. Place the wrapped slices in an airtight container and freeze for up to 2 months. To enjoy, simply transfer the slices to the fridge a few hours prior to serving, allowing them to thaw while keeping their delicious flavor intact.
What should I do if my cheesecake doesn’t set properly?
Ah, it happens! If your No-Bake Mini Egg Cheesecake doesn’t firm up as expected, don’t worry. You can place it in the freezer for about an hour to help set it more firmly. If it still isn’t setting, ensure that you used full-fat cream cheese and whipped the cream to soft peaks properly. This is crucial for creating that sturdy filling.
Are there any dietary considerations for this cheesecake?
Absolutely! If you’re serving this No-Bake Mini Egg Cheesecake to guests with dietary concerns, consider alternatives. For those with dairy allergies, you can use dairy-free cream cheese and whipped cream options. Make sure to check the ingredients on mini eggs or opt for vegan chocolate eggs if needed. Always ensure to communicate any potential allergies to your guests beforehand!
Irresistible No-Bake Mini Egg Cheesecake for Sweet Celebrations
Ingredients
Equipment
Method
- Crush the digestives in a food processor until fine crumbs, about 1-2 minutes.
- Combine melted unsalted butter with crumbs in a bowl, mixing until coated.
- Press mixture into the bottom of an 8"/20cm springform tin to create an even base.
- Chill in the refrigerator for about 30 minutes.
- In a large mixing bowl, whisk together cream cheese, icing sugar, and vanilla until smooth, about 3-4 minutes.
- Gradually add double cream while continuously whipping until it thickens and forms soft peaks.
- Gently fold in crushed mini eggs, ensuring an even distribution.
- Spread the mixture over the chilled biscuit base and smooth the surface.
- Cover cheesecake and chill in the refrigerator for at least 5-6 hours, ideally overnight.
- Remove cheesecake from the springform tin and drizzle melted chocolate over the top.
- Whip double cream with icing sugar until soft peaks form and pipe on the cheesecake.
- Decorate with reserved mini eggs on top.
Leave a Reply