
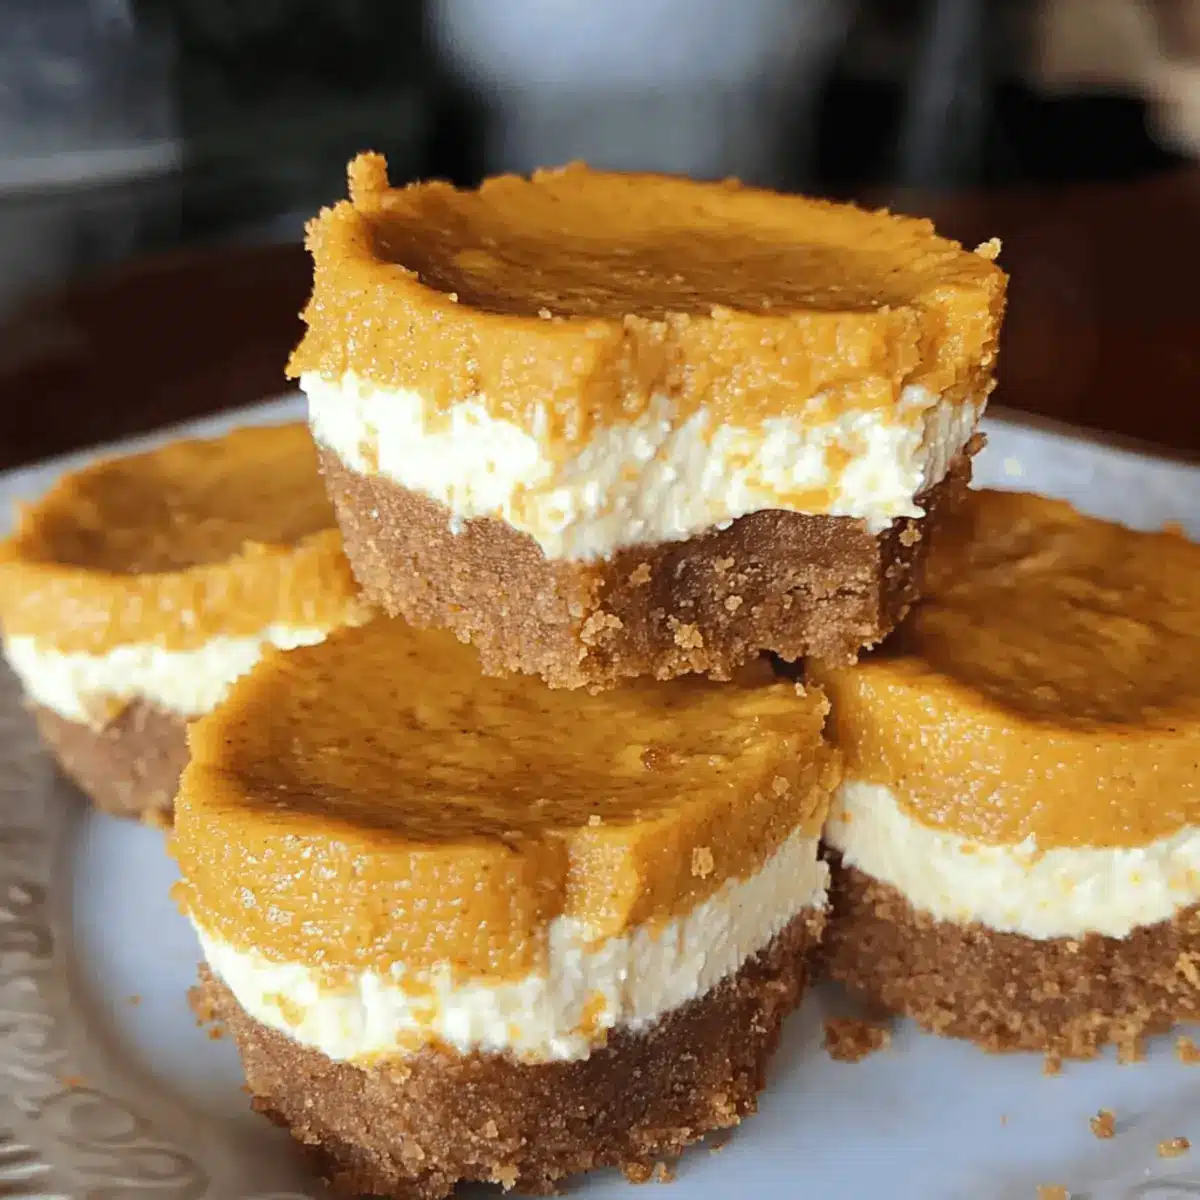
As I mixed the spices for this recipe, a comforting aroma filled my kitchen, instantly transporting me to sunlit autumn days surrounded by the vibrant hues of leaves. These Layered Mini Pumpkin Cheesecakes are my go-to fall dessert, effortlessly blending creamy indulgence with the seasonal goodness of pumpkin. What I adore most about this recipe is how it transforms a classic dessert into bite-sized treats—ideal for any gathering, from festive parties to cozy family dinners. Plus, the sweet graham cracker crust offers a satisfying crunch that perfectly balances the silky pumpkin filling. Ready to reclaim your dessert table from fast food? Let’s dive into the delightful world of mini pumpkin cheesecakes! What toppings will you choose to personalize your own?
Why Mini Pumpkin Cheesecakes Are Irresistible?
Irresistible Taste: These mini pumpkin cheesecakes boast a rich, creamy texture that perfectly captures the essence of fall, making them a favorite for any occasion.
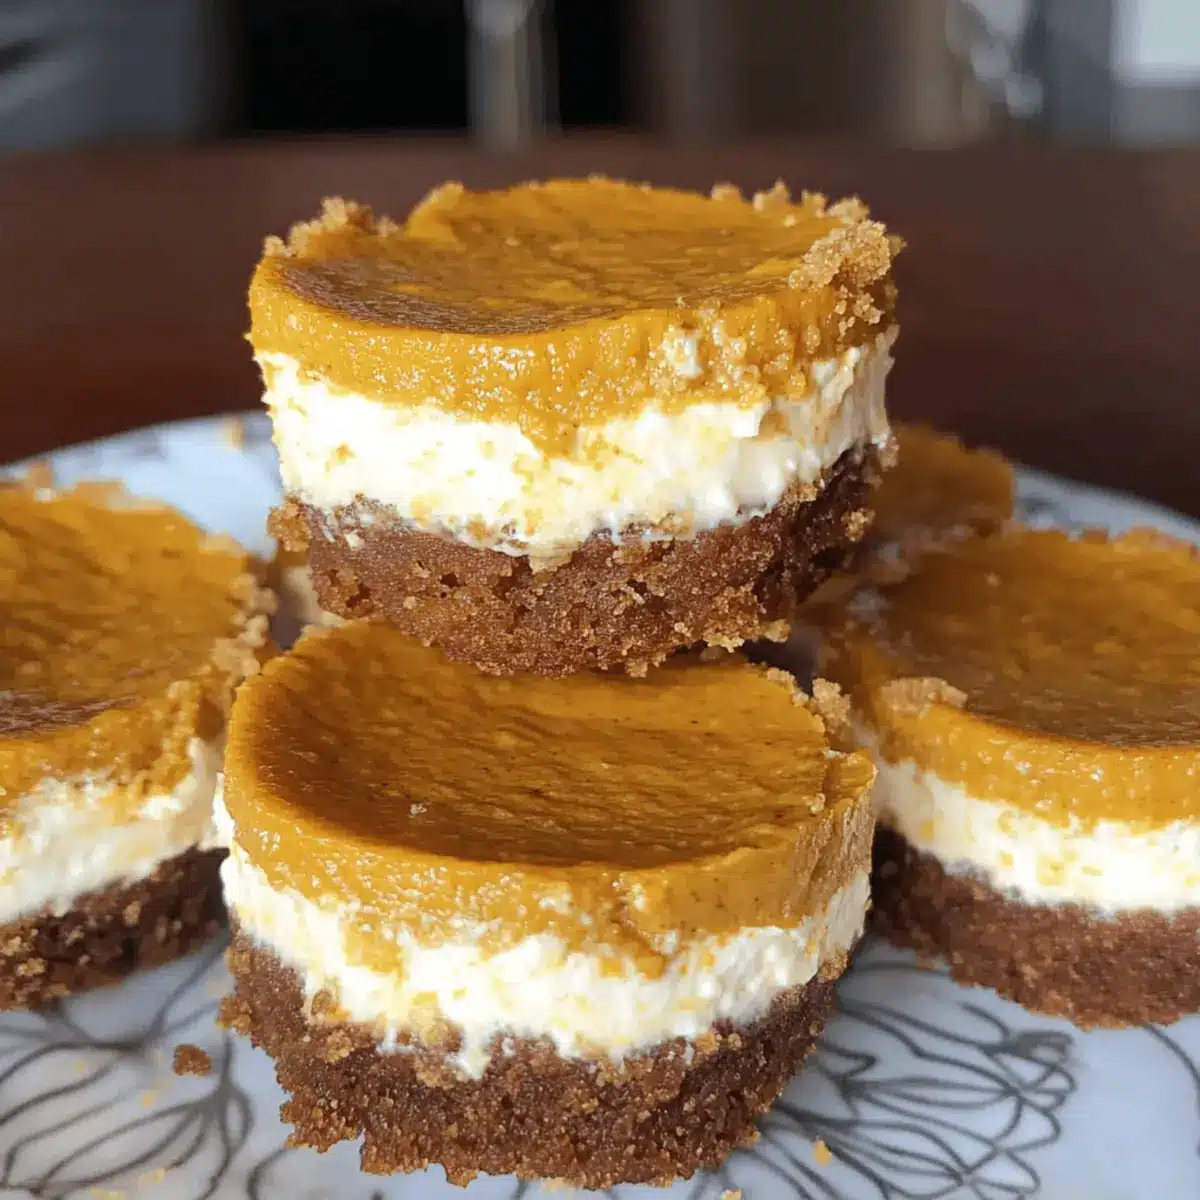
Crowd-Pleasing Dessert: They’re not just delicious; they’re perfectly portioned bite-size treats that guests will adore, whether at holiday gatherings or cozy evenings at home.
Easy to Make: With straightforward steps, you can whip these up with minimal fuss, proving you don’t need to be a professional chef to impress!
Versatile Toppings: Customize them with a dollop of whipped cream, a drizzle of caramel, or a scattering of toasted pecans for that extra flair.
Great for Leftovers: If you need to make ahead, these mini delights store well and can be frozen for later enjoyment, combining convenience with indulgence.
Reclaim your dessert table with this delight! If you’re in the mood for more pumpkin goodness, check out my recipes for Healthy Pumpkin Oat or Thick Chewy Pumpkin Chocolate Chip.
Mini Pumpkin Cheesecake Ingredients
• Perfect for fall flavors!
-
For the Crust
-
Graham Crackers – Provides the base crust with crunch; substitute with gluten-free graham crackers for a gluten-free option.
-
Sugar – Sweetens the crust; can use coconut sugar for a lower glycemic index.
-
Butter – Binds the crust ingredients together and adds richness; can replace with vegan butter for a dairy-free version.
-
For the Cheesecake Layer
-
Cream Cheese – Forms the creamy cheesecake layer; ensure it is at room temperature to avoid lumps.
-
Egg – Adds structure to the cheesecake; use a flax egg for a vegan alternative.
-
Vanilla Extract – Enhances flavors; pure vanilla extract is preferred for best results.
-
For the Pumpkin Layer
-
Pumpkin Puree – Delivers the characteristic pumpkin flavor; canned is convenient, but homemade can be used.
-
Evaporated Milk – Adds creaminess to the pumpkin layer; can swap with coconut milk for a dairy-free option.
-
Brown Sugar – Adds depth of flavor to the pumpkin layer; can substitute with white sugar if unavailable.
-
Cinnamon – Provides warmth and spice; use freshly ground for a stronger flavor.
-
Nutmeg – Complements pumpkin flavor; a pinch can elevate taste.
-
Salt – Balances sweetness; can omit for low-sodium diets.
Step‑by‑Step Instructions for Mini Pumpkin Cheesecakes
Step 1: Preheat Oven and Prepare Muffin Pan
Begin by preheating your oven to 350°F (175°C). Line a muffin pan with paper liners and lightly spray them with nonstick cooking spray to prevent sticking. This prepares a cozy environment for your mini pumpkin cheesecakes as they bake, ensuring an effortless release when it’s time to serve.
Step 2: Prepare the Crust
In a mixing bowl, combine crushed graham crackers, sugar, and melted butter until the mixture resembles wet sand. With a spoon or your fingers, press this mixture firmly into the bottom of each muffin liner, forming a solid base. Bake the crusts in the preheated oven for 10–12 minutes, or until they are golden brown and fragrant. Allow them to cool completely as you prepare the filling.
Step 3: Make the Cheesecake Layer
In a separate bowl, beat the room temperature cream cheese with an electric mixer until smooth and creamy, about 2 minutes. Gradually add the egg, sugar, and vanilla extract, mixing until well combined and silky. Once smooth, spoon the cheesecake mixture into each cooled crust, filling them about half full. Chill the cheesecakes in the refrigerator for 30–40 minutes while you prepare the pumpkin layer.
Step 4: Prepare the Pumpkin Layer
In a mixing bowl, whisk the egg until fluffy, then add the pumpkin puree, evaporated milk, brown sugar, regular sugar, cinnamon, nutmeg, and a pinch of salt. Mix until all ingredients are fully combined and your mixture is smooth and creamy. Carefully pour this pumpkin layer over the cheesecake layer, filling the cups nearly to the top.
Step 5: Bake the Mini Cheesecakes
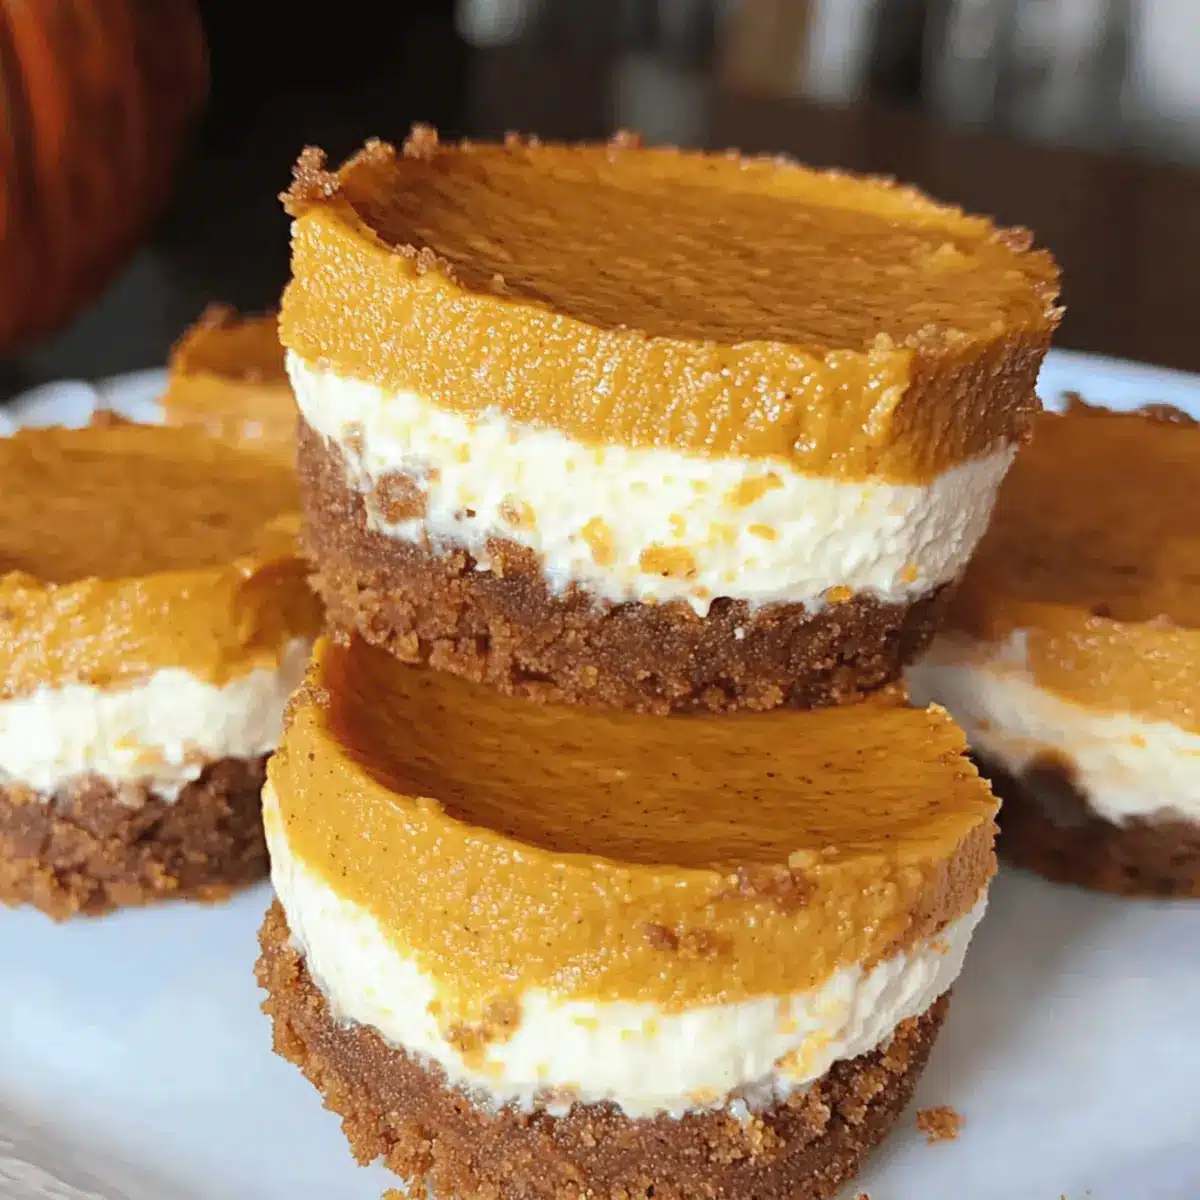
Place the muffin pan in the lower rack of the preheated oven and bake for 45–55 minutes. Keep an eye on them; the sides should be set while the center will have a slight jiggle when done. This texture is key to achieving the perfect Mini Pumpkin Cheesecakes that are both rich and velvety.
Step 6: Cool and Serve
After baking, remove the muffin pan from the oven and let the mini cheesecakes cool at room temperature for about 30 minutes. Then, transfer them to the refrigerator and chill for at least 2 hours, ideally overnight, to firm up. When ready to serve, garnish with whipped cream or your favorite toppings for an enticing presentation!
Storage Tips for Mini Pumpkin Cheesecakes
Fridge: Store mini pumpkin cheesecakes in an airtight container in the refrigerator for up to 5 days to maintain their creamy texture and flavor.
Freezer: For longer storage, freeze mini cheesecakes in a single layer for up to 3 months. Wrap them individually in plastic wrap, then place them in a freezer bag to prevent freezer burn.
Thawing: When you’re ready to enjoy them, thaw the mini pumpkin cheesecakes in the refrigerator overnight. They will taste just as delightful as when fresh!
Reheating: If you prefer them slightly warmed, pop them in the microwave for about 10-15 seconds, but avoid overheating to preserve their creamy consistency.
Expert Tips for Mini Pumpkin Cheesecakes
-
Room Temperature Ingredients: Ensure all ingredients, especially cream cheese and eggs, are at room temperature for a smooth mixture without lumps.
-
Don’t Skip Cooling: Allow the mini cheesecakes to cool completely before refrigerating, as this helps achieve a perfect creamy texture.
-
Watch Baking Time: Keep an eye on the time; overbaking can lead to dryness. The center should jiggle slightly when done, indicating a soft, luscious filling.
-
Lower Rack Baking: Bake on the lower rack of the oven to prevent cracking from excess heat, ensuring beautiful and smooth Mini Pumpkin Cheesecakes.
-
Test for Doneness: Use a toothpick to check the cheesecake layer’s doneness; it should come out clean or with a few moist crumbs clinging to it.
Make Ahead Options
These Mini Pumpkin Cheesecakes are perfect for meal prep, allowing you to enjoy a delightful dessert without the last-minute rush! You can prepare the crusts and the cheesecake layers up to 24 hours in advance; simply store the crusts in an airtight container and refrigerate the cheesecake mixture. The pumpkin layer can be prepped up to 3 days ahead in the refrigerator. When you’re ready to bake, just pour the chilled pumpkin mixture over the cheesecake layer, and follow the baking instructions. This not only saves you time on busy weeks but also ensures your desserts are just as delicious and fresh!
Mini Pumpkin Cheesecakes Variations & Substitutions
Feel free to personalize your mini pumpkin cheesecakes with these delightful options that will elevate your dessert experience!
-
Gluten-Free Crust: Use gluten-free graham crackers or ground almonds for a crunchy base. This ensures everyone can enjoy a slice without worry!
-
Dairy-Free Delight: Swap the cream cheese with a dairy-free cream cheese alternative and use coconut milk instead of evaporated milk for a delicious vegan option. You’ll be amazed at how creamy it still is!
-
Flavor Explosion: Add a pinch of pumpkin spice or more cinnamon and nutmeg to the pumpkin layer for an extra aromatic kick. The additional spices create a warm hug in every bite!
-
Low-Sugar Version: Use a sugar alternative like stevia or monk fruit sweetener to create a low-sugar dessert. Your guests will never guess it’s healthier!
-
Nutty Crunch: Fold in some crushed walnuts or pecans into the pumpkin mixture for a delightful crunch. This adds that pleasing texture contrast to every forkful.
-
Chocolate Twist: Swirl in melted dark chocolate or chocolate chips into the pumpkin layer for a rich chocolate touch. It’s a sinfully delicious surprise!
-
Zesty Citrus: Add a teaspoon of orange zest to the cheesecake layer for a bright, citrusy twist that pairs beautifully with pumpkin. It will remind you of a cozy autumn afternoon!
-
Caramel Drizzle: Finish with a drizzle of salted caramel on top before serving. This extra layer of decadence will have everyone wanting more!
By embracing these variations, you can create a truly unique and tailored version of your mini pumpkin cheesecakes. And if you’re eager for more pumpkin-inspired delights, check out my Homemade Pumpkin Bagels or these scrumptious Pumpkin Chocolate Chip cookies!
What to Serve with Mini Pumpkin Cheesecakes
As you savor the creamy layers of these delightful mini treats, it’s time to elevate your dessert spread with some perfect pairings that will enchant your taste buds.
-
Whipped Cream: A classic topping that adds a light and airy contrast to the rich cheesecake. Fluffy whipped cream feels like a hug for your palate.
-
Caramel Drizzle: This sweet, sticky addition introduces a buttery richness. The contrast between pumpkin and caramel creates an indulgent experience.
-
Toasted Pecans: Nutty and crunchy, these pecans offer a satisfying texture. Their slightly salty flavor harmonizes beautifully with the sweetness of the cheesecakes.
-
Chocolate Shavings: A sprinkle of chocolate offers a luxurious touch and a hint of bitterness that rounds out the sweetness. Plus, they bring a stunning visual element!
-
Cinnamon Sugar Dusting: A simple sprinkle enhances the fall spice experience and adds a delicate crunch, making every bite extraordinary.
-
Spiced Apple Cider: Warm, aromatic cider pairs perfectly with pumpkin flavors. It adds an inviting warmth to your dessert experience, perfect for chilly evenings.
-
Vanilla Ice Cream: The creamy, cold ice cream melting on the warm cheesecakes is pure bliss. Its vanilla notes deepen the dessert’s flavor, creating a true treat for the senses.
-
Pumpkin Spice Latte: For a cozy drink option, this latte complements the flavors beautifully and ramps up the autumn vibes with each sip.
Mini Pumpkin Cheesecakes Recipe FAQs
How do I choose the right pumpkin puree?
When selecting pumpkin puree, opt for 100% pure pumpkin without added spices or sugars for the best flavor. You can use canned puree for convenience, but if you’re up for a little extra effort, roasting and pureeing sugar pumpkins offers a fresher taste that elevates your mini pumpkin cheesecakes!
What are the best storage methods for mini pumpkin cheesecakes?
Store your mini pumpkin cheesecakes in an airtight container in the refrigerator for up to 5 days. Make sure they cool completely before sealing to preserve their creamy texture. If you’d like to keep them longer, they freeze beautifully for up to 3 months; just wrap each cheesecake individually in plastic wrap and place them in a freezer-safe bag.
Can I freeze mini pumpkin cheesecakes and how?
Absolutely! To freeze your mini pumpkin cheesecakes, first let them cool completely. Then, wrap each one closely with plastic wrap, ensuring it’s airtight. Place the wrapped mini cheesecakes in a freezer bag and label them with the date. When you’re ready to enjoy, simply thaw them in the refrigerator overnight. They’ll taste as good as fresh!
What if my cheesecake cracks while baking?
If your mini cheesecakes develop cracks during baking, don’t worry too much! This problem often occurs due to excess heat or overbaking. To prevent this, make sure to bake on the lower rack of your oven and closely monitor the time, aiming for a gentle jiggle in the center when they’re done. If cracks do appear, you can always cover them with whipped cream or a drizzle of caramel for a beautiful presentation!
Are there any dietary considerations for guests with allergies?
Yes! If serving these mini pumpkin cheesecakes to guests with dietary restrictions, consider using gluten-free graham crackers for the crust and replacing the standard cream cheese with a vegan cream cheese alternative. You can also swap regular sugar for coconut sugar if someone is watching their glycemic index. It’s always a great idea to ask your guests about allergies or dietary preferences to ensure everyone can indulge safely!
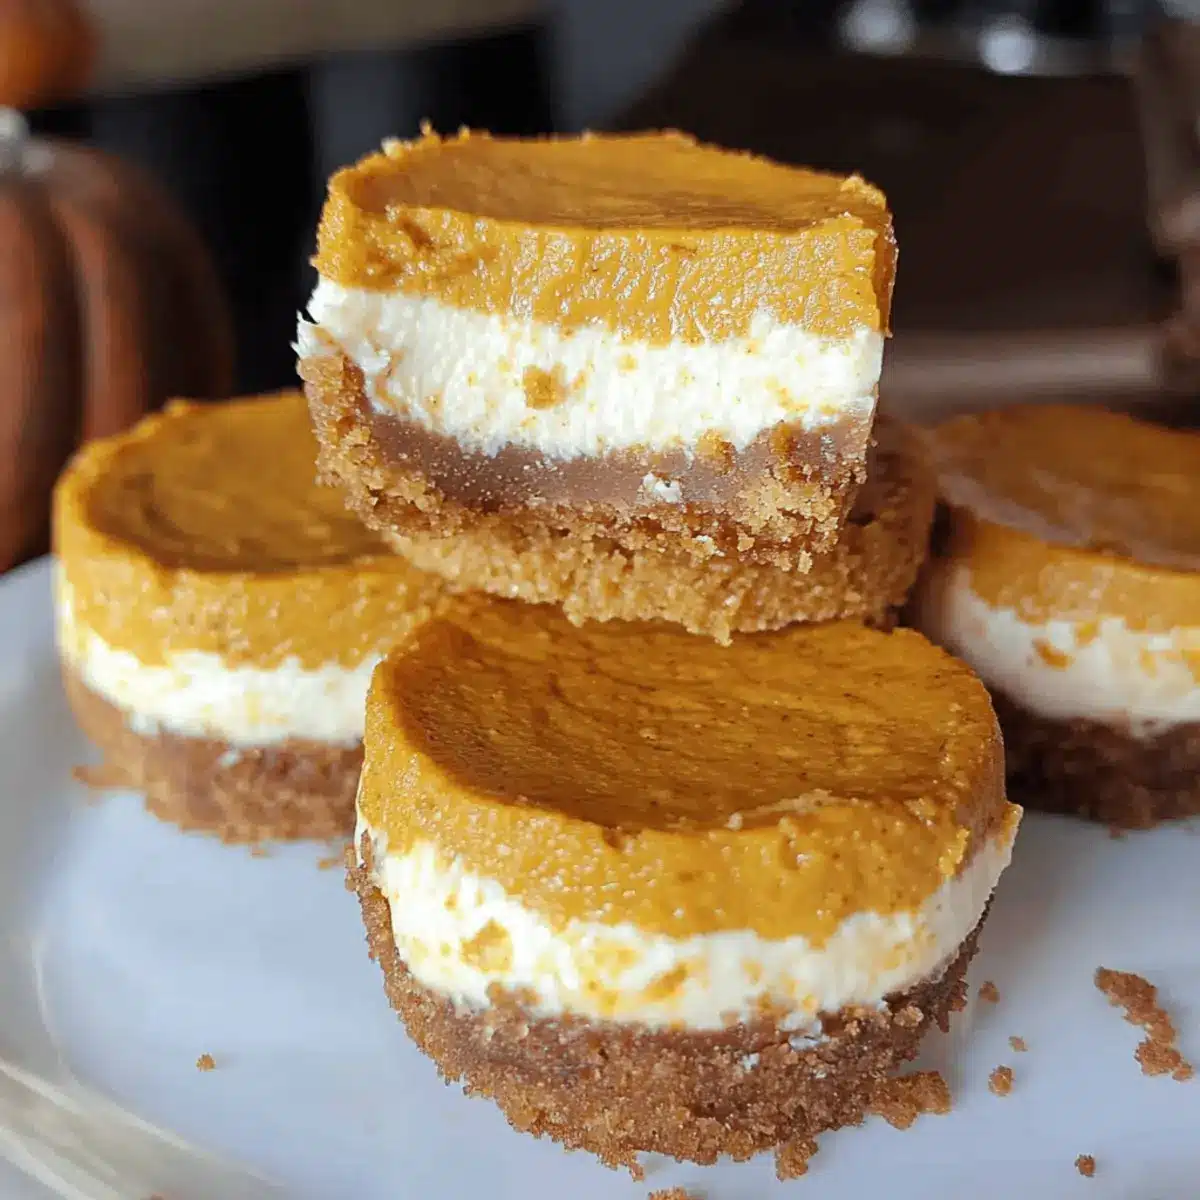
Creamy Mini Pumpkin Cheesecakes for Cozy Fall Nights
Ingredients
Equipment
Method
- Preheat your oven to 350°F (175°C). Line a muffin pan with paper liners and lightly spray them with nonstick cooking spray.
- In a mixing bowl, combine crushed graham crackers, sugar, and melted butter until resembling wet sand. Press this mixture into the bottom of each muffin liner and bake for 10–12 minutes.
- Beat the room temperature cream cheese with an electric mixer until smooth. Gradually add the egg, sugar, and vanilla until well combined. Spoon this mixture into each cooled crust, filling them about half full. Chill for 30–40 minutes.
- Whisk the egg until fluffy, then add the pumpkin puree, evaporated milk, brown sugar, regular sugar, cinnamon, nutmeg, and a pinch of salt. Mix until smooth. Pour this pumpkin layer over the cheesecake layer.
- Bake for 45–55 minutes. The sides should be set while the center will have a slight jiggle when done.
- Cool at room temperature for 30 minutes. Transfer to the refrigerator and chill for at least 2 hours before serving with toppings.
Leave a Reply