
As I pulled open the fridge, a craving hit me—a need for something crispy, comforting, and downright delicious. That’s when I remembered my Crunchy Bacon Ranch Wraps! Loaded with tender shredded chicken, smoky bacon, and gooey cheddar, these wraps offer a delightful crunch and creamy ranch goodness that both feeds the soul and saves time in the kitchen. In just a matter of minutes, you can whip up a meal that’s not only great for a busy weeknight dinner but also turns leftovers into a tasty treat for lunch the next day. With adaptable fillings and the ability to get creative with substitutes, this recipe is a crowd-pleaser for everyone in the family. So, are you ready to roll up some tasty goodness? Let’s dive into the delicious details!

Why Are Crunchy Bacon Ranch Wraps Amazing?
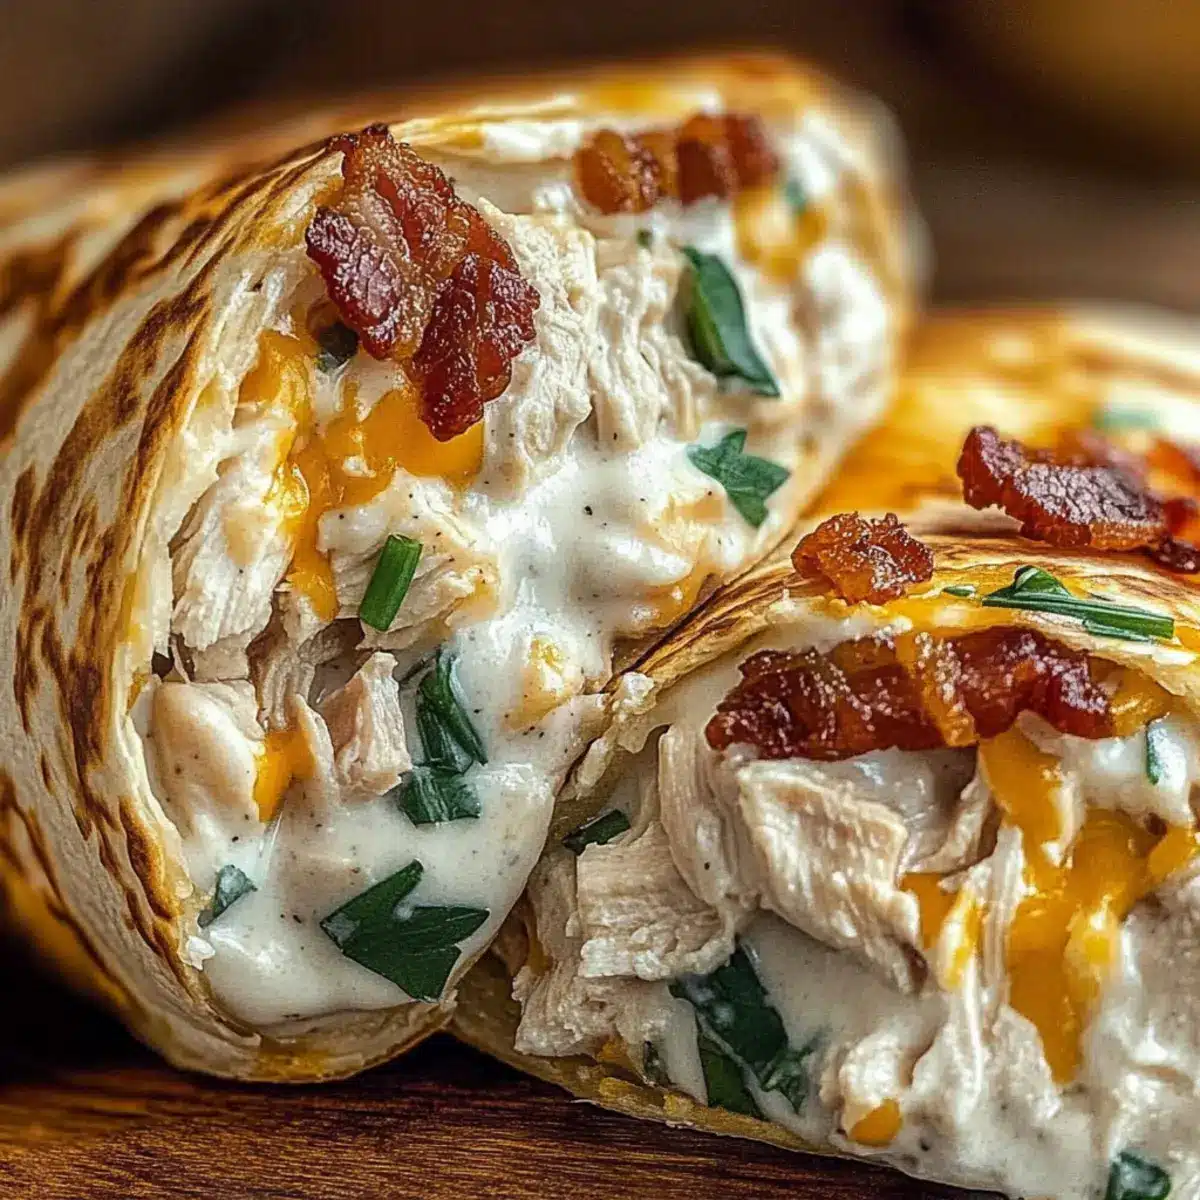
Flavor Explosion: The combination of crispy bacon, tender chicken, and creamy ranch creates an unforgettable taste experience.
Adaptable Goodness: Feel free to switch up the fillings based on what you have on hand—add veggies for extra crunch or swap in different cheeses for variety!
Quick Meal Solution: Perfect for busy weeknights, these wraps come together in just minutes, making them an ideal option when you’re short on time.
Perfect for Leftovers: Enjoy them for lunch the next day! Simply reheat in a skillet to retain the crunch—way better than fast food.
Family-Approved: This recipe is a hit with both kids and adults, ensuring everyone at the table leaves satisfied. Check out my Bacon Egg Cheese Breakfast Burrito for another family-friendly option.
Easy Clean-Up: With just one pan needed for the filling, you’ll appreciate how simple these wraps are to create and clean up afterward!
Crunchy Bacon Ranch Wrap Ingredients
For the Filling
- Cooked Bacon – Adds a smoky crunch; substitute with turkey bacon for a lighter option.
- Plain Flour – Essential for creating the creamy cheese sauce; can swap with gluten-free flour for a gluten-free version.
- Butter – Provides richness; olive oil or non-dairy substitutes can lighten the dish.
- Garlic – Enhances flavor; fresh minced garlic is best, but garlic powder works in a pinch.
- Rich Cream – Contributes to a decadent sauce; half-and-half or milk can be used for a lighter take.
- Milk – Balances the richness; use almond milk or a non-dairy option for dairy-free diets.
- Shredded Chicken – The protein base; rotisserie chicken adds convenience and flavor; perfect for using leftovers.
- Ranch Sauce – Provides creamy tanginess; Greek yogurt ranch can lower calories without sacrificing taste.
- Grated Cheddar – Adds melty goodness; try mozzarella or Monterey Jack for an alternate flavor profile.
- Salt, Pepper, Parsley, Green Onions – A bright seasoning mix; feel free to add your favorite herbs.
- Flour Wraps – The essential base; whole wheat or corn tortillas are great alternatives for different diets.
With these ingredients in hand, you’re one step closer to enjoying flavorful Crunchy Bacon Ranch Wraps!
Step‑by‑Step Instructions for Crunchy Bacon Ranch Wrap
Step 1: Sauté the Garlic
In a medium pan, melt 2 tablespoons of butter over medium heat. Once the butter is bubbly, add 2 cloves of minced garlic and sauté for about 1 minute, or until fragrant and lightly golden. This aromatic base will enhance the flavor of your Crunchy Bacon Ranch Wrap filling.
Step 2: Create the Cheese Sauce
Stir in 2 tablespoons of plain flour, cooking it for another minute to create a roux. Gradually whisk in 1 cup of milk and ½ cup of rich cream, stirring continuously until the mixture thickens to a creamy consistency—approximately 3 to 4 minutes. You want it smooth and velvety for your wraps.
Step 3: Mix in the Filling Ingredients
Add 1 cup of grated cheddar cheese, ½ cup of ranch sauce, and crumbled cooked bacon to the cheese sauce. Season with salt, pepper, and chopped parsley to taste. Stir everything together until the cheese is melted and the mixture is well-combined, ensuring your Crunchy Bacon Ranch Wraps are full of flavor.
Step 4: Incorporate the Chicken
Gently fold in 2 cups of shredded chicken into the cheesy mixture, ensuring each piece is evenly coated with the sauce. This hearty combination will provide the protein kick essential for your wraps. Remove the filling from heat and let it cool slightly to maintain the wrap’s crispiness.
Step 5: Assemble the Wraps
Take your flour wraps and place a generous spoonful of the filling in the center of each. Fold the edges over the filling to seal it first, then roll the wrap tightly from the bottom to the top. This folding technique is key to achieving a satisfying, crunchy bite in your Crunchy Bacon Ranch Wraps.
Step 6: Toast the Wraps
Heat a nonstick skillet over medium heat and place the wraps seam-side down in the skillet. Cook for about 2 to 3 minutes, or until golden brown and crispy. Carefully flip to the other side and repeat until both sides are beautifully browned, enhancing the crunch.
Step 7: Serve and Enjoy
Once toasted, remove the wraps from the skillet and let them rest for a minute. Slice each wrap in half to reveal the delicious filling inside, and serve warm with extra ranch on the side for dipping. Your Crunchy Bacon Ranch Wraps are now ready to delight everyone at the table!

Make Ahead Options
These Crunchy Bacon Ranch Wraps are perfect for busy weeknights when you need a quick meal prepped in advance! You can prepare the filling up to 3 days ahead by following these simple steps: cook the filling as directed, let it cool completely, and then refrigerate in an airtight container. To maintain the wraps’ delightful crunch, assemble and toast them just before serving. This ensures they stay crispy and fresh. When ready to enjoy, simply fill your wraps, toast them in a skillet for about 2-3 minutes per side until golden brown, and you’ve got a delicious home-cooked meal with minimal fuss!
What to Serve with Crunchy Bacon Ranch Wraps
These delightful wraps offer a fantastic base for crafting a complete, satisfying meal that will make your taste buds dance with joy.
- Crunchy Carrot Sticks: Fresh, crunchy carrots add a satisfying crispness and a hint of sweetness, balancing the savory wraps perfectly.
- Celery Sticks with Hummus: The crunchiness of celery paired with creamy hummus provides a refreshing contrast, making your meal even more delightful.
- Green Garden Salad: A light salad with mixed greens, cherry tomatoes, and a tangy vinaigrette adds freshness and a pop of color to your plate.
- Creamy Tomato Soup: Pair with a steaming bowl of tomato soup for a comforting twist, dipping your wraps for an extra burst of flavor.
- Avocado Slices: The creamy richness of avocado complements the bacon’s smokiness, adding a velvety texture that enhances each bite.
- Iced Herbal Tea: A refreshing iced herbal tea provides a cooling balance to the warm, savory flavors of the wraps, making it a delightful hydration option.
- Seasoned Potato Wedges: Crunchy potato wedges sprinkled with spices offer an extra satisfying crunch to enjoy alongside your wraps, adding heartiness to the meal.
- Fruit Salad: A sweet fruit salad with seasonal fruits adds a fresh and vibrant touch, cleansing the palate delightfully between bites.
- Cheesy Queso Dip: For a cheesy indulgence, serve a side of gooey queso dip for extra dipping fun, pairing perfectly with the flavors of the wraps.
- Chocolate Chip Cookies: End your meal on a sweet note with warm, gooey chocolate chip cookies, satisfying your sweet tooth alongside your savory dish.
How to Store and Freeze Crunchy Bacon Ranch Wraps
Fridge: Store leftover wraps in an airtight container for up to 3 days. This keeps them fresh and prevents drying out.
Freezer: Unmade wraps can be frozen for up to 2 months. Place them in a single layer on a baking sheet, then transfer to a freezer bag or airtight container.
Reheating: To enjoy reheated wraps, use a dry skillet over medium heat for about 3-4 minutes per side or reheat them in a toaster oven. This maintains the crunchiness of your Crunchy Bacon Ranch Wraps.
Make-Ahead: Consider making the filling ahead of time and storing it in the fridge. Assemble and toast the wraps just before serving for a quick meal!
Crunchy Bacon Ranch Wrap Variations
Feel free to get creative with these delicious wraps and make them your own!
- Turkey Bacon: Substitute with turkey bacon for a lighter, healthier take without losing that smoky flavor.
- Gluten-Free Flour: Use gluten-free flour to make the creamy sauce suitable for gluten-sensitive friends and family.
- Olive Oil: Swap butter for olive oil in the cheese sauce for a lighter option that still provides great taste!
- Veggie Boost: Add diced bell peppers or zucchini for a crunchy texture and extra nutrition; it’s a fantastic way to sneak in more veggies!
- Alternative Sauces: Try using sriracha ranch for a spicy twist or Greek yogurt ranch to cut calories without compromising flavor.
- Different Cheeses: Experiment with mozzarella or Monterey Jack to bring your own flavor profile; each cheese offers a unique twist to the wraps.
- Whole Wheat Wraps: For a heartier version, use whole wheat wraps as the base while still delivering the same crunch.
- Chili Flakes: For those who crave a little heat, sprinkle chili flakes into the filling to give your wraps a spicy kick.
With these easy variations, you can craft the perfect Crunchy Bacon Ranch Wrap that suits your taste buds! If you’re looking for other fun recipes, check out my Hot Honey Ranch for a sweet and spicy alternative to brighten your mealtime.
Expert Tips for Crunchy Bacon Ranch Wraps
-
Cool the Filling: Allow the filling to cool slightly before wrapping; this helps keep your wraps crispy and prevents sogginess.
-
Toast Seam Side Last: Always place the wraps seam-side down during toasting to lock in that delightful crunch and ensure it doesn’t unravel.
-
Make Ahead: Prepare the filling in advance and store it in the fridge. Assemble and toast the wraps just before serving for maximum freshness.
-
Reheat Wisely: If enjoying leftovers, use a dry skillet or toaster oven instead of a microwave to maintain the crunchy texture of your wraps.
-
Season to Taste: Don’t shy away from adjusting the seasoning in the filling. Taste as you go to create the perfect balance for your Crunchy Bacon Ranch Wraps!

Crunchy Bacon Ranch Wraps Recipe FAQs
How do I choose the right ingredients for my Crunchy Bacon Ranch Wraps?
Absolutely! When selecting your bacon, look for options with a good balance of fat and meat; this enhances the smokiness and crunchiness. Choosing fresh vegetables? Look for vibrant colors and firmness—avoid any with dark spots or wilting.
What is the best way to store leftover Crunchy Bacon Ranch Wraps?
For best results, store your leftover wraps in an airtight container in the fridge. They will stay fresh for up to 3 days. Don’t forget to let them cool completely before storing to avoid sogginess!
Can I freeze my Crunchy Bacon Ranch Wraps?
Yes, you can! To freeze unmade wraps, first, assemble them but don’t toast. Place them in a single layer on a baking sheet to freeze individually. After a few hours, transfer them into a freezer bag or airtight container, where they can stay good for up to 2 months. When ready to enjoy, toast directly from frozen, cooking for about 4-5 minutes per side until golden brown.
What should I do if my filling becomes too thick?
If you find your filling becomes too thick, no worries! Simply whisk in a bit more milk or cream to reclaim that lovely, creamy consistency. Heat it gently while stirring until it reaches your desired thickness—this will ensure that your Crunchy Bacon Ranch Wraps are perfectly delicious!
Can I adjust this recipe for dietary restrictions?
Very much so! If you have dietary restrictions, consider substituting ingredients. Use turkey bacon or a plant-based alternative for a lighter protein option. For a dairy-free version, opt for almond milk and a non-dairy cream substitute. Additionally, gluten-free flour works great to accommodate those with gluten sensitivities. Enjoy creating a version that fits your dietary needs!
Are Crunchy Bacon Ranch Wraps safe for pets?
While the ingredients in Crunchy Bacon Ranch Wraps are delicious for humans, it’s important to avoid sharing with pets. Onions, garlic, and fatty foods can be harmful to dogs and cats. It’s best to give your furry friends their special treats instead!
Crunchy Bacon Ranch Wrap: Your New Favorite Comfort Meal
Ingredients
Equipment
Method
- Sauté the garlic by melting 2 tablespoons of butter over medium heat, then add 2 cloves of minced garlic and sauté for about 1 minute, until fragrant and lightly golden.
- For the cheese sauce, stir in 2 tablespoons of plain flour and cook for another minute to create a roux. Gradually whisk in 1 cup of milk and ½ cup of rich cream, stirring continuously until the mixture thickens to a creamy consistency—approximately 3 to 4 minutes.
- Mix in 1 cup of grated cheddar cheese, ½ cup of ranch sauce, and crumbled cooked bacon to the cheese sauce. Season with salt, pepper, and chopped parsley. Stir everything together until the cheese melts.
- Incorporate 2 cups of shredded chicken gently into the cheesy mixture, ensuring each piece is evenly coated. Remove filling from heat and let it cool slightly.
- Assemble the wraps by placing a generous spoonful of the filling in the center of each flour wrap. Fold the edges over the filling to seal it, then roll the wrap tightly from the bottom to the top.
- Toast the wraps by heating a nonstick skillet over medium heat, placing the wraps seam-side down. Cook for about 2 to 3 minutes until golden brown and crispy, flipping to the other side and repeating.
- Serve and enjoy by letting the toasted wraps rest for a minute, then slice each wrap in half and serve warm with extra ranch on the side.
Leave a Reply