
As I stood by the stove, the enticing sound of sizzling rice filled the kitchen, making my mouth water in anticipation. Today, I’m excited to share my Crispy Rice recipe, a delightful dish that transforms simple ingredients into a culinary masterpiece. This dish isn’t just quick to prepare — taking around 45 minutes from start to finish — but it also opens the door to endless creativity with toppings that suit any palate. Whether you’re looking to impress at dinner or whip up something satisfying for a weekday lunch, crispy rice can be your secret weapon. Imagine the satisfying crunch on the outside, giving way to a fluffy interior, making it a beloved addition to any meal or a stand-alone snack. What delicious combinations will you come up with? Let’s dive into the crispy goodness!
Why is Crispy Rice a Kitchen Must-Have?
Simplicity at its Finest: This recipe is incredibly easy to follow, perfect for both novice and experienced cooks alike.
Endless Customization: Transform your crispy rice with a variety of toppings, from avocado to sautéed vegetables — the possibilities are endless!
Quick Preparation: Ready in just 45 minutes, this dish is ideal for busy weeknights or spontaneous gatherings.
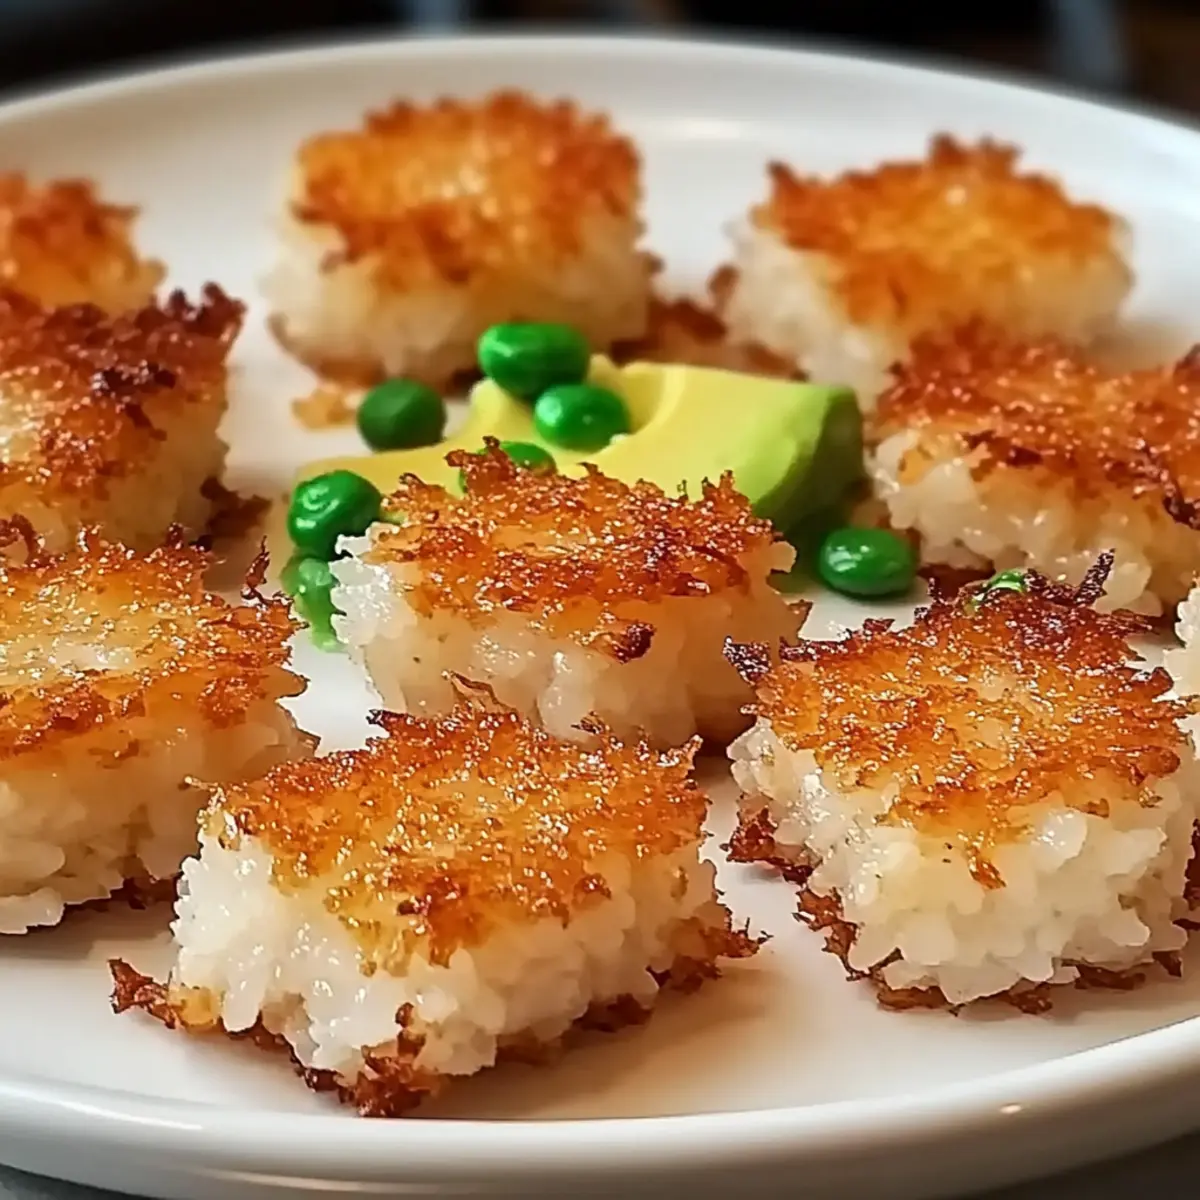
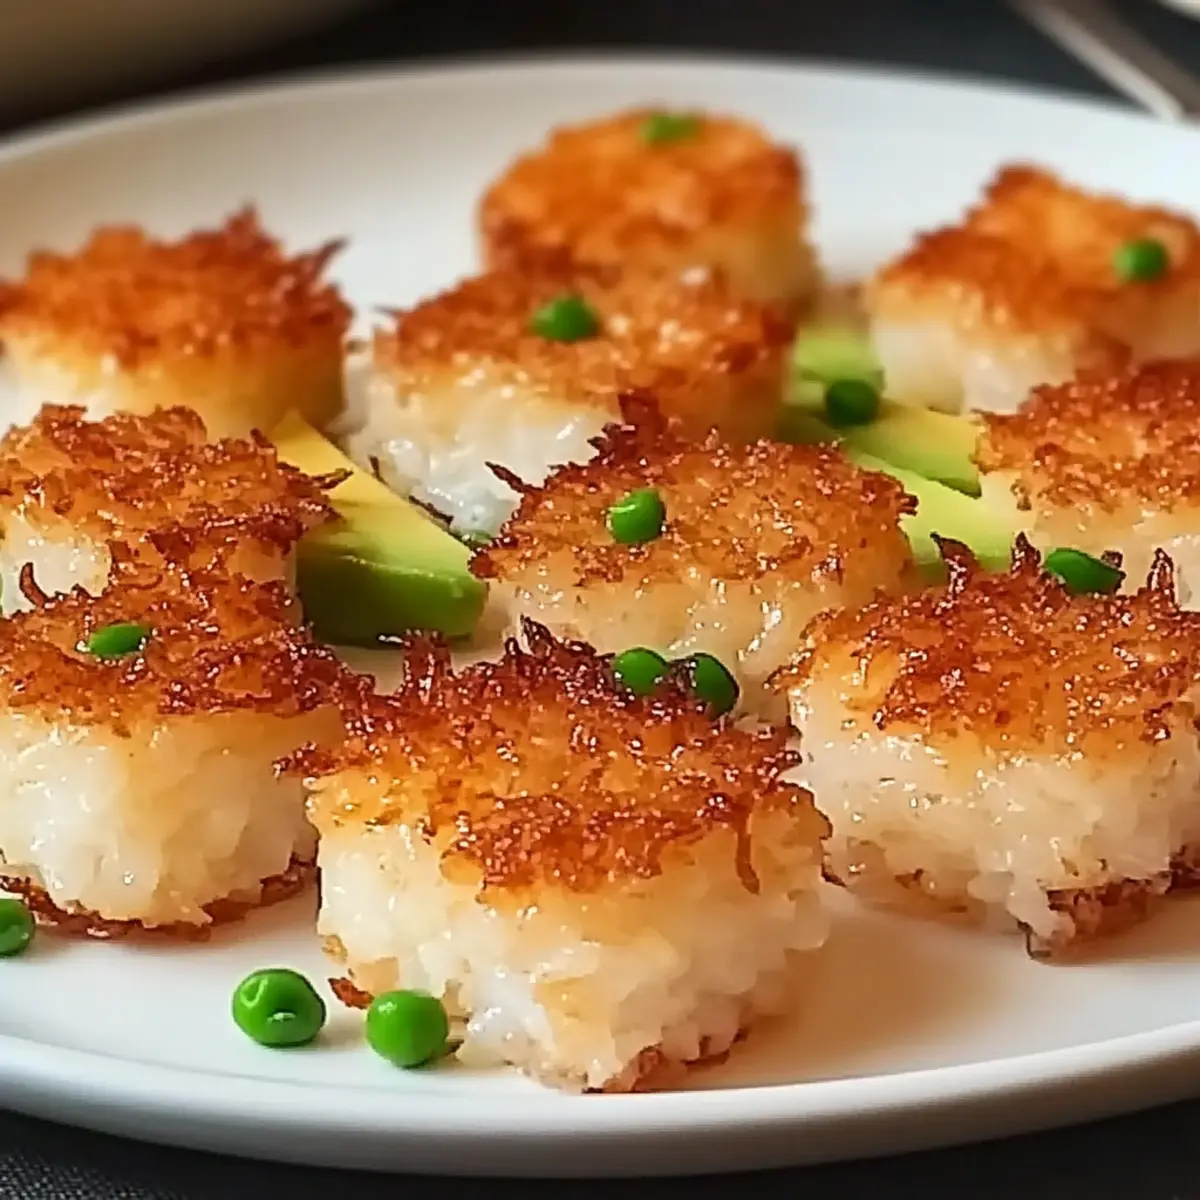
Flavorful Crunch: Enjoy the delightful contrast of a crispy exterior and fluffy interior, making each bite a satisfying experience.
Pair it with your favorite dishes, like Shrimp Dirty Rice for an exciting meal combo or serve alongside a fresh salad for a well-rounded option.
Crispy Rice Ingredients
Let’s get cooking with these simple yet essential ingredients to create your own crispy rice masterpiece!
For the Rice
• White Rice – Use preferably for a light and fluffy texture; brown rice works too but takes longer to cook.
For Frying
• Vegetable Oil – A high smoke point oil like vegetable, canola, or peanut oil is best for achieving that golden, crispy texture.
For Toppings
• Cooked Proteins – Add shrimp, chicken, or even tofu for a nutritious boost and additional flavor.
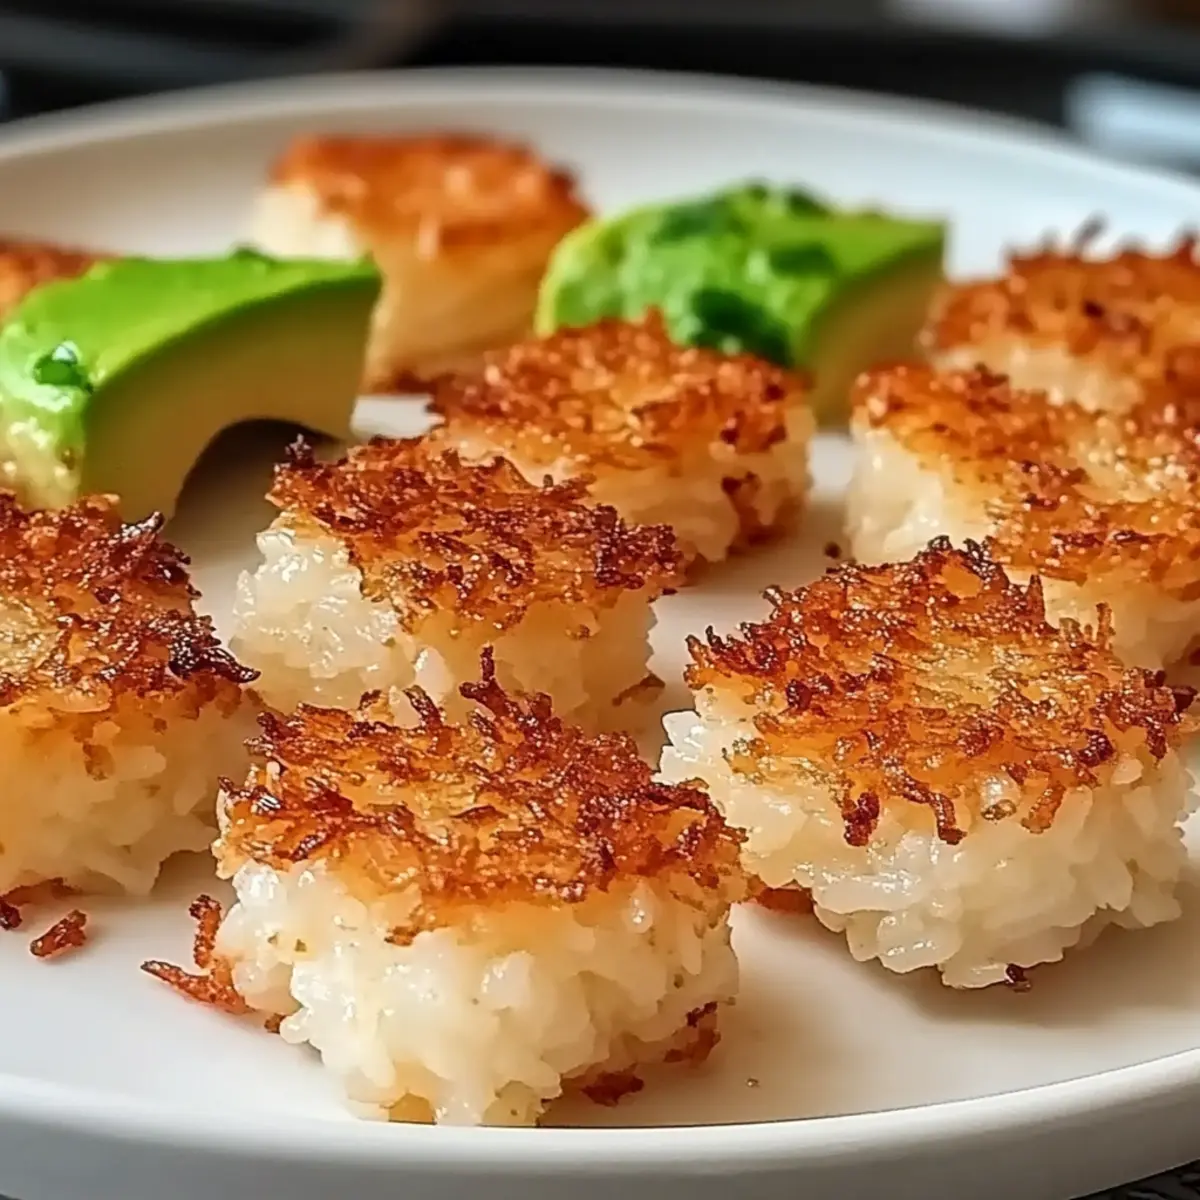
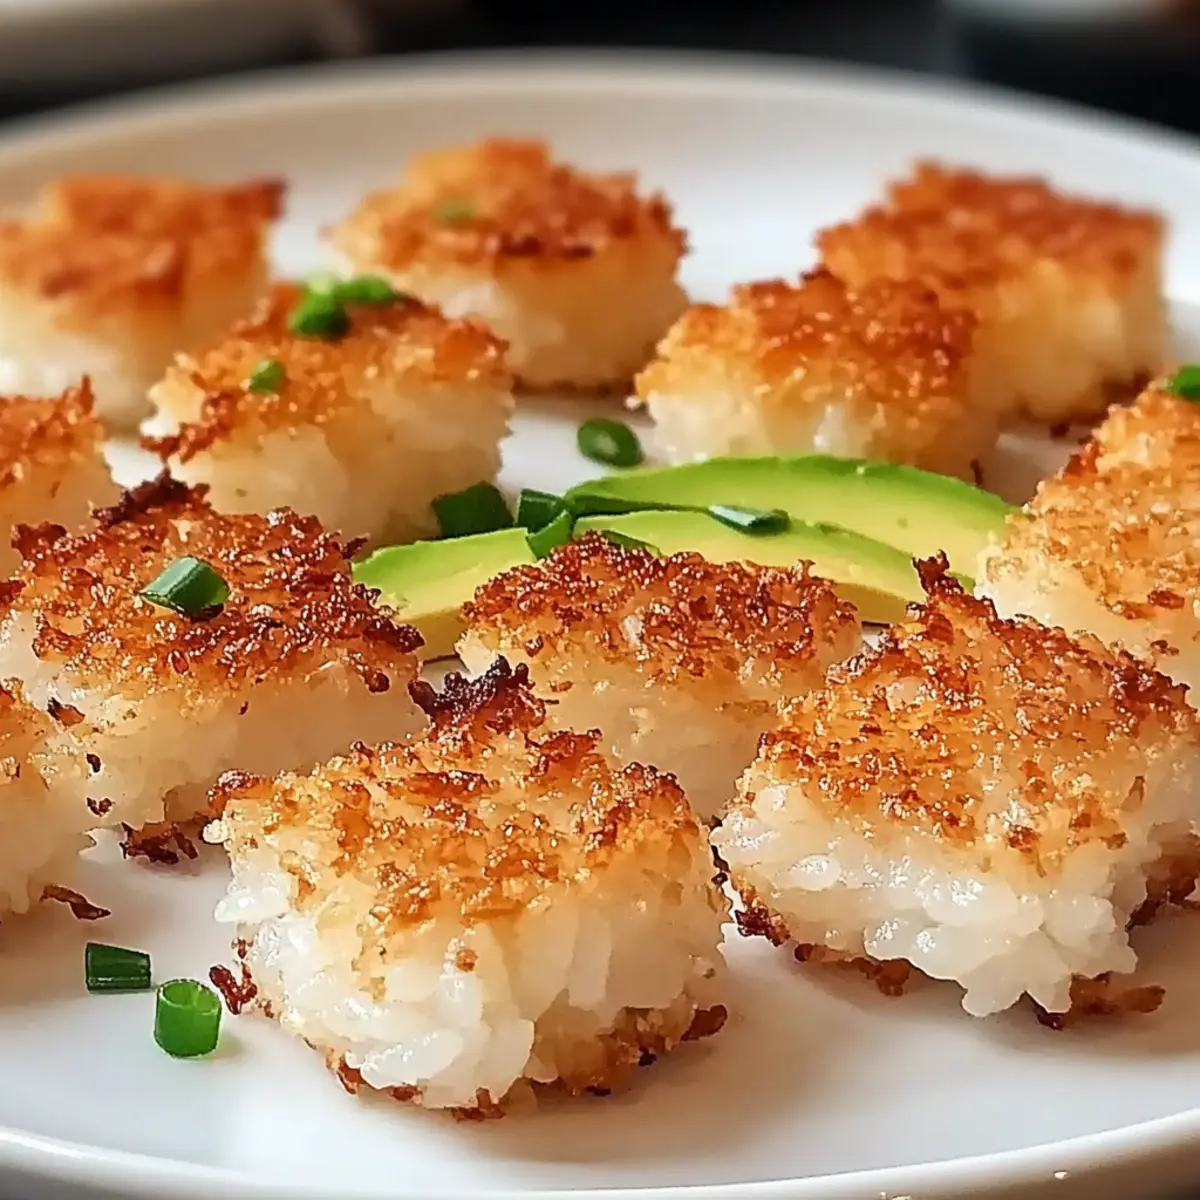
• Fresh Vegetables – Consider avocado or sautéed bell peppers to elevate both taste and presentation.
• Flavor Enhancers – Experiment with toppings like kimchi, spicy mayo, or fresh herbs to change the flavor profile.
Get ready to enjoy a delightful dish that’s not only gluten-free but also a canvas for your culinary creativity!
Step‑by‑Step Instructions for Crispy Rice
Step 1: Prepare the Rice
Begin by rinsing 1 cup of white rice under cold water until the water runs clear to remove excess starch. Cook the rice according to package instructions, typically around 15-20 minutes. Once cooked, spread the rice on a baking sheet and let it cool completely for about 10-15 minutes. This cooling step is crucial for achieving that delicious crispy texture later on.
Step 2: Heat Oil
While the rice cools, pour about ½ inch of vegetable oil into a large skillet and heat it over medium-high heat. Allow the oil to heat until it shimmers, which usually takes about 5 minutes. You can test the oil’s readiness by dropping a small piece of rice into it; if it sizzles, your oil is ready for frying. This step ensures the crispy rice will get that golden crust.
Step 3: Form and Fry the Rice
Take the cooled rice and gently form it into small cakes or clusters, about the size of a palm. Carefully place the formed rice into the hot oil, ensuring not to overcrowd the skillet, which could lower the temperature. Fry each side for about 3-4 minutes until they are golden brown and crispy. The rice should sizzle enthusiastically as it fries, so keep an eye on it to avoid burning!
Step 4: Drain and Season
Once fried to perfection, remove the crispy rice from the skillet using a slotted spatula and transfer it to a paper towel-lined plate to drain excess oil. As soon as they are out of the oil, you may want to season them lightly with salt or other spices while they are still hot. This enhances the flavor of your crispy rice, making it irresistible.
Step 5: Add Toppings
Now that your crispy rice is ready, it’s time to get creative! Top the rice with your choice of cooked proteins like shrimp or chicken, along with fresh vegetables such as avocado or sautéed bell peppers. Serve immediately to preserve that delightful crunch and enjoy the contrasting textures in every bite. Your crispy rice is now a beautiful and versatile dish, ready for any meal!
Expert Tips for Crispy Rice
Rinse Thoroughly: Ensure you rinse the rice well to remove excess starch — this promotes optimal crispiness in your final dish.
Cool Completely: Allow the rice to cool fully before frying; this prevents sogginess and ensures that you achieve a perfect crunchy texture.
Avoid Overcrowding: When frying, cook in batches and don’t overcrowd the skillet. This keeps the oil temperature steady for beautifully crispy rice.
Monitor Frying Time: Keep an eye on the rice; frying should take around 3-4 minutes per side. This attention will help you avoid burning that golden crust.
Season Immediately: Season your crispy rice right after frying while it’s still hot to enhance flavor absorption, turning it into a culinary delight.
Try Variations: Don’t hesitate to experiment with different toppings and flavor profiles — the beauty of crispy rice lies in its versatility!
How to Store and Freeze Crispy Rice
Fridge: Store leftover crispy rice in an airtight container for up to 3 days. Place a paper towel inside to absorb moisture and maintain crunchiness.
Freezer: If you’re batch cooking, freeze crispy rice in a single layer on a baking sheet. Once frozen, transfer to a freezer bag for up to 2 months.
Reheating: For the best results, reheat crispy rice in a skillet over medium heat. This helps to restore its delightful crunch that makes this dish so appealing.
Make-Ahead Tips: You can prepare and fry the rice ahead of time; just ensure to store properly to keep it fresh and crispy until you’re ready to enjoy it.
Make Ahead Options
Crispy Rice is a fantastic option for meal prep, saving you time during hectic weeknights! You can prepare the rice and refrigerate it for up to 3 days before frying. Simply cook the rice as directed, then allow it to cool and store it in an airtight container in the fridge. When you’re ready to enjoy your crispy rice, simply heat your oil and form the chilled rice into cakes before frying. To ensure the best texture, fry them immediately after forming to avoid any sogginess. This way, you’ll have a delectable, crispy treat ready in no time, reminding you that homemade can also be quick and easy!
What to Serve with Crispy Rice
Crispy Rice is a delightful addition that can easily elevate your dining experience, transforming a simple meal into something extraordinary.
- Savory Stir-Fried Vegetables: These colorful and vibrant veggies enhance the crunchiness of crispy rice while adding fresh flavors and textures.
- Spicy Tofu Nuggets: Crispy on the outside and soft inside, these savory nuggets perfectly complement the crispy rice’s crunch for a delightful contrast.
- Creamy Avocado Salad: The richness of avocado offers a creamy balance to the dish, making every bite harmonious and satisfying.
- Grilled Shrimp Skewers: Juicy shrimp paired with your crispy rice creates a delectable seafood experience, effortlessly merging flavors and textures.
- Zesty Kimchi: This fermented favorite adds a tangy kick, bringing an incredible depth of flavor that matches the crispy rice beautifully.
- Cucumber Mint Salad: Refreshing and bright, this salad provides a light crunch and crispness, enlivening your meal with a burst of freshness.
Craving something sweet? Pair crispy rice with a scoop of coconut sorbet for a perfect ending to your culinary adventure!
Crispy Rice Variations & Substitutions
Feel free to let your culinary creativity run wild with these delightful twists on crispy rice!
-
Vegetable-Loaded: Add sautéed spinach, bell peppers, and carrots for a burst of color and nutrition.
-
Dairy-Free Delight: Use coconut milk in the cooking process for a hint of sweetness without any dairy. This variation creates a beautiful base, enhancing the rice’s natural flavors.
-
Spicy Kick: Mix in some chopped jalapeños or drizzle with sriracha for those who like it hot. This adds a vibrant heat to the crispy texture, making each bite a thrilling experience.
-
Protein-Packed: Swap in marinated grilled chicken or tofu for a heartier dish that satisfies. Each topping provides distinct flavors, perfectly complementing the crispy rice.
-
Herb-Infused: Sprinkle fresh herbs like cilantro or basil just before serving for a refreshing aroma and taste. This simple addition elevates the dish, making it even more inviting.
-
Asian Flair: Top with pickled ginger or wasabi for a zesty twist, creating a lovely flavor contrast. This rendition transports your taste buds on a delicious journey!
-
Savory Brunch: Pair crispy rice with poached eggs and avocado for a satisfying brunch option that takes breakfast to the next level. The creamy avocado balances the crunch beautifully!
For more creative options, consider serving crispy rice alongside options like Chicken Caesar Sandwich or incorporating it with flavors from your favorite Beef Pepper Rice. Happy cooking!
Crispy Rice Recipe FAQs
What type of rice should I use for crispy rice?
Absolutely! For the best texture, I highly recommend using white rice as it creates a fluffy interior while frying to a golden crisp. Brown rice is a viable option, but it takes longer to cook, so plan accordingly if you choose that route!
How should I store leftover crispy rice?
To maintain that crunchy goodness, store any leftover crispy rice in an airtight container in the refrigerator for up to 3 days. I often place a paper towel inside the container to absorb excess moisture and preserve the crispness.
Can I freeze crispy rice?
Yes! You can freeze crispy rice for up to 2 months. Spread the cooked and cooled rice in a single layer on a baking sheet and freeze until solid, about 1-2 hours. Then transfer it to a freezer bag for easy storage. This method helps retain that crispy texture!
What if my crispy rice turns out soggy or burnt?
Very! If your crispy rice is soggy, it likely needed to cool completely before frying, or it may have been overcrowded in the skillet, lowering the oil temperature. On the flip side, if it burns, try reducing the frying time to about 3-4 minutes per side, keeping a close watch as it cooks.
Is crispy rice suitable for people with dietary restrictions?
Absolutely! This dish is naturally gluten-free and can be made dairy-free as well. For a healthier option, you can top it with sautéed vegetables or proteins like tofu or grilled chicken. Always be mindful of any allergies when choosing your toppings!
Crispy Rice: Quick, Crunchy Perfection for Any Meal
Ingredients
Equipment
Method
- Begin by rinsing 1 cup of white rice under cold water until the water runs clear to remove excess starch. Cook the rice according to package instructions, typically around 15-20 minutes. Once cooked, spread on a baking sheet and let it cool completely for about 10-15 minutes.
- While the rice cools, pour about ½ inch of vegetable oil into a large skillet and heat over medium-high heat until it shimmers, about 5 minutes.
- Take the cooled rice and gently form it into small cakes or clusters. Carefully place into the hot oil, and fry each side for about 3-4 minutes until golden brown and crispy.
- Remove the crispy rice from the skillet using a slotted spatula and transfer it to a paper towel-lined plate to drain excess oil. Season lightly with salt or other spices while still hot.
- Top the rice with your choice of cooked proteins and fresh vegetables. Serve immediately to preserve crunch and enjoy!
Leave a Reply