
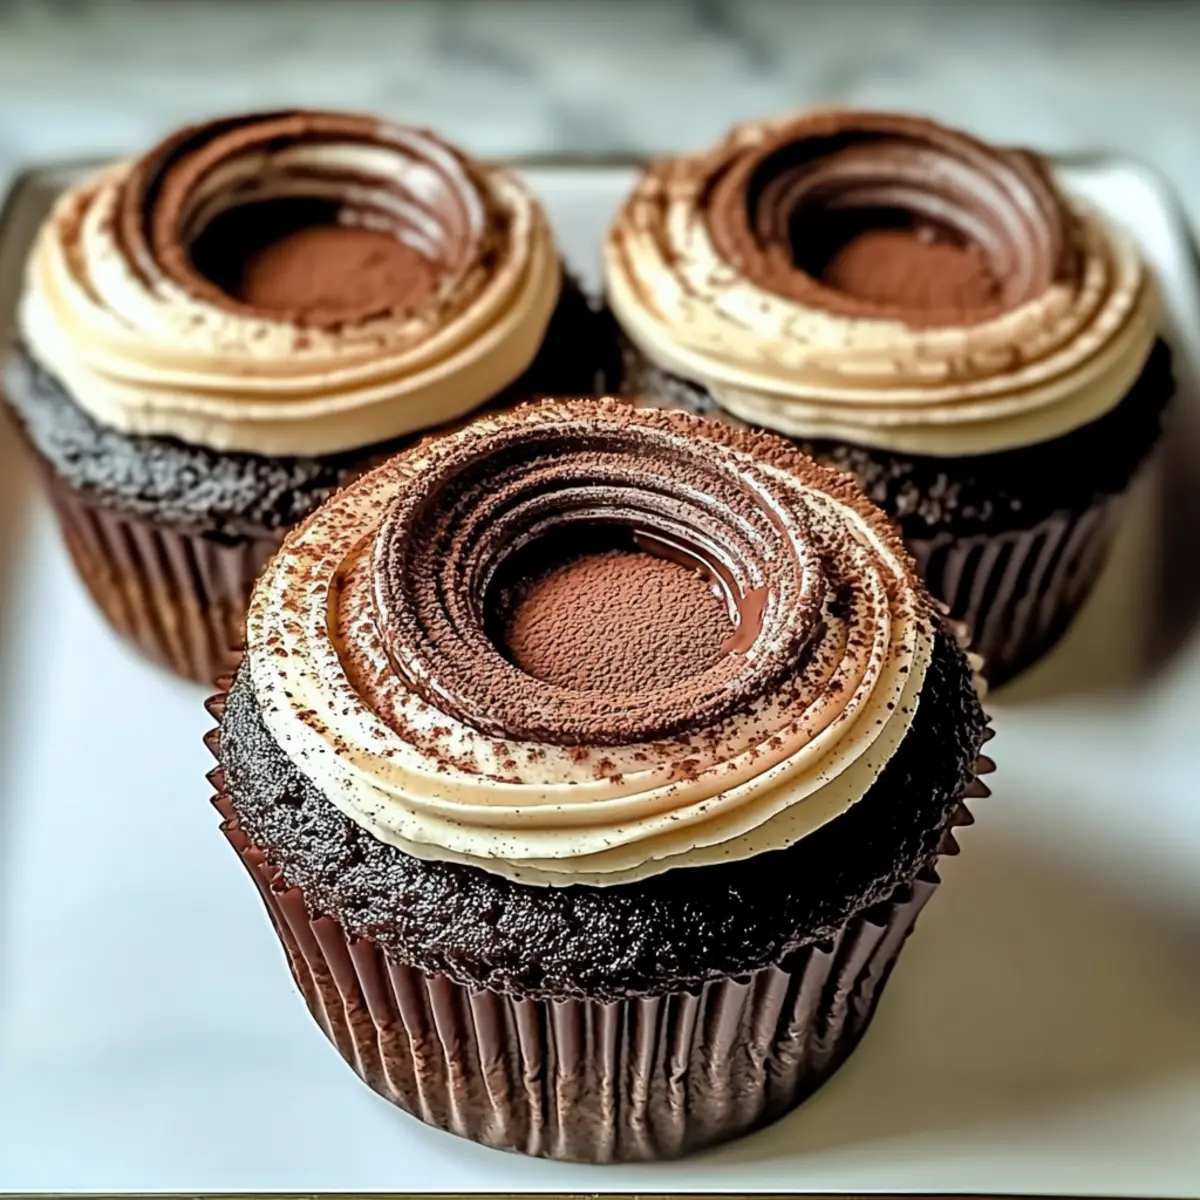
While rummaging through my kitchen the other day, the warm, inviting scent of cocoa and coffee enveloped the room, transporting me straight to an Italian café. That’s when I knew it was time to recreate those delightful Chocolate Tiramisu Cupcakes! This enticing dessert combines the luxurious creaminess of tiramisu with the whimsical charm of cupcakes, making them perfect for gatherings or an indulgent treat just for you. What’s even better? They can be prepped in under 30 minutes and offer a gluten-free option, ensuring everyone can join in the fun. So, are you ready to elevate your baking game and impress your friends and family with these scrumptious cupcakes? Let’s dive into this delicious recipe!
Why are Chocolate Tiramisu Cupcakes irresistible?
Decadence in Every Bite: These cupcakes marry the classic flavors of tiramisu with the fun of a cupcake experience.
Quick and Easy: Prepped in just 30 minutes, they fit perfectly into busy schedules without sacrificing taste!
Gluten-Free Option: With easy swaps, your gluten-sensitive friends can indulge alongside you.
Customizable Goodness: Feel free to experiment with liqueurs or toppings, like fresh berries or chocolate shavings, for added flair!
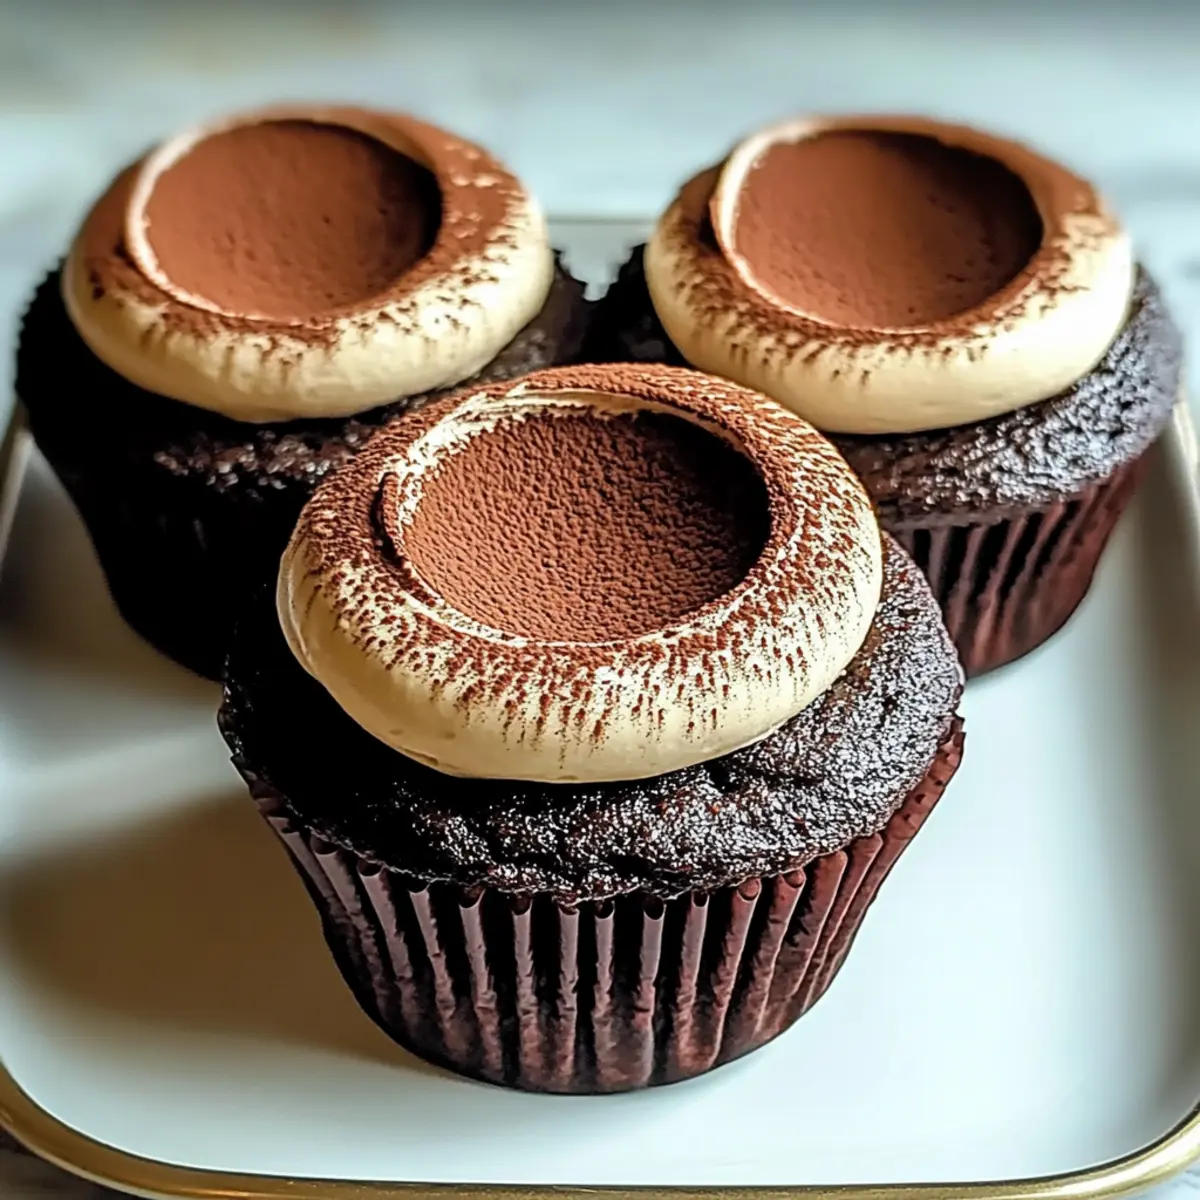
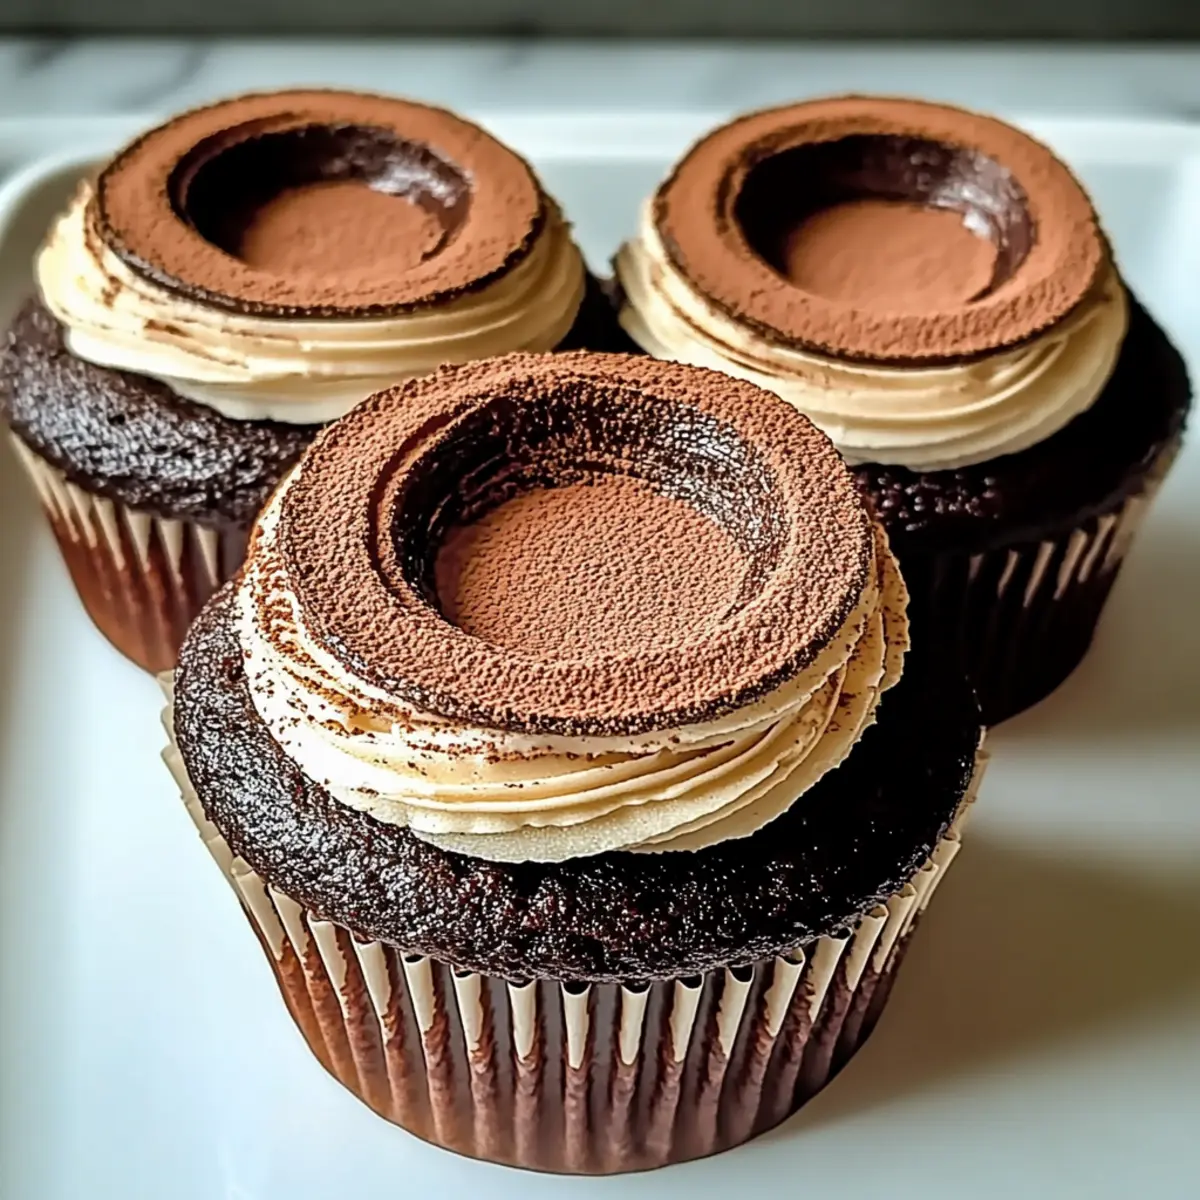
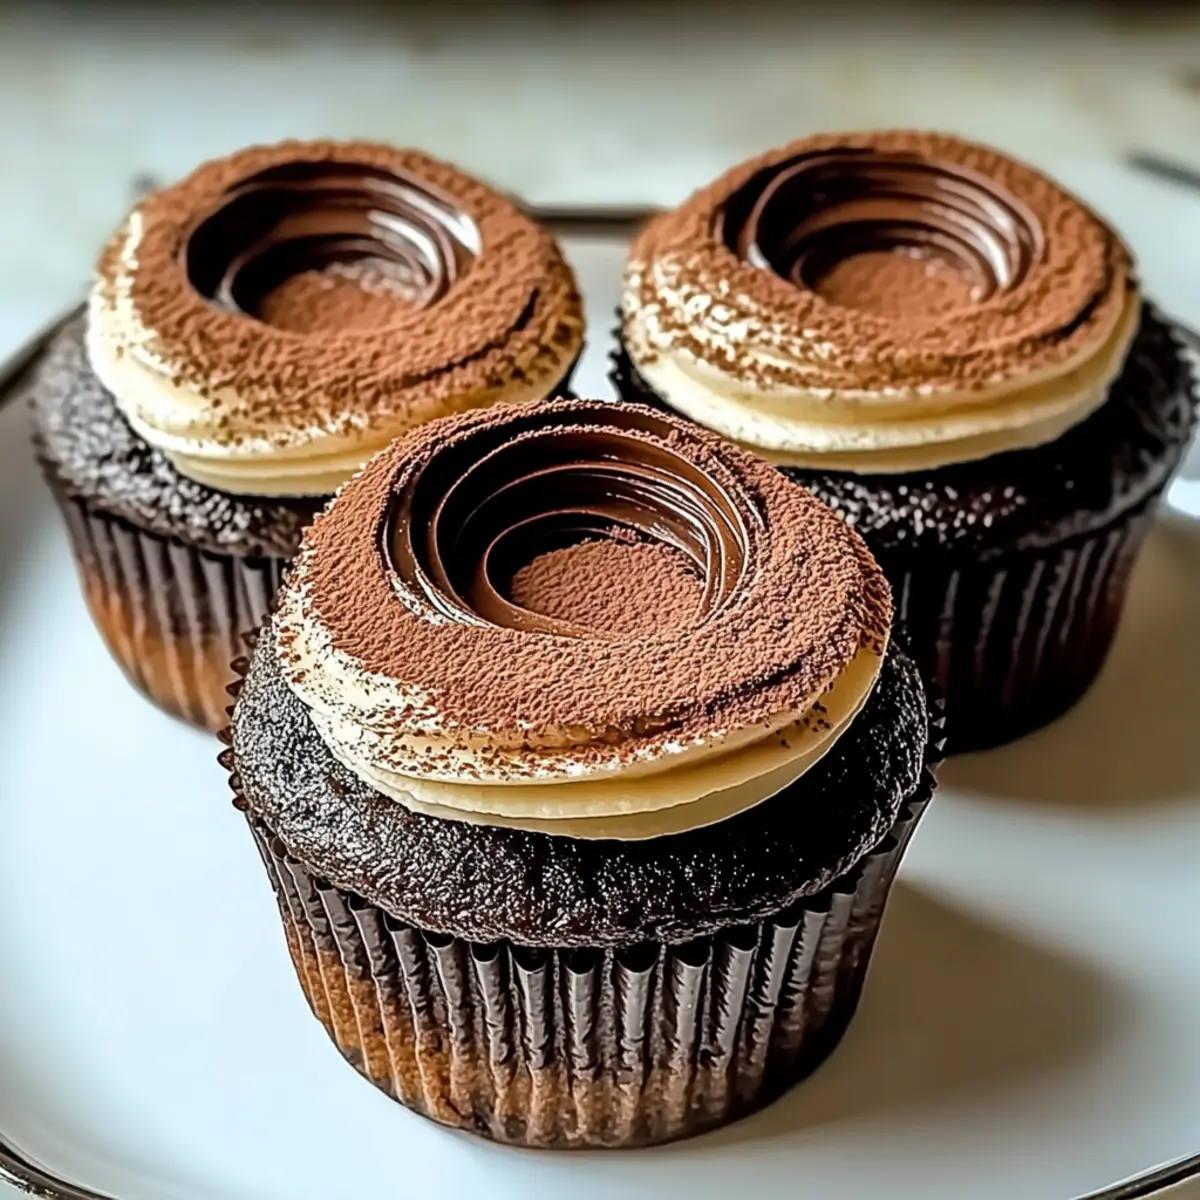
Elegant Presentation: The luscious mascarpone filling and cocoa dusting create an impressive dessert that looks as good as it tastes, perfect for special occasions.
Crowd-Pleasing Treat: Whether for a birthday, dinner party, or just because, these can be enjoyed by everyone who loves a sweet twist on a classic!
Chocolate Tiramisu Cupcakes Ingredients
For the Cupcakes
• All-Purpose Flour – Provides structure for the cupcakes; substitute with gluten-free all-purpose blend for a gluten-free option.
• Cocoa Powder – Adds rich chocolate flavor; dark cocoa can enhance the depth of taste.
• Baking Powder – Helps cupcakes rise; ensure it’s fresh for the best results.
• Granulated Sugar – Provides sweetness; coconut sugar can offer a healthier alternative.
• Eggs – Contributes moisture and structure; swap for flax eggs for a plant-based version.
• Milk – Adds moisture and flavor; use almond milk for a dairy-free option.
• Vegetable Oil – Keeps cupcakes moist; melted butter works well as an alternative.
• Espresso – Infuses a rich coffee flavor; instant coffee can be used if that’s what you have.
• Mascarpone Cheese – Makes for a creamy, indulgent filling; ricotta can be substituted in a pinch.
For Dusting
• Cocoa Powder – Enhances flavor and appearance; a sprinkle on top makes these Chocolate Tiramisu Cupcakes stand out beautifully.
Step‑by‑Step Instructions for Chocolate Tiramisu Cupcakes
Step 1: Preheat the Oven
Start by preheating your oven to 350°F (175°C). While it’s warming up, take a moment to line a muffin tin with cupcake liners. This will ensure your Chocolate Tiramisu Cupcakes release easily after baking. The faint hum of the oven heating will beautifully set the stage for your baking adventure!
Step 2: Mix the Dry Ingredients
In a large mixing bowl, whisk together the all-purpose flour, cocoa powder, baking powder, and granulated sugar. Make sure there are no lumps for a smooth batter, which is key to achieving soft and fluffy cupcakes. The rich aroma of cocoa will fill the air, getting you excited for the delicious treat to come.
Step 3: Combine the Wet Ingredients
In a separate bowl, mix the eggs, milk, and vegetable oil until the mixture is smooth and well blended. You can use a whisk or an electric mixer to achieve a light, fluffy texture. This step is crucial as it ensures a rich and moist base for your Chocolate Tiramisu Cupcakes.
Step 4: Combine Wet and Dry Ingredients
Gently fold the wet ingredients into the dry mixture. Stir until just combined; remember, a few lumps are perfectly fine! Overmixing can lead to dense cupcakes, so embrace the lumps. This will create a light batter full of promise, ready to rise into delicious treats.
Step 5: Bake the Cupcakes
Spoon the batter into the prepared cupcake liners, filling each about two-thirds full. Place the tin in the preheated oven and bake for 18-20 minutes. Keep an eye on them; they are done when a toothpick inserted into the center comes out clean. The mouthwatering smell will be your cue that they’re baking perfectly!
Step 6: Cool the Cupcakes
Once baked, remove the muffin tin from the oven and allow the cupcakes to cool in the tin for about 5 minutes. Then, transfer them to a wire rack to cool completely. This step is essential to prevent sogginess, ensuring that your Chocolate Tiramisu Cupcakes have the ideal texture for filling.
Step 7: Prepare the Mascarpone Filling
In a mixing bowl, whip the mascarpone cheese and espresso together until fluffy and combined. Use a hand mixer for this step to achieve a creamy and light filling that embodies the essence of tiramisu. This delicious mixture will be the crown jewel of your cupcakes, offering that classic coffee flavor.
Step 8: Fill the Cupcakes
After the cupcakes have cooled completely, cut off the tops to create a little “cap.” Carefully scoop out a portion of the cupcake center and fill it generously with the mascarpone mixture. Replace the tops, creating a delightful surprise awaiting beneath the surface.
Step 9: Dust with Cocoa
To finish off your Chocolate Tiramisu Cupcakes, dust the tops lightly with cocoa powder. This elegant touch not only enhances flavor but also adds a beautiful presentation, making your treats irresistible. Your kitchen will be filled with an inviting atmosphere, while you prepare to impress everyone with these delightful cupcakes!
What to Serve with Chocolate Tiramisu Cupcakes
Indulging in the rich layers of these delightful cupcakes invites the perfect opportunity to create a full, complimentary meal experience.
-
Rich Vanilla Ice Cream: A classic pairing that adds creaminess and enhances the decadent chocolate flavor with its sweet, velvety texture.
-
Fresh Berries: The bright tartness of raspberries or strawberries balances the sweetness of the cupcakes, providing a refreshing contrast in every bite.
-
Espresso: A bold shot of espresso perfectly matches the coffee notes in the cupcakes, elevating that Italian café vibe in your home.
-
Whipped Cream: Light and airy, a dollop of freshly whipped cream on top adds a luxurious touch that mirrors the cupcakes’ creamy filling.
-
Chocolate Shavings: For an elegant presentation, sprinkle chocolate shavings on top. They add both a visual allure and a rich, chocolatey texture.
-
Chocolate Bark: Serve alongside pieces of chocolate bark. The crunchy texture together with the soft cupcakes creates a delightful mouthfeel.
-
Coconut Macaroons: These chewy, sweet treats are a fun way to introduce another layer of flavor that pairs beautifully with the rich chocolate.
-
Raspberry Sauce Drizzle: A drizzle of raspberry sauce adds a splash of color and a tart-sweet component that enhances the overall dessert experience.
-
Mint Tea: Calm the palate with a fragrant mint tea, which is a wonderful, refreshing drink option after indulging in these rich cupcakes.
Let your meal flourish with these complementary flavors, ensuring a delightful end to your baking adventure!
How to Store and Freeze Chocolate Tiramisu Cupcakes
-
Room Temperature: Store cupcakes at room temperature for up to 1 day, but they are best enjoyed fresh to maintain their delightful texture.
-
Fridge: Keep chocolate tiramisu cupcakes in an airtight container in the fridge for up to 3 days. This helps preserve their moist filling and flavors.
-
Freezer: For longer storage, freeze the cupcakes individually wrapped in plastic wrap and then in a freezer bag for up to 2 months. Thaw at room temperature when ready to enjoy.
-
Reheating: If you want to enjoy them warm, microwave a cupcake for about 10-15 seconds. Be careful not to overheat, or the filling may become too soft!
Make Ahead Options
These Chocolate Tiramisu Cupcakes are perfect for meal prep enthusiasts, making your baking experience seamless! You can bake the cupcakes up to 24 hours in advance; simply store them in an airtight container to keep them moist. The mascarpone filling can also be prepared up to 3 days ahead, just refrigerate it until you’re ready to assemble. To maintain the cupcakes’ delightful texture and flavor, ensure they’re completely cooled before filling, then dust with cocoa just before serving. This way, your Chocolate Tiramisu Cupcakes remain just as delicious and impressive, ready to wow your guests with minimal effort on the big day!
Expert Tips for Perfect Chocolate Tiramisu Cupcakes
-
Measure Accurately: Ensure precise measurements of flour and liquids to maintain the perfect moisture level in your Chocolate Tiramisu Cupcakes.
-
Avoid Overmixing: Mix the batter gently; it’s okay to have a few lumps! Overmixing can lead to denser cupcakes instead of the light, fluffy texture you want.
-
Cool Completely: Allow the cupcakes to cool entirely before filling them to ensure optimal flavor and texture. This step is crucial for the best results.
-
Layering Cream: When filling the cupcakes, be generous with the mascarpone mixture. This ensures a delightful burst of flavor in every bite!
-
Storage Tips: Keep any leftovers in an airtight container in the fridge for up to three days, but trust us—these delectable cupcakes will likely be gone before then!
Chocolate Tiramisu Cupcakes Variations
Feel free to get creative with these cupcakes and make them your own!
-
Gluten-Free: Use a gluten-free all-purpose blend instead of regular flour for a delightful treat everyone can enjoy. No one will be able to tell the difference!
-
Dairy-Free: Swap out dairy products with almond milk and vegan cream cheese for a completely dairy-free version. The result is just as scrumptious, ensuring nobody misses a beat!
-
Flavor Boost: Add a splash of flavored liqueur like amaretto to the mascarpone filling for an elegant twist. This adds a luxurious flair that elevates every bite.
-
Extra Decadence: Top with chocolate shavings or a drizzle of salted caramel for an added layer of indulgence. This sweet touch makes your cupcakes not only taste amazing, but look fabulous too.
-
Fruit Infusion: Toss in some fresh berries like raspberries or strawberries on top for a tart contrast to the rich chocolate. This delightful pop of color makes your cupcakes even more inviting!
-
Layered Delight: Create a layered cupcake by alternating layers of the chocolate batter and the mascarpone mixture. This way, you get a beautiful cross-section and even more flavor in each bite.
-
Heat it Up: Add a pinch of cayenne pepper or chili powder to the batter for a subtle kick. This unexpected heat will surprise your taste buds in the best way possible!
-
Mini Cupcakes: For a fun twist, try making mini versions of these cupcakes! Perfect bite-sized treats for parties or an outdoor gathering.
For more delightful variations, you might also enjoy these Pumpkin Chocolate Chip Cookies or indulge in some Peach Bellini Cupcakes. Happy baking!
Chocolate Tiramisu Cupcakes Recipe FAQs
What is the best way to choose ripe ingredients for these cupcakes?
Absolutely! When selecting your ingredients, ensure that your eggs are fresh and your milk isn’t close to expiring. For the cocoa powder, look for high-quality brands for the deepest chocolate flavor, and ensure your baking powder is fresh (check the expiration date!). This attention to detail will lead to a more flavorful cupcake!
How should I store leftover Chocolate Tiramisu Cupcakes?
I recommend storing your cupcakes in an airtight container in the fridge for up to 3 days. This helps retain their moisture and flavor. For the best taste, let them come to room temperature before serving. If you haven’t finished them within 3 days, they can be individually wrapped and frozen for up to 2 months!
Can I freeze Chocolate Tiramisu Cupcakes?
Yes, you can! For freezing, wrap each cupcake individually in plastic wrap and place them in a freezer bag or an airtight container. When you’re ready to enjoy them, simply thaw at room temperature—this typically takes about 1-2 hours. If you’d like them warm, give them a quick zap in the microwave at 10-second intervals!
What should I do if my cupcakes turn out dense?
If your Chocolate Tiramisu Cupcakes are too dense, it often means they were overmixed or perhaps there was too much flour used. For a lighter texture, mix the ingredients gently until just combined. If using gluten-free flour, sometimes that can behave differently than regular flour, so I recommend using a blend designed for baking to maintain fluffiness.
Are there any dietary considerations with these cupcakes?
Very! These cupcakes can be made gluten-free by substituting all-purpose flour with a gluten-free blend. Additionally, I love using flax eggs for a vegan option! Just mix 1 tablespoon of ground flaxseed with 2.5 tablespoons of water and let it sit for about 5 minutes until it becomes gelatinous—this will work beautifully as a substitute for one egg in the recipe. Always double-check any other ingredients for allergies, especially with the mascarpone!
Decadent Chocolate Tiramisu Cupcakes You'll Love to Bake
Ingredients
Equipment
Method
- Preheat the oven to 350°F (175°C) and line a muffin tin with cupcake liners.
- In a large mixing bowl, whisk together the all-purpose flour, cocoa powder, baking powder, and granulated sugar.
- In another bowl, mix the eggs, milk, and vegetable oil until smooth and well blended.
- Gently fold the wet ingredients into the dry mixture until just combined.
- Spoon the batter into the prepared cupcake liners, filling each about two-thirds full. Bake for 18-20 minutes.
- Remove from the oven and cool in the tin for about 5 minutes, then transfer to a wire rack to cool completely.
- Whip the mascarpone cheese and espresso together until fluffy and combined.
- Cut off the tops of the cooled cupcakes, scoop out some of the center, and fill with the mascarpone mixture. Replace the tops.
- Dust the tops lightly with cocoa powder.
Leave a Reply