
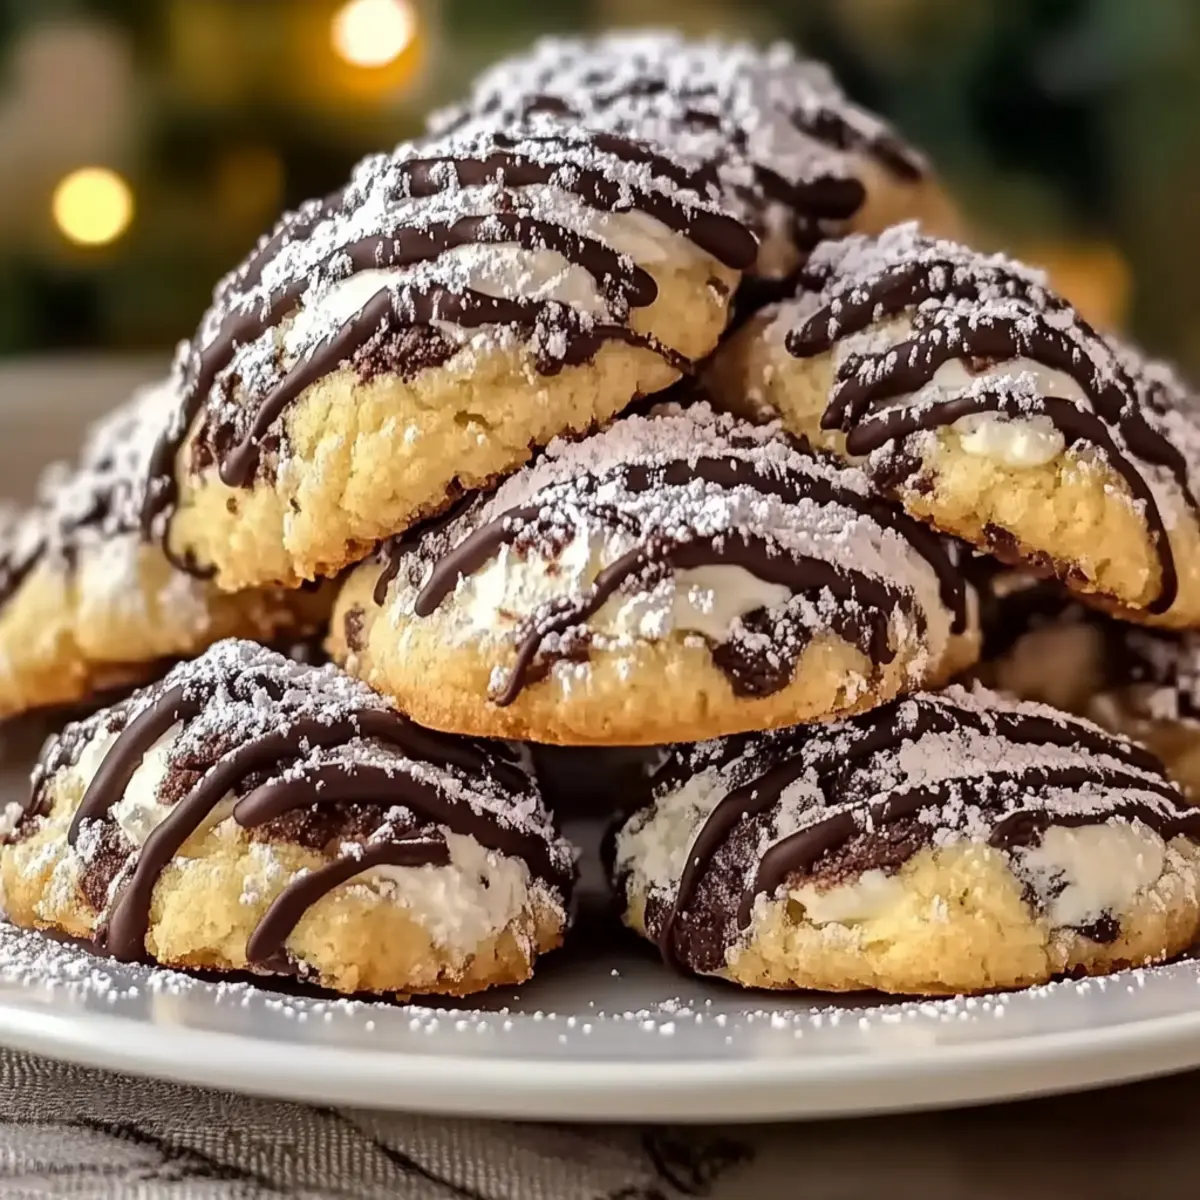
Every bite of these Cannoli Cookies transports me straight to an Italian café, where the air is rich with the scent of fresh pastries and sweet cheeses. These delightful cookies encapsulate all the beloved flavors of traditional cannoli—think creamy ricotta, a cozy blend of spices, and the irresistible crunch of mini chocolate chips. Not only do they bring a taste of Italy to your kitchen, but they also offer a quick and easy way to satisfy your sweet tooth without the fuss of deep-frying. Perfect for holiday gatherings or cozy evenings at home, these cookies are designed to be a crowd-pleaser. Ready to dive into this delicious twist on a classic dessert?
Why are Cannoli Cookies a must-try?
Irresistible Flavor: Each cookie is loaded with rich ricotta and sweet mini chocolate chips, creating a flavor explosion that mirrors the classic Italian dessert.
Effortless Creation: Gone are the days of complicated pastry-making; these cookies simplify the process, making them perfect for beginner bakers and seasoned chefs alike.
Pillowy Texture: Expect a delightful softness that pairs beautifully with the nutty crunch of pistachios, providing a unique bite every time.
Versatile Variations: Easily swap ingredients or add dried fruits for a personal touch. Try them with Thick Chewy Cookies for another twist on your favorites!
Crowd-Pleasing Treat: Whether for casual snacking or festive gatherings, these cookies are bound to impress, bringing a taste of Italy to every occasion.
Cannoli Cookies Ingredients
• Dive into these delightful Cannoli Cookies with the perfect balance of rich flavors and textures!
For the Cookie Dough
- Ricotta Cheese – Provides moistness and a tangy flavor; ensure it’s well-drained for the best texture.
- Butter – Adds a richness that helps achieve a tender cookie; unsalted is best for controlling seasoning.
- Sugar – Sweetens the cookies while aiding in fluffiness during the creaming process.
- Eggs – Contributes to structure and moisture; using room-temperature eggs helps with emulsification.
- Flour – Gives the cookies their structure; make sure to measure accurately to prevent dryness.
- Baking Powder – Acts as a leavening agent, helping the cookies rise to a delightful texture.
- Salt – Enhances the overall flavor, balancing the sweetness of the dough.
- Cinnamon and Nutmeg – Adds warm spices that echo the flavors of traditional cannoli; adjust to your taste for more spice.
For the Mix-Ins
- Mini Chocolate Chips – Offers sweetness and a satisfying texture; they distribute better than regular chips.
- Pistachios – Introduces a lovely crunch and nuttiness, reminiscent of cannoli garnishes; feel free to swap with other nuts for variety.
These Cannoli Cookies are sure to be a hit, simplifying classic flavors into an easy, enjoyable treat for any occasion!
Step‑by‑Step Instructions for Cannoli Cookies
Step 1: Prepare the Ricotta
Begin by draining 1 cup of ricotta cheese in a fine-mesh strainer for about 30 minutes. This crucial step ensures excess moisture is removed, allowing your Cannoli Cookies to maintain a perfect texture. Set the drained ricotta aside while you gather your other ingredients for a smooth preparation process.
Step 2: Mix Dry Ingredients
In a medium bowl, whisk together 2 cups of all-purpose flour, 1 teaspoon of baking powder, ½ teaspoon of salt, 1 teaspoon of ground cinnamon, and ¼ teaspoon of ground nutmeg. Mixing these dry ingredients ensures an even distribution of the leavening agents and spices, which will create a delightful flavor profile in your Cannoli Cookies. Set this mixture aside for later use.
Step 3: Cream Butter and Sugar
In a large mixing bowl, beat ½ cup of softened unsalted butter and 1 cup of granulated sugar together until the mixture is light and fluffy, about 3-4 minutes using an electric mixer on medium speed. This step incorporates air into the mixture, which contributes to the cookie’s tender texture. The mixture should look pale and creamy when done.
Step 4: Incorporate Eggs and Ricotta
Add 2 large room-temperature eggs to the creamed butter and sugar, one at a time, blending well after each addition. Next, stir in the prepared ricotta, 1 teaspoon of vanilla extract, and the zest of one orange. Continue mixing until all ingredients are smoothly combined, achieving a rich, creamy mixture that will enhance the Cannoli Cookies’ flavor.
Step 5: Combine Wet and Dry Mixtures
Gradually add the dry ingredient mixture to the wet ingredients in three additions, mixing on low speed just until combined. Be careful not to over-mix, as this could lead to tough cookies. Look for a batter that is soft and slightly sticky, signaling that you’re ready to fold in the add-ins for your Cannoli Cookies.
Step 6: Fold in Chocolate Chips and Pistachios
Using a rubber spatula, gently fold in 1 cup of mini chocolate chips and ⅓ cup of chopped pistachios until evenly distributed throughout the cookie dough. This step adds delightful sweetness and crunch, both key elements that work harmoniously with the ricotta flavors in your Cannoli Cookies.
Step 7: Scoop and Bake
Preheat your oven to 350°F (175°C) and line two baking sheets with parchment paper. Using a cookie scoop or tablespoon, drop rounded balls of dough onto the prepared sheets, spacing them about 2 inches apart. Bake in the preheated oven for 12-14 minutes, until the edges are lightly golden and the centers are slightly underdone for a soft and pillowy texture.
Step 8: Cool and Decorate
Once baked, allow the Cannoli Cookies to cool on the baking sheets for about 5 minutes before transferring them to wire racks. Let them cool completely, then drizzle with melted chocolate and dust with powdered sugar for a beautiful presentation. These finishing touches enhance both the look and the flavor of your delicious Cannoli Cookies.
How to Store and Freeze Cannoli Cookies
Room Temperature: Keep Cannoli Cookies in an airtight container at room temperature for up to 1 week to maintain their delightful softness and flavor.
Fridge: For prolonged freshness, refrigerate the cookies in an airtight container for up to 2 weeks, but this may slightly alter their texture.
Freezer: Freeze dough balls on a baking sheet until solid, then transfer to a zip-top bag for up to 3 months. Bake frozen dough directly, adding a couple of extra minutes to the baking time.
Reheating: To enjoy cookies warm, briefly microwave for 10-15 seconds, or use the oven at 350°F for about 5 minutes to retain that deliciously soft texture.
Expert Tips for Perfect Cannoli Cookies
-
Drain Carefully: Make sure to drain the ricotta cheese thoroughly; excess moisture can lead to flat, disappointing Cannoli Cookies. Use a fine-mesh strainer to achieve the best results.
-
Room Temperature Ingredients: Ensure your butter and eggs are at room temperature. This helps create a creamier mixture, which results in a tender cookie with a better texture.
-
Don’t Overmix: Once you add the dry ingredients to the wet mix, stir gently to combine. Overmixing can lead to tough cookies, so stop as soon as there are no flour streaks.
-
Watch the Baking Time: Keep an eye on the cookies as they bake. They’ll continue cooking slightly after being removed, so aim for the edges to be golden and the centers to look a bit underdone.
-
Storage Tips: Store your Cannoli Cookies in an airtight container at room temperature for up to a week. For longer storage, freeze the dough in balls and bake fresh cookies whenever you like!
Cannoli Cookies: Creative Twists Await!
Feel free to make these Cannoli Cookies your own with exciting variations that will delight your taste buds!
-
Chocolate Swap: Replace mini chocolate chips with white chocolate or dark chocolate for a different flavor experience. Each variety brings out unique delectable notes!
-
Nutty Alternatives: Substitute pistachios with chopped almonds or walnuts for a delightful crunch that complements the creamy filling, adding a new layer of flavor to every bite.
-
Dried Fruit Addition: Incorporate dried cranberries or raisins for a chewy texture, adding sweetness and a touch of tartness that balances perfectly with the creamy ricotta base.
-
Gluten-Free Option: Use a 1:1 gluten-free flour blend in place of all-purpose flour for a delightful treat that everyone can enjoy without gluten worries.
-
Spice It Up: Add a dash of ground ginger or cardamom for an unexpected flavor twist that elevates these cookies, giving them an aromatic warmth.
-
Citrus Zing: Zest a lemon or grapefruit into the cookie dough for a refreshing, zesty kick, enhancing the overall flavor profile and making each bite burst with brightness.
-
Classic Cannoli Touch: Fold in mini candied orange peel or chocolate-covered raisins to echo the traditional cannoli flavors, creating a familiar yet exciting taste experience.
-
Miniature More: Make mini versions of these cookies for bite-sized indulgence! They’re perfect for sharing during festive gatherings, alongside a cup of espresso or Peppermint Kiss Cookies.
Transform your Cannoli Cookies into something uniquely you, and enjoy the magic of homemade treats!
What to Serve with Cannoli Cookies
Let the sweet aroma of Italian traditions waft through your home as you create a memorable moment filled with delightful pairings for these delicious treats.
-
Espresso: Offers a perfect bitter contrast to the sweetness of the cookies, enhancing the intricate chocolate and ricotta flavors. A classic pairing for an authentic Italian experience!
-
Vanilla Ice Cream: Creamy and indulgent, a scoop of vanilla ice cream perfectly complements the rich textures and sweet spices in each cookie. Enjoy it as a delightful sandwich with the cookies!
-
Fruit Salad: Fresh, colorful fruits like berries or citrus add a refreshing brightness that balances out the sweetness. This light option brings a fresh twist to the indulgent cookies.
-
Chocolate Hazelnut Spread: Spread a dollop of this luscious treat on each cookie for an extra layer of flavor that echoes the classic Italian dessert. It’s a sweet enhancement that chocolate lovers will adore!
-
Sweet Red Wine: A chilled glass of sweet red wine or dessert wine pairs beautifully with the rich flavors of the cookies, creating a luxurious and soothing finish.
-
Pistachio Biscotti: Serve with crunchy pistachio biscotti for an added textural element and a nutty flavor that harmonizes with the cookie’s ingredients. Dip them into coffee for a delightful Italian touch!
Enjoy mixing and matching these suggestions to create the perfect pairings that will make each moment spent indulging in Cannoli Cookies even more special!
Make Ahead Options
These Cannoli Cookies are an excellent choice for making ahead, saving you precious time during busy weeks! You can prepare the cookie dough up to 24 hours in advance. Simply follow the recipe up to the scooping step, then cover the bowl with plastic wrap and refrigerate. For longer storage, you can also scoop the dough into balls and freeze them for up to 3 months—just place the frozen dough balls on a baking sheet and bake directly from the freezer, adding a couple of extra minutes to the baking time. To maintain the cookies’ delightful texture, allow them to cool completely before drizzling with melted chocolate and dusting with powdered sugar. With this prep, you’ll enjoy fresh, delicious Cannoli Cookies anytime with minimal effort!
Cannoli Cookies Recipe FAQs
What type of ricotta cheese should I use for Cannoli Cookies?
Absolutely! It’s best to use whole milk ricotta cheese for the richest flavor and moist texture. Just remember to drain it properly for at least 30 minutes to prevent excess moisture, which can lead to flat cookies.
How should I store Cannoli Cookies?
You can keep your Cannoli Cookies in an airtight container at room temperature for up to 1 week. If you’d like to enjoy them later, storing them in the refrigerator can extend their freshness to approximately 2 weeks, though it may change their texture slightly.
Can I freeze Cannoli Cookies for later use?
Yes, you can! To freeze the dough, scoop it into balls and place them on a baking sheet until solid, then transfer the balls to a zip-top bag for up to 3 months. When you’re ready to bake, just preheat your oven and add a couple of extra minutes to the baking time for perfectly fresh cookies!
What should I do if my Cannoli Cookies turn out too flat?
If you find your cookies a bit flat, it may be due to excess moisture in the ricotta or overmixing the dough. Be sure to drain the ricotta well and stop mixing as soon as the flour is just combined. If necessary, try adding a little extra flour until you achieve a thicker dough before baking.
Are Cannoli Cookies suitable for people with nut allergies?
For those with nut allergies, it’s very important to omit the pistachios in the recipe. You can substitute them with additional chocolate chips or even some oats for added texture and flavor without compromising safety.
Can pets eat Cannoli Cookies?
It’s best to keep Cannoli Cookies away from pets, especially dogs and cats. Ingredients such as chocolate and sugar can be harmful to them. If you’re treating your furry friends, opt for pet-safe snacks instead!
Cannoli Cookies: Irresistibly Creamy Italian Treats You’ll Love
Ingredients
Equipment
Method
- Drain ricotta cheese in a fine-mesh strainer for 30 minutes.
- In a medium bowl, whisk together flour, baking powder, salt, cinnamon, and nutmeg.
- In a large bowl, beat butter and sugar until light and fluffy, about 3-4 minutes.
- Add eggs one at a time, blending well. Stir in ricotta, vanilla extract, and orange zest.
- Gradually add dry ingredients to wet ingredients, mixing on low just until combined.
- Fold in chocolate chips and pistachios until evenly distributed.
- Preheat oven to 350°F (175°C). Drop rounded balls of dough onto lined baking sheets.
- Bake for 12-14 minutes until edges are golden and centers are slightly underdone.
- Cool on sheets for 5 minutes before transferring to wire racks. Decorate with melted chocolate and powdered sugar.
Leave a Reply