
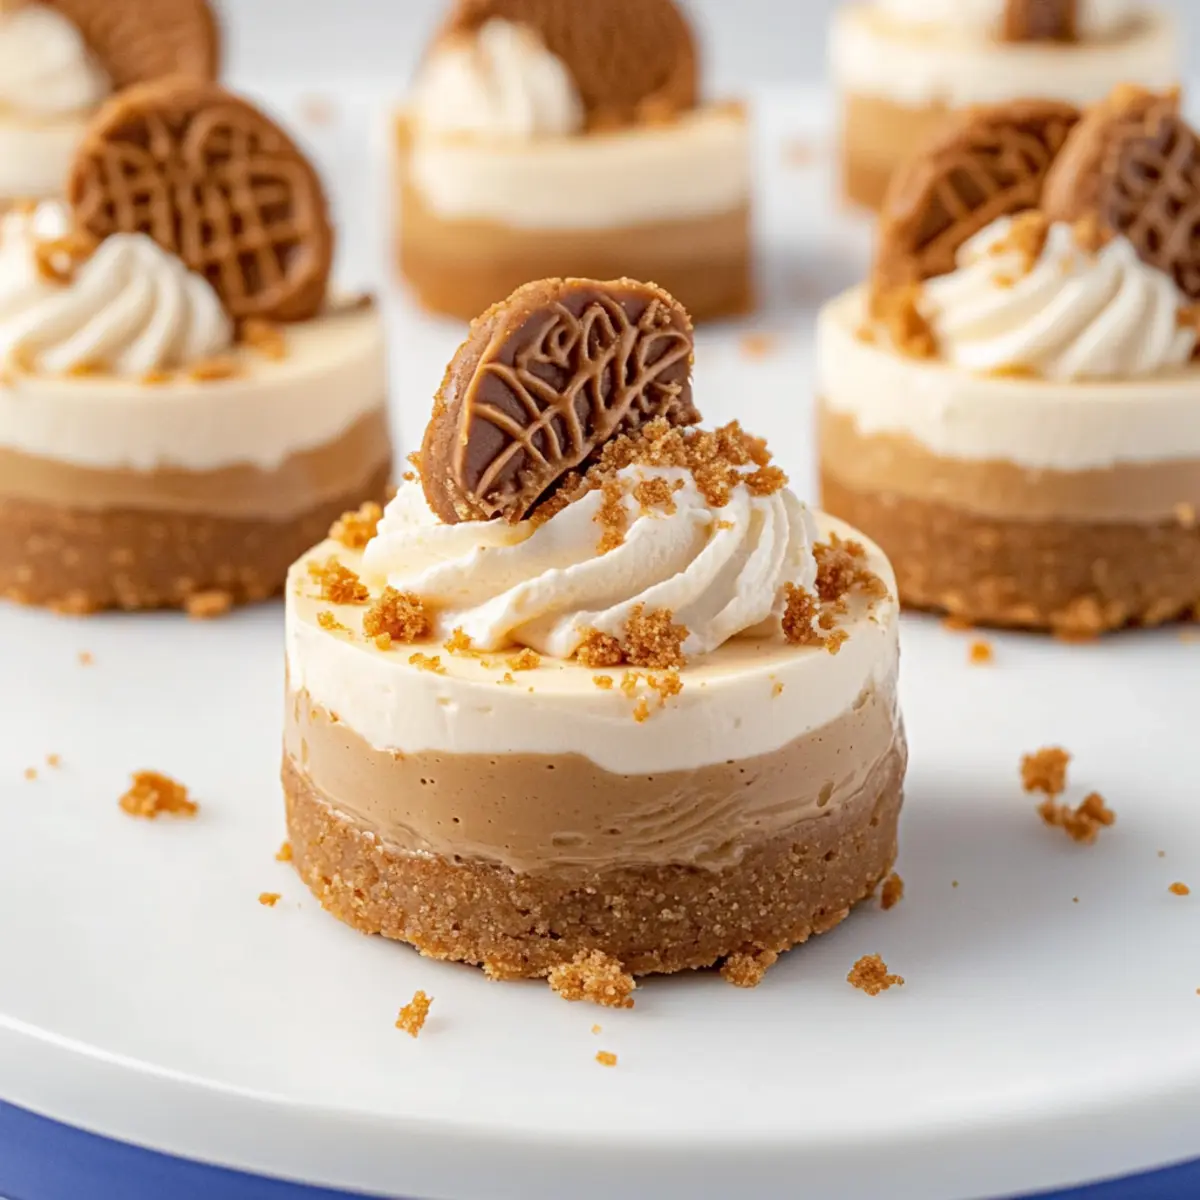
As I savored the last golden crumbs of my favorite Biscoff cookie, a delightful idea sparked in my mind: why not transform that irresistible flavor into a dessert experience? Enter the No-Bake Mini Biscoff Cheesecakes—a luscious treat designed for cookie butter lovers like us. With a buttery Biscoff cookie crust, this indulgent dessert is incredibly simple to make, leaving you with more time to enjoy the fruits of your labor. These mini cheesecakes promise to be a crowd-pleaser while offering a refreshing break from traditional baking. Each creamy, velvety bite is a celebration of sweetness that will have you coming back for seconds. Ready to satisfy your sweet tooth? Let’s dive into this delightful recipe!
Why are Mini Biscoff Cheesecakes irresistible?
Indulgent, creamy goodness: These cheesecakes deliver a luscious texture that melts in your mouth, thanks to the perfect blend of cream cheese and cookie butter.
No-bake simplicity: Forget spending hours in the kitchen—this recipe requires no baking, making it perfect for busy days or impromptu gatherings.
Flavor explosion: The combination of rich Biscoff spread and crunchy cookie crust creates a dessert experience that satisfies your sweet cravings in every bite.
Perfect for sharing: Slice them up for an eye-catching dessert at your next gathering or enjoy a mini cheesecake just for yourself—everyone will love them!
Versatile variations: Feel free to get creative—try different cookie flavors for the crust or mix in your favorite toppings to make this dessert uniquely yours. For ideas, check out these delicious Mini Sausage Pancake muffins that can also elevate your dessert table!
Mini Biscoff Cheesecake Ingredients
For the Crust
• Biscoff Cookie Crumbs – These provide a crunchy texture and complement the cookie butter flavor.
• Granulated Sugar – Adjust according to taste preference for the perfect sweetness boost.
• Salted Butter (melted) – Binds cookie crumbs; unsalted butter can be used for a less salty flavor.
For the Cheesecake Filling
• Cream Cheese – Ensure it’s at room temperature for easier mixing and creamy consistency.
• Powdered Sugar – Adds sweetness and smooth texture; reduce for a less sweet cheesecake.
• Biscoff Spread (cookie butter) – The star flavor base; use a high-quality spread for the best results.
• Vanilla Extract – Enhances flavor; opt for pure vanilla for a richer taste.
• Heavy Cream – Whip until soft peaks form to add fluffiness to the cheesecake.
For Topping
• Additional Biscoff Spread – Heat for easy drizzling to elevate the dessert’s presentation.
• Biscoff Cookie Crumbs (additional) – Optional garnish for added crunch and decoration.
• Biscoff Cookies (halved) – Use as a decorative topping; whole cookies can add a decadent touch.
Step‑by‑Step Instructions for Mini Biscoff Cheesecakes
Step 1: Make the Crust
In a mixing bowl, combine Biscoff cookie crumbs, granulated sugar, and melted butter until the mixture resembles wet sand. Press this mixture firmly into the bottoms of mini cheesecake pans using a measuring cup or your fingers to create even crusts. Aim for a thickness of about ½ inch, ensuring the crusts hold together well. Place the pans in the refrigerator to chill while you prepare the filling.
Step 2: Prepare Cheesecake Filling
In a large mixing bowl, use an electric mixer to beat the room-temperature cream cheese until smooth and creamy, about 2 minutes. Gradually add powdered sugar, Biscoff spread, and vanilla extract, mixing until well-blended for an even consistency. Next, gently fold in the whipped heavy cream until the mixture becomes light and fluffy, creating a deliciously airy cheesecake filling for your Mini Biscoff Cheesecakes.
Step 3: Assemble Cheesecakes
Once your crusts are set, spoon the cheesecake mixture into a piping bag fitted with a large round tip. Carefully pipe the filling onto each chilled crust, filling just above the edge of the pan for a delightful presentation. Smooth the tops with a spatula as desired for a polished look. Ensure you fill each cup evenly to create uniform mini cheesecakes that will impress your guests.
Step 4: Chill
Cover the assembled Mini Biscoff Cheesecakes with plastic wrap and place them in the refrigerator to chill for at least 12 hours. This step is crucial for allowing the flavors to meld and the cheesecakes to firm up for optimal texture. After this time, you should see the cheesecakes are set and have a smooth, firm consistency, making them ready for the finishing touches.
Step 5: Whip Cream
In a chilled mixing bowl, combine heavy cream, powdered sugar, and vanilla extract. Using an electric mixer, whip the mixture until medium-stiff peaks form, which usually takes about 2 to 4 minutes. This light and airy whipped cream will add a beautiful topping to your Mini Biscoff Cheesecakes. Be careful not to over-whip, as this can result in a grainy texture that detracts from the creamy delight.
Step 6: Finish and Serve
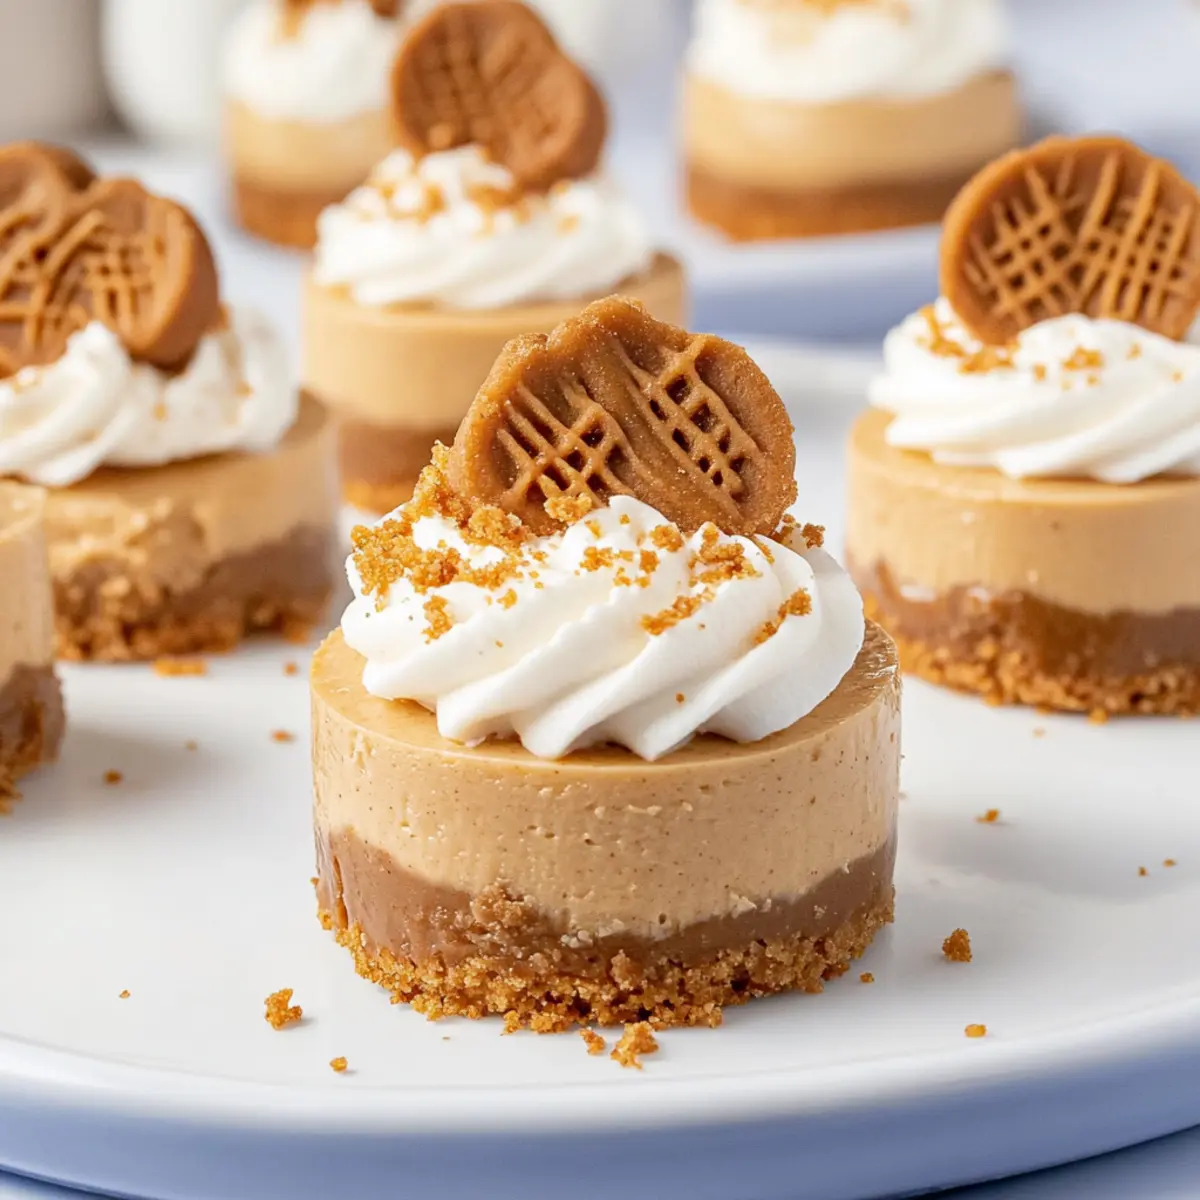
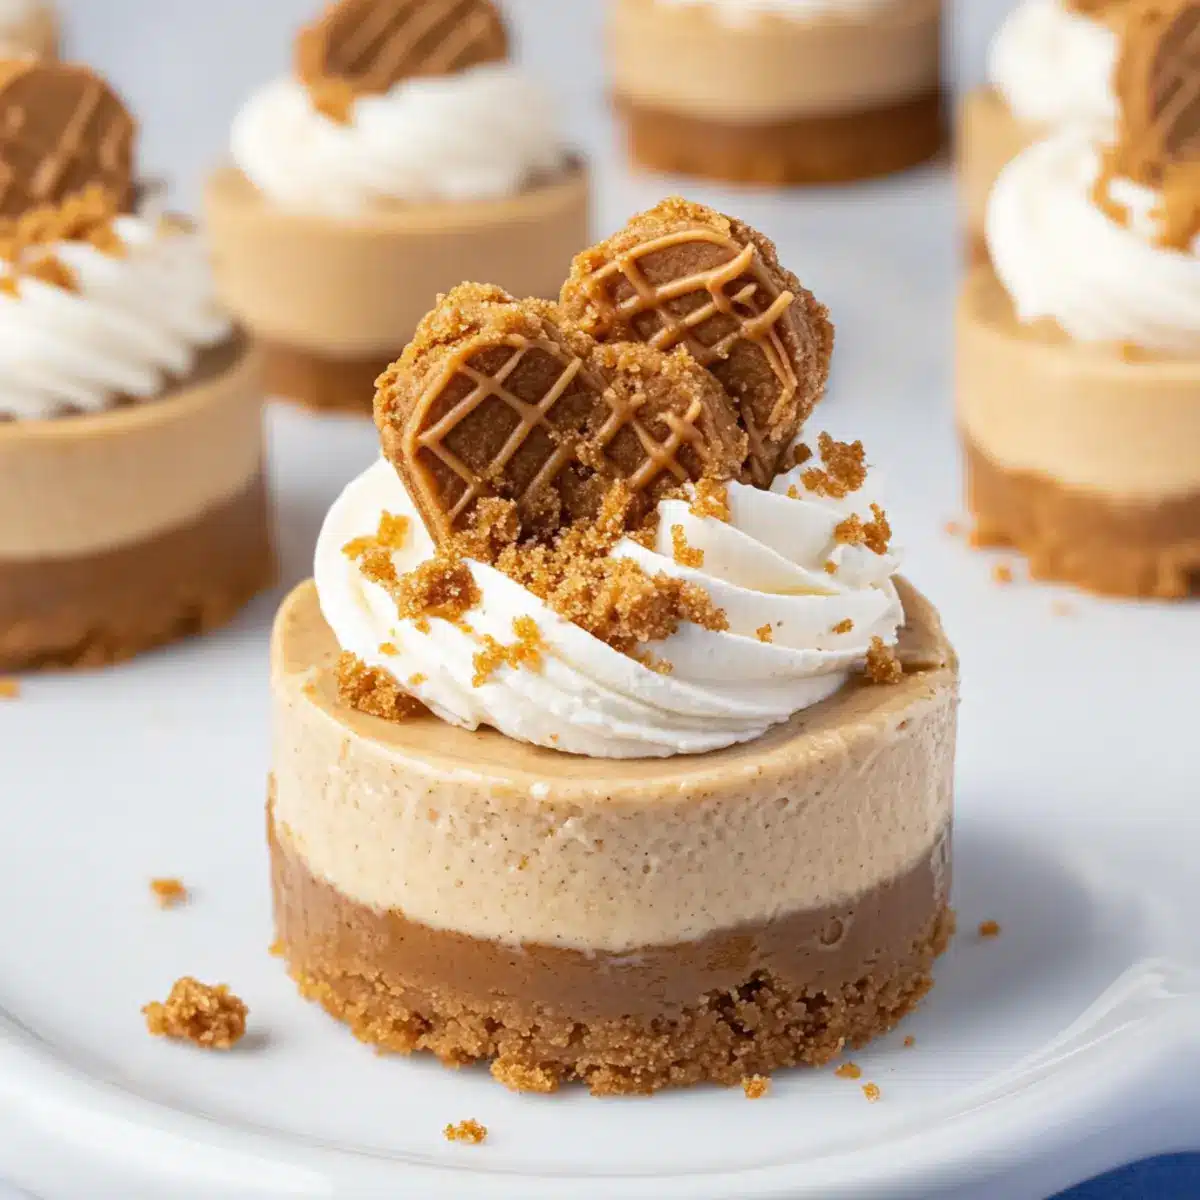
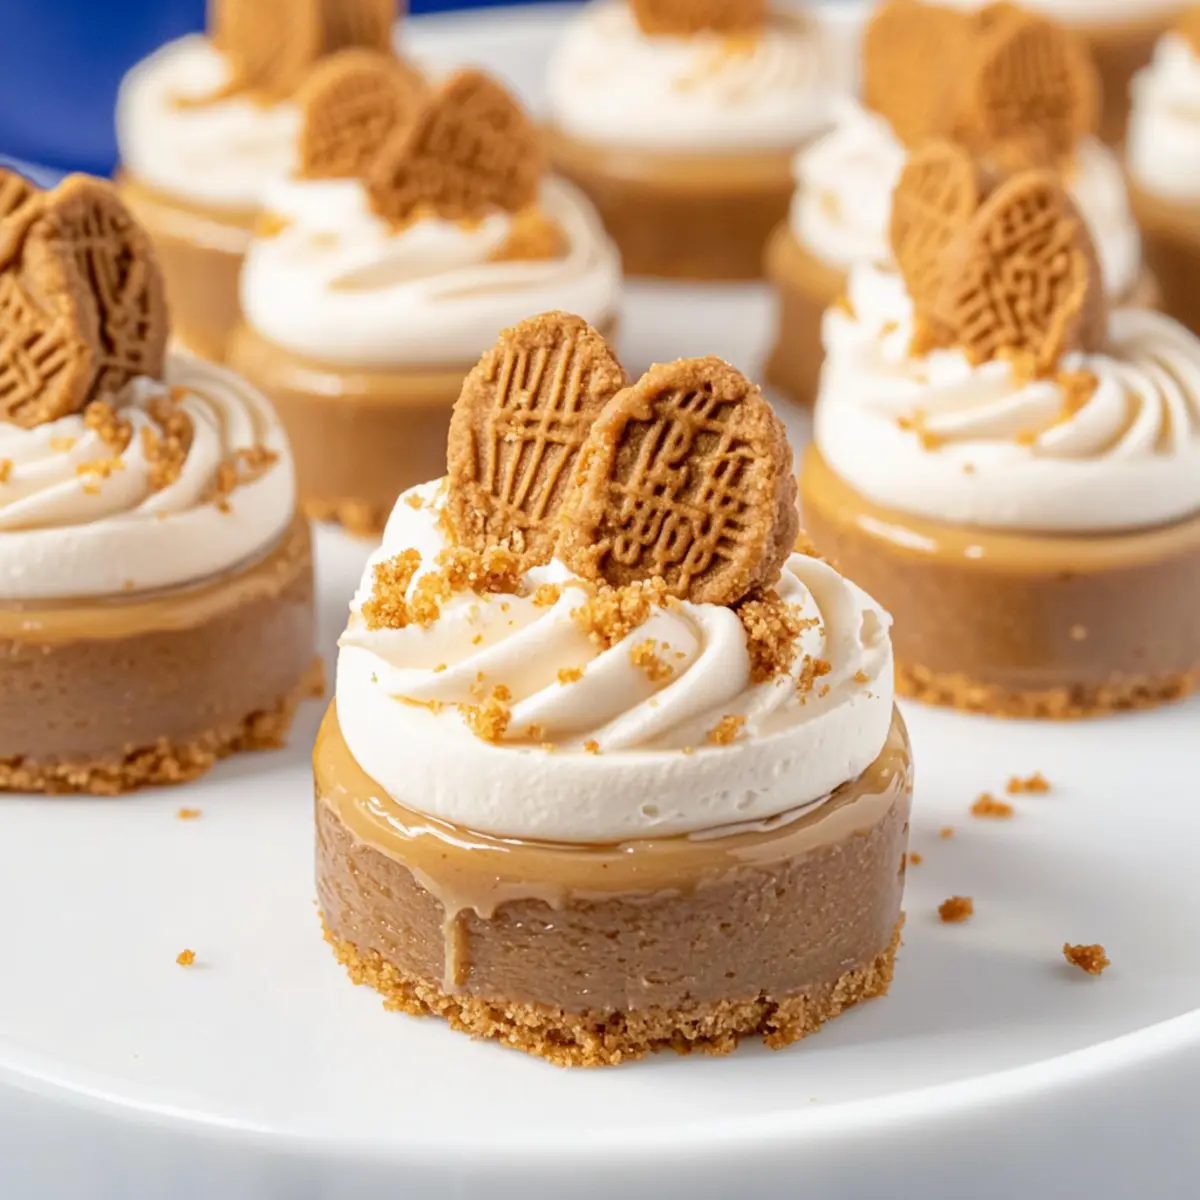
Once your cheesecakes are set and you have whipped cream ready, drizzle heated Biscoff spread over the tops to create an appealing layer. Pipe your freshly whipped cream generously on top, and for an extra touch, sprinkle additional Biscoff cookie crumbs for garnish. Finally, half a Biscoff cookie can be placed on each mini cheesecake for a delightful decoration. Serve these festive Mini Biscoff Cheesecakes chilled and watch them disappear!
What to Serve with Mini Biscoff Cheesecakes?
Indulging in these creamy desserts isn’t complete without the perfect accompaniments. Let’s elevate your dessert experience!
- Chocolate Covered Strawberries: A sweet and fruity contrast, the richness of chocolate pairs beautifully with the creaminess of the cheesecakes.
- Coffee or Espresso: The robust flavors of coffee enhance the sweet, buttery notes of the Biscoff, making for a delightful pairing.
- Fresh Fruits Salad: Crisp and refreshing, a mix of seasonal fruits adds a tangy, vibrant touch to each sweet bite, balancing the cheesecake’s richness.
- Vanilla Ice Cream: A scoop of ice cream adds a silky texture that complements the cheesecakes while enhancing the overall indulgence.
- Caramel Sauce Drizzle: Drizzling caramel adds a sweet and gooey layer, intensifying the dessert’s richness and adding a delightful surprise.
- Whipped Cream Topped with Nuts: The nuttiness introduces a lovely crunch, contrasting perfectly with the creamy cheesecakes and providing a finishing touch.
Transform your dessert table with these pairings for a blissful celebration of flavors!
Expert Tips for Mini Biscoff Cheesecakes
• Room Temperature Ingredients: Ensure all dairy ingredients, especially cream cheese and heavy cream, are at room temperature for easy blending and a smooth texture.
• Avoid Over-Whipping: When making the filling, be cautious not to over-whip the cream; this can lead to a grainy texture instead of the desired fluffiness.
• Use a Piping Bag: For a professional touch, use a piping bag when filling the crusts and adding whipped cream. This ensures even distribution and a beautiful presentation.
• Chill Carefully: Don’t rush the chilling process; refrigerating the cheesecakes for at least 12 hours allows them to set properly, ensuring each bite is a creamy delight.
• Garnish Thoughtfully: When finishing your Mini Biscoff Cheesecakes, feel free to add a sprinkle of Biscoff cookie crumbs or an extra drizzle of cookie butter for an enticing visual and taste boost.
Make Ahead Options
These Mini Biscoff Cheesecakes are ideal for meal prep, saving you time on busy days! You can prepare the crust and cheesecake filling up to 24 hours in advance. Simply mix the Biscoff cookie crumbs, sugar, and melted butter to form the crust and pack it tightly into your mini pans, then refrigerate. For the filling, beat together cream cheese, powdered sugar, Biscoff spread, and vanilla, and fold in whipped cream before storing it in the fridge. When ready to serve, pipe the cheesecake mixture onto the crusts and chill for at least 12 hours to allow it to set. This ensures your cheesecakes are just as delicious, with impeccable texture and flavor!
Storage Tips for Mini Biscoff Cheesecakes
Fridge: Store the cheesecakes in an airtight container in the refrigerator for up to 3 days. This helps maintain their creamy texture and flavor.
Freezer: If you want to keep them longer, place the cheesecakes in the freezer, wrapped tightly in plastic wrap and then aluminum foil, for up to 2 months. Thaw in the fridge before serving.
Reheating: These mini cheesecakes are best enjoyed cold, so no reheating is necessary. Just let them chill in the fridge after thawing for optimal freshness.
Serving Suggestions: Before serving, add a fresh drizzle of heated Biscoff spread and a sprinkle of cookie crumbs to elevate the presentation of your Mini Biscoff Cheesecakes!
Mini Biscoff Cheesecakes Variations
Feel free to explore these delightful twists and substitutions to make your Mini Biscoff Cheesecakes truly yours!
-
Peanut Butter Delight: Swap half of the Biscoff spread with creamy peanut butter for a nutty flavor burst.
This adds a new dimension, appealing to the peanut butter lovers among us! -
Oreo Crust: Replace Biscoff cookie crumbs with crushed Oreos to create a cookie ‘n’ cream twist.
The chocolatey layers complement the cheesecake beautifully, giving it a decadent vibe. -
Greek Yogurt Swap: For a lighter version, substitute cream cheese with Greek yogurt.
You’ll still get that creamy texture but with less fat—enjoy it guilt-free! -
Caramel Drizzle: Add a layer of caramel sauce over the cheesecake filling before chilling.
This additional sweetness creates a rich and gooey experience that everyone will love. -
Spicy Kick: Mix in a pinch of cinnamon or a dash of cayenne pepper for a surprising heat.
This spice contrast offers a unique twist, elevating the dessert to new flavors. -
Dairy-Free Option: Use vegan cream cheese and coconut cream for a completely dairy-free treat.
You won’t miss the traditional ingredients; the flavors will still shine through! -
Chocolate Lovers: Add melted chocolate to the cheesecake filling or use chocolate cookies for the crust.
This dreamy combination will satisfy any chocolate craving while still feeling indulgent. -
Mini Sausage Pancake Twist: For a fun brunch twist, serve your cheesecakes alongside something like these Mini Sausage Pancake muffins.
The savory-sweet combo will impress your guests and create a balanced dessert spread!
Unlock your creativity and tailor these Mini Biscoff Cheesecakes to reflect your personal taste while delighting your loved ones!
Mini Biscoff Cheesecakes Recipe FAQs
How do I choose the best Biscoff cookie crumbs?
Absolutely! When selecting Biscoff cookie crumbs, look for those that are finely crushed, resembling sand. This ensures a smooth and even crust. If using whole cookies, pulsing them in a food processor works wonders to achieve that perfect texture!
What is the best way to store Mini Biscoff Cheesecakes?
Store your Mini Biscoff Cheesecakes in an airtight container in the refrigerator for up to 3 days. This keeps them fresh and prevents them from absorbing other odors. For longer storage, wrap them tightly in plastic wrap, then in aluminum foil, and freeze for up to 2 months. Just thaw them in the fridge when you’re ready to indulge again!
Can I freeze Mini Biscoff Cheesecakes?
Absolutely! To freeze, make sure they’re completely chilled. Wrap each cheesecake tightly in plastic wrap, followed by aluminum foil. This double layer helps prevent freezer burn. When you’re ready to serve, place them in the fridge overnight to thaw. They’ll still taste as delightful as fresh!
Why did my cheesecake filling turn out grainy?
Very good question! A grainy texture can happen if the cream is over-whipped or if the cream cheese isn’t fully softened. Make sure your cream cheese is at room temperature before mixing, and whip the heavy cream until medium-stiff peaks form—this keeps it fluffy yet stable.
Do Mini Biscoff Cheesecakes contain allergens?
Definitely something to consider! These cheesecakes contain dairy (cream cheese and heavy cream) and gluten (Biscoff cookies). If you’re avoiding gluten, you can use gluten-free cookies and check the spread for any potential allergens. Always read labels and adjust as needed for guests with allergies.
What can I substitute for Biscoff spread?
If you’re looking for a twist, consider using peanut butter or Nutella as an alternative to Biscoff spread. For a lighter option, Greek yogurt can replace some of the cream cheese. Just remember that substituting can alter the flavor and texture slightly, so choose based on your preference!
Mini Biscoff Cheesecakes: Indulgent No-Bake Delight
Ingredients
Equipment
Method
- In a mixing bowl, combine Biscoff cookie crumbs, granulated sugar, and melted butter until the mixture resembles wet sand. Press this mixture firmly into the bottoms of mini cheesecake pans to create even crusts. Refrigerate to chill.
- Beat cream cheese until smooth and creamy. Gradually add powdered sugar, Biscoff spread, and vanilla extract, mixing until well-blended. Fold in whipped heavy cream gently.
- Spoon the cheesecake mixture into a piping bag and pipe onto each chilled crust. Smooth the tops with a spatula as desired.
- Cover with plastic wrap and chill for at least 12 hours.
- Whip heavy cream with powdered sugar and vanilla until medium-stiff peaks form.
- Drizzle heated Biscoff spread over the tops, pipe whipped cream on top, and garnish with additional cookie crumbs and half a Biscoff cookie.
Leave a Reply