
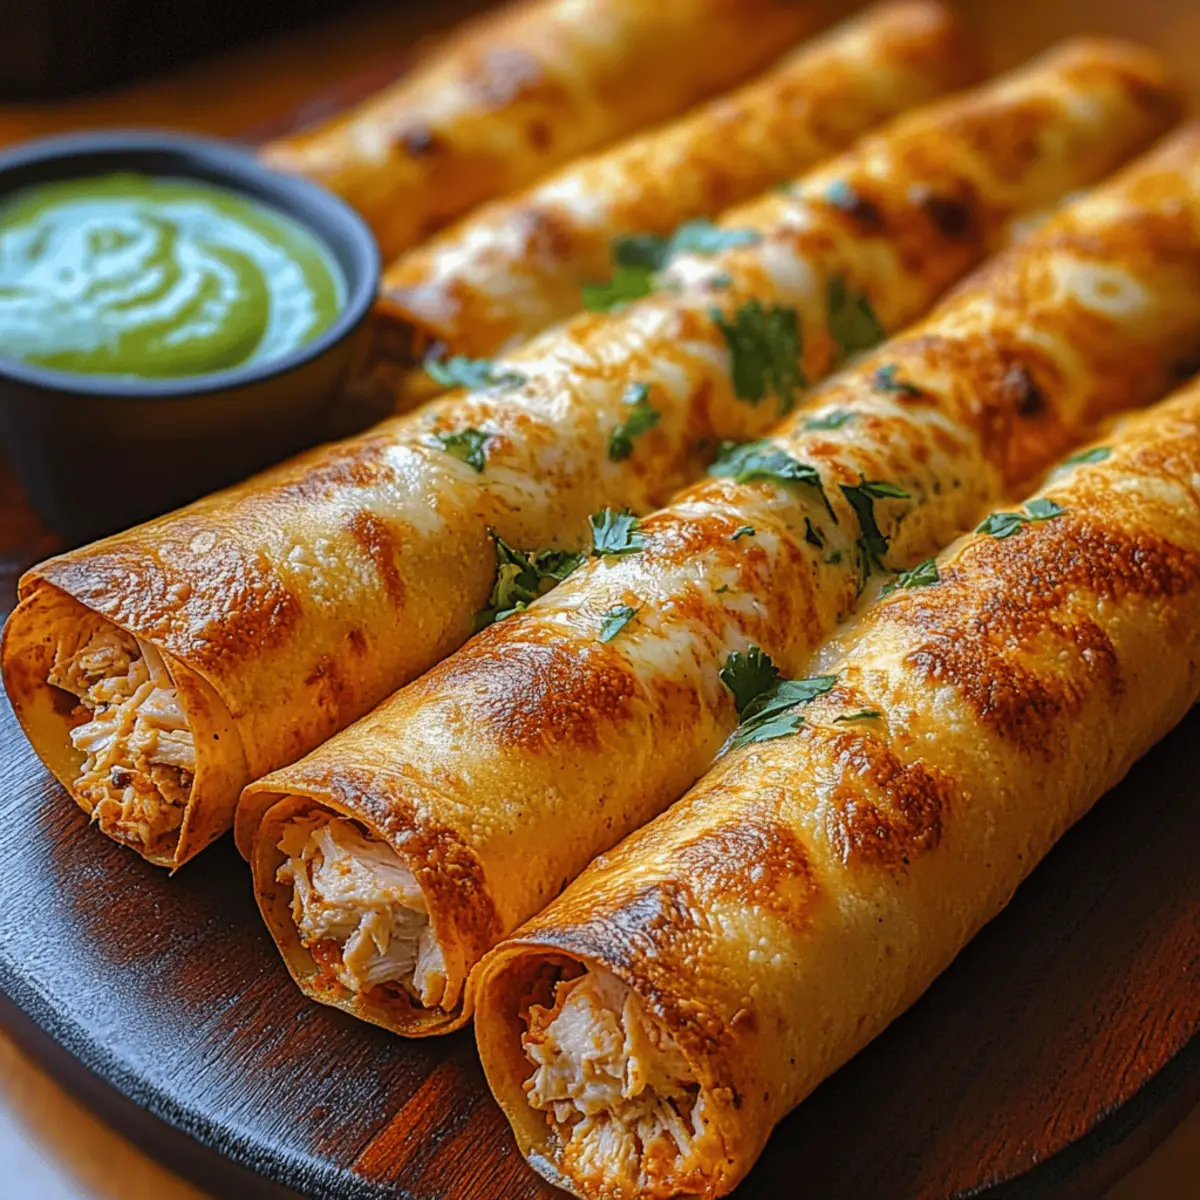
The sizzling sound of tortillas hitting the hot oven brings back joyous memories of family gatherings and game-day celebrations. Today, I’m excited to share my recipe for Crunchy Oven-Baked Chicken Taquitos, an easy and customizable dish that transforms shredded chicken into golden, crispy delights. Perfect for a quick weeknight dinner or a crowd-pleasing appetizer, these taquitos not only save you from fast food but also invite everyone to join in on the fun. The best part? With just a few simple ingredients, including velvety cream cheese and zesty salsa, you’ll have a delicious meal ready in no time. Want to add your own twist? You can easily swap in your favorite proteins or cheeses! What delicious variations will you dream up?
Why Are Taquitos Everyone’s Favorite?
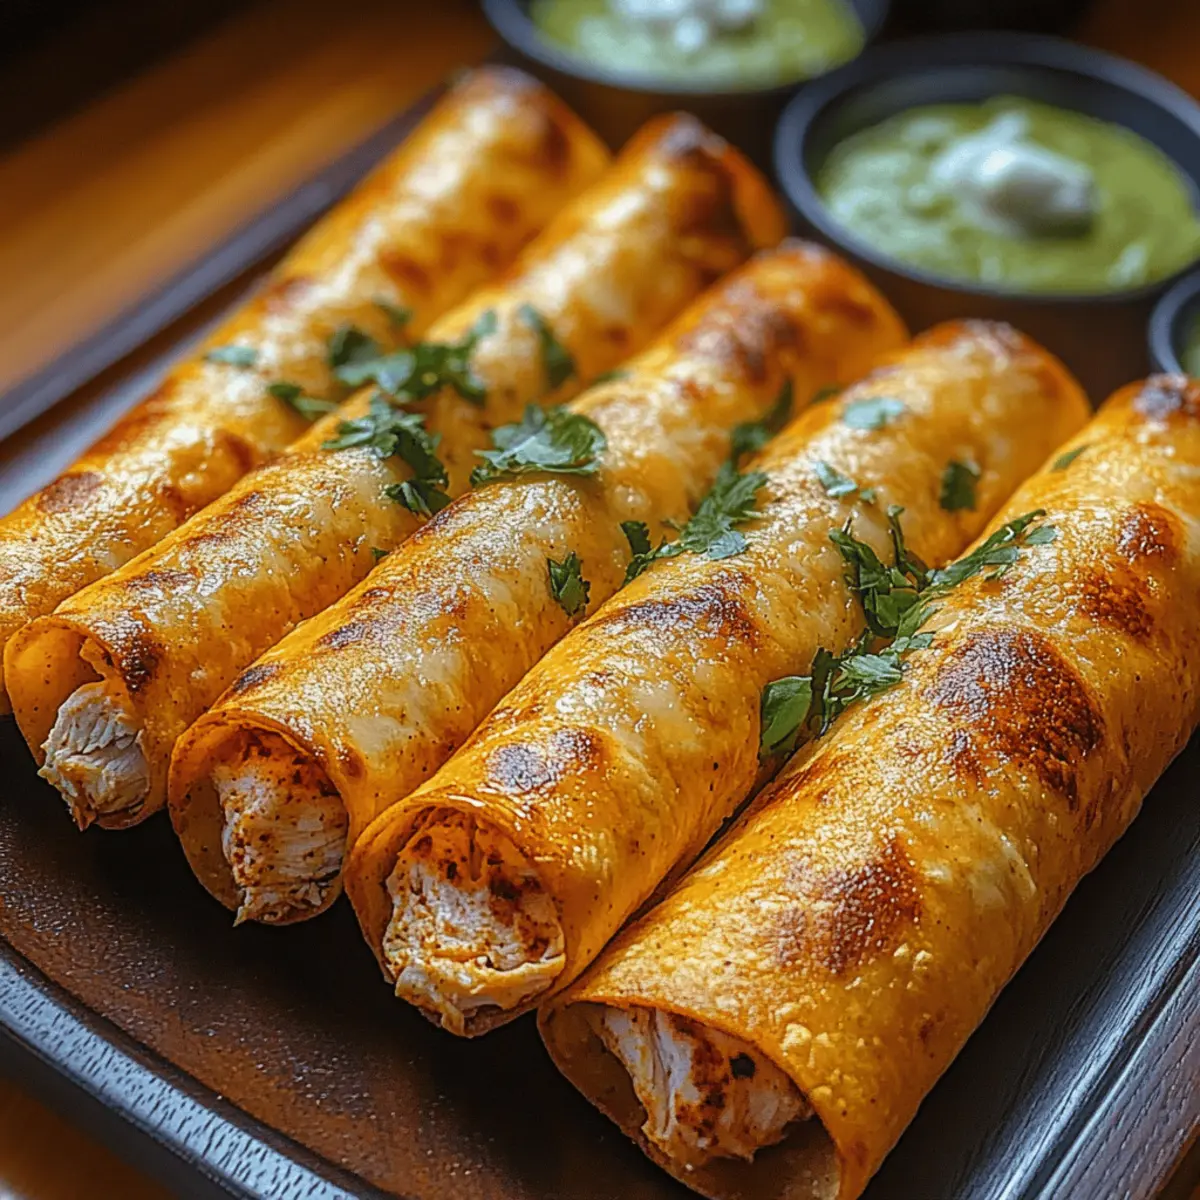
Crunchy, The magic begins with the golden, crispy exterior that perfectly contrasts the creamy filling, delighting every bite.
Easy Prep, With simple ingredients and minimal effort, this recipe is perfect for busy nights or last-minute parties.
Customizable, Tailor these taquitos to your taste! Swap shredded chicken for ground beef or a colorful veggie mix for a vegetarian twist.
Crowd-Pleasing, The irresistible flavors and fun shape make these taquitos a hit at gatherings, setting the stage for laughter and enjoyment.
Healthy Option, Using rotisserie chicken and fresh ingredients, you create a wholesome meal that leaves fast food in the dust.
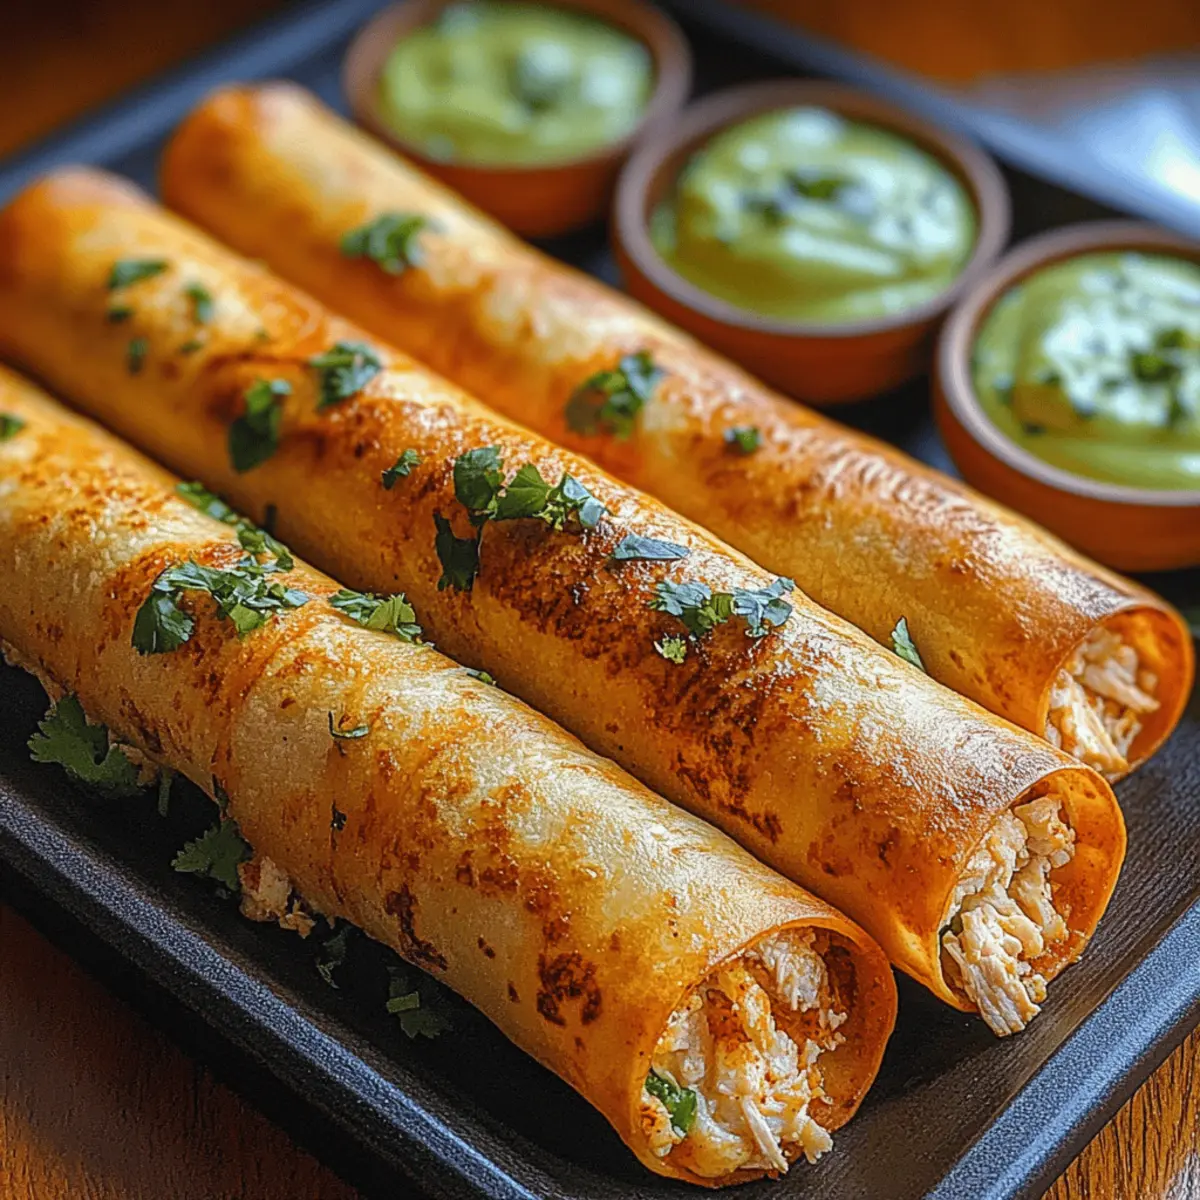
Pair your creations with guacamole or salsa, and don’t forget to check out my Garlic Parmesan Chicken for more delicious ideas!
Crunchy Oven-Baked Chicken Taquitos Ingredients
Here’s everything you’ll need to whip up these delicious taquitos!
For the Filling
- 2 cups shredded cooked chicken – Adds protein and flavor; rotisserie chicken makes it super easy!
- 1 cup cream cheese, softened – Gives creaminess and binds the filling together; consider low-fat cream cheese for a lighter touch.
- 1 cup shredded cheese (cheddar or Mexican blend) – Provides melty goodness; switch it up with your favorite melting cheese!
- 1/2 cup salsa – Infuses moisture and flavor; choose based on your spice preference, or use pico de gallo for freshness.
- 1 teaspoon taco seasoning – Enhances traditional flavors; feel free to use your homemade blend for a personal touch.
- 1 tablespoon fresh lime juice – Adds a zesty brightness; lemon juice serves as a great alternative.
- 1/4 cup chopped fresh cilantro (optional) – Offers bright, herbaceous notes; skip it if cilantro isn’t your favorite.
For the Wrapping
- 10-12 small flour tortillas – Provide the perfect structure for your taquitos; corn tortillas are a great gluten-free option.
- Cooking spray or olive oil – Helps achieve a crispy texture; apply lightly to avoid excess calories.
Optional Toppings
- Guacamole, sour cream, or additional salsa – Perfect for serving alongside your taquitos; get creative with toppings like diced tomatoes or sliced jalapeños!
Get ready to create a batch of these Crunchy Oven-Baked Chicken Taquitos that everyone will love!
Step‑by‑Step Instructions for Crunchy Oven-Baked Chicken Taquitos
Step 1: Preheat the Oven
Begin by preheating your oven to 425°F (220°C). This temperature is crucial for achieving that golden, crunchy exterior that makes these Oven-Baked Chicken Taquitos so delightful. While the oven heats, prepare your workspace to keep the cooking process smooth and efficient.
Step 2: Prepare Baking Sheet
Line a baking sheet with parchment paper or lightly grease it with cooking spray or olive oil. This will help prevent the taquitos from sticking and promote even browning. Make sure the sheet is ready for the taquitos once you finish assembling them.
Step 3: Mix the Filling
In a large mixing bowl, combine the shredded chicken, softened cream cheese, shredded cheese, salsa, taco seasoning, lime juice, and optional cilantro. Use a sturdy fork or spatula to mix until well combined. This creamy filling is the heart of your Crunchy Oven-Baked Chicken Taquitos, and it should be fully integrated for the best flavor.
Step 4: Warm Tortillas
To make your small flour tortillas pliable and easy to roll, heat them in the microwave for about 10-15 seconds. This gentle warming helps to prevent cracking when you begin to fill and roll each tortilla. Keeping them warm will also help maintain their flexibility.
Step 5: Assemble Taquitos
Spoon a generous amount of the chicken filling onto the center of each tortilla. Roll the tortilla tightly around the filling, ensuring the seam side is down when placing them onto the prepared baking sheet. Be careful not to overfill; this will help your Crunchy Oven-Baked Chicken Taquitos hold their shape during baking.
Step 6: Oil the Taquitos
Once all the taquitos are assembled, lightly spray or brush the tops with olive oil. This step is important for achieving that irresistibly crispy finish you’re looking for. A thin coating of oil will keep them golden without making them greasy.
Step 7: Bake the Taquitos
Place the baking sheet in the preheated oven and bake for 15 minutes. After this initial time, carefully flip each taquito and continue baking for an additional 10-15 minutes, or until they are golden brown and crisp on all sides. This double-baking ensures crunch in every bite.
Step 8: Serve Warm
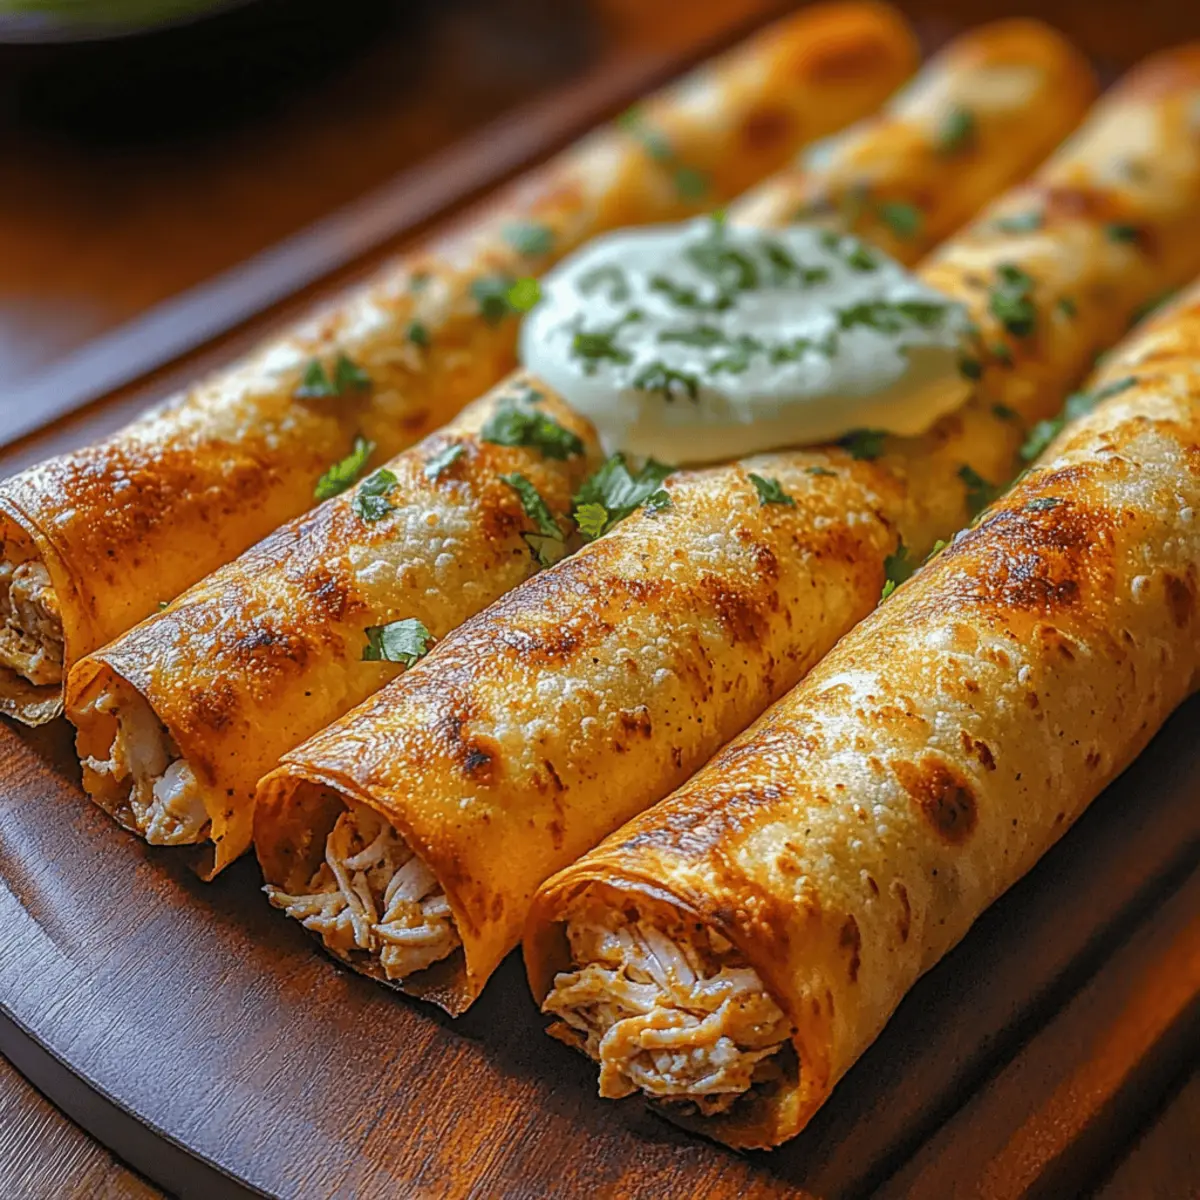
Once baked, remove the Crunchy Oven-Baked Chicken Taquitos from the oven and let them cool slightly. Serve them warm alongside your favorite toppings like guacamole, sour cream, or additional salsa. These delicious bites are perfect for sharing and will surely impress your family and friends!
What to Serve with Crunchy Oven-Baked Chicken Taquitos
Elevate your taquito experience with delightful sides that complement the crispy goodness and savory filling, turning every bite into a fiesta!
-
Mexican Rice: A fluffy, flavorful base that balances the crunchy taquitos, adding a hearty, comforting element to your meal.
-
Black Beans: Rich in protein and fiber, these seasoned black beans add a creamy texture and earthy notes, making them a perfect nutritional companion.
-
Fresh Salsa: The bright, zesty flavors of fresh salsa not only enhance your taquitos but also bring a refreshing contrast to their crunchiness.
-
Guacamole: Creamy and rich, guacamole adds a luscious touch that beautifully complements the savory filling of the taquitos. This dip is a must-have for extra indulgence!
-
Crisp Salad: Include a light, zesty salad featuring greens and a tangy vinaigrette to provide a fresh contrast to the richness of the taquitos.
-
Margaritas: A chilled margarita is the ultimate pairing, bringing a hint of sweetness and zesty lime that enhances the festive atmosphere of your meal.
-
Churros: Finish off with some warm churros, dusted in cinnamon sugar. This sweet treat provides the perfect ending, balancing the savory flavors of your crunchy taquitos.
Expert Tips for Crunchy Oven-Baked Chicken Taquitos
- Preheat Wisely: Ensure the oven reaches 425°F (220°C) before baking. A properly preheated oven is key to achieving that perfect crunchy texture.
- Tortilla Management: Warm tortillas in the microwave briefly to avoid cracking. This makes rolling them easier and prevents rupture during baking.
- Avoid Overfilling: Keep the filling amount moderate to prevent messy spills when rolling. This will help your Crunchy Oven-Baked Chicken Taquitos maintain their shape.
- Oil Lightly: A light spray or brush of oil on the taquitos promotes crispiness without overwhelming them with grease, keeping calories in check.
- Rotate for Evenness: Don’t forget to flip the taquitos halfway through baking. This ensures that all sides get equally golden and crunchy, enhancing your taquito experience.
Make Ahead Options
These Crunchy Oven-Baked Chicken Taquitos are perfect for meal prep enthusiasts looking to save time on busy weeknights! You can prepare the filling (chicken, cream cheese, cheese, salsa, seasoning, and lime juice) up to 24 hours in advance; simply store it in an airtight container in the refrigerator. Additionally, you can assemble the taquitos and refrigerate them for up to 3 days before baking. Just cover them tightly with plastic wrap to maintain freshness and prevent drying out. When you’re ready to serve, preheat your oven, place the taquitos on a baking sheet, lightly brush with oil, and bake as directed. Enjoy the delicious crunch and save yourself valuable time!
Storage Tips for Crunchy Oven-Baked Chicken Taquitos
Fridge: Keep leftover taquitos in an airtight container for up to 3 days. Reheat in the oven for best texture, ensuring they regain their crispiness.
Freezer: Freeze assembled taquitos in a single layer on a baking sheet. Once frozen, transfer to a zip-top bag for up to 2 months. Bake directly from frozen, adding a few extra minutes to the cooking time.
Reheating: For perfectly crispy taquitos, reheat in a preheated oven at 400°F (200°C) for about 10-12 minutes, ensuring they are heated through. Enjoy your Crunchy Oven-Baked Chicken Taquitos again and again!
Room Temperature: If you plan to eat them within a couple of hours, keep taquitos at room temperature but cover them loosely to maintain some crispness.
Crunchy Oven-Baked Chicken Taquitos Variations
Feel free to unleash your creativity and personalize these delicious taquitos to your heart’s content!
-
Vegetarian Delight: Substitute shredded chicken with black beans, corn, and bell peppers for a vibrant, meat-free option. This mix not only packs in protein but also colorful nutrition, perfect for a plant-based meal!
-
Spicy Twist: Add diced jalapeños or a splash of hot sauce to the filling for an extra kick. The heat complements the creamy cheese beautifully, making each bite an adventure.
-
Cheese Upgrade: Swap the cheddar for Pepper Jack or a smoky Gouda for a bold flavor experience. The gooeyness will melt in your mouth as you enjoy these new twists!
-
Greek Style: Replace the taco seasoning with oregano and feta cheese for a Mediterranean flair. Serve with tzatziki on the side for a refreshing dip that transports you to Greece.
-
Sweet and Savory: Incorporate bits of pineapple or mango with your chicken for a sweet surprise. The fruity addition brightens the flavors, making these taquitos a tropical delight!
-
Whole Wheat Option: Use whole wheat tortillas for a healthier choice that adds fiber. This variation supports a wholesome appetite without compromising on taste.
-
Breakfast Taquitos: Fill with scrambled eggs, breakfast sausage, and cheese for a hearty morning meal. Pairing these with a side of salsa verde will jumpstart your day with joy!
-
Smoky BBQ: Replace the salsa with your favorite barbecue sauce and add pulled pork for a southern-inspired twist. Serve with coleslaw for a delightful crunch and contrast.
Each variation invites you to explore and enjoy your culinary journey, allowing you to make these Crunchy Oven-Baked Chicken Taquitos uniquely yours. If you’re in the mood for more delightful chicken recipes, consider my Chicken Etouffee Savory or the classic Chicken Caesar Sandwich. Happy cooking!
Crunchy Oven-Baked Chicken Taquitos Recipe FAQs
What type of chicken is best for taquitos?
Absolutely! Using shredded rotisserie chicken is my top recommendation for ease and flavor; it saves time and adds delicious seasoning. If you prefer, leftover grilled chicken or even canned chicken can work in a pinch, but make sure to season it well.
How should I store leftover taquitos?
Store your leftover Crunchy Oven-Baked Chicken Taquitos in an airtight container in the refrigerator for up to 3 days. When you’re ready to enjoy them again, pop them in the oven at 400°F (200°C) for about 10-12 minutes to regain that lovely crunch!
Can I freeze the taquitos?
Yes! To freeze, lay assembled taquitos in a single layer on a baking sheet and freeze for about 1-2 hours until firm. Once frozen, transfer them to a zip-top bag, removing as much air as possible. They can last in the freezer for up to 2 months. When you’re ready to bake them, cook straight from frozen, adding a few extra minutes to the cooking time.
What should I do if my taquitos come out soggy?
To prevent sogginess, ensure the oven is fully preheated to 425°F (220°C) before baking. Additionally, avoid overfilling the tortillas, as this can lead to moisture trapping inside. If you encounter soggy taquitos, re-bake them at a higher temp for a few minutes to restore their crunchiness.
Are these taquitos suitable for people with dietary restrictions?
Yes! To make them gluten-free, simply swap flour tortillas for corn tortillas. If you’re looking for lower fat options, using low-fat cream cheese is a fantastic alternative. Make sure to verify that all ingredients are compatible with any allergies, like dairy or specific seasonings, to accommodate dietary needs.
What are some tasty filling alternatives I can use?
Very! If you wish to mix it up, try using ground beef, pulled pork, or a medley of sautéed vegetables and beans for a vibrant vegetarian option. For cheese choices, consider using Pepper Jack for a kick or mozzarella for gooeyness. Customization is key to making these taquitos your own!
Crispy Crunchy Oven-Baked Chicken Taquitos Everyone Loves
Ingredients
Equipment
Method
- Preheat your oven to 425°F (220°C).
- Line a baking sheet with parchment paper or lightly grease it.
- In a large mixing bowl, combine all filling ingredients and mix well.
- Warm tortillas in the microwave for about 10-15 seconds.
- Spoon filling onto each tortilla and roll tightly.
- Lightly spray or brush the tops with olive oil.
- Bake for 15 minutes, then carefully flip and continue baking for another 10-15 minutes or until golden brown.
- Serve warm with your favorite toppings.
Leave a Reply