
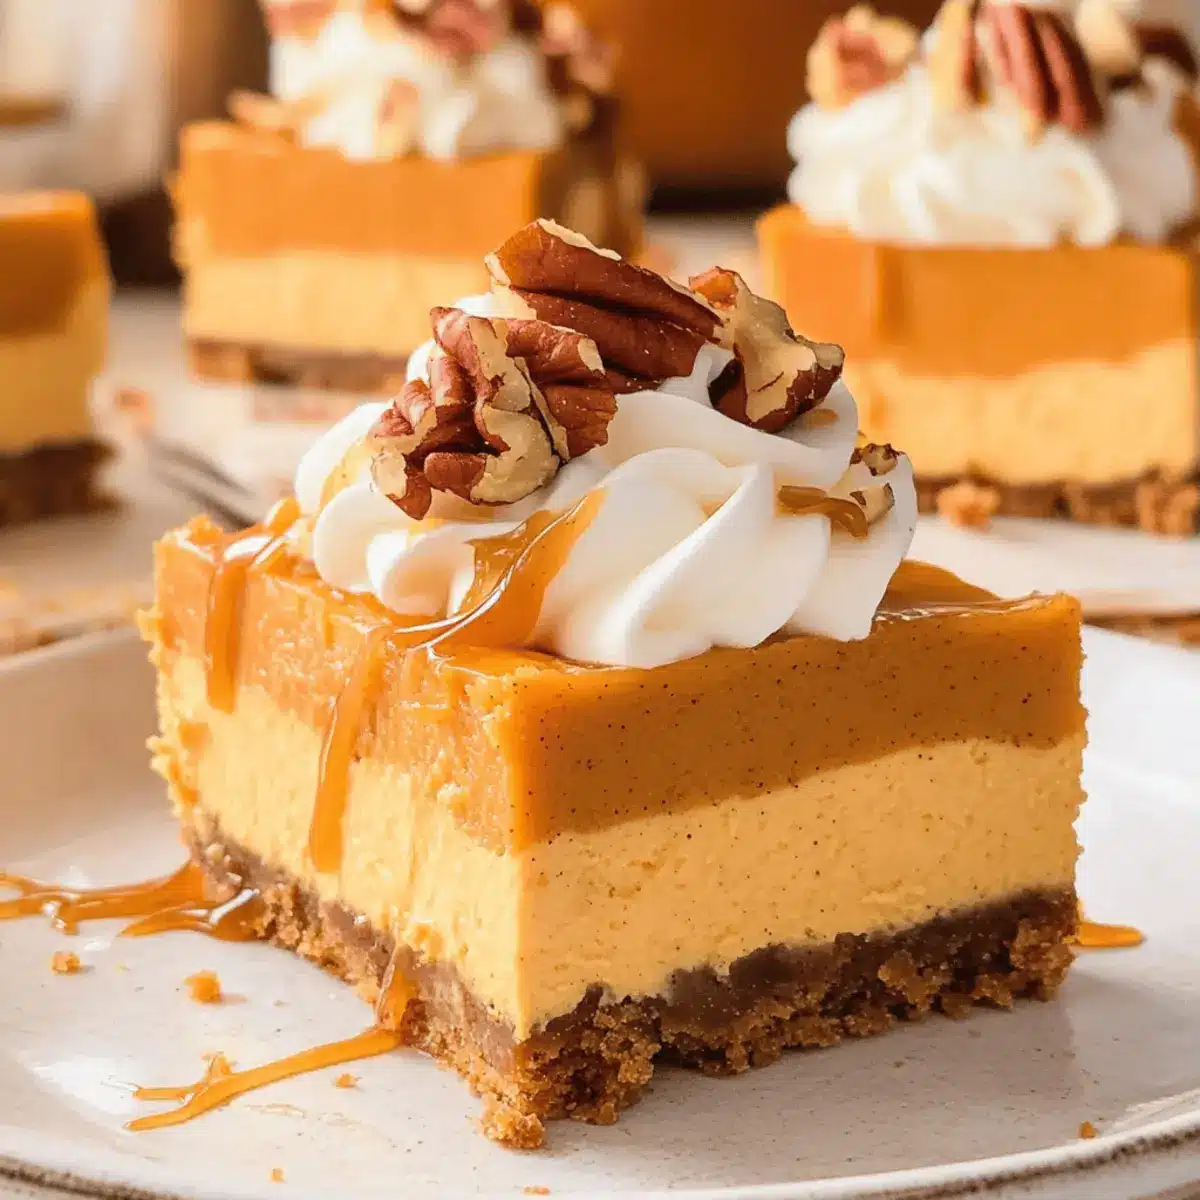
As the crisp autumn air rolls in, I often find myself daydreaming about cozy gatherings filled with laughter and seasonal treats. One dessert that’s become my go-to for such occasions is No-Bake Pumpkin Cheesecake Bars—a delightful way to embrace those warm fall flavors without turning on the oven. The buttery Biscoff crust paired with the creamy pumpkin filling is a match made in dessert heaven. Not only are these squares perfect for Thanksgiving celebrations or potlucks, but they also require minimal effort, allowing you to enjoy quality time with friends and family rather than spending hours in the kitchen. Plus, they can be easily customized for gluten-free diets or made vegan, making them an inclusive sweet treat for everyone at the table. Ready to impress your guests with a stunning and delectable dessert? Let’s dive into how to make this autumn favorite!
Why Are These Bars a Must-Try?
Simplicity: These No-Bake Pumpkin Cheesecake Bars require minimal effort, allowing you to create a stunning dessert without spending all day in the kitchen.
Flavor Explosion: The combination of creamy pumpkin filling, buttery Biscoff crust, and a hint of pumpkin spice captures the essence of fall in every bite.
Customizable: Easily swap ingredients to create gluten-free or vegan versions, ensuring everyone can enjoy this autumn delight.
Crowd-Pleaser: Perfect for Thanksgiving, potlucks, or casual gatherings, these bars will impress family and friends alike, making them a must-have on any dessert table.
Make-Ahead Option: Prepare these bars in advance for stress-free entertaining, leaving you free to enjoy precious moments with your loved ones.
If you love seasonal treats, you might also enjoy our Healthy Pumpkin Oat cookies or the rich flavors of Thick Chewy Pumpkin chocolate chip cookies.
No Bake Pumpkin Cheesecake Bars Ingredients
For the Crust
• Biscoff crumbs – Creates a flavorful and crunchy base; substitute gluten-free graham crackers for a gluten-free version.
• Melted butter – Binds the crust ingredients together; use a dairy-free alternative for a non-dairy version.
• Brown sugar – Adds sweetness and depth to the crust; can be replaced with coconut sugar for a healthier alternative.
For the Filling
• Cream cheese – Provides a creamy texture to the filling; use non-dairy cream cheese for a vegan option.
• Powdered sugar – Sweetens the filling while keeping it light; adjust the quantity to taste.
• Pumpkin purée – Infuses the filling with quintessential pumpkin flavor; fresh or canned works well.
• Vanilla extract – Enhances the overall flavor profile.
• Pumpkin pie spice – Offers a classic fall spiciness; substitute with a mix of cinnamon and nutmeg if not available.
• Cool Whip – Lightens the filling while adding creaminess; replace with homemade whipped cream for better flavor, but note Cool Whip stabilizes better for storage.
Optional Toppings
• Whipped cream or heavy cream – Adds richness and a fluffy topping.
• Chopped pecans – Provides crunch and a nutty flavor; can be omitted for nut-free.
• Caramel sauce – For a sweet drizzle that complements the pumpkin flavor.
Get ready to whip up these No Bake Pumpkin Cheesecake Bars and experience the joys of fall in every delicious bite!
Step‑by‑Step Instructions for No Bake Pumpkin Cheesecake Bars
Step 1: Prepare the crust
Begin by lining an 8×8 inch baking pan with parchment paper, allowing some overhang for easy removal. In a mixing bowl, combine Biscoff crumbs, melted butter, and brown sugar, stirring until completely moistened. Press the mixture firmly into the bottom of the pan using the back of a measuring cup. Chill the crust in the refrigerator for about 30 minutes while you make the filling.
Step 2: Make the filling
In a large mixing bowl, beat the cream cheese with a hand mixer on medium speed until it becomes smooth and creamy, about 2 minutes. Gradually add powdered sugar, pumpkin purée, vanilla extract, and pumpkin pie spice. Mix until well combined and smooth, scraping down the sides of the bowl as needed. Next, gently fold in the Cool Whip until the mixture is light and fluffy.
Step 3: Combine layers
Once the crust is chilled, spread the creamy filling evenly over the crust, smoothing the top with a spatula. Ensure the filling is evenly distributed to create a uniform layer. Cover the pan with plastic wrap or a lid, and refrigerate for at least 4 hours, or until the filling is set and firm to the touch.
Step 4: Serve
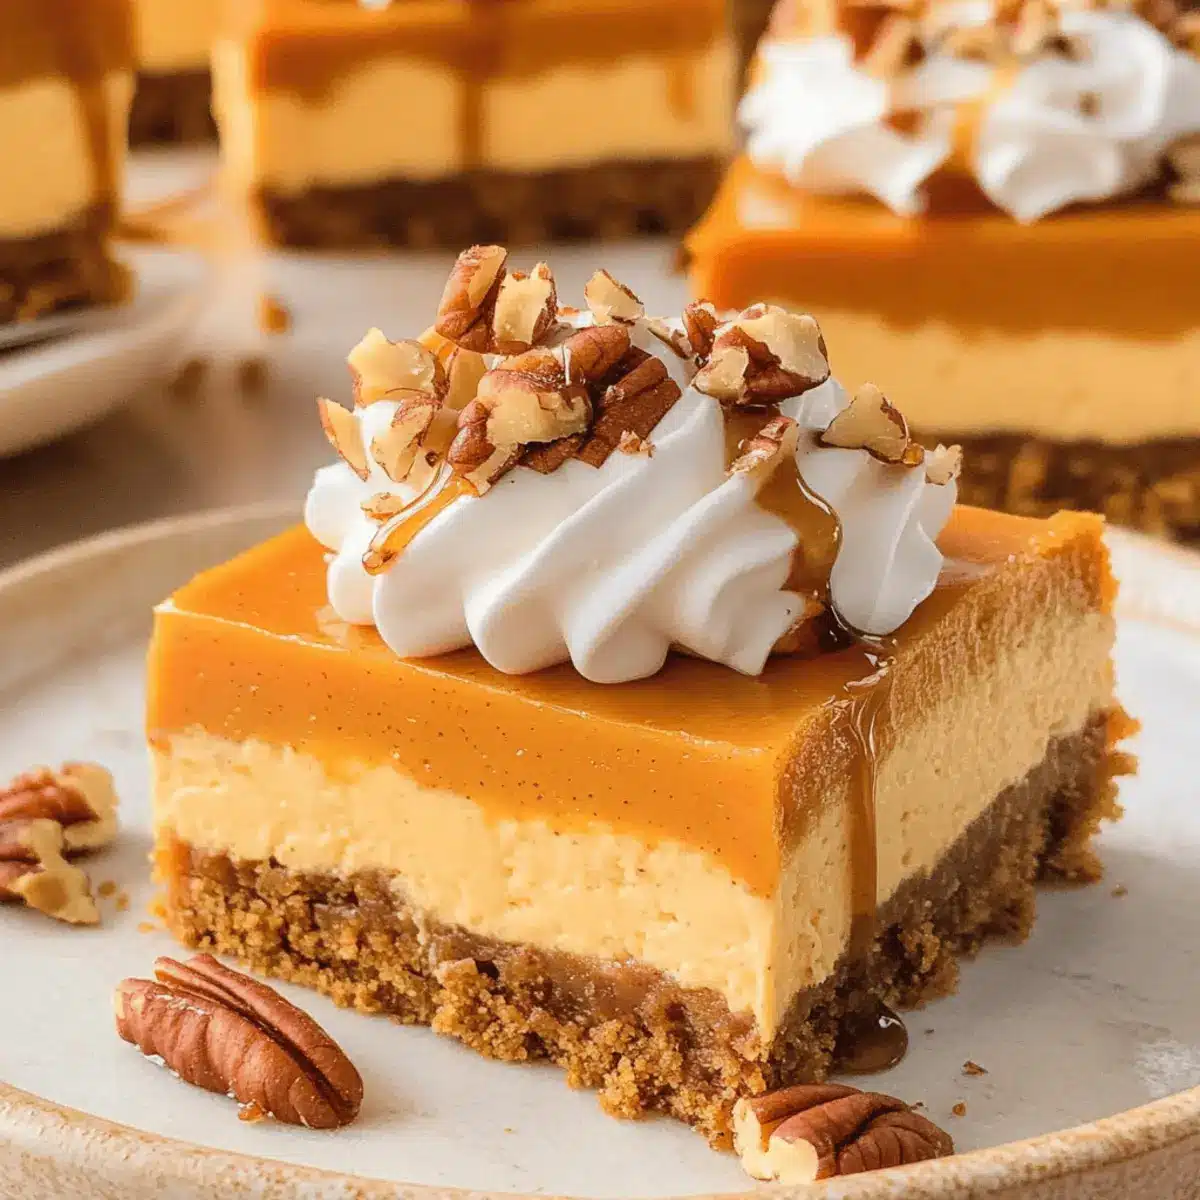
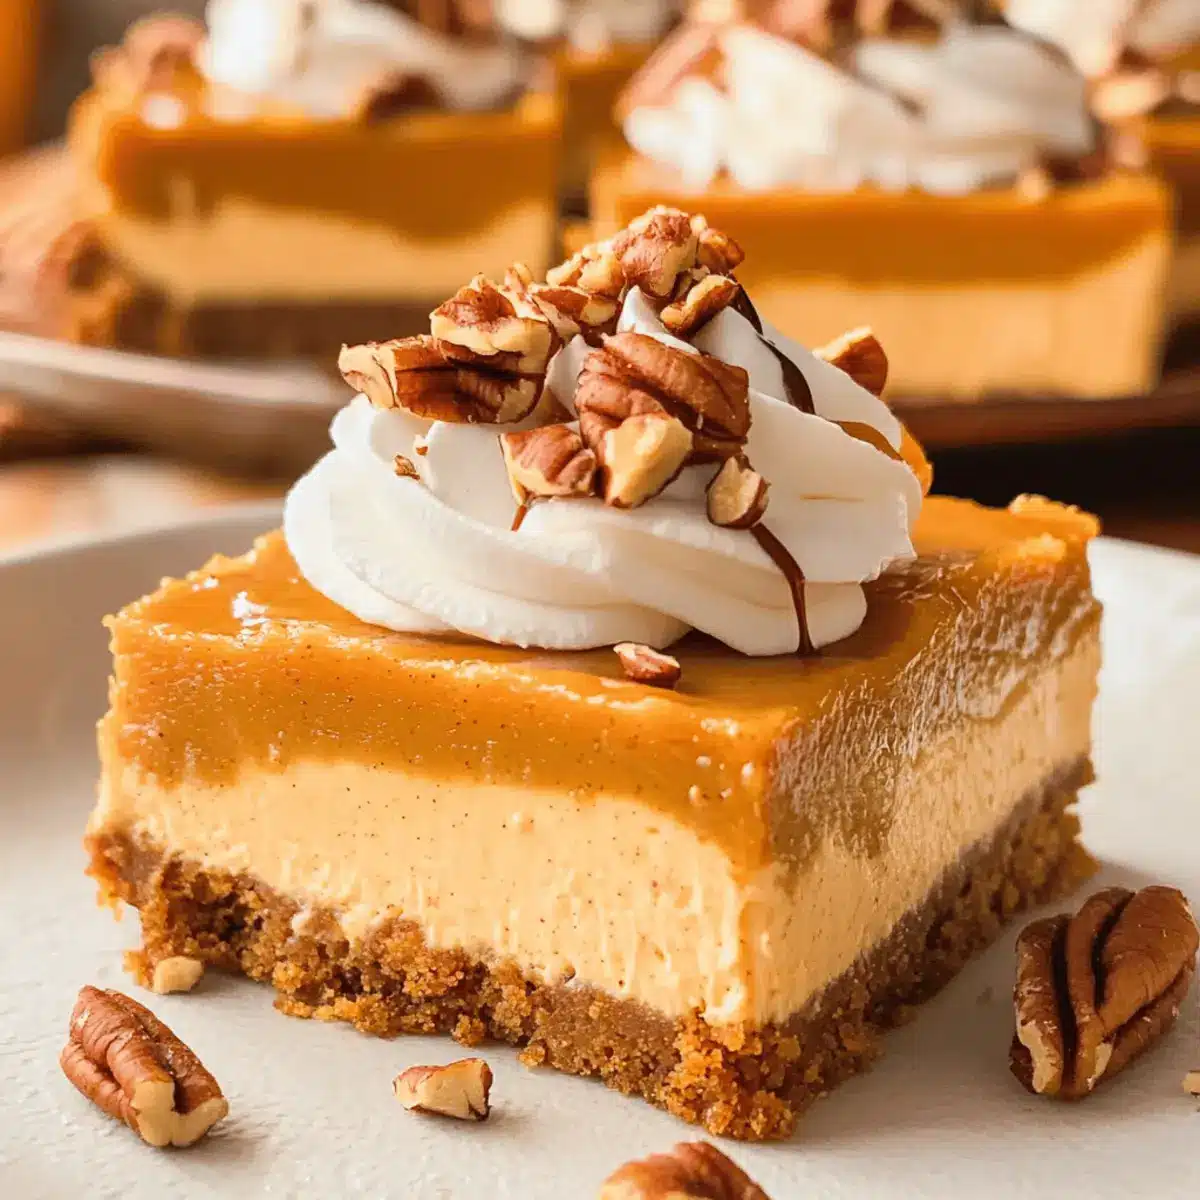
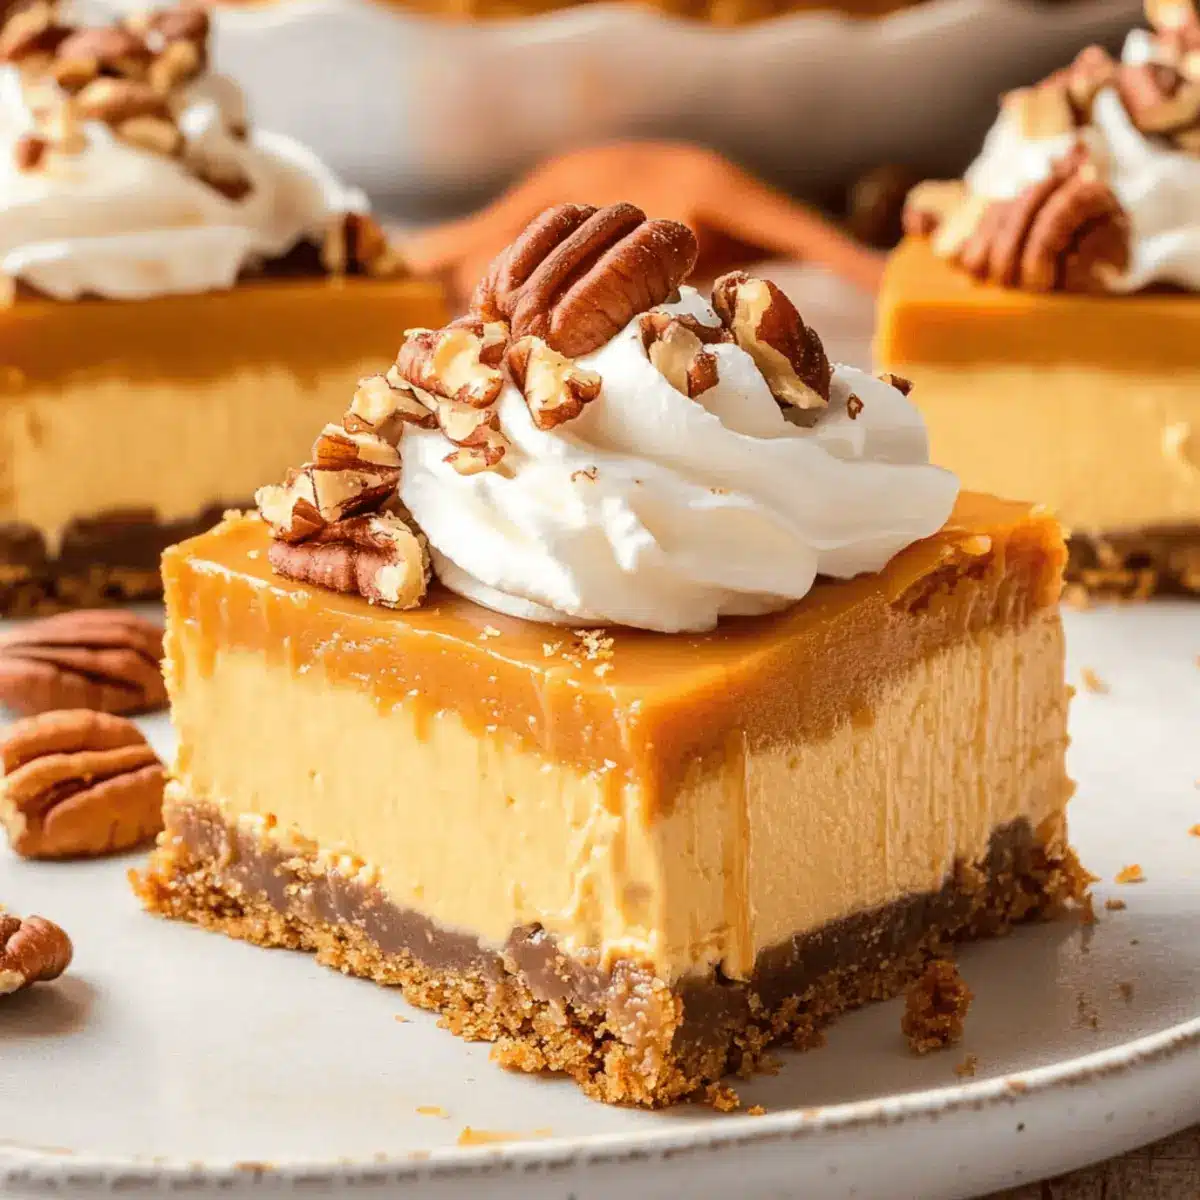
When ready to serve, remove the pan from the refrigerator and lift the bars out using the parchment overhang. Slice into squares using a sharp knife for clean edges. Top each square with a dollop of whipped cream, a sprinkle of chopped pecans, and a drizzle of caramel sauce if desired. Enjoy these No Bake Pumpkin Cheesecake Bars with family and friends!
What to Serve with No-Bake Pumpkin Cheesecake Bars
As the aroma of autumn fills the air, complement these delightful No-Bake Pumpkin Cheesecake Bars with flavors and textures that elevate your gathering.
-
Creamy Mashed Potatoes: Rich and buttery, they provide a comforting contrast to the dessert’s sweetness.
-
Fall Harvest Salad: A vibrant mix of greens, roasted squash, and cranberries adds a fresh crunch that beautifully balances the rich cheesecake bars.
-
Warm Spiced Apple Cider: Enjoy the cozy warmth of spiced cider that echoes the flavors of fall, making every bite of dessert feel like a warm hug.
-
Roasted Brussels Sprouts: The caramelized edges of Brussels sprouts offer a savory note that perfectly complements the creamy sweetness of the cheesecake.
-
Pecan Pie: For the ultimate Thanksgiving dessert table, pair with a classic pecan pie; the nutty crunch is a lovely contrast to the smooth cheesecake.
-
Chocolate Drizzle: A drizzle of warm chocolate sauce brings an indulgent twist to these pumpkin bars, enhancing their festive appeal.
-
Maple-Glazed Carrots: Sweet, roasted carrots add a touch of earthiness and sweetness, creating a delightful interplay of flavors alongside the dessert.
-
Coffee or Espresso: A rich cup of coffee or espresso can cut through the richness of the bars, enhancing their flavor in a beautifully uplifting way.
How to Store and Freeze No-Bake Pumpkin Cheesecake Bars
Fridge: Keep your No-Bake Pumpkin Cheesecake Bars covered in the fridge for up to 4 days. This helps to maintain their creamy texture and prevent them from drying out.
Freezer: For longer storage, freeze the bars without any toppings for up to 2 months. Wrap them tightly in plastic wrap and then in aluminum foil to avoid freezer burn.
Thawing: When ready to enjoy, thaw the bars overnight in the refrigerator before serving. This ensures they remain creamy and easy to slice.
Reheating: These bars are best served chilled, so no reheating is necessary. Just slice and enjoy!
No Bake Pumpkin Cheesecake Bars Variations
Feel free to let your creativity flourish as you customize these delicious bars to suit your taste and dietary needs.
-
Gluten-Free: Substitute Biscoff crumbs with gluten-free graham crackers for a seamless switch that everyone can enjoy.
-
Dairy-Free: Opt for a dairy-free butter and non-dairy cream cheese to whip up a vegan-friendly version that’s equally scrumptious.
-
Low-Sugar: Replace brown sugar with coconut sugar or a sugar substitute to cater to those looking to reduce sweetness without sacrificing flavor.
-
Flavor Boost: Add a splash of maple syrup or a hint of orange zest to the filling for an exciting twist that enhances the pumpkin flavor.
-
Nuts Substitute: If allergies are a concern, swap out chopped pecans for sunflower seeds or omit them entirely for a simple, nut-free treat.
-
Spice Variations: Experiment with flavors by incorporating a touch of grated ginger, cardamom, or cloves into the filling for extra warmth that’s perfect for fall.
-
Chocolate Twist: Create an indulgent version by folding in mini chocolate chips or using crushed Oreos for the crust, pairing beautifully with pumpkin.
-
Caramel Swirl: Drizzle caramel sauce through the cheesecake filling before chilling for a beautiful marbled effect and extra sweetness.
For more delightful pumpkin recipes, don’t miss our Pumpkin Chocolate Chip cookies or the creamy goodness of our White Chocolate Cheesecake!
Make Ahead Options
These No-Bake Pumpkin Cheesecake Bars are a dream for busy home cooks looking to save time without sacrificing flavor! You can prepare the crust up to 30 minutes in advance and refrigerate it until you’re ready to make the filling. Both the filling and the bars can be made up to 3 days ahead; just store them covered in the refrigerator. To maintain quality and prevent the crust from getting soggy, keep it covered tightly with plastic wrap. When you’re ready to serve, simply slice the chilled bars and top them with whipped cream, chopped pecans, and caramel sauce for that festive touch. Enjoy the tastiness of your No-Bake Pumpkin Cheesecake Bars without the last-minute rush!
Expert Tips for No Bake Pumpkin Cheesecake Bars
-
Clean Cuts: Use a sharp knife dipped in hot water for cleaner slices, ensuring each piece looks as good as it tastes.
-
Room Temperature Ingredients: Always use room temperature cream cheese and Cool Whip for a smoother filling, which helps avoid lumps in your No Bake Pumpkin Cheesecake Bars.
-
Chill Properly: Make sure to refrigerate for the full 4 hours to allow the filling to set properly, ensuring that every bite holds its shape.
-
Customize Wisely: If substituting ingredients for dietary restrictions, like gluten-free crusts or dairy-free cream cheese, be sure to choose good-quality alternatives for the best taste.
-
Top It Off: Don’t skip the topping! Whipped cream, pecans, and caramel sauce enhance both flavor and presentation, creating an irresistible dessert experience.
No-Bake Pumpkin Cheesecake Bars Recipe FAQs
What type of pumpkin purée should I use?
You can use either fresh or canned pumpkin purée for these No-Bake Pumpkin Cheesecake Bars. If using fresh, make sure to roast the pumpkin until tender, then scoop out the flesh and blend it until smooth. Canned pumpkin is typically more convenient and ensures a consistent texture and flavor, so it’s a great option if you’re short on time.
How should I store leftover cheesecake bars?
Store your No-Bake Pumpkin Cheesecake Bars in an airtight container in the refrigerator for up to 4 days. It’s best to keep them covered to prevent drying out and to maintain their creamy texture. If you don’t plan on eating them within this timeframe, consider freezing them for longer storage.
Can I freeze No-Bake Pumpkin Cheesecake Bars?
Absolutely! To freeze, first, slice the bars and then wrap each piece tightly in plastic wrap, followed by aluminum foil to prevent freezer burn. Store them in the freezer for up to 2 months. When you’re ready to enjoy, simply thaw them in the refrigerator overnight before serving.
What should I do if my filling is lumpy?
If your filling turns out lumpy, it might be because the cream cheese wasn’t mixed thoroughly or was too cold. To avoid this, always use room temperature cream cheese and ensure it’s beaten until smooth before adding other ingredients. If lumps do occur, you can blend the mixture more thoroughly or even use a hand mixer to smooth it out further.
Can I make these bars vegan or gluten-free?
Yes! For a vegan version of No-Bake Pumpkin Cheesecake Bars, use non-dairy cream cheese and coconut whipped cream instead of Cool Whip. To make them gluten-free, simply substitute the Biscoff crumbs with gluten-free graham cracker crumbs. These adjustments ensure that everyone can indulge in this creamy fall treat.
How do I prevent my crust from crumbling when I cut the bars?
To help your crust hold together better, make sure to press it firmly into the bottom of the pan and chill it for about 30 minutes before adding the filling. Also, using melted butter instead of softened butter ensures better binding. If the crust still crumbles a bit when sliced, just relayer any loose pieces on top of the filling—they’ll still taste delicious!
No Bake Pumpkin Cheesecake Bars: Fall's Creamy Sweet Treat
Ingredients
Equipment
Method
- Begin by lining an 8x8 inch baking pan with parchment paper, allowing some overhang for easy removal.
- In a mixing bowl, combine Biscoff crumbs, melted butter, and brown sugar, stirring until completely moistened.
- Press the mixture firmly into the bottom of the pan using the back of a measuring cup.
- Chill the crust in the refrigerator for about 30 minutes while you make the filling.
- In a large mixing bowl, beat the cream cheese with a hand mixer on medium speed until it becomes smooth and creamy, about 2 minutes.
- Gradually add powdered sugar, pumpkin purée, vanilla extract, and pumpkin pie spice. Mix until well combined and smooth.
- Gently fold in the Cool Whip until the mixture is light and fluffy.
- Once the crust is chilled, spread the creamy filling evenly over the crust, smoothing the top with a spatula.
- Cover the pan with plastic wrap or a lid, and refrigerate for at least 4 hours, or until the filling is set and firm to the touch.
- When ready to serve, remove the pan from the refrigerator and lift the bars out using the parchment overhang.
- Slice into squares using a sharp knife for clean edges.
- Top each square with a dollop of whipped cream, a sprinkle of chopped pecans, and a drizzle of caramel sauce if desired.
- Enjoy these No Bake Pumpkin Cheesecake Bars with family and friends!
Leave a Reply