
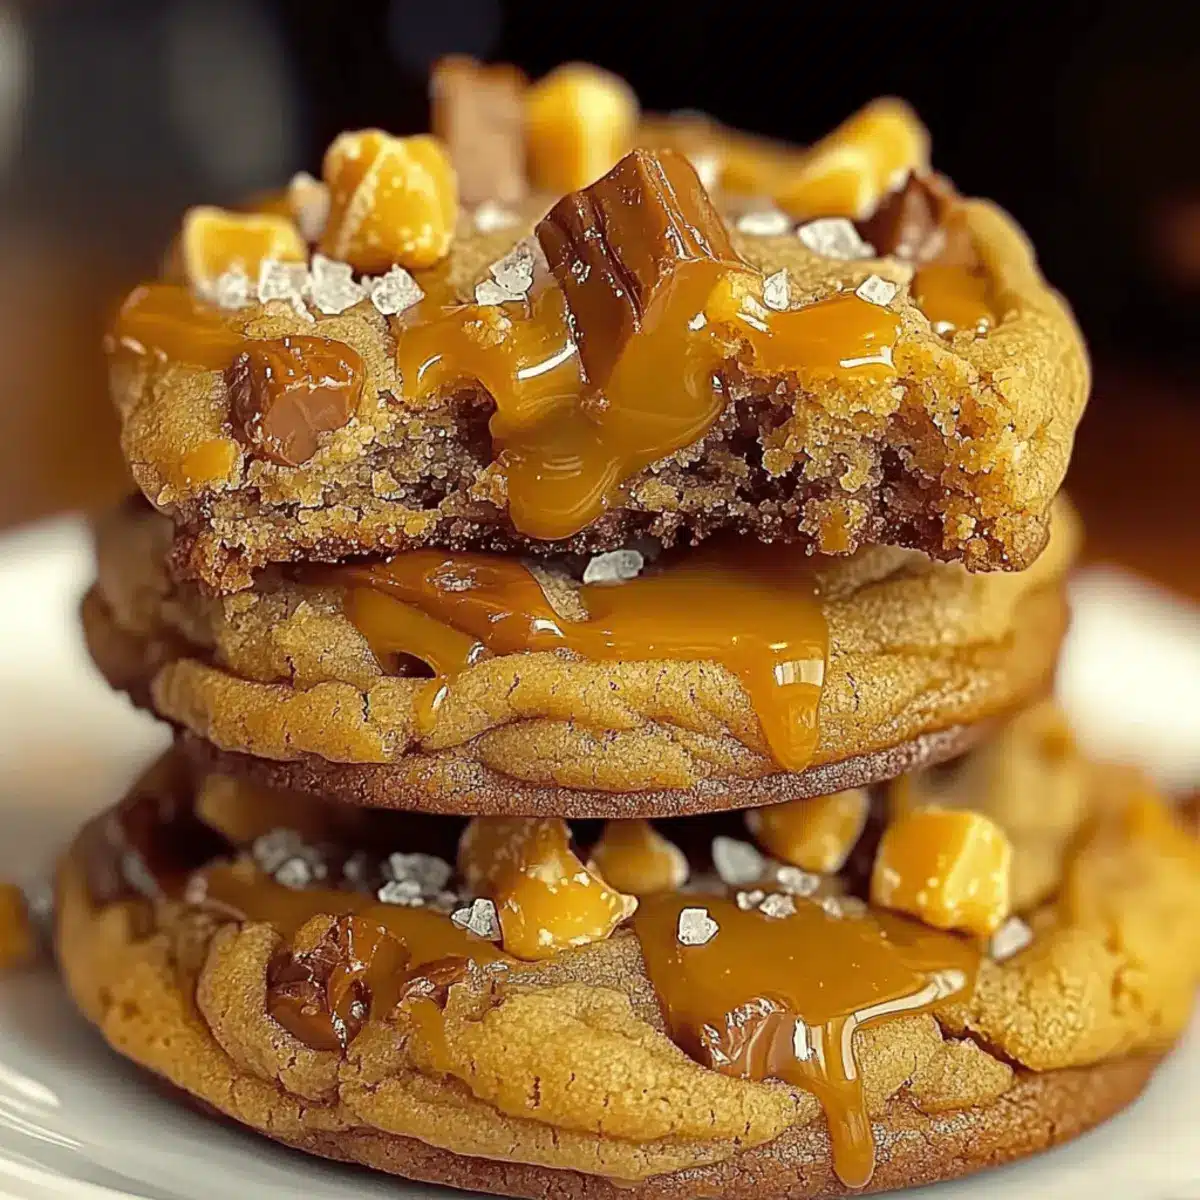
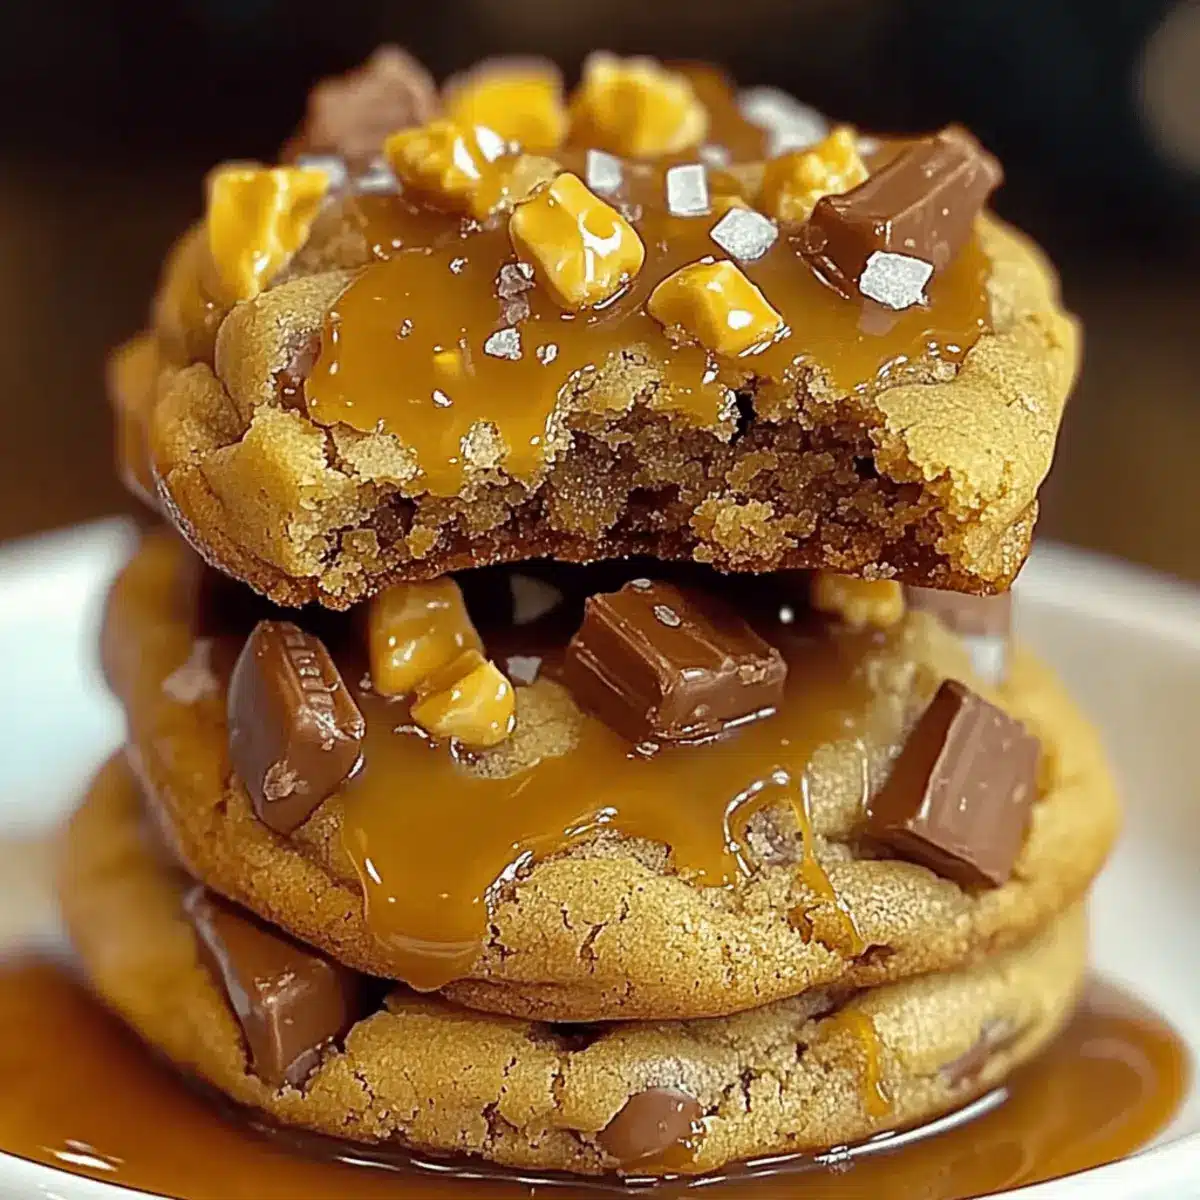
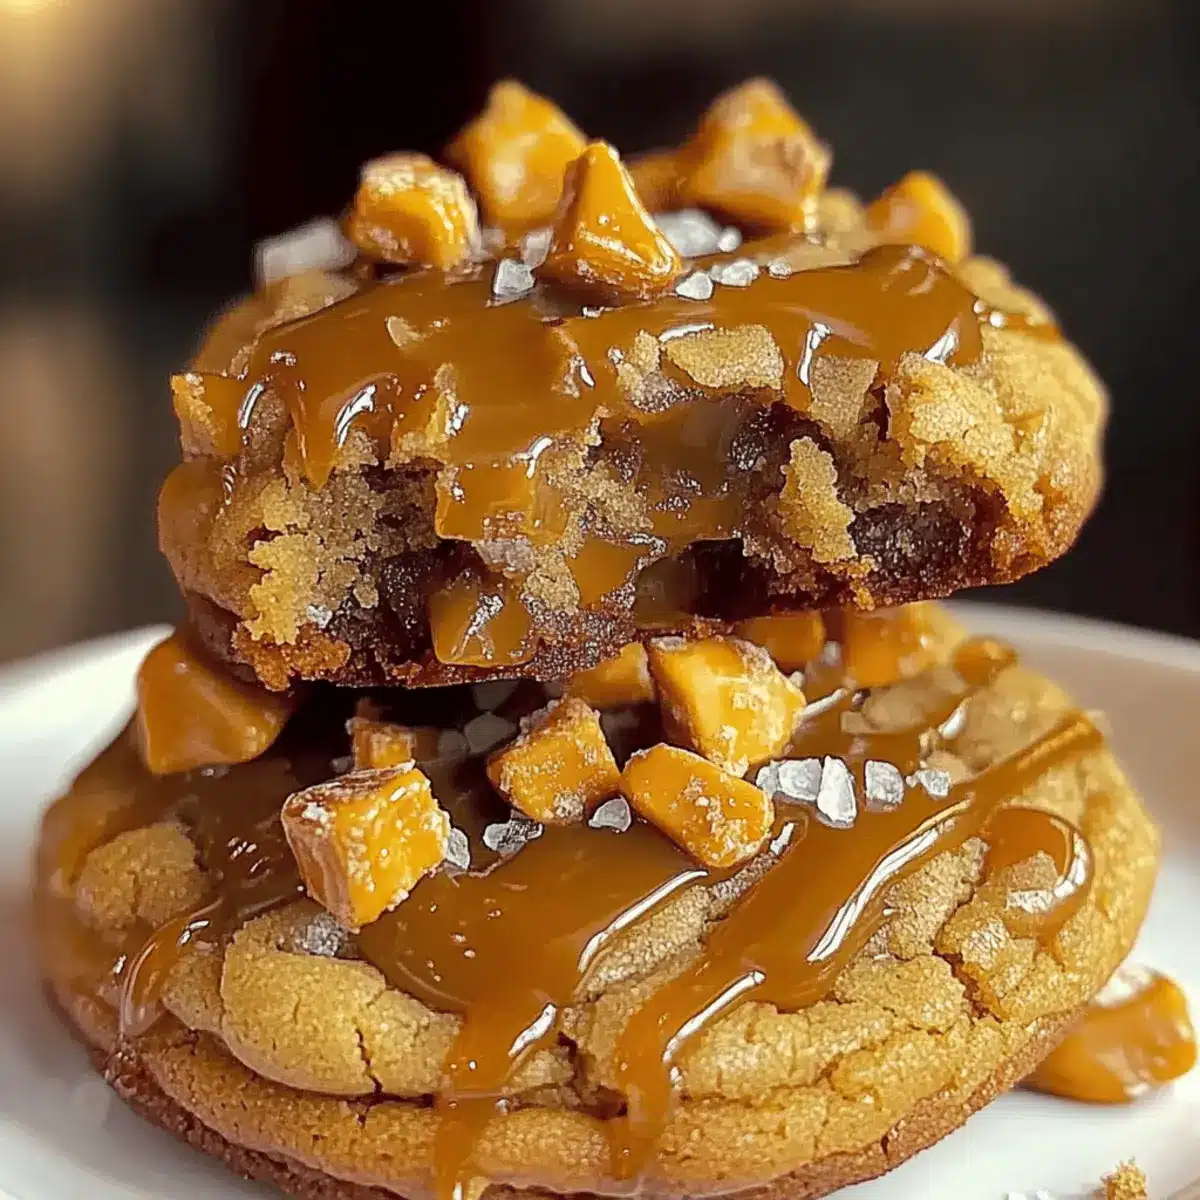
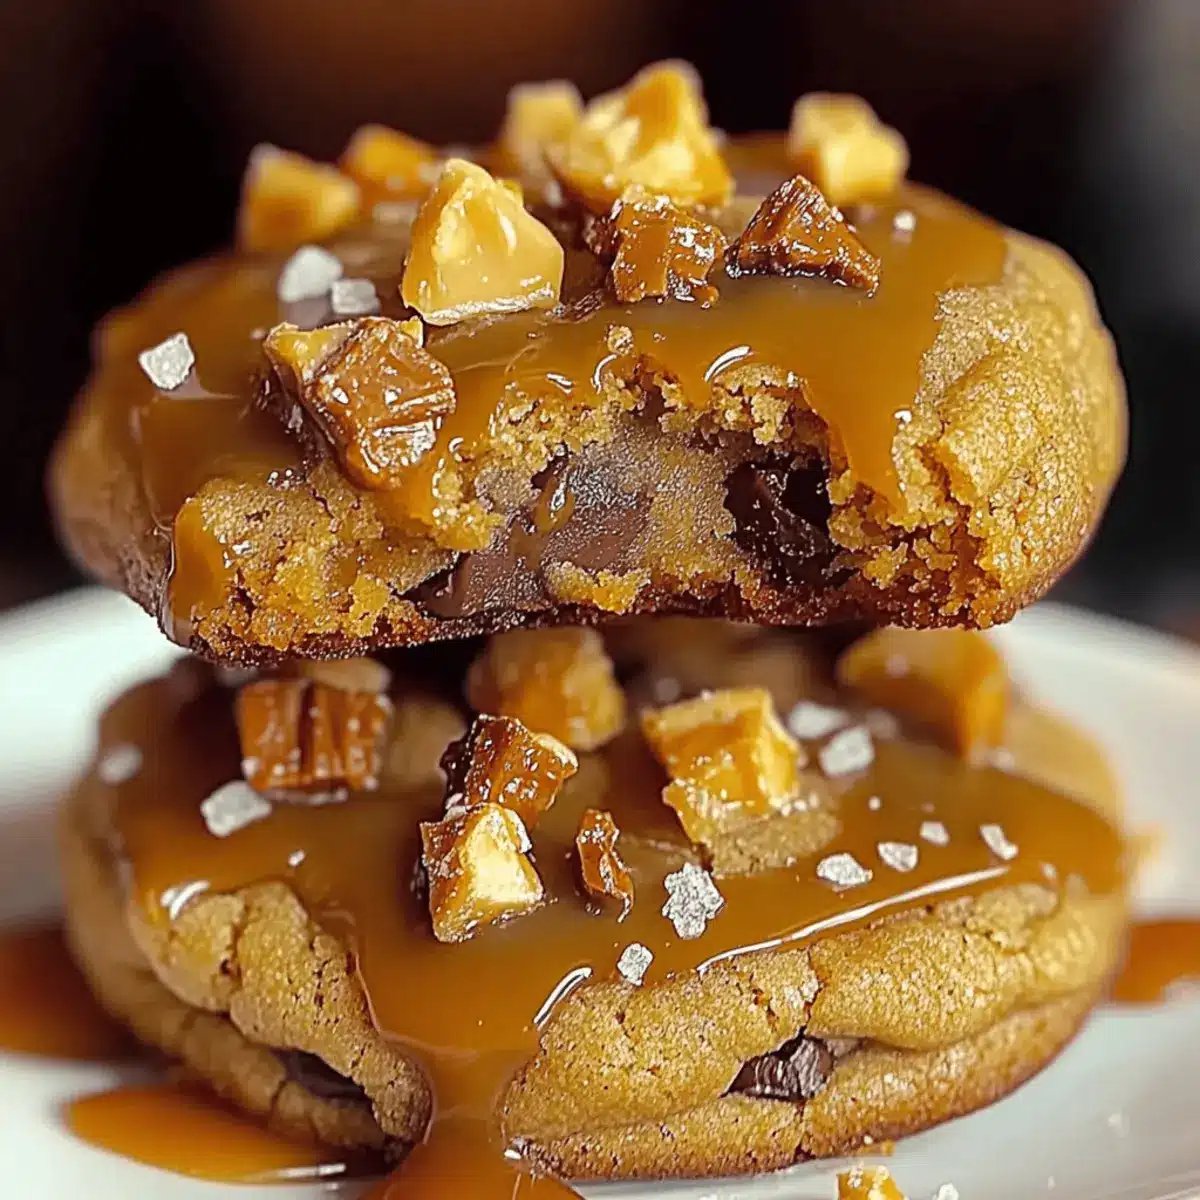
The aroma of fresh-baked cookies wafting through the kitchen is one of life’s simple joys, transporting me to cozy memories of childhood treats. That’s why I’m excited to share my recipe for Butterfinger Caramel Crunch Cookies, an indulgent treat that perfectly marries buttery softness with gooey caramel and crunchy bits of Butterfinger. What makes these cookies truly special is not just their delightful flavor but also their versatility—whether you’re hosting a gathering or simply satisfying a sweet tooth, they’re the ideal dessert. Plus, they’re easy to whip up and can be adjusted to fit various dietary needs, making them a crowd-pleaser for everyone. Are you ready to experience a cookie adventure that will leave your taste buds craving more?
Why Will You Adore These Cookies?
**Indulgent, ** every bite offers a blend of buttery softness and gooey caramel that will make you swoon. Easy to make, this simple recipe ensures you spend less time in the kitchen and more time enjoying delicious treats with family and friends. Customizable options cater to dietary needs, from gluten-free alternatives to nut-free variations, allowing everyone to join in on the fun. Crowd-pleasing and perfect for gatherings, these cookies are bound to impress and disappear from the platter in no time! If you’re craving something special, check out my Pumpkin Oat Cookies for another delightful dessert experience.
Butterfinger Caramel Crunch Cookies Ingredients
• Dive into the deliciousness of Butterfinger Caramel Crunch Cookies with this simple ingredient list!
For the Cookies
- Unsalted Butter (1 cup) – Provides richness and moisture. Use margarine for a dairy-free option.
- Light Brown Sugar (1 cup, packed) – Adds sweetness and a hint of caramel flavor. Can replace with dark brown sugar for deeper flavor.
- Granulated Sugar (1/2 cup) – Sweetens the cookies. Use coconut sugar for a lower glycemic alternative.
- Large Eggs (2) – Binds the ingredients and helps with leavening. Substituting with flaxseed meal (1 tbsp flaxseed + 3 tbsp water per egg) can make them egg-free.
- Vanilla Extract (1 tsp) – Enhances the flavor profile. Use almond extract for a different nutty taste.
- All-Purpose Flour (2 1/2 cups) – Provides structure to the cookies. For gluten-free, substitute with a 1-to-1 gluten-free flour blend.
- Baking Soda (1 tsp) – Helps the cookies rise and become fluffy.
- Salt (1/2 tsp) – Balances flavors. Do not omit; enhances sweetness.
- Crushed Butterfinger Bars (1 1/2 cups) – Adds distinctive crunch and sweetness. Can replace with other chocolate bars like Snickers or Twix.
- Caramel Bits (1 cup) – Provides gooey texture and sweetness. Substitute with homemade caramel for a richer taste.
- Chopped Peanuts (1/2 cup) – Introduces crunch. Use almonds, cashews, or omit for a nut-free version.
- Sea Salt Flakes (1/2 tsp for topping) – Enhances flavor with a touch of saltiness.
Step‑by‑Step Instructions for Butterfinger Caramel Crunch Cookies
Step 1: Preheat the Oven
Begin by preheating your oven to 350°F (175°C). While it warms up, prepare your baking sheets with parchment paper or silicone mats to ensure easy cookie removal later on. This step is crucial as it sets the perfect stage for the Butterfinger Caramel Crunch Cookies to bake evenly and achieve that golden-brown hue.
Step 2: Cream Ingredients
In a large mixing bowl, beat together 1 cup of softened unsalted butter, 1 cup of packed light brown sugar, and 1/2 cup of granulated sugar. Use an electric mixer on medium speed for about 2-3 minutes until the mixture is light and fluffy. This creaming process is key to achieving a soft texture, which will make your cookies irresistible, so take your time here!
Step 3: Incorporate Eggs and Vanilla
Add in 2 large eggs, one at a time, mixing thoroughly after each addition. Next, drizzle in 1 teaspoon of vanilla extract and continue mixing for another minute until well combined. This step enhances the flavor profile of your Butterfinger Caramel Crunch Cookies and helps bind the ingredients together beautifully.
Step 4: Prepare Dry Ingredients
In a separate bowl, whisk together 2 ½ cups of all-purpose flour, 1 teaspoon of baking soda, and 1/2 teaspoon of salt. Gradually introduce this dry mixture into the wet ingredients on low speed until just combined; be cautious not to overmix. This will keep your cookies tender and chewy, which is essential for the perfect cookie experience.
Step 5: Add Custom Ingredients
Gently fold in 1 ½ cups of crushed Butterfinger bars, 1 cup of caramel bits, and 1/2 cup of chopped peanuts using a spatula. These components add the delightful crunch and gooeyness that define your Butterfinger Caramel Crunch Cookies. Ensure even distribution to guarantee every bite is filled with yummy surprises!
Step 6: Portion the Dough
Using a cookie scoop or tablespoon, drop generous amounts of dough onto your prepared baking sheet, spacing them about 2 inches apart. This spacing allows the cookies to spread while baking, achieving that lovely shape. You should see the fun mix of caramel bits and Butterfinger appearing in each dollop of dough!
Step 7: Add Salt and Bake
Before placing the cookies in the oven, sprinkle a pinch of sea salt flakes atop each dough ball. This touch will enhance the overall flavor of your cookies. Slide the baking sheet into the oven and bake for 10-12 minutes, or until the edges turn golden brown but the centers still appear soft. This combination will lead to perfectly chewy cookies!
Step 8: Cooling
Once baked, remove the sheets from the oven and allow the Butterfinger Caramel Crunch Cookies to cool on the baking sheets for 5 minutes. This cooling period lets them firm up slightly before transferring them to a wire rack. After this time, move the cookies to the rack to cool completely, enhancing their chewy texture.
Butterfinger Caramel Crunch Cookies Variations
Feel free to explore these exciting twists to make these cookies uniquely yours and delight your taste buds!
- Nut-Free: Omit chopped peanuts and replace with sunflower seeds for a similar crunch without the allergens.
- Gluten-Free: Swap all-purpose flour with a 1-to-1 gluten-free flour blend to cater to gluten sensitivities.
- Dairy-Free: Use coconut oil instead of butter, and enjoy a deliciously moist and dairy-free cookie.
- Extra Crispy: Add a sprinkle of oats for added texture, making every bite a crunchy delight!
- Choco-Mint Variation: Incorporate crushed peppermint candies along with Butterfinger for a festive winter treat.
- Spiced Up: Add a pinch of cinnamon or nutmeg to the dough for a warm, cozy flavor that elevates your cookies.
- Chocolate Lovers: Toss in mini chocolate chips along with Butterfinger bits to enhance the chocolatey goodness.
- Caramel Lovers: Drizzle some homemade caramel over the top before serving for an extra gooey experience.
The choice is yours! If you’re looking for something equally delightful, you might also enjoy incorporating flavors from my Peppermint Kiss Cookies or my rich Sea Salt Caramel for variety. Have fun experimenting!
Expert Tips for Butterfinger Caramel Crunch Cookies
-
Avoid Overmixing: Mixing the flour too much can lead to tough cookies. Stop as soon as just combined for a tender texture.
-
Check Baking Time: Remove cookies from the oven when edges are golden and centers are still soft. This ensures a chewy interior—perfect for Butterfinger Caramel Crunch Cookies!
-
Cooling Matters: Let cookies cool on the baking sheet for a few minutes before transferring them. This allows them to set properly without crumbling.
-
Experiment with Mix-ins: Don’t hesitate to swap Butterfinger for your favorite chocolate bars or add mini chocolate chips for extra indulgence.
-
Storage Tips: Store cookies in an airtight container at room temperature to maintain freshness. They’re best enjoyed within a week!
Storage Tips for Butterfinger Caramel Crunch Cookies
Room Temperature: Keep your cookies in an airtight container at room temperature for up to 7 days to maintain their delightful softness and flavor.
Fridge: For extended freshness, store in the fridge; they can last up to 2 weeks. Just remember to let them come to room temperature before enjoying for the best taste!
Freezer: To preserve your Butterfinger Caramel Crunch Cookies even longer, freeze them in a sealed container or freezer bag for up to 3 months. Thaw before serving for that warm, gooey goodness.
Reheating: For a fresh-baked experience, reheat cookies in the microwave for about 10-15 seconds. This will revive their chewy, gooey texture and melt those chocolatey bits all over again!
Make Ahead Options
These Butterfinger Caramel Crunch Cookies are perfect for meal prep enthusiasts! You can prepare the cookie dough up to 24 hours in advance. Simply follow the recipe up to Step 6, then cover the bowl tightly with plastic wrap or transfer the dough to an airtight container, ensuring it’s sealed to prevent drying out. When you’re ready to bake, scoop the dough onto a prepared baking sheet and allow it to sit at room temperature for about 15-20 minutes before proceeding to bake them as per the recipe instructions. This way, you maintain the same deliciously chewy texture and gooey caramel center while saving time on busy evenings!
What to Serve with Gooey Butterfinger Caramel Crunch Cookies
The warm, inviting aroma of these cookies will have you dreaming of a delightful dessert spread.
- Cold Milk: The classic pairing! A glass of cold milk perfectly complements the sweetness and richness of the cookies, enhancing every bite.
- Hot Coffee: For an adult twist, pair with freshly brewed coffee to balance the sweetness and add a touch of warmth.
- Chocolate Drizzle: Drizzle melted chocolate over the cookies for an extra indulgent treat that deepens the chocolate flavor.
- Ice Cream: Serve these cookies warm over a scoop of vanilla or salted caramel ice cream for a decadent dessert that’s irresistible.
- Fresh Fruit Salad: Add a refreshing touch to the table with a fruit salad. The brightness of fruits like strawberries and oranges contrasts deliciously with the rich cookies.
- Homemade Hot Chocolate: Create a cozy atmosphere by pairing with rich hot chocolate, making it a perfect snacking choice for chilly evenings.
- Whipped Cream: A dollop of whipped cream on the side adds creaminess and a light texture, beautifully balancing the cookies’ richness.
- Nutty Caramel Sauce: Drizzle nutty caramel sauce for a luxurious finish that enhances the cookies’ flavor profile with extra sweetness and crunch.
- Cheesecake Dip: Opt for a creamy cheesecake dip alongside for a fun, dippable dessert adventure that your guests will love.
- Sparkling Water: For something refreshing and light, serve with sparkling water to cleanse the palate between bites of these gooey Butterfinger Caramel Crunch Cookies.
Butterfinger Caramel Crunch Cookies Recipe FAQs
What type of Butterfinger is best for this recipe?
Absolutely! For the best results, I recommend using regular Butterfinger bars as they provide the perfect balance of crunch and sweetness. However, you can easily substitute with butterfinger fun sizes or miniatures, adjusting the quantity to maintain the same delicious flavor profile.
How do I store Butterfinger Caramel Crunch Cookies?
To keep your cookies fresh, store them in an airtight container at room temperature for up to 7 days. If you’d like them to last longer, you can refrigerate them for up to 2 weeks. Just remember, they’ll be more delightful served at room temperature!
Can I freeze these cookies?
Very! You can absolutely freeze Butterfinger Caramel Crunch Cookies for up to 3 months. Here’s how: First, allow the cookies to cool completely. Then, lay them out in a single layer on a baking sheet and freeze until firm. Once solid, transfer them to a sealed container or freezer bag. When you’re ready to enjoy, just thaw them at room temperature or pop them in the microwave for about 10-15 seconds for that fresh-baked texture.
What can I use as a substitute for eggs?
I often make these cookies egg-free by substituting each egg with 1 tablespoon of flaxseed meal mixed with 3 tablespoons of water. Let the mixture sit for about 5 minutes until it becomes gelatinous. This will bind the ingredients just like an egg, resulting in perfectly chewy cookies without compromising the flavor!
Can I make these cookies gluten-free?
Absolutely! Just substitute the all-purpose flour with a 1-to-1 gluten-free flour blend. It works wonderfully, maintaining the same delightful texture and flavor. Just be sure to check that your other ingredients, like baking soda and chocolate bars, are also gluten-free to keep everything safe for those with gluten sensitivities.
Are there any allergy considerations?
For nut allergies, simply omit the chopped peanuts from the recipe, or replace them with seeds like sunflower seeds for an extra crunch. Always check labels for potential allergens in store-bought ingredients like chocolate bars and caramel bits, as they may contain traces of nuts or other allergens.
Decadent Butterfinger Caramel Crunch Cookies You’ll Love
Ingredients
Equipment
Method
- Preheat your oven to 350°F (175°C) and prepare your baking sheets with parchment paper or silicone mats.
- In a large mixing bowl, beat together 1 cup of softened unsalted butter, 1 cup of packed light brown sugar, and 1/2 cup of granulated sugar until light and fluffy.
- Add in 2 large eggs, one at a time, and mix thoroughly. Then drizzle in 1 teaspoon of vanilla extract and mix again until well combined.
- In a separate bowl, whisk together 2 ½ cups of all-purpose flour, 1 teaspoon of baking soda, and 1/2 teaspoon of salt. Gradually mix this into the wet ingredients until just combined.
- Fold in 1 ½ cups of crushed Butterfinger bars, 1 cup of caramel bits, and 1/2 cup of chopped peanuts using a spatula.
- Drop generous amounts of dough onto your prepared baking sheet, spacing them about 2 inches apart.
- Before baking, sprinkle a pinch of sea salt flakes on top of each dough ball. Bake for 10-12 minutes until the edges are golden brown.
- Allow the cookies to cool on the baking sheets for 5 minutes before transferring them to a wire rack to cool completely.
Leave a Reply