
As I stood in my garden, the bright sunshine shining down on my vibrant banana pepper plants, I realized it was time to capture that summer essence. Canning banana peppers is not just a way to preserve the harvest; it’s a delightful journey that transforms fresh produce into tangy, crisp goodness. This easy recipe for Crisp and Zesty Pickled Banana Peppers is perfect for anyone eager to enjoy a burst of flavor throughout the year. Not only does it make use of your garden’s bounty, but it’s also a quick and rewarding way to elevate your meals. Whether you’re adding them to salads, sandwiches, or enjoying them straight from the jar, these pickled beauties are sure to please. Ready to get pickling? You won’t want to miss these vibrant flavors!
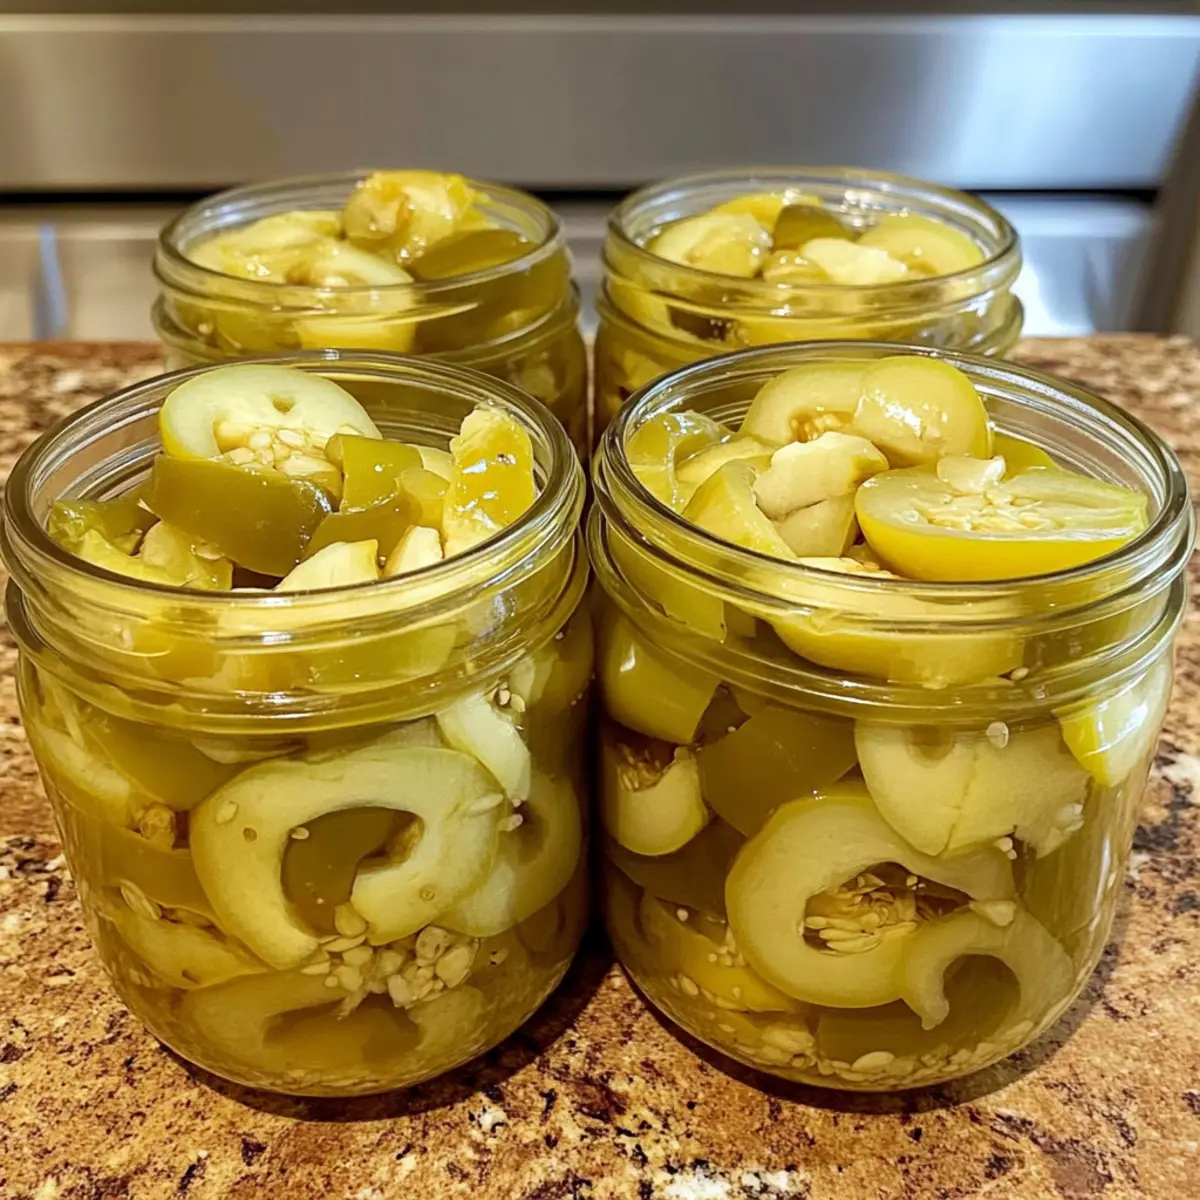
Why Can You Love Canning Banana Peppers?
Freshness in every bite: There’s nothing like the taste of freshly pickled banana peppers, capturing summer’s flavor to enjoy year-round.
Quick and Easy: This simple recipe allows you to can peppers efficiently, making it accessible for anyone, regardless of their culinary experience.
Versatile Uses: Use these zesty pickled peppers to spice up sandwiches, salads, or as part of a charcuterie board, creating endless meal possibilities.
Health-Conscious Option: Low in calories and gluten-free, you can indulge in these tangy treats without guilt.
Storage Made Simple: Canned correctly, these peppers can last for months, providing you with a taste of your garden even in the dead of winter. Ready to elevate your meals with these delightful flavors? Check out our Steak Bell Peppers for additional ideas!
Canning Banana Peppers Ingredients
For the Brine
- White Vinegar – Acts as the acid for pickling, preserving the peppers; remember to use vinegar with 5% acidity.
- Water – Dilutes the vinegar for a balanced brine; adjust this if you need extra brine for all the peppers.
- Garlic – Adds a robust flavor to your brine; feel free to remove it before pouring over the peppers if you prefer a milder taste.
For the Peppers
- Banana Peppers – Fresh and sweet varieties are ideal for this recipe; consider mixing in some hot peppers for a spicier profile.
- Ball Pickle Crisp Granules – Optional but recommended to maintain that satisfying crunch in your pickled banana peppers.
Embrace the joy of canning banana peppers and savor that incredible summer flavor all year round!
Step‑by‑Step Instructions for Canning Banana Peppers
Step 1: Clean the Jars
Start by washing your canning jars and lids in warm soapy water to ensure they are free from dust and debris. Check each jar for chips or cracks, as damaged jars can compromise the sealing process. Once cleaned, set them aside on a clean towel to air dry while you prepare your canning station.
Step 2: Prepare Water Bath Canner
Fill a large pot with water and place your cleaned jars inside, ensuring they’re covered by 2-3 inches of water. Bring the pot to a boil and let the jars sterilize for about 10 minutes. This step ensures that your jars are free from bacteria, allowing your canning banana peppers to last longer.
Step 3: Prep the Peppers
While the jars are sterilizing, rinse your fresh banana peppers under cold running water. Trim off the tops and remove any seeds if desired. Slice the peppers into 1/2-inch rings for even pickling. The vibrant colors of the peppers signal they’re fresh and ready for the brine.
Step 4: Make the Brine
In a medium-sized pot, combine 1 quart and 2 cups of white vinegar and 2 cups of water along with 3 crushed garlic cloves. Place the pot over medium heat, bringing the mixture to a boil. Allow it to simmer for 5 minutes to infuse the garlic flavor, then remove the garlic if you prefer a milder brine for your canning banana peppers.
Step 5: Fill the Jars
Carefully remove the sterilized jars from the pot using jar lifters and place them on a clean towel. Pack each jar tightly with banana pepper rings, leaving about 1/2 inch of headspace. Once filled, pour the hot brine over the peppers, ensuring they are fully submerged while adding Ball Pickle Crisp granules if desired for that perfect crunch.
Step 6: De-bubble
Using a de-bubbler tool or a non-metallic utensil, gently slide it around the inside edge of each jar to release any trapped air bubbles. This crucial step helps achieve a proper seal and prevents spoilage. If necessary, top off with more brine to maintain that 1/2 inch headspace.
Step 7: Seal and Process
Wipe the rims of the jars with a clean cloth to remove any residue. Center the lids on top, apply the metal bands, and tighten them gently. Process the jars in a boiling water bath for about 10 minutes. Adjust processing time for your altitude to ensure safety when canning banana peppers.
Step 8: Cool the Jars
After processing, carefully lift the jars out of the boiling water with jar lifters and place them on a wire rack or clean kitchen towel. Let them cool for 12-24 hours without disturbing them. As they cool, you should hear a satisfying ping, indicating a proper seal, and be sure to label your jars with the date for easy reference.
Make Ahead Options
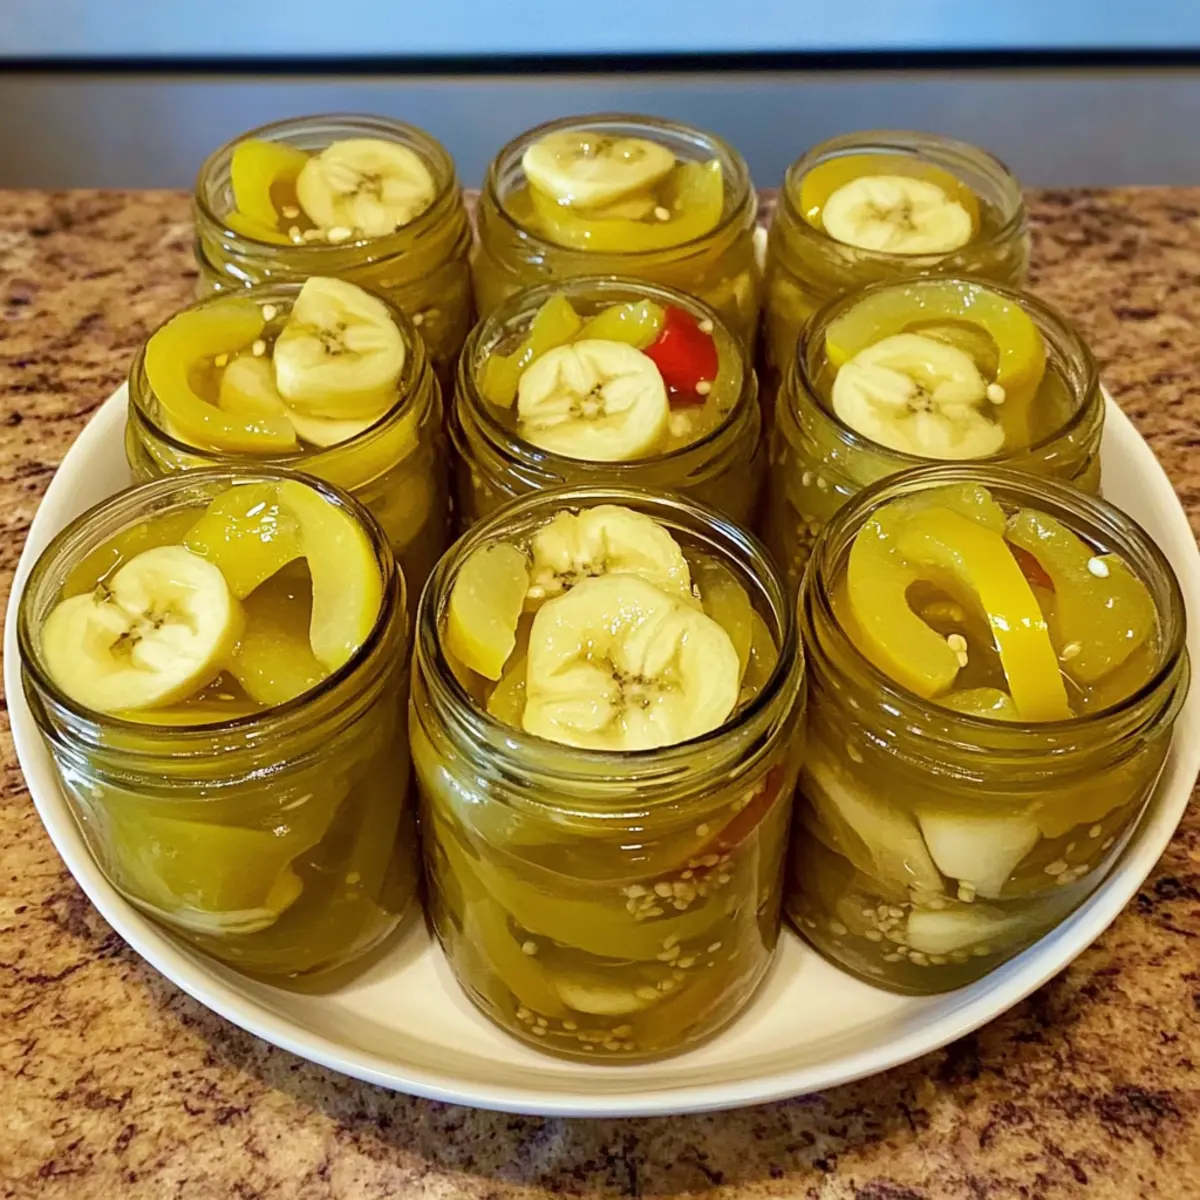
Making these Crisp and Zesty Pickled Banana Peppers is perfect for meal prep enthusiasts looking to save time! You can prepare the brine and pack the jars with sliced peppers up to 24 hours in advance, ensuring a tangy flavor is locked in before final processing. Simply store the filled jars in the refrigerator until you’re ready to finish them. When the time comes, process the jars in a boiling water bath as detailed in the instructions, maintaining quality with proper sealing techniques. This thoughtful prep will allow you to enjoy your pickled peppers hassle-free on busy weeknights, delivering that delightful taste whenever you need it!
Expert Tips for Canning Banana Peppers
- Measurement Matters: Ensure you use precise measurements for vinegar and water to maintain a safe and tasty brine. Too much vinegar can overpower flavors.
- De-bubbling Essential: Always use a de-bubbler tool to eliminate air pockets, which can affect the seal, leading to spoilage.
- Variety is Key: Consider mixing different types of peppers for a unique flavor, but ensure they all have similar crunch and cooking times for even pickling.
- Brine Adjustments: If you need more brine, keep the vinegar-to-water ratio consistent: 1 part vinegar to 2 parts water for the best results.
- Cooling Time: Allow jars to cool completely for a proper seal. If you notice any jars haven’t sealed, you can simply reprocess them.
What to Serve with Crisp and Zesty Pickled Banana Peppers
Add a delightful crunch and zing to your meals with these vibrant, tangy pickles—perfect for enhancing flavors and textures!
- Savory Tacos: These pickled peppers provide a crispy contrast to tender meat and add a vibrant flavor boost to your tacos.
- Creamy Potato Salad: The tanginess of the peppers brightens the dish, balancing the creaminess and adding a delightful crunch.
- Grilled Cheese Sandwich: Add a layer of pickled banana peppers for a zesty, flavorful twist that harmonizes perfectly with gooey cheese.
- Charcuterie Board: Include these peppers for an unexpected pop of flavor among cheeses and cured meats—guaranteed to impress your guests.
- Fresh Garden Salad: Toss in some pickled peppers for both flavor and texture, creating a medley that’s refreshing and satisfying.
- Hearty Burgers: Top your burger with these pickled delights for an extra hint of spice and tang that elevates every bite.
- Crisp Crackers with Hummus: Serve as a zesty accompaniment to creamy hummus for an excellent appetizer or snack option.
- Refreshing Mojito: Pair these pickles with a cool beverage like a mojito—a surprising duo that enhances summer vibes.
- Berry Crisp Dessert: The unique sweetness of a berry crisp balanced with the tang of pickled peppers creates a surprisingly delightful flavor harmony.
Canning Banana Peppers Variations
Feel free to get creative and put your unique spin on canning banana peppers with these delightful twists!
-
Spicy Kick: Add sliced jalapeños or serrano peppers for a fiery punch. For true heat lovers, try infusing the brine with crushed red pepper flakes.
-
Herbal Infusion: Toss in fresh dill or thyme to the brine for an aromatic herbaceous flavor. The fragrant herb notes will elevate your pickled peppers to a new level of deliciousness.
-
Sweet & Tangy: Experiment with a touch of sugar in the brine. This unexpected sweetness melds beautifully with the tangy vinegar and brightens up the peppers.
-
Garlic Lovers: Double the amount of garlic or even add roasted garlic cloves into the jars for an extra rich flavor. The roasted garlic adds depth and sweetness to the brine.
-
Vinegar Variations: Swap white vinegar for apple cider vinegar for a unique taste twist. This swap offers a slightly fruity zing that pairs well with the sweet banana peppers.
-
Smoky Flavor: Mix in some smoked paprika to the brine for a deep, smoky flavor. Just a teaspoon can transform your pickled peppers into a sensational side or condiment.
-
Crunch Factor: Add sliced carrots or cauliflower along with your banana peppers for an exciting mix of textures and flavors. This colorful blend makes for a gorgeous presentation in any dish!
Looking for more culinary inspiration? Consider checking out our Steak Bell Peppers recipe for some delicious meal ideas featuring vibrant flavors.
How to Store and Freeze Canning Banana Peppers
Cool Storage: Once your jars have cooled and sealed properly, store them in a cool, dark place, like a pantry or cellar, where they’ll last for up to a year.
Refrigeration: After opening, keep your pickled banana peppers in the fridge. They’ll stay fresh for up to 3 weeks; just ensure the lid is tightly sealed.
Freezing: If you prefer, you can freeze pickled banana peppers. Place them in an airtight freezer bag, removing as much air as possible, and freeze for up to 6 months.
Airtight Containers: If you’re canning banana peppers without sealing them, store them in airtight containers to maintain their crunch and flavor.
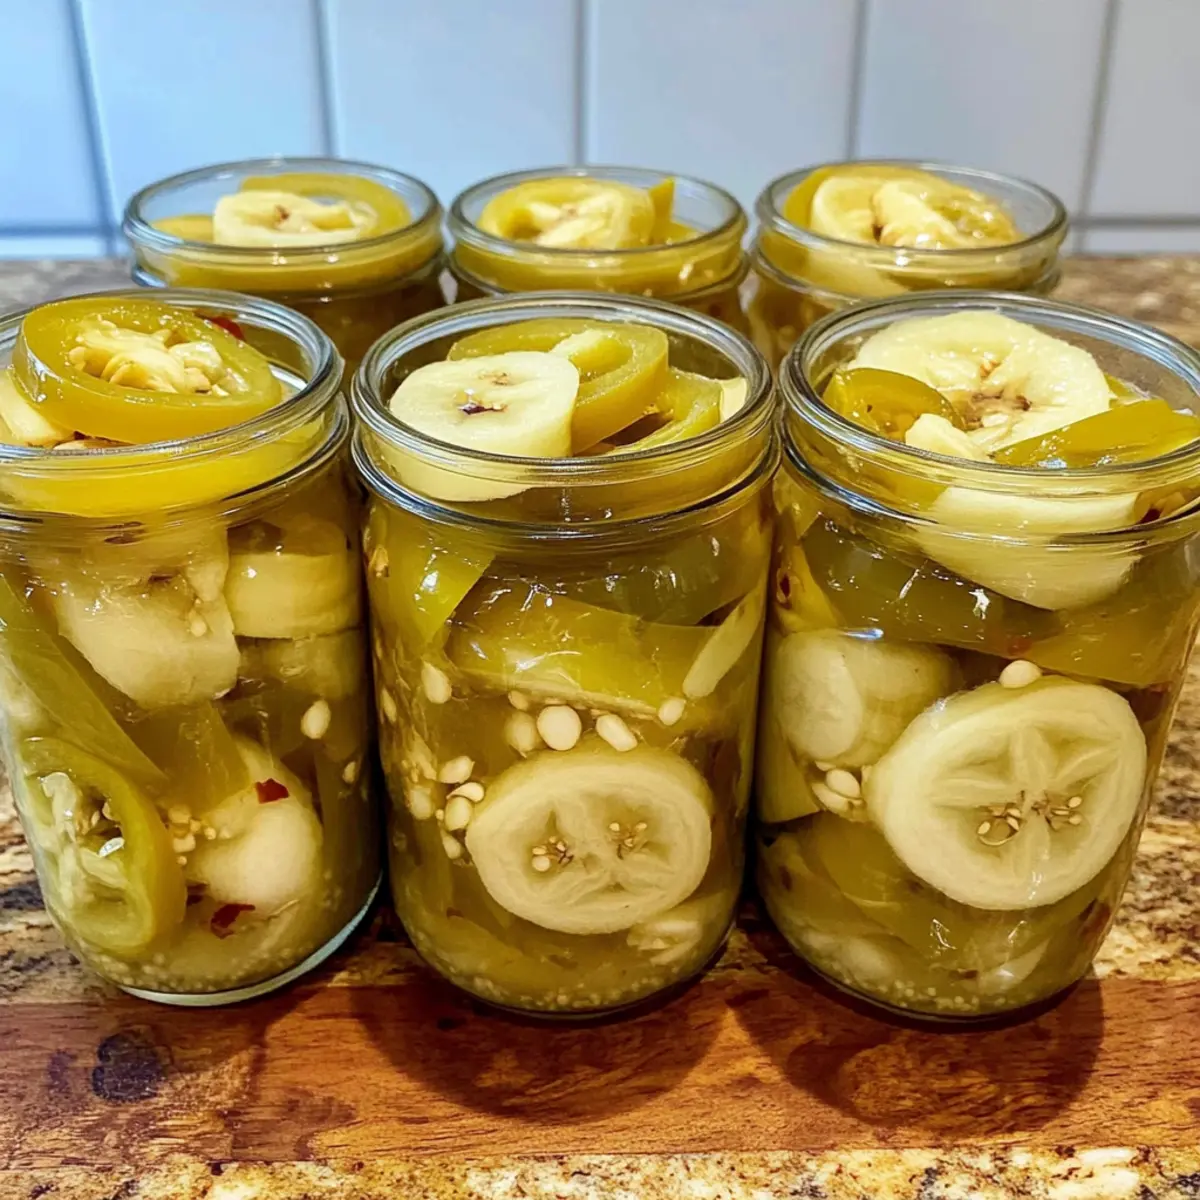
Canning Banana Peppers Recipe FAQs
How do I choose the best banana peppers for canning?
Absolutely! Look for banana peppers that are firm, shiny, and bright in color. Avoid any with dark spots or blemishes, as these indicate overripeness. Ideally, select peppers that are around 6-8 inches long for a great crunch and flavorful pickling.
How should I store my canned banana peppers?
Once your jars have cooled and sealed properly, store them in a cool, dark place, like a pantry or cellar. They can last for up to a year if stored correctly. Just make sure to check the seals before use, as any unsealed jars should be refrigerated and used within a few weeks.
Can I freeze pickled banana peppers?
Yes, you can freeze them! For optimal preservation, place the pickled banana peppers in an airtight freezer bag, removing as much air as possible to prevent freezer burn. They can be frozen for up to 6 months, although keep in mind that texture may change after thawing.
What if my canned banana peppers didn’t seal properly?
If you find that some jars haven’t sealed, don’t panic! Simply reprocess them by dumping the contents back into a pot, re-sterilizing your jars, and then refilling them with the peppers and brine. Ensure you follow the sealing process again, including the water bath step.
Are pickled banana peppers safe for pets?
Very! While pickled banana peppers are safe for pets in small amounts, it’s best to avoid giving them any because of the vinegar and seasoning. Always consult your vet if you’re unsure about any new food being introduced to your pet’s diet.
How long do opened jars of pickled banana peppers last in the fridge?
Once opened, your pickled banana peppers can last in the fridge for about 3 weeks. Just be sure to keep the lid tightly sealed to maintain freshness. Enjoy them on sandwiches, or as a zingy side dish, knowing they’ll be delicious for those weeks!
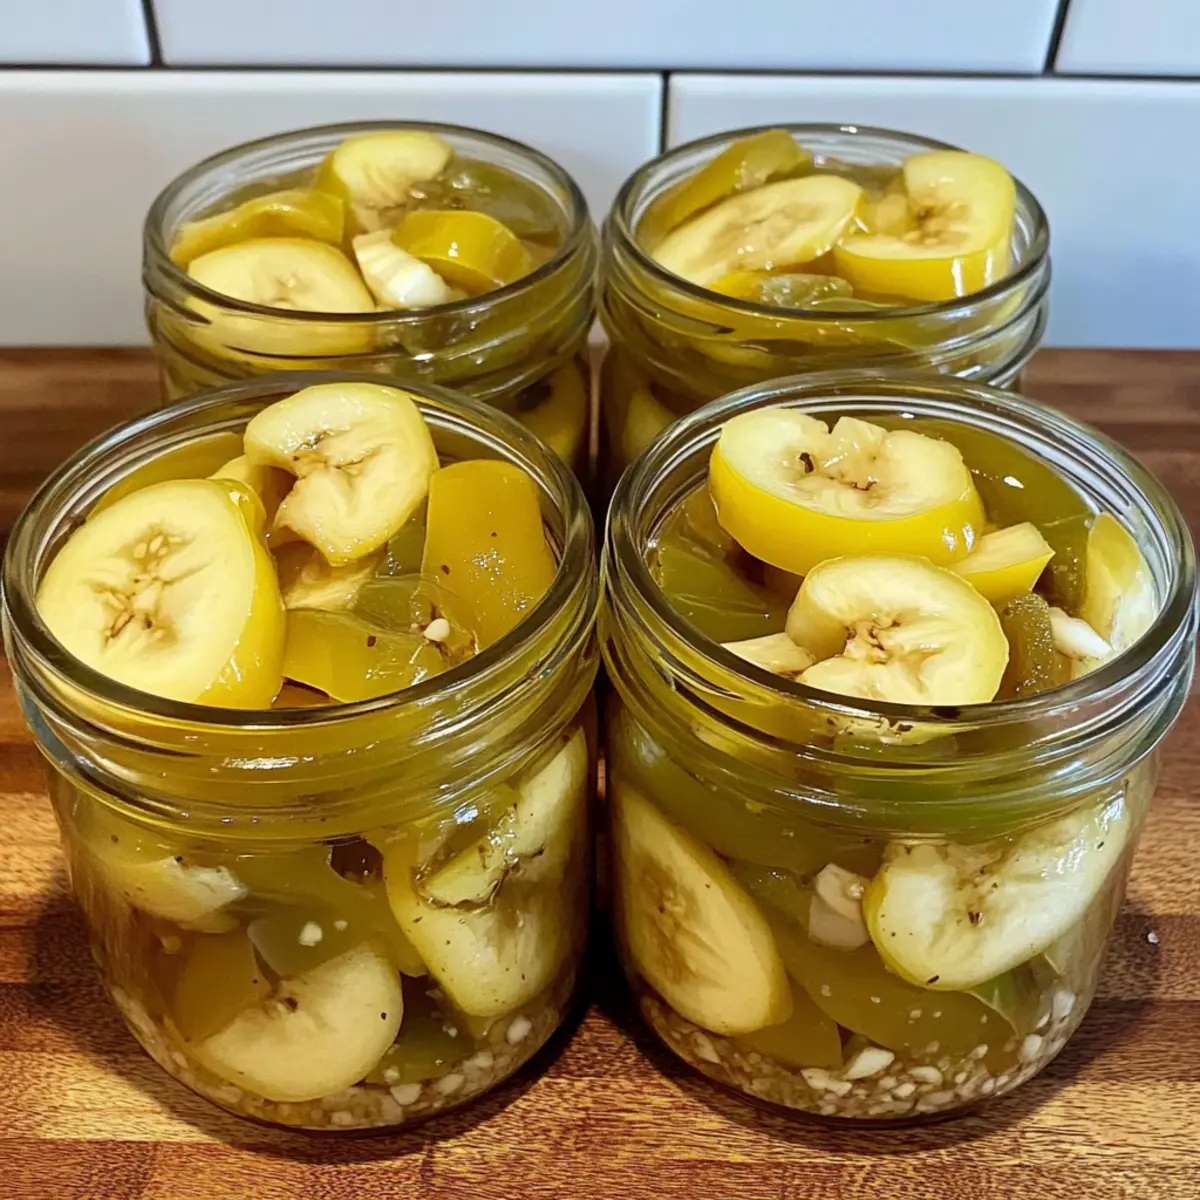
Canning Banana Peppers for Fresh Flavor All Year Round
Ingredients
Equipment
Method
- Clean the Jars: Wash canning jars and lids in warm soapy water, checking for chips or cracks. Set them aside to air dry.
- Prepare Water Bath Canner: Fill a large pot with water, cover jars, and boil for 10 minutes to sterilize.
- Prep the Peppers: Rinse banana peppers, trim tops, remove seeds if desired, and slice into 1/2-inch rings.
- Make the Brine: Combine vinegar, water, and garlic in a pot, heat to boil, simmer for 5 minutes, then remove garlic if preferred.
- Fill the Jars: Pack jars with banana pepper rings, leaving 1/2 inch headspace, and pour hot brine over, adding pickle crisp if using.
- De-bubble: Use a de-bubbler tool to release air bubbles, adding more brine if necessary to maintain headspace.
- Seal and Process: Wipe rims, center lids, tighten bands, and process in boiling water bath for 10 minutes.
- Cool the Jars: Remove jars and place them on a wire rack to cool for 12-24 hours without disturbance.
Leave a Reply