
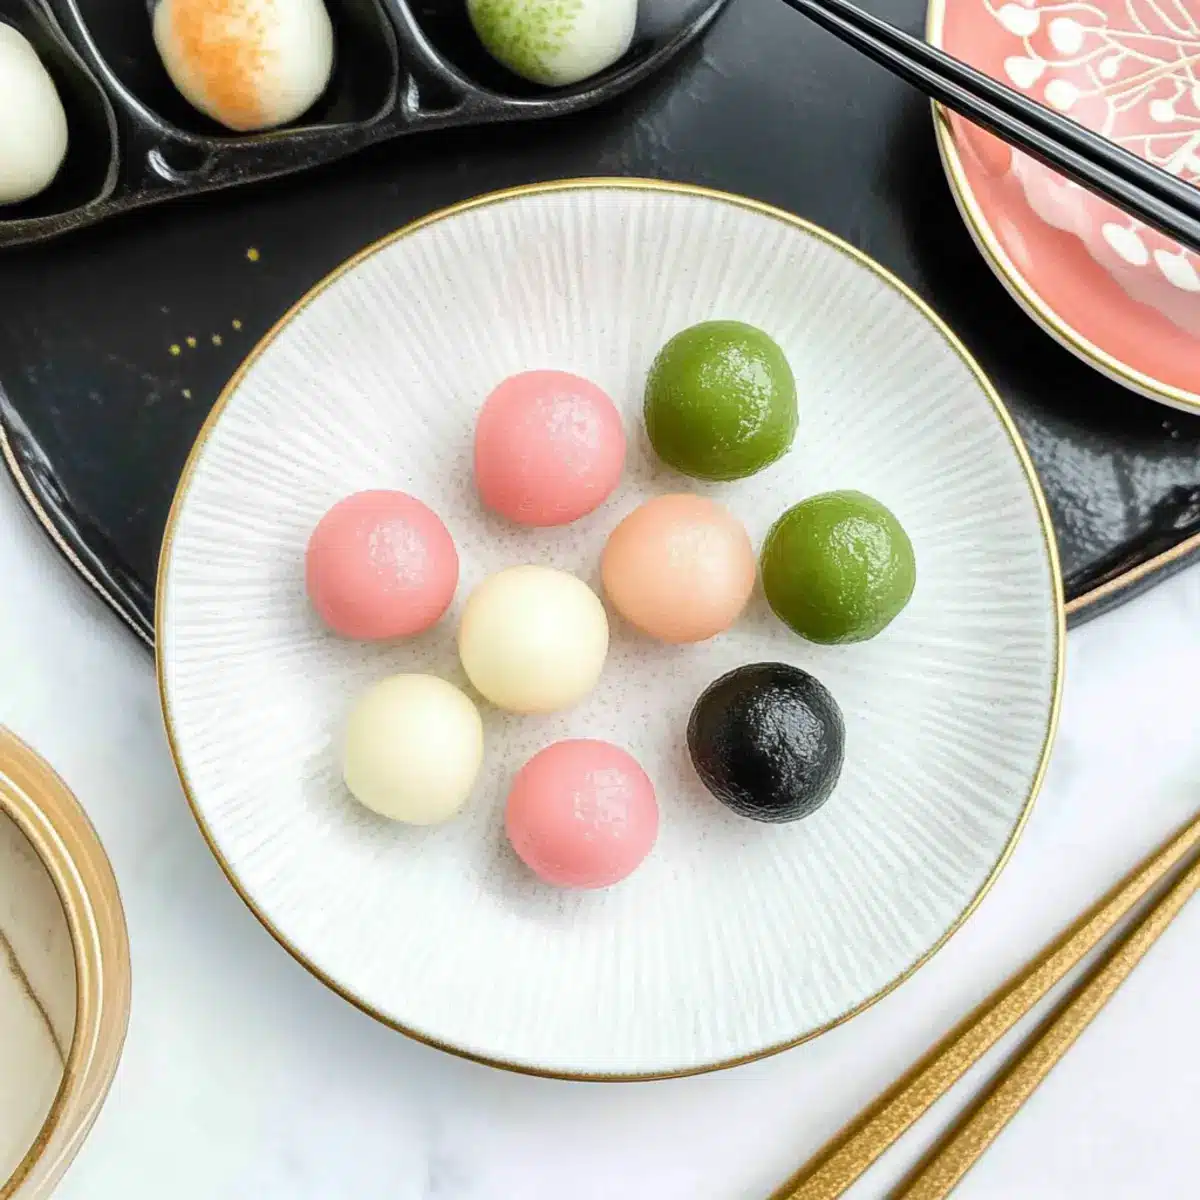
As cherry blossoms begin to dance in the spring breeze, the vibrant hues of Hanami Dango remind me of those picturesque moments spent under a flowering canopy. This delightful Japanese dessert not only brings a splash of color to your table with its cheerful green, white, and pink layers, but it also captivates with its tender, chewy texture. Best of all, this Hanami Dango recipe calls for just three ingredients! Perfect for those looking for a quick, vegan treat or a gluten-free option to impress your family and friends, it’s the ideal introduction to the world of Japanese sweets. So, are you ready to learn how to craft these charming little rice cakes and take your dessert game to new heights?
Why is Hanami Dango a Must-Try?
Simplicity at its Finest: This delightful dessert calls for just three basic ingredients, making it accessible for both beginners and experienced chefs alike.
Vibrant Colors: The playful pink, white, and green hues bring a touch of joy to your dining table, perfect for special occasions or just a treat any day!
Chewy Texture: You’ll love the unique chewiness of Hanami Dango, reminiscent of gummy sweets but healthier in every bite.
Vegan and Gluten-Free: This recipe caters to various dietary needs, making it a great option whether you’re vegan or gluten-sensitive.
Cultural Connection: Enjoying Hanami Dango isn’t just about taste; it’s about embracing a cherished Japanese tradition that celebrates the beauty of cherry blossoms. Experience a taste of this cultural delight by adding it to your next dessert menu!
Hanami Dango Ingredients
• Create your delightful Hanami Dango with just three ingredients!
For the Dough
- Silken Tofu – Offers a moist texture for that signature chew; firm tofu can be a substitute but may yield denser results.
- Glutinous Rice Flour (Shiratamako/Mochiko) – Essential for that ideal chewy consistency; avoid regular rice flour as it changes the texture.
- White Sugar – Sweetens the dough perfectly; you may use alternate sweeteners, but this could affect the final texture.
For Color (Optional)
- Matcha Powder – Use for the green layer; can be swapped with other natural colorings for a unique touch.
- Strawberry Powder or Food Coloring – Adds a sweet pink hue; explore other fruits to customize your dango.
Elevate your dessert experience by crafting these delightful Hanami Dango!
Step‑by‑Step Instructions for Hanami Dango
Step 1: Prepare the Dough
In a large mixing bowl, combine the silken tofu, glutinous rice flour, and white sugar. Using your hands, mix the ingredients until they form a smooth and well-incorporated dough, about 3-5 minutes. The dough should feel slightly sticky but hold together. Set the bowl aside while you prepare the colors.
Step 2: Color the Dough
Divide the prepared dough into three equal portions. In one portion, add matcha powder until you achieve a vibrant green color, mixing thoroughly. For the second portion, add strawberry powder or a few drops of food coloring for a lovely pink hue. Leave the final portion uncolored (white). Ensure all colors are mixed evenly for a stunning Hanami Dango.
Step 3: Shape the Dango Balls
Once the colors are ready, divide each colored dough into 5-6 equal pieces; weigh them for consistency at around 14-15 grams each for five pieces. Roll each portion into smooth balls, using a bit of rice flour on your hands to prevent sticking. Aim for a nice round shape to ensure even cooking and a pleasing presentation.
Step 4: Cook the Dango
Bring a large pot of water to a rolling boil over medium-high heat. Carefully drop the dango balls into the boiling water and cook them until they float to the surface, which takes about 3-5 minutes. This floating action indicates they are done cooking. Use a slotted spoon or strainer to remove the dango from the pot.
Step 5: Cool the Dango
Immediately transfer the cooked dango to a bowl filled with ice water to stop the cooking process and set their shape. Allow them to sit in the ice water for about 2-3 minutes. Once cooled, drain the dango and gently pat them dry with a clean kitchen towel.
Step 6: Assemble for Serving
Now it’s time to present your beautiful Hanami Dango! Skewer the cooled dango balls in a cheerful order, using one skewer per set of three: green, white, and pink. This colorful arrangement mirrors the joy of cherry blossoms, making it a delightful centerpiece for your dessert table.
How to Store and Freeze Hanami Dango
Room Temperature: Keep uneaten dango at room temperature in an airtight container for up to 1 day to preserve moisture and flavor.
Fridge: Optionally, you can refrigerate leftover dango for up to 2 days, but be prepared for a firmer texture when chilled.
Freezer: Freeze these delightful rice cakes by placing them in a single layer on a baking sheet. Once frozen, transfer them to an airtight container for up to 1 month.
Reheating: If frozen, let Hanami Dango thaw in the fridge overnight, then steam or microwave briefly with a damp paper towel to restore their original chewy texture.
Hanami Dango Variations & Substitutions
Feel free to get creative and customize your Hanami Dango for a fun, personalized treat!
- Natural Color Swaps: Replace matcha with beet juice for a vibrant pink or turmeric for a sunny yellow color. This adds a beautiful twist to your dango while keeping it entirely natural!
- Flavor Boosts: Add cocoa powder to one portion for a rich chocolate dango that combines perfectly with the traditional sweetness of the other layers. Imagine biting into a delightful combination of chocolate and chewy goodness!
- Fruit-Flavored Delight: Use fruit-flavored jelly powder in place of strawberry powder to create fun new taste sensations, like tropical mango or refreshing lemon. Bright tastes will surely elevate your dessert experience!
- Mini Dango Balls: For a fun presentation, create smaller dango balls! This is ideal for parties, where guests can enjoy bite-sized pieces of joy, making the experience lovely and shareable.
- Syrup Pairings: Drizzle with sweet soy sauce or anko (red bean paste) for added sweetness and flavor complexity. It introduces a delightful texture contrast that pairs beautifully with the dango’s chewiness!
- Spicy Kick: For those who love heat, a sprinkle of chili powder can add an unexpected and exciting flavor twist to your dango, creating a unique fusion dessert that balances sweetness and spice.
- Nutty Additions: Incorporate toasted sesame seeds for a satisfying crunch and nutty flavor. This will enhance the visual appeal and taste, creating depth in your dango!
Each variation is a delightful way to personalize this classic dessert, reminding you that cooking is all about joy and creativity. If you need additional inspiration, consider trying out my delightful Japanese dessert recipes or explore the benefits of using natural colorings and flavors in your treats!
What to Serve with Hanami Dango
As you craft these cheerful rice cakes, consider pairing them with delightful sides and beverages to elevate your dessert experience.
-
Green Tea: A classic companion that adds a soothing, earthy flavor, perfectly balancing the sweetness of dango. The gentle caffeine kick can also rejuvenate your spirit.
-
Sweet Soy Sauce: Drizzling a touch of this syrupy sauce over your dango brings a unique umami contrast, enhancing the overall taste experience wonderfully.
-
Fresh Fruit Salad: A medley of seasonal fruits provides a refreshing and colorful contrast, bringing a nice crunch and a burst of vibrant flavors alongside the chewy dango.
-
Mochi Ice Cream: For a playful dessert twist, serve chewy mochi ice cream, which echoes the texture of dango while introducing delightful creaminess in various flavors.
-
Anko (Sweet Red Bean Paste): This traditional Japanese topping adds rich, sweet depth that compliments the subtle sweetness of the dango beautifully. Its slightly grainy texture makes for a delightful contrast.
-
Matcha Latte: A warm or iced matcha latte can offer a smooth, creamy experience that echoes the dango’s flavor while providing a fresh, grassy note.
-
Sakura Mochi: Keep the cherry blossom theme alive with these pink rice cakes filled with sweet red bean; they mirror the joy of the season in each bite.
-
Japanese Citrus Soda: For a fizzy treat, pair with a refreshing yuzu or mikan soda to awaken your palate, adding a zesty kick that perfectly complements the chewy dango.
Expert Tips for Hanami Dango
• Use Silken Tofu: Ensure to use silken tofu for the best chewy texture; firmer tofu might lead to dense dango that lacks the lightness we desire.
• Measure Ingredients Carefully: Accurate measurements of glutinous rice flour are crucial to avoid overly sticky dough. Too much flour can make dango tough.
• Shocking in Ice Water: Don’t skip the ice water bath after cooking! This step is essential for maintaining the shape and preventing dango from becoming too chewy.
• Serve Fresh: Hanami Dango tastes best when fresh. If stored, keep at room temperature in an airtight container and consume within a day to avoid hardening.
• Experiment with Colors: Feel free to swap matcha or strawberry powders for other natural coloring options, like turmeric for yellow or beet juice for pink, adding variety and nutritional benefits.
Make Ahead Options
These Hanami Dango are perfect for busy home cooks looking to save time! You can prepare the dango dough up to 24 hours in advance by mixing the silken tofu, glutinous rice flour, and sugar, then covering the bowl tightly with plastic wrap and refrigerating. To prevent the dough from drying out, be sure it’s well sealed. You can also color the dough in advance and refrigerate those portions separately. When you’re ready to serve, simply shape the colored dough into balls and boil them as directed. This way, you’ll have delightful, handmade Hanami Dango ready to impress your family with minimal effort!
Hanami Dango Recipe FAQs
What type of tofu should I use for Hanami Dango?
Absolutely, using silken tofu is key for achieving that soft, chewy texture everyone loves in Hanami Dango! Firm tofu can be substituted in a pinch, but it may result in a denser final product, lacking the delicate texture that makes this dessert so delightful.
How should I store leftover Hanami Dango?
To maintain the lovely chewy texture, it’s best to keep uneaten dango at room temperature in an airtight container for up to 1 day. If you need to refrigerate them, do so for a maximum of 2 days, but keep in mind they may become firmer and less enjoyable. Bring them to room temperature before serving for the best experience.
Can I freeze Hanami Dango? How do I do that?
Yes, Hanami Dango can absolutely be frozen! Start by laying them out in a single layer on a baking sheet and freeze until solid, which usually takes about 2 hours. Then, transfer the frozen dango to an airtight container or a resealable bag, where they can be kept for up to 1 month. When you’re ready to enjoy, let them thaw in the fridge overnight, then steam or microwave with a damp paper towel to get that chewy texture back!
What should I do if my dango dough is too sticky?
If your dango dough feels excessively sticky, don’t fret! You can easily remedy this by adding a little more glutinous rice flour, a teaspoon at a time, until it reaches a more manageable consistency. You can also dust your hands with rice flour when shaping the dango balls to prevent sticking while rolling.
Are there any dietary restrictions I should consider for Hanami Dango?
Very! Hanami Dango is naturally vegan and gluten-free, thanks to its simple ingredients. However, if you need to cater to gluten sensitivities, ensure you’re using certified gluten-free glutinous rice flour. If making for someone with allergies, always double-check the specific sweeteners or colorings you choose to ensure they meet dietary needs.
Delicious Hanami Dango: Easy 3-Ingredient Japanese Treat
Ingredients
Equipment
Method
- In a large mixing bowl, combine the silken tofu, glutinous rice flour, and white sugar. Mix until smooth, about 3-5 minutes.
- Divide the dough into three equal portions and mix matcha powder in one portion and strawberry powder in the second.
- Divide each colored dough into 5-6 equal pieces, roll each into smooth balls.
- Boil a pot of water, drop in the dango balls, and cook until they float, about 3-5 minutes.
- Transfer cooked dango to ice water for about 2-3 minutes, then drain and pat dry.
- Skewer the cooled dango balls in a cheerful order: green, white, and pink.
Leave a Reply