
As I pulled out the freshly baked Strawberry Earthquake Cake from the oven, the sweet aroma washed over me like a cherished memory. This celebration cake beautifully merges the bright taste of strawberries with a creamy cheesecake swirl, creating a scrumptious dessert that’s sure to impress. Not only is the Strawberry Earthquake Cake a showstopper for any gathering, but it also allows for quick prep and easy sharing, making it a hassle-free treat for festive occasions. With a delightful crunch from white chocolate and hints of toasted coconut, each slice offers a burst of joy that transports you to carefree summer days. Are you ready to create this delicious masterpiece? Let’s dive into the recipe!
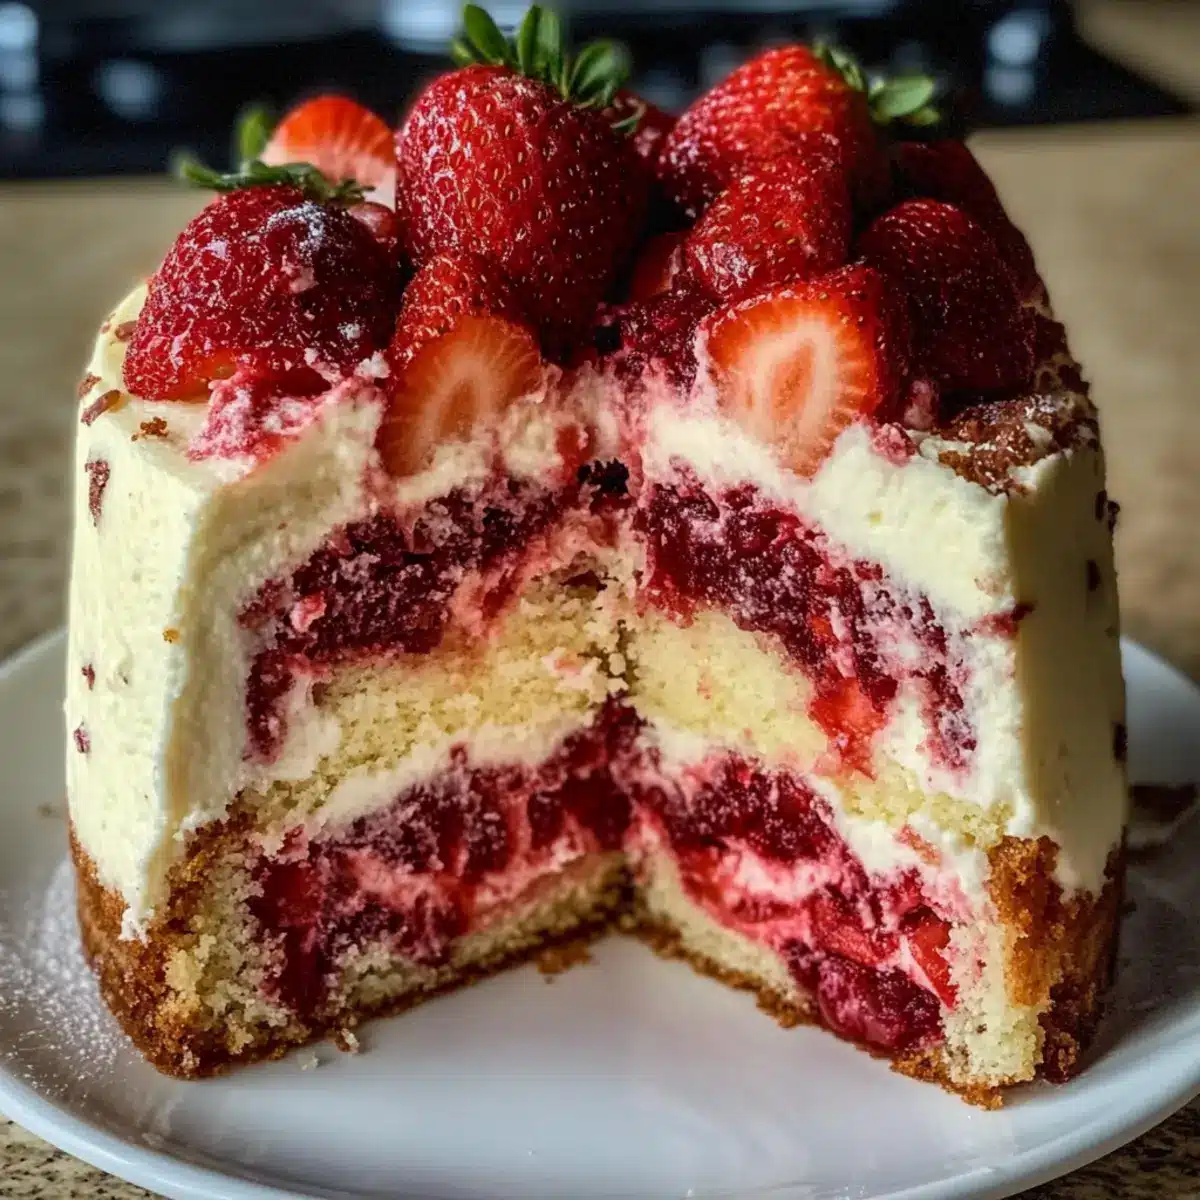
Why is Strawberry Earthquake Cake irresistible?
Unforgettable Flavor: The mix of juicy strawberries and creamy cheesecake swirls creates a deliciously unique taste that will leave everyone wanting more.
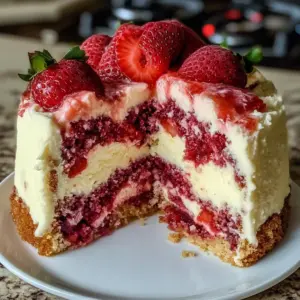
Showstopper Presentation: With its vibrant colors and visually appealing layers, this cake is sure to be the centerpiece of any event.
Quick Preparation: Using a cake mix as the base means you can whip this up in no time, making it perfect for last-minute gatherings or celebrations.
Versatile Delight: Not just for strawberries! Swap in your favorite fruits for new flavor combinations, just like you might do with these Gingerbread Pancakes or our decadent Peach Bellini Cupcakes.
Crowd-Pleasing Texture: The combination of fudgy cake, melty white chocolate, and crunchy coconut ensures every bite is full of delightful contrasts.
Nostalgic Comfort: This cake wraps you in warmth and comfort, reminding you of joyous summer days and family gatherings.
Strawberry Earthquake Cake Ingredients
• Get ready to bake a delicious masterpiece!
For the Cake
- Strawberry Cake Mix – This acts as the flavorful base; choose a brand you love for the best results.
- Fresh/Frozen Strawberries (1.5 cups) – These add a pop of vibrant strawberry flavor; if using frozen, be sure to thaw and drain moisture first.
- White Chocolate Chips (1 cup) – These provide sweet, melty bites that perfectly complement the cake’s flavors.
- Sweetened Shredded Coconut (1 cup) – Adds a delightful tropical touch and enhances the texture.
- Chopped Pecans/Walnuts (0.5 cup, optional) – For those who like a nutty crunch; feel free to omit for a nut-free version.
- Vanilla Extract (1 tsp) – This little drop enhances the flavor depth, making your cake sing.
For the Cream Cheese Layer
- Cream Cheese (8 oz, softened) – The heart of your creamy layer; full-fat is recommended for the best texture.
- Unsalted Butter (0.5 cup, softened) – Adds richness to the cream cheese filling, making it extra indulgent.
- Powdered Sugar (2.5 cups) – Sweetens the cream cheese mixture for a delectable swirl.
Additional Ingredients
- Eggs, Oil, Water – Check your cake mix instructions for these staple ingredients needed to complete the batter.
With these ingredients for your Strawberry Earthquake Cake, you’re on your way to creating a delightful treat that’s bound to impress! Happy baking!
Step‑by‑Step Instructions for Strawberry Earthquake Cake
Step 1: Preheat and Prepare
Begin by preheating your oven to 350°F (175°C). While the oven warms up, grease a 9×13 inch baking pan with butter or non-stick spray to ensure easy cake removal. You want to be ready for the Strawberry Earthquake Cake batter, which will soon fill your kitchen with irresistible aromas.
Step 2: Create the Cake Batter
In a large mixing bowl, prepare the strawberry cake mix following the package instructions, incorporating the necessary eggs, oil, and water. Once mixed, fold in the fresh or thawed strawberries, white chocolate chips, shredded coconut, and optional chopped nuts. This mixture should be well combined but not overmixed, maintaining a light and airy texture for your Strawberry Earthquake Cake.
Step 3: Layer the Batter
Pour half of the beautifully mixed batter into your greased baking pan, spreading it evenly to create a solid base. You should see the vibrant strawberries tucked within the batter; this will ensure a lovely presentation. The pan should be filled about halfway up, leaving room for the creamy layer that’s about to come.
Step 4: Prepare the Cream Cheese Layer
In a separate bowl, beat the softened cream cheese and softened unsalted butter together until they form a creamy and smooth mixture. Gradually add the powdered sugar and vanilla extract, mixing well to combine. This rich cream cheese layer will provide a delightful contrast to the moist cake and will be dolloped right over the batter.
Step 5: Add the Cream Cheese Swirl
Carefully drop spoonfuls of the cream cheese mixture over the first layer of cake batter. Use the back of a spoon to gently spread and create swirls through the mixture, taking care not to mix it into the cake layer too much. This process will set up the beloved creamy texture that makes the Strawberry Earthquake Cake so special.
Step 6: Finish with the Final Layer
Pour the remaining cake batter over the cream cheese swirl, spreading it gently to cover the cream cheese completely. With a knife, make slight swirling motions through the top layer to create a marbled effect, taking care not to disturb the bottom layers. This artistic touch will enhance the visual appeal of your cake once baked.
Step 7: Bake to Perfection
Place your assembled Strawberry Earthquake Cake into the preheated oven and bake for 40-45 minutes. The cake is done when it’s set in the center and a toothpick inserted comes out clean or with a few moist crumbs. Keep an eye on the top; it should be lightly golden and slightly spring back when touched, indicating it’s perfectly baked.
Step 8: Cool and Serve
Once baked, remove the cake from the oven and allow it to cool in the pan for about 10-15 minutes. Then, transfer it to a wire rack to cool completely before slicing. The flavors of the Strawberry Earthquake Cake deepen as it cools, so patience is key for the best taste experience.
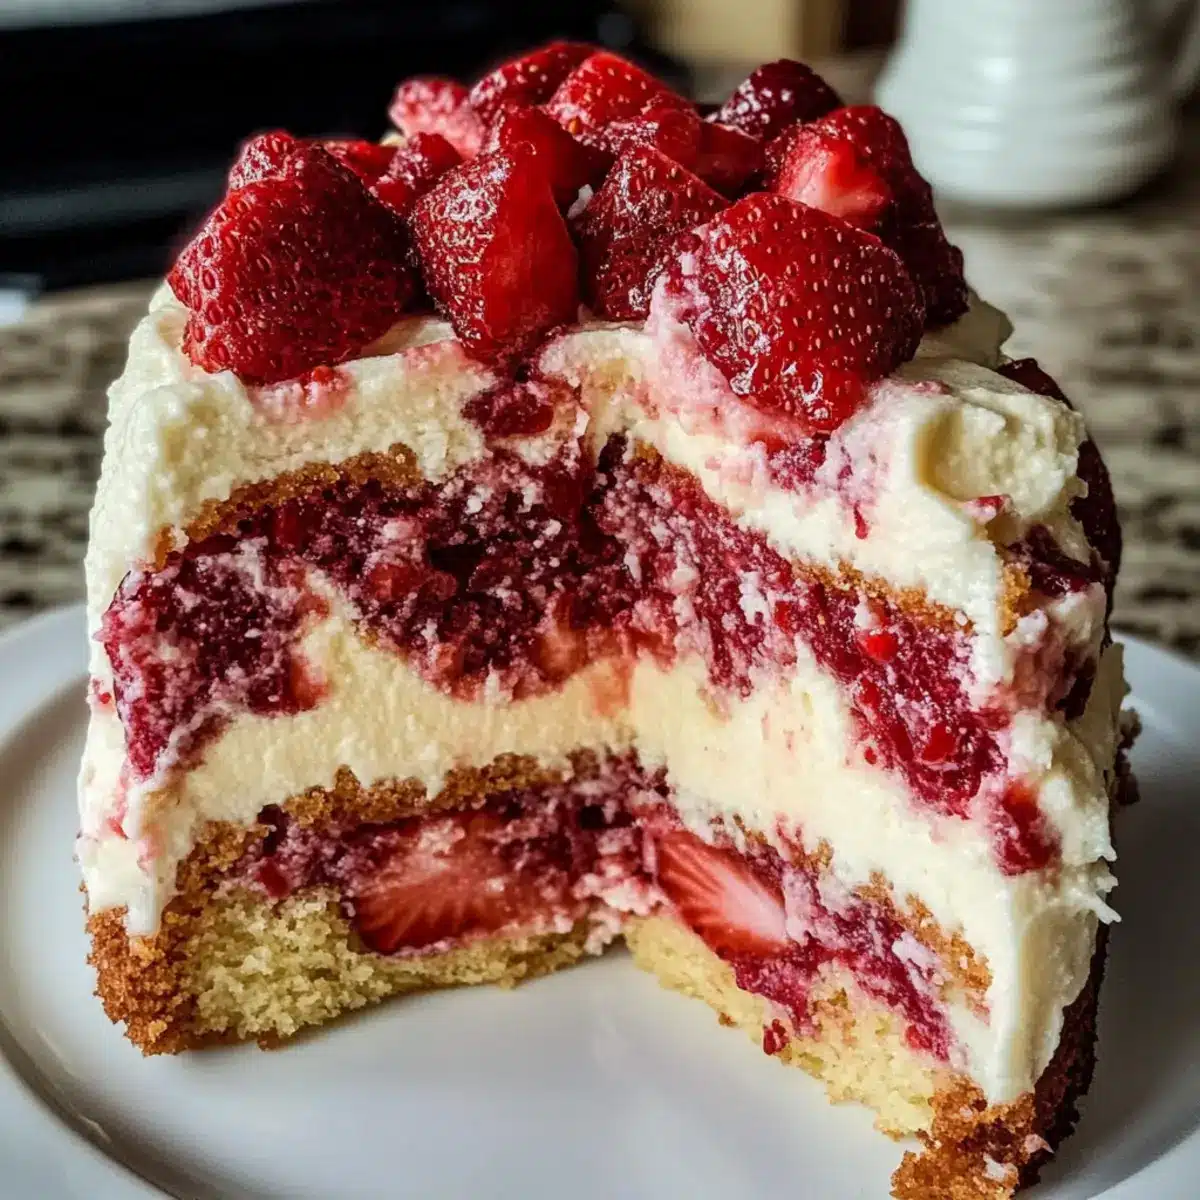
Strawberry Earthquake Cake Variations
Feel free to let your creativity shine by customizing this delightful cake in various ways that suit your tastes!
-
Mixed Berry Delight: Swap strawberries with raspberries or blueberries for a refreshing berry twist. The colorful aspect brings a delightful visual to your cake.
-
Chocolate Lovers: Use dark chocolate chips instead of white to elevate the richness; it creates a delicious balance with the strawberries. You might find yourself happily savoring the combination.
-
Coconut-Free Version: Omit the shredded coconut for a more traditional cheesecake experience, letting the strawberry and cream cheese flavors take center stage.
-
Nut-Free Option: Simply skip the nuts to make this cake nut-free, perfect for those with allergies or preferences. The texture will be just as delightful!
-
Dairy-Free Substitute: Use a dairy-free cream cheese and swap regular butter for a dairy-free version, ensuring everyone can enjoy a slice without worry.
-
Gluten-Free Cake: Prepare a gluten-free strawberry cake mix to make this cake suitable for gluten-sensitive guests, keeping the joy of this treat alive for all.
-
Add a Zest: Incorporate lemon or lime zest to the cake batter for a citrusy zing that complements the strawberries beautifully. It’ll lend a refreshing brightness to every bite.
-
Tropical Twist: Add crushed pineapple to the batter for a fruity twist that pairs incredibly with coconut and strawberries, creating a vibrant tropical flavor profile.
Let these suggestions inspire you while whipping up your own Strawberry Earthquake Cake. If you’re looking for more delightful recipes like Gingerbread Pancakes Cozy or German Potato Pancakes, don’t hesitate to explore!
Expert Tips for Strawberry Earthquake Cake
-
Soften Ingredients: Ensure your cream cheese and butter are fully softened to room temperature for a smooth, creamy filling. Cold ingredients can lead to a lumpy mixture.
-
Avoid Overmixing: Mix the cake batter gently and just until combined to maintain a light, fluffy texture. Overmixing can result in a dense cake.
-
Prepare Your Pan: Grease your baking pan thoroughly to prevent sticking. This ensures easy removal of your Strawberry Earthquake Cake without losing any parts.
-
Swirl Carefully: When adding the cream cheese layer, drop spoonfuls and use a knife for gentle swirling; don’t overmix it into the batter. This preserves the beautiful layers.
-
Cool Completely: Let the cake cool completely before slicing. This allows the flavors to meld and prevents a messy presentation or soggy layers when cutting.
-
Storage Tips: Store any leftovers in an airtight container in the refrigerator for up to 3 days to keep them fresh and tasty.
Make Ahead Options
These Strawberry Earthquake Cakes are perfect for meal prep enthusiasts! You can prepare the cake batter up to 24 hours in advance and refrigerate it in an airtight container to maintain freshness. Additionally, the cream cheese layer can be made ahead of time and stored in the refrigerator for up to 3 days; just be sure to bring it to room temperature before using. When you’re ready to bake, simply pour the chilled batter into the prepared pan, add the cream cheese swirls, and bake according to the original instructions. This allows you to save precious time while still enjoying a cake that is just as delicious when freshly baked!
What to Serve with Strawberry Earthquake Cake?
Imagine the joy of stretching a cozy family gathering into a delightful feast, where your Strawberry Earthquake Cake truly shines as the sweet centerpiece.
- Fresh Whipped Cream: This light topping enhances the cake’s creaminess while adding a cloud-like texture that feels inviting.
- Vanilla Ice Cream: A classic pairing, that creamy contrast perfectly balances the cake’s sweetness and brings an extra chill to every bite.
- Berry Compote: A tangy blend of mixed berries provides a refreshing burst of flavor and a lovely pop of color on your plate.
- Mint Leaves: The bright freshness of mint provides a surprising element that cuts through the richness and adds a touch of elegance.
- Toasted Coconut Flakes: Sprinkling these on top enhances the coconut flavor in your cake while providing a delightful crunch.
- Fizzy Lemonade: This tangy, sweet drink will uplift the meal, complementing the strawberry flavors beautifully and adding a refreshing touch.
- Chocolate Drizzle: A simple warm chocolate sauce creates a beautiful contrast that appeals to chocolate lovers while enhancing the overall dessert experience.
- Caramel Sauce: Drizzling this warm, buttery sauce over each slice creates an indulgent treat that pairs wonderfully with the earthy notes of the cake.
- Cut Fresh Strawberries: These sweet and juicy additions lend a burst of freshness, echoing the flavors within the cake.
- Sweetened Almond Milk: For a lighter beverage option, this subtly sweet drink with nutty undertones makes a calming pairing that balances dessert richness.
Storage Tips for Strawberry Earthquake Cake
Fridge: Store any leftover Strawberry Earthquake Cake in an airtight container for up to 3 days to maintain freshness and flavors.
Freezer: For longer storage, slice the cake into individual pieces and wrap each slice tightly in plastic wrap, then place them in a freezer-safe bag. This way, it can last for up to 1 month.
Thawing: When ready to enjoy, simply remove the desired slice from the freezer and thaw in the refrigerator overnight for the best texture.
Reheating: If you prefer your cake warm, gently heat individual slices in the microwave for about 15-20 seconds. Enjoy the delightful flavors as if it were fresh out of the oven!
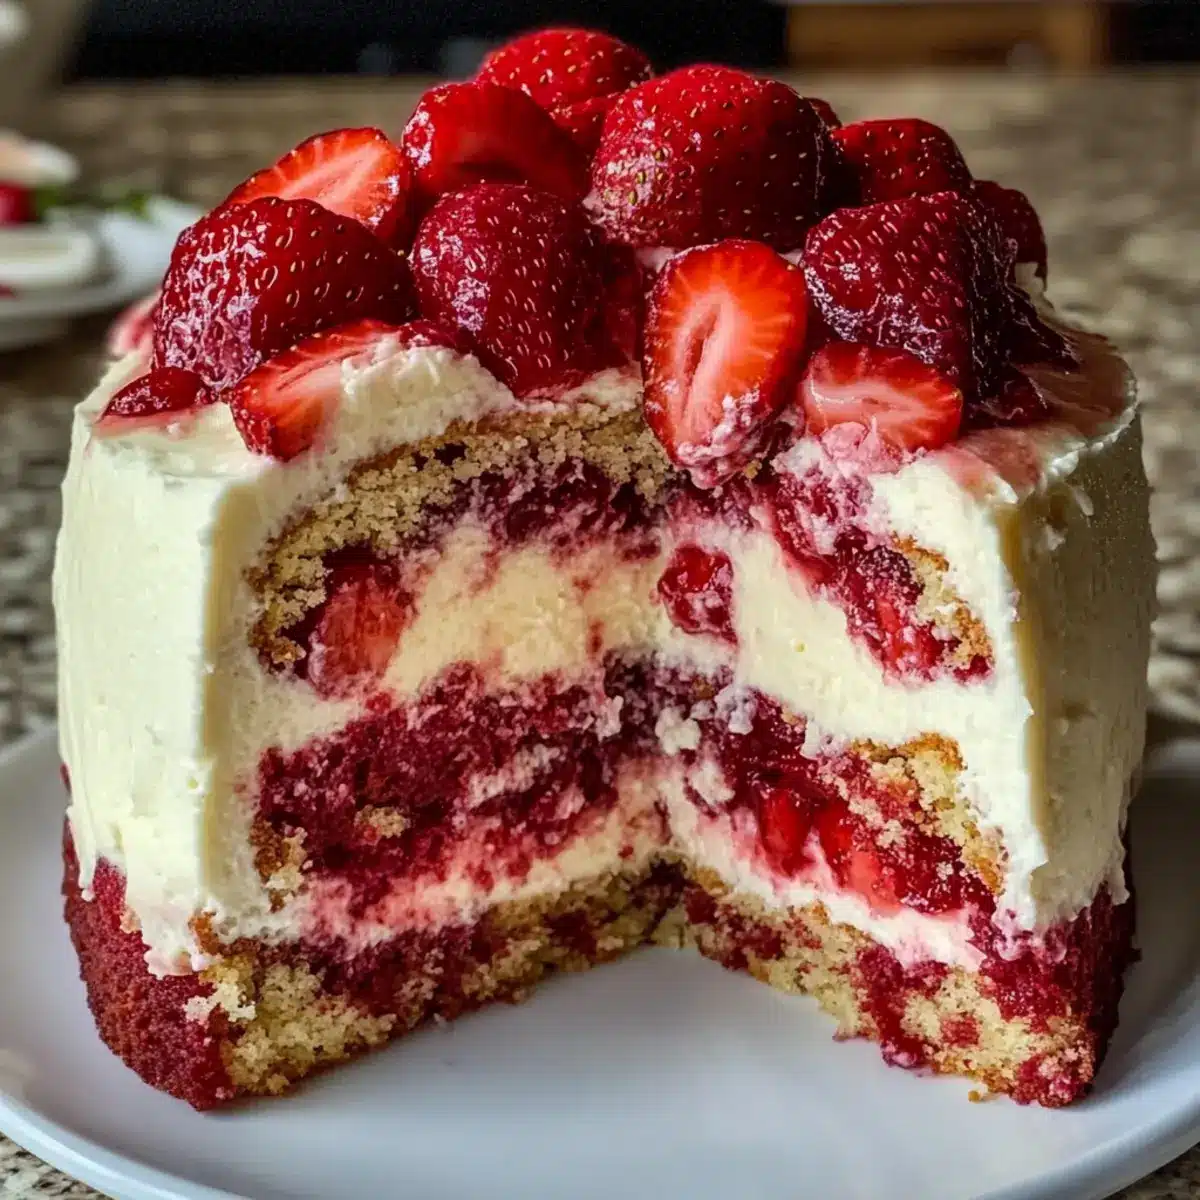
Strawberry Earthquake Cake Recipe FAQs
How do I choose ripe strawberries for the Strawberry Earthquake Cake?
Selecting the best strawberries enhances your cake’s flavor! Look for berries that are bright red, firm, and fragrant. Avoid those with dark spots or mushy areas. If you opt for frozen strawberries, make sure to thaw and drain them thoroughly to prevent sogginess in your cake.
What are the best storage methods for leftover Strawberry Earthquake Cake?
To keep your delicious Strawberry Earthquake Cake fresh, store any leftovers in an airtight container in the refrigerator for up to 3 days. Make sure the cake is completely cooled before covering it to avoid excess moisture, which can lead to a soggy texture.
Can I freeze Strawberry Earthquake Cake, and if so, how?
Absolutely! You can freeze your Strawberry Earthquake Cake for up to 1 month. Start by slicing the cake into individual pieces. Then, wrap each slice tightly in plastic wrap and place them in a freezer-safe bag or container. This keeps them protected from freezer burn while making for easy serving later.
What should I do if my cream cheese layer is too lumpy?
If your cream cheese mixture isn’t smooth, it could be due to insufficient softening. Make sure to soften your cream cheese and butter fully to room temperature before mixing. If it’s already mixed and lumpy, try beating it in the mixer for a bit longer until it’s creamy and smooth. You don’t want any lumps to disturb the beautiful texture of your Strawberry Earthquake Cake!
Is there a nut-free alternative for the chopped pecans/walnuts?
Yes, you can simply omit the nuts entirely for a nut-free version of the Strawberry Earthquake Cake. If you still want to add some crunch, consider using crushed graham crackers or oats instead to maintain a delightful texture without the risk of allergies.
Can I use other fruits in this cake?
Very! The Strawberry Earthquake Cake is quite versatile. Feel free to swap out strawberries for other fruits like raspberries or blueberries. Just be mindful to adjust the amount slightly, keeping the similar texture to ensure the cake rises beautifully and tastes delightful!
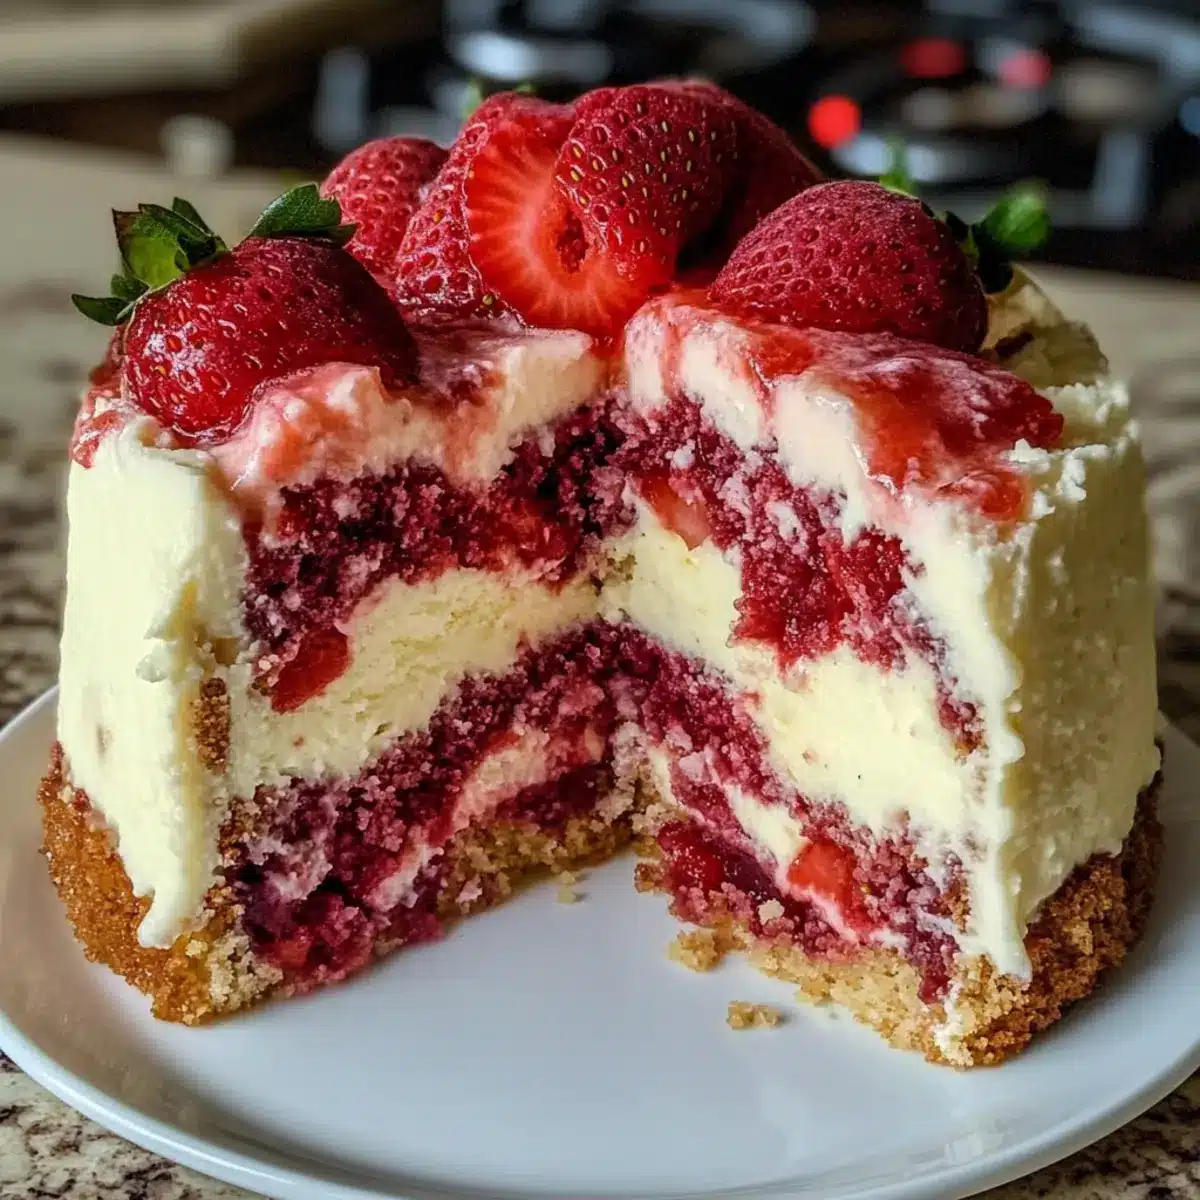
Strawberry Earthquake Cake: A Celebration of Sweet Bliss
Ingredients
Equipment
Method
- Preheat your oven to 350°F (175°C) and grease a 9x13 inch baking pan.
- In a large mixing bowl, prepare the strawberry cake mix following the package instructions.
- Fold in the strawberries, white chocolate chips, shredded coconut, and optional chopped nuts.
- Pour half of the batter into the baking pan, leaving room for the cream cheese layer.
- In a separate bowl, beat cream cheese and butter until smooth, then add powdered sugar and vanilla.
- Drop spoonfuls of the cream cheese mixture over the first layer of cake batter and swirl gently.
- Pour the remaining cake batter over the cream cheese layer and create a marbled effect.
- Bake for 40-45 minutes, until set in the center with a toothpick coming out clean.
- Allow the cake to cool in the pan for about 10-15 minutes before transferring to a wire rack.
Leave a Reply