
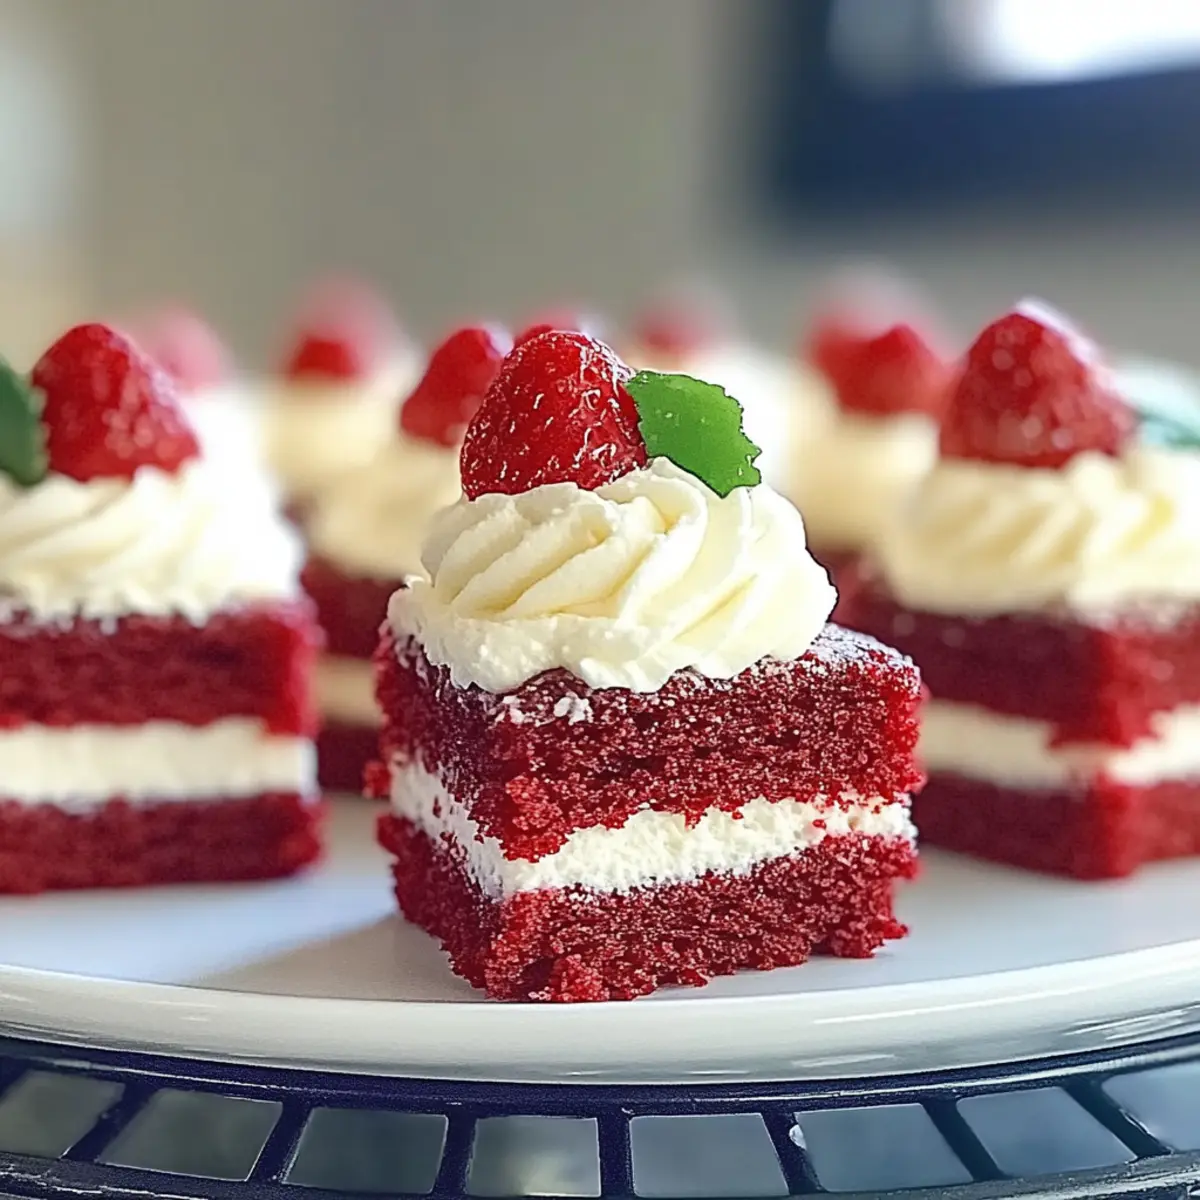
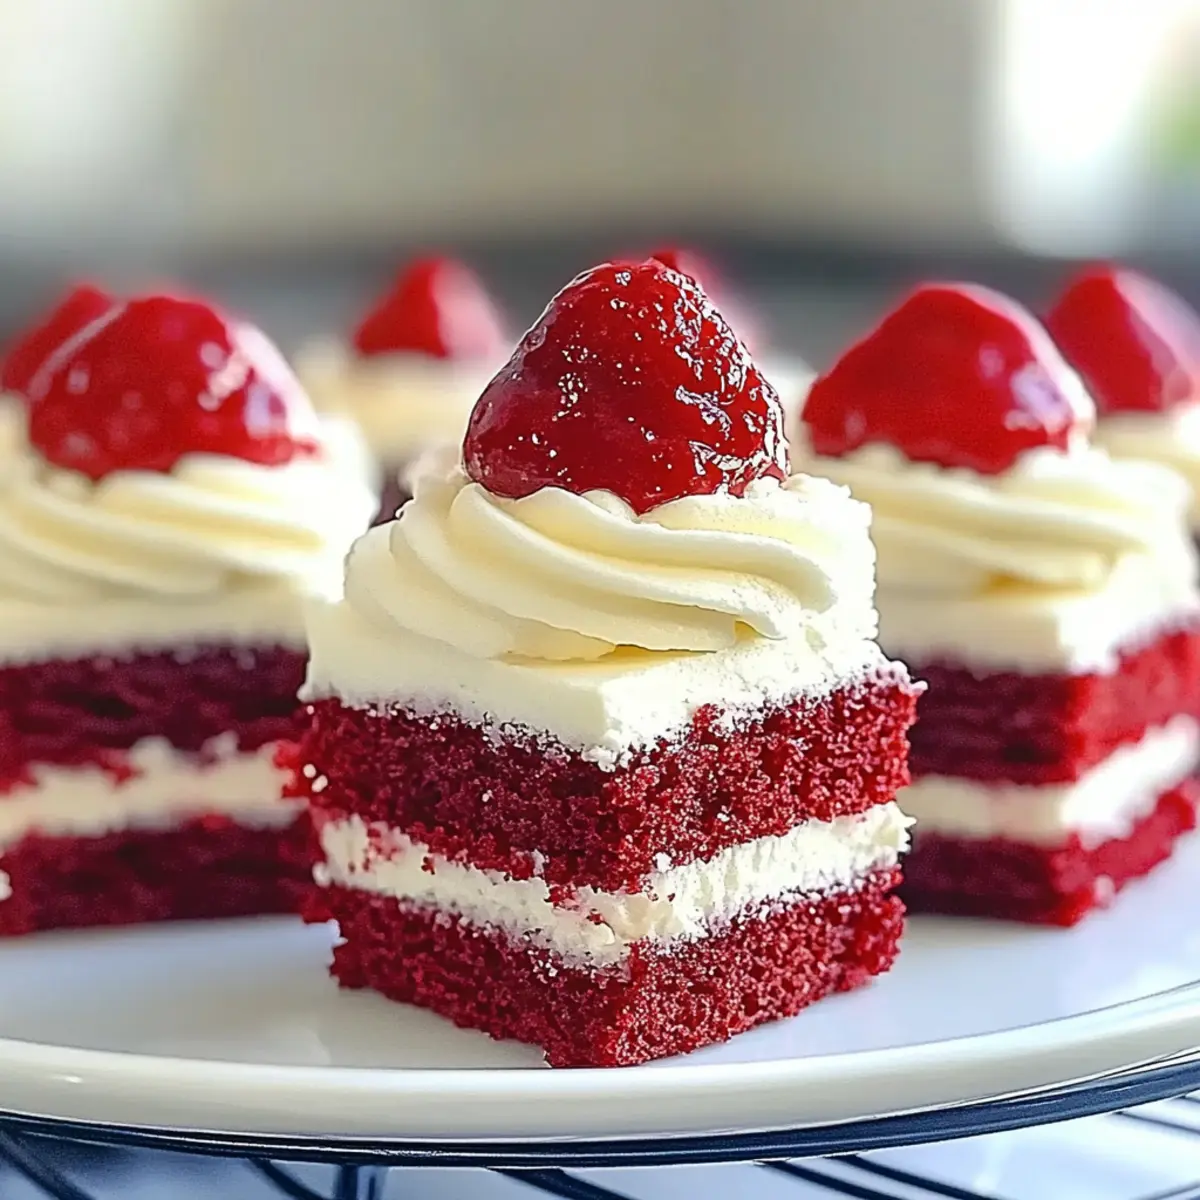
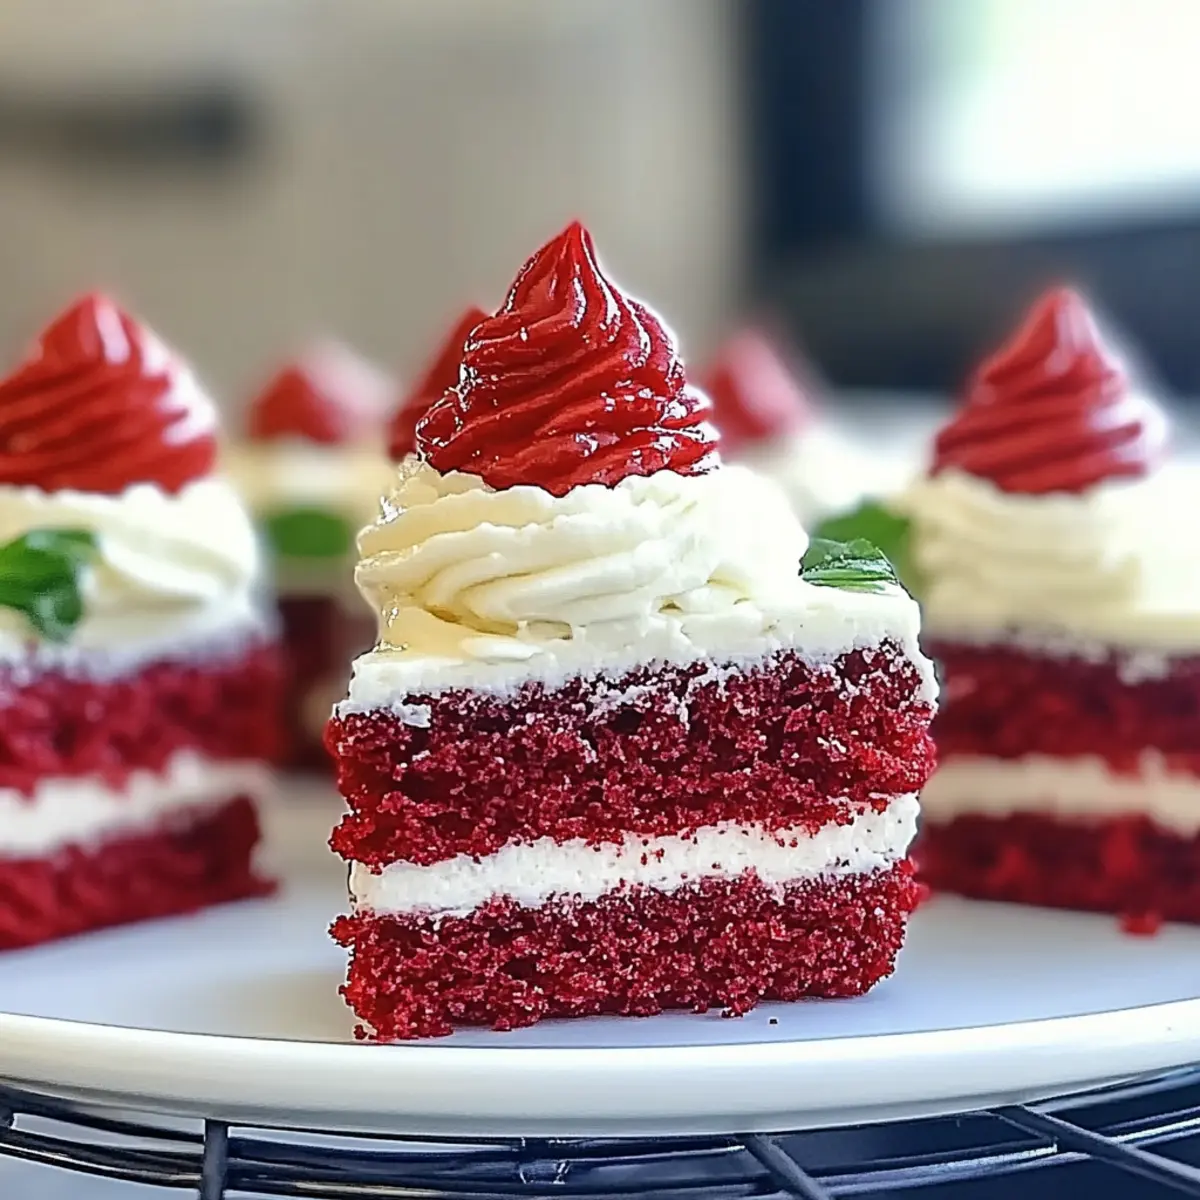
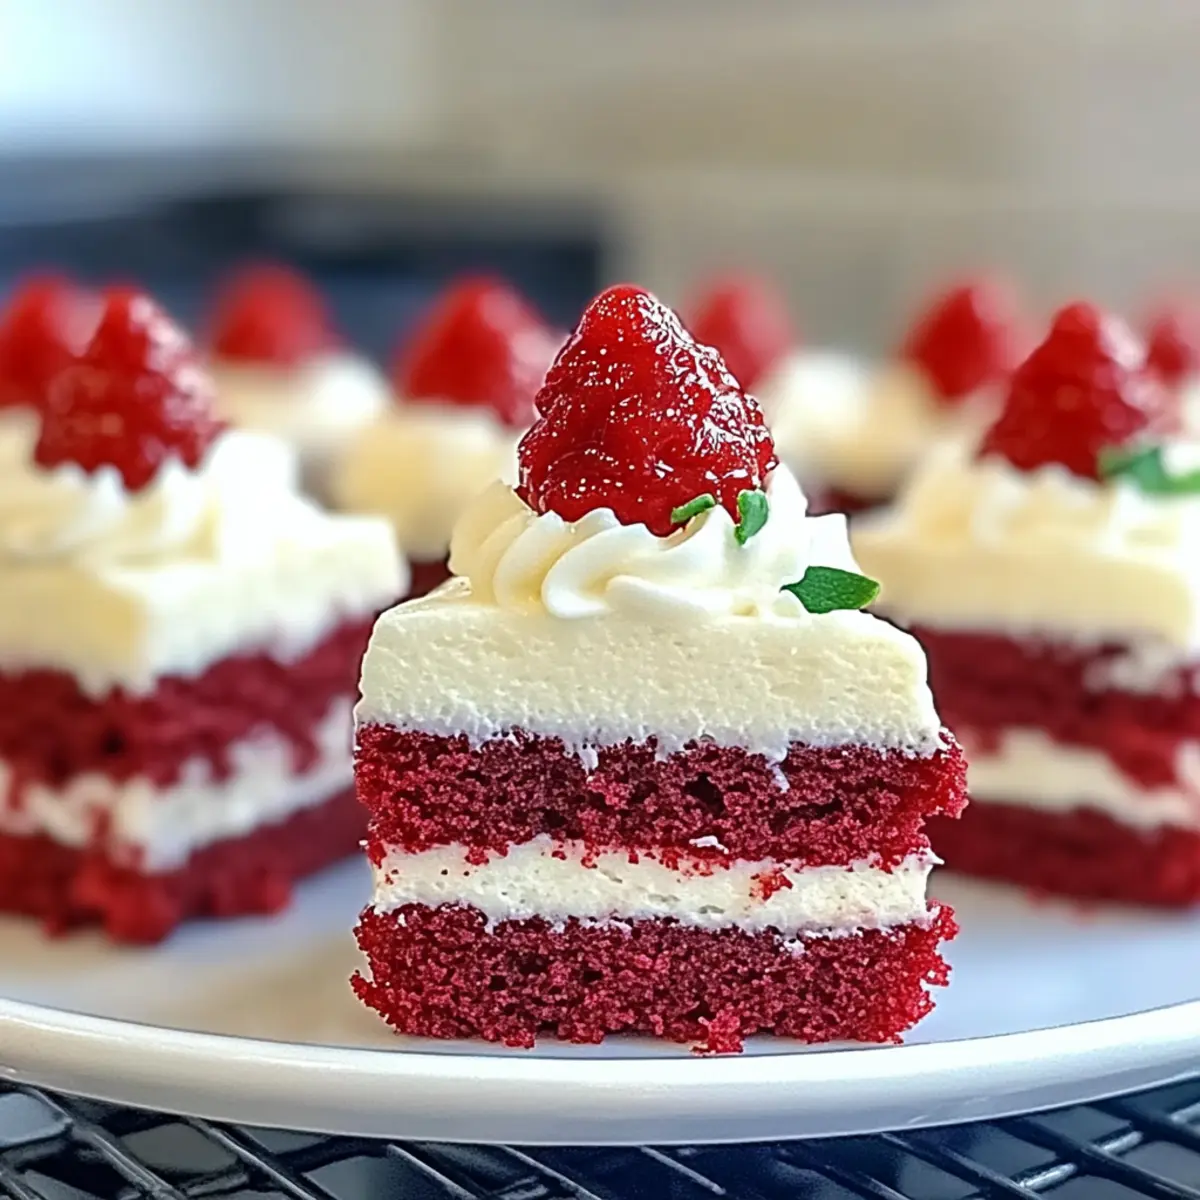
As I stood in my kitchen, the rich, warm aroma of cocoa began to dance through the air, reminding me of the sweet moments spent baking with loved ones. Today, I’m thrilled to share my recipe for Red Velvet Cake Minis with Cream Cheese Frosting—perfectly portioned delights that are as vibrant as they are delicious. Not only do these bite-sized wonders serve as a showstopper at any gathering, but they can also easily cater to a gluten-free diet. Whether you’re planning a festive celebration or simply treating yourself to a well-deserved indulgence, these mini cakes promise to satisfy every craving. Fancy a little twist? Let’s explore how easy it is to whip up these delightful treats and make your kitchen feel like a bakery!
Why Are Red Velvet Cake Minis Irresistible?
Simplicity: Baking these mini cakes is a breeze, even for novice cooks. With just a handful of pantry staples, you can create a beautiful dessert at home.
Versatility: These treats can easily adapt to dietary preferences. Try a gluten-free blend to ensure everyone can join the party!
Decadent Flavor: The rich cocoa flavor combined with the tangy cream cheese frosting creates an unforgettable taste experience.
Perfect for Sharing: Their mini size makes them ideal for gatherings, much like Peach Bellini Cupcakes that are always a hit.
Sweet Memories: Every bite transports you back to sweet moments in the kitchen with loved ones, enhancing your baking experience.
With these Red Velvet Cake Minis, you’ll find a delightful treat that impresses both in taste and presentation!
Red Velvet Cake Minis Ingredients
• To create your deliciously soft mini cakes, gather these essential ingredients!
For the Cake
- All-purpose Flour – Provides the structure; use a gluten-free blend if needed.
- Cocoa Powder – Essential for a rich flavor; opt for unsweetened cocoa for depth.
- Baking Soda – This leavening agent is key for that light, airy texture.
- Salt – Enhances the overall flavor by balancing out the sweetness.
- Granulated Sugar – For sweetness; feel free to substitute with a low-calorie sweetener.
- Vegetable Oil – Moistens the cake; melted coconut oil can add a delightful flavor.
- Eggs – Bind everything together and add moisture; make sure they’re at room temperature.
- Buttermilk – Contributes to tenderness; mix milk and vinegar if you don’t have buttermilk.
- Vanilla Extract – Adds a warm flavor; swap for almond extract to switch things up.
- Red Food Coloring – Gives that classic vibrant appearance; use beetroot powder for a natural touch.
For the Frosting
- Cream Cheese – The base of your smooth frosting; ensure it’s softened for easier mixing.
- Butter – Enriches the frosting; use unsalted for better flavor control.
- Powdered Sugar – Sweetens the frosting; adjust according to your taste preference.
These Red Velvet Cake Minis are sure to bring a burst of color and flavor to your celebrations, making every bite a sweet moment to cherish!
Step‑by‑Step Instructions for Red Velvet Cake Minis
Step 1: Preheat the Oven
Begin by preheating your oven to 350°F (175°C) and preparing a mini muffin tin with paper liners or a light spray of non-stick cooking spray. This ensures your Red Velvet Cake Minis will bake evenly and release easily once done. Grab your mixing bowls and get ready for delicious baking!
Step 2: Mix the Dry Ingredients
In a medium bowl, whisk together the all-purpose flour, cocoa powder, baking soda, and salt. This step is crucial as it combines the dry ingredients for your Red Velvet Cake Minis while also ensuring the cocoa and baking soda are evenly distributed. Set aside the bowl and bask in the chocolatey aroma!
Step 3: Combine the Wet Ingredients
In a separate large bowl, mix together the granulated sugar and vegetable oil until well combined. Next, beat in the eggs, buttermilk, and vanilla extract, followed by the red food coloring. This vibrant mixture is what gives your cake its signature color and moist texture. Ensure everything is well incorporated, creating a smooth and creamy blend.
Step 4: Mix Together
Gradually add the dry ingredient mixture to the wet ingredients, folding gently until just combined. Take care not to overmix; a few lumps are perfectly fine and will help keep your Red Velvet Cake Minis fluffy and tender. You’ll know it’s ready when you see a beautifully blended batter!
Step 5: Fill the Muffin Tin
Using a spoon or a small cookie scoop, fill each muffin cup about two-thirds full with the batter. Bake in the preheated oven for 15-18 minutes, or until a toothpick inserted into the center comes out clean. As they bake, your kitchen will fill with a sweet aroma, hinting at the delightful treats to come!
Step 6: Cool & Frost
Once baked, allow the Red Velvet Cake Minis to cool in the pan for about five minutes before transferring them to wire racks to cool completely. Meanwhile, prepare the frosting by blending softened cream cheese and butter until creamy, then gradually add powdered sugar to reach your desired sweetness. These fluffy toppings will make your minis irresistible!
Step 7: Frost the Minis
Once the mini cakes are completely cool, generously frost each one with your cream cheese frosting using a knife or a piping bag. The smooth, tangy frosting perfectly complements the moist cake, creating a decadent dessert. Feel free to get creative with your frosting application, making each Red Velvet Cake Mini as beautiful as they are delicious!
How to Store and Freeze Red Velvet Cake Minis
Room Temperature: Keep Red Velvet Cake Minis in an airtight container at room temperature for up to 3 days. This ensures they’ll stay soft and delicious without drying out.
Fridge: To extend freshness, store the minis in the fridge for up to 1 week. Just remember to keep them well-wrapped to prevent moisture loss.
Freezer: For longer storage, individually wrap Red Velvet Cake Minis in plastic and freeze for up to 3 months. When ready to enjoy, simply thaw them in the fridge overnight.
Reheating: When serving from frozen, allow the minis to come to room temperature, or gently heat them in the microwave for about 10 seconds for a fresh-from-the-oven experience.
Expert Tips for Red Velvet Cake Minis
-
Room Temperature Ingredients: Ensure all your ingredients, especially eggs and cream cheese, are at room temperature. This improves blending and results in a lighter texture for your Red Velvet Cake Minis.
-
Avoid Overmixing: Mix the batter until just combined. Overmixing can lead to dense cakes; a few lumps are fine and will help keep your minis light and fluffy.
-
Proper Oven Temperature: Preheating the oven thoroughly is crucial. An underheated oven can result in unevenly baked red velvet cakes, while overheat can cause them to rise too fast and collapse.
-
Cool Before Frosting: Allow your mini cakes to cool completely before frosting. Frosting on warm cakes can cause the cream cheese to melt, creating a gooey mess rather than a lovely finish.
-
Decoration Delight: Get creative! Top your Red Velvet Cake Minis with sprinkles, chocolate shavings, or even some fresh berries to make them visually stunning for any occasion.
-
Storage Solution: Store any leftover Red Velvet Cake Minis in an airtight container. These treats stay fresh for up to three days at room temperature or up to a week in the fridge, so you can savor every sweet moment.
What to Serve with Red Velvet Cake Minis
Indulging in these delightful mini cakes is just the beginning; let’s create a full dining experience that tantalizes the senses!
-
Creamy Mashed Potatoes: Their buttery richness provides a comforting contrast to the sweet mini cakes, perfect for balancing flavors.
-
Fresh Mixed Greens Salad: Tossed with a zesty vinaigrette, this adds crunch and brightness, complementing the cake’s sweetness.
-
Chocolate Mousse: This light dessert echoes the chocolate in the cakes, offering a luxurious pairing that’s sure to impress.
-
Sweet Tea or Lemonade: Refreshing drinks to balance the richness of the cakes, enhancing the overall flavor experience.
-
Fruit Platter: Fresh berries provide a tart, juicy contrast, balancing the sweet and creamy elements beautifully.
-
Vanilla Ice Cream: A scoop atop the mini cakes makes for a delightful mix of warm and cold, oozing flavor in every bite.
Pair these suggestions with your Red Velvet Cake Minis for a truly memorable meal that delights guests and family alike!
Red Velvet Cake Minis Variations & Substitutions
Feel free to get creative with these delightful mini cakes, making them uniquely yours!
-
Gluten-Free: Swap all-purpose flour for a high-quality gluten-free blend to cater to dietary preferences.
-
Sugar Alternative: Use a sugar substitute like stevia or erythritol for a lower-calorie treat without sacrificing sweetness.
-
Nutty Flavor: Trade vanilla extract for almond extract to introduce a delightful nutty essence that elevates the cake.
-
Mini Chocolate Chips: Stir in mini chocolate chips to the batter for an extra decadent chocolate surprise.
-
Cream Cheese Twist: Experiment with different cream cheese flavors, such as strawberry or chocolate, to add a fun twist to your frosting.
-
Spicy Kick: Add a pinch of cayenne or cinnamon to the batter for a subtle heat and spiced warmth that surprises the palate.
-
Make-Ahead: Bake and freeze individual minis for parties. Simply thaw at room temperature to serve fresh and soft.
By exploring these variations, your Red Velvet Cake Minis can become your personalized delight, much like Gingerbread Pancakes Cozy muffins or even Mini Sausage Pancake treats. Get ready to impress your family and friends with these extraordinary versions!
Make Ahead Options
These Red Velvet Cake Minis are perfect for meal prep enthusiasts looking to save time during busy weeknights! You can prepare the cake batter up to 24 hours in advance and store it in the refrigerator, just be sure to keep it tightly covered to maintain its moisture. Additionally, the cream cheese frosting can be made up to 3 days ahead; simply refrigerate it in an airtight container. When you’re ready to bake, fill the muffin cups and follow the baking instructions. After cooling, frost your minis and they’ll be just as delightful as if made fresh that day! Enjoy the convenience of having these sweet treats ready to go whenever you need them!
Red Velvet Cake Minis Recipe FAQs
How do I choose the right ripeness of ingredients, especially eggs and buttermilk?
Absolutely! For the best results, always use eggs that are at room temperature. This helps them blend smoothly into the batter. When it comes to buttermilk, make sure it’s fresh, as older buttermilk may not provide the same tenderness to your Red Velvet Cake Minis. If you’re using a homemade substitute, like milk mixed with vinegar, let it sit for about 5-10 minutes to thicken before using.
How should I store my Red Velvet Cake Minis for maximum freshness?
For room temperature storage, place your minis in an airtight container, and they’ll stay delicious for up to 3 days. If you’ve made a big batch or want them to last longer, refrigerate them in a well-wrapped container for up to a week. Just remember, taking a few moments to wrap them snugly will keep the moisture in!
Can I freeze Red Velvet Cake Minis, and if so, how?
Of course! To freeze them, first, allow your mini cakes to cool completely. Then, wrap each one individually in plastic wrap and place them in a freezer-safe bag or container, sealing well to prevent freezer burn. They can be frozen for up to 3 months. When you’re ready to enjoy, simply thaw them in the fridge overnight. For an extra touch of warmth, microwave them for about 10 seconds before serving—like pulling them right from the oven!
What are some common issues I might face while baking?
Very! A common issue is overmixing the batter, which can make your Red Velvet Cake Minis dense. Mix until just combined; a few lumps are perfectly fine. Also, ensure your oven is properly preheated. Baking in an inconsistent temperature can cause your cakes to rise unevenly or collapse. Always check doneness with a toothpick; if it comes out clean, they’re ready!
Are there any allergy considerations I should keep in mind?
Definitely! If you’re catering to allergy concerns, remember that eggs and dairy (like cream cheese) are common allergens. You can use egg substitutes such as flaxseed meal or unsweetened applesauce for binding. For dairy, consider using plant-based cream cheese and almond milk mixed with vinegar as an alternative to buttermilk. Always label your treats, especially for gatherings, to keep everyone safe and informed!
Can I make the frosting ahead of time, and how should I store it?
Yes, you can prepare the cream cheese frosting ahead of time! Simply store it in an airtight container in the refrigerator for up to one week. Before using, let it come to room temperature to make it easier to spread. If you have extra frosting, keep it separate from the cakes to avoid sogginess. You’ll have everything ready to create your delightful Red Velvet Cake Minis when you are!
Deliciously Soft Red Velvet Cake Minis for Sweet Moments
Ingredients
Equipment
Method
- Preheat your oven to 350°F (175°C) and prepare a mini muffin tin with paper liners or cooking spray.
- Whisk together the flour, cocoa powder, baking soda, and salt in a medium bowl.
- In a larger bowl, mix the granulated sugar and vegetable oil, then beat in the eggs, buttermilk, vanilla extract, and red food coloring.
- Gradually fold the dry ingredients into the wet ingredients until just combined.
- Fill each muffin cup about two-thirds full and bake for 15-18 minutes or until a toothpick comes out clean.
- Cool the minis for about five minutes in the pan, then transfer to wire racks to cool completely.
- Blend softened cream cheese and butter until creamy, gradually adding powdered sugar to achieve desired sweetness.
- Frost the cooled minis with the cream cheese frosting.
Leave a Reply