
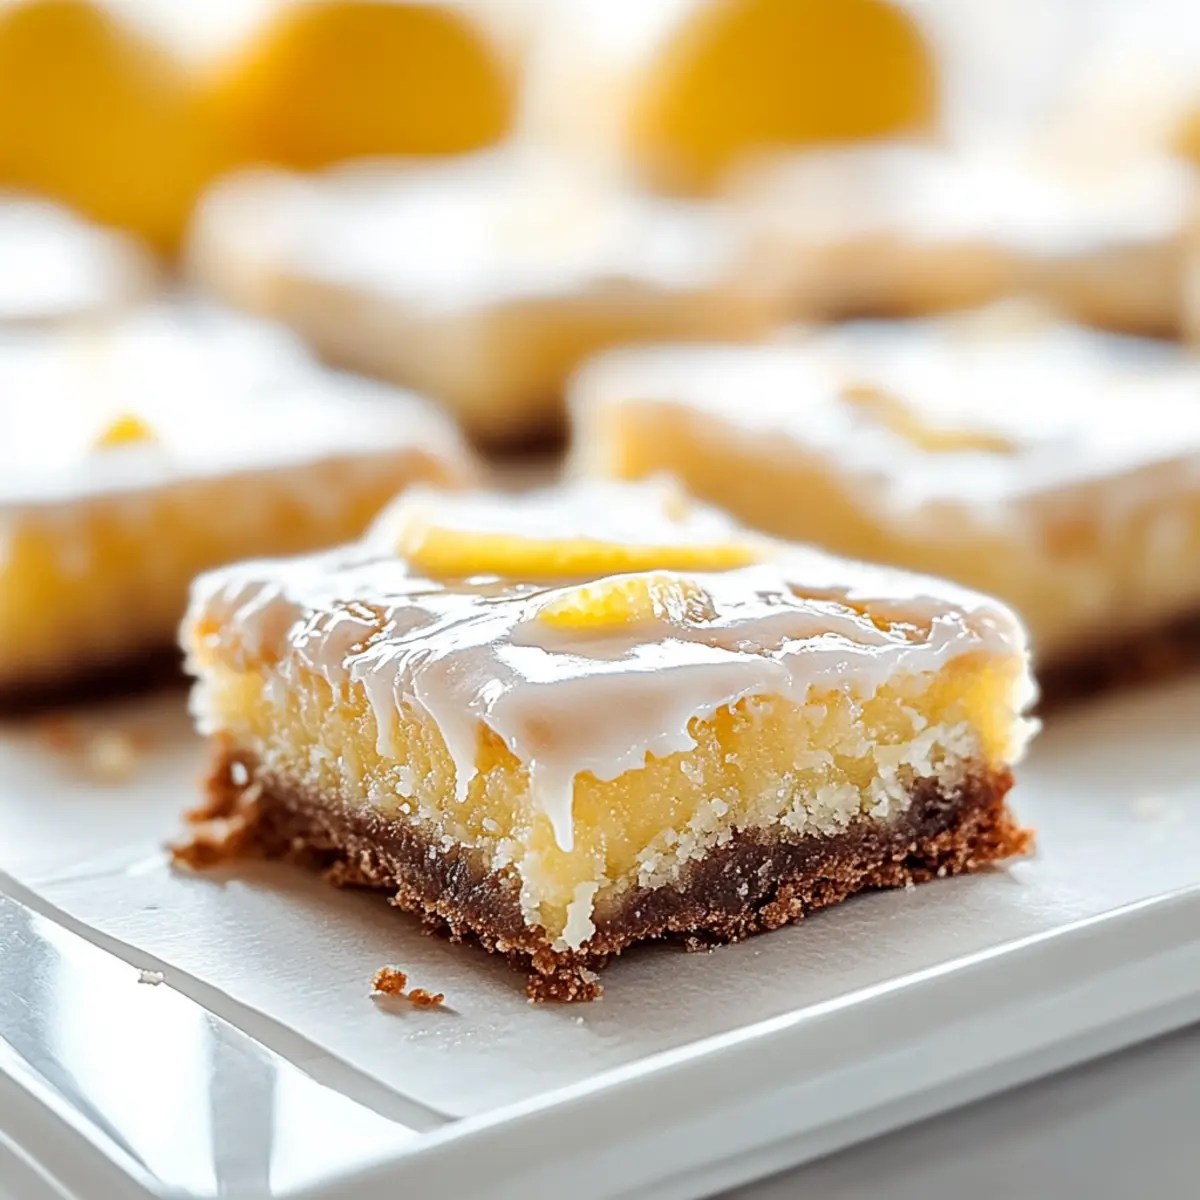
As I pulled the freshly baked pan of Lemon Brownies from the oven, the inviting aroma of zesty citrus filled the kitchen, instantly lifting my spirits. These delightful lemonies are not just an alternative to traditional chocolate brownies; they offer a tangy twist that’s refreshingly unique. With their moist texture and vibrant flavor, they’re perfect for anyone seeking a quick and easy dessert that brings a burst of sunshine to any occasion. Imagine serving these lemon brownies at your next gathering, where they’ll no doubt be a hit with friends and family alike, making dessert time feel like a celebration. Curious to see just how simple it is to whip up these zesty treats? Let’s dive in!
Why Are These Lemon Brownies Special?
Unique Flavor: The tangy lemon flavor is a delightful departure from the ordinary, providing a refreshing twist.
Quick & Easy: You can whip these up in no time; they require minimal effort and just a handful of ingredients.
Perfect for Any Occasion: Whether it’s a weekend treat or a summer gathering, these brownies are sure to steal the show.
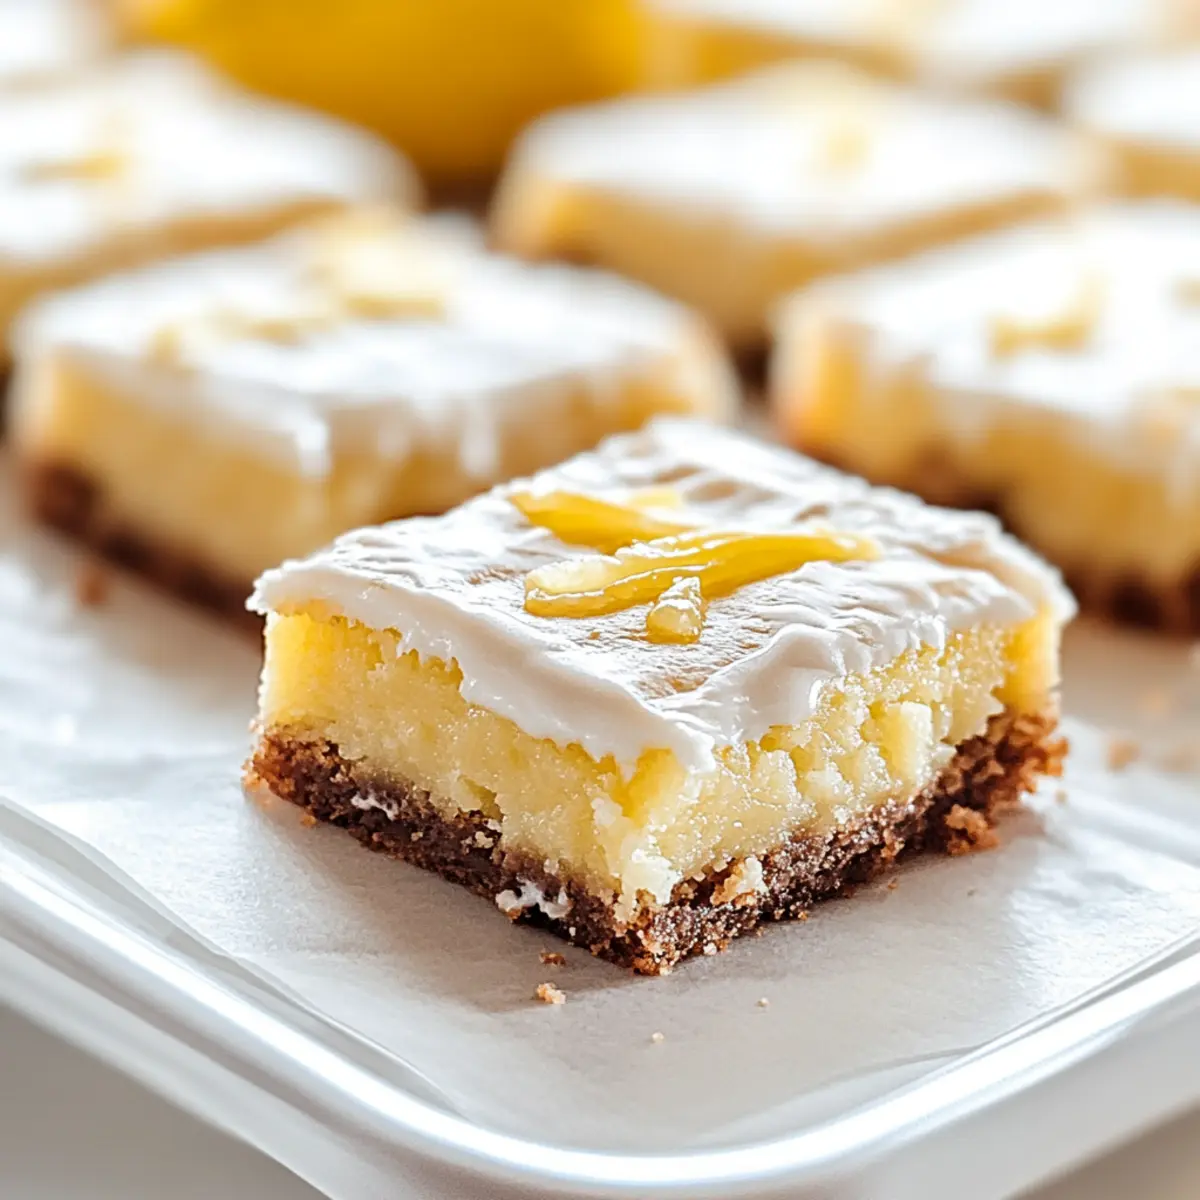
Moist Texture: Expect a dense, fudgy delight that melts in your mouth, reminiscent of a luscious lemon meringue pie.
Versatile Variations: Feel free to get creative! Top them with sliced almonds or a lemon glaze to elevate the flavors even more.
Crowd Pleaser: You’ll have everyone asking for seconds; these Lemon Brownies are simply irresistible! If you enjoy zesty desserts, you might also love my Lemon Raspberry Cottage.
Lemon Brownies Ingredients
For the Brownies
• Lemon Juice – Freshly squeezed lemon juice delivers the tangy kick these brownies need.
• Lemon Zest – Adds vibrant flavor and aroma; feel free to up the amount for more citrusy goodness.
• Sugar – Sweetens the mix while maintaining moisture; coconut sugar can be a delightful less refined option.
• Flour – Provides structure to these moist treats; all-purpose flour is typical, but a gluten-free blend works too.
• Butter – Infuses richness and moisture; substitute with coconut oil or vegan butter for dairy-free brownies.
• Eggs – Essential for binding and helping these lemon brownies rise; use flax eggs for a vegan twist (1 tbsp ground flaxseed mixed with 3 tbsp water per egg).
These lemon brownies are simply a joy to prepare and share!
Step‑by‑Step Instructions for Lemon Brownies
Step 1: Preheat the Oven
Begin by preheating your oven to 350°F (175°C). While the oven warms up, grease a square baking pan (8×8 inches works best) or line it with parchment paper for easy removal. This will ensure your Lemon Brownies bake evenly and release easily once they’re done.
Step 2: Mix Wet Ingredients
In a large mixing bowl, combine freshly squeezed lemon juice and lemon zest with granulated sugar and melted butter. Stir these ingredients together until they form a well-combined mixture, creating a zesty base for your brownies. The fresh lemon juice will give your brownies that vibrant tangy flavor we love.
Step 3: Add Eggs
Next, crack in the eggs and beat the mixture well until it becomes light and fluffy. This step is crucial as it will help create that delightful texture in your Lemon Brownies. Keep beating until you see a nice blend, with no visible streaks of egg left behind.
Step 4: Fold in the Flour
Gently sprinkle in the all-purpose flour and carefully fold it into the mixture using a spatula. Be sure to mix until just combined, avoiding overmixing to keep the brownies moist and tender. This is where the magic happens; the batter should be smooth and thick, indicating it’s ready for baking.
Step 5: Pour and Smooth
Pour the luscious batter into your prepared baking pan. Use your spatula to evenly spread the mixture, smoothing out the top to ensure even baking. This step will make sure your Lemon Brownies are perfectly cooked through and have an appealing look when they come out of the oven.
Step 6: Bake to Perfection
Place the pan in your preheated oven and bake for 25-30 minutes. To check for doneness, insert a toothpick into the center; it should come out clean or with a few moist crumbs attached. Avoid overbaking, as you want your Lemon Brownies to maintain that soft, fudgy texture.
Step 7: Cool and Cut
Once baked, remove the pan from the oven and let it cool in the pan for about 10-15 minutes. Afterward, transfer the brownies to a wire rack to cool completely. Once cool, cut them into squares and serve! If desired, drizzle with a lemon glaze for an extra touch of sweetness.
Storage Tips for Lemon Brownies
Room Temperature: Store your lemon brownies in an airtight container at room temperature for up to 3 days to maintain their moist texture and vibrant flavor.
Fridge: For longer freshness, refrigerate the brownies for up to 1 week. Allow them to come to room temperature before serving for the best taste experience.
Freezer: To freeze, wrap individual brownies in plastic wrap and place them in a freezer-safe container. They can be stored for up to 3 months; simply thaw at room temperature when ready to enjoy.
Reheating: If you prefer your lemon brownies warm, gently reheat them in the microwave for about 10-15 seconds. This will help restore their soft, fudgy texture that makes these lemon brownies so delightful.
Expert Tips for Lemon Brownies
- Fresh Ingredients: Use freshly squeezed lemon juice and zest for the best flavor; bottled lemon juice won’t provide the same tangy kick.
- Proper Mixing: Beat the eggs until fluffy to create a light texture; underbeating can lead to dense brownies that don’t rise properly.
- Mind the Bake Time: Keep a close eye on the brownies while baking; overbaking will dry them out, so aim for a toothpick that comes out with a few moist crumbs.
- Cooling is Key: Allow the brownies to cool in the pan first; this helps them set and makes cutting easier without falling apart.
- Variations Count: Don’t hesitate to experiment! Adding nuts or a lemon glaze can elevate your lemon brownies and delight your taste buds even further.
- Storage Wisdom: Store your lemon brownies in an airtight container at room temperature to keep them fresh and moist for days.
Lemon Brownies Customization Ideas
Feel free to get creative with these lemon brownies, allowing your taste buds to take the lead!
- Gluten-Free: Substitute all-purpose flour with a gluten-free blend for a deliciously safe version.
- Dairy-Free: Replace butter with coconut oil or vegan butter to keep it creamy without dairy.
- Nutty Twist: Add chopped walnuts or almonds for a delightful crunch to balance the moist texture.
- Enhanced Tartness: Increase lemon zest for a more robust citrus flavor that will brighten your day.
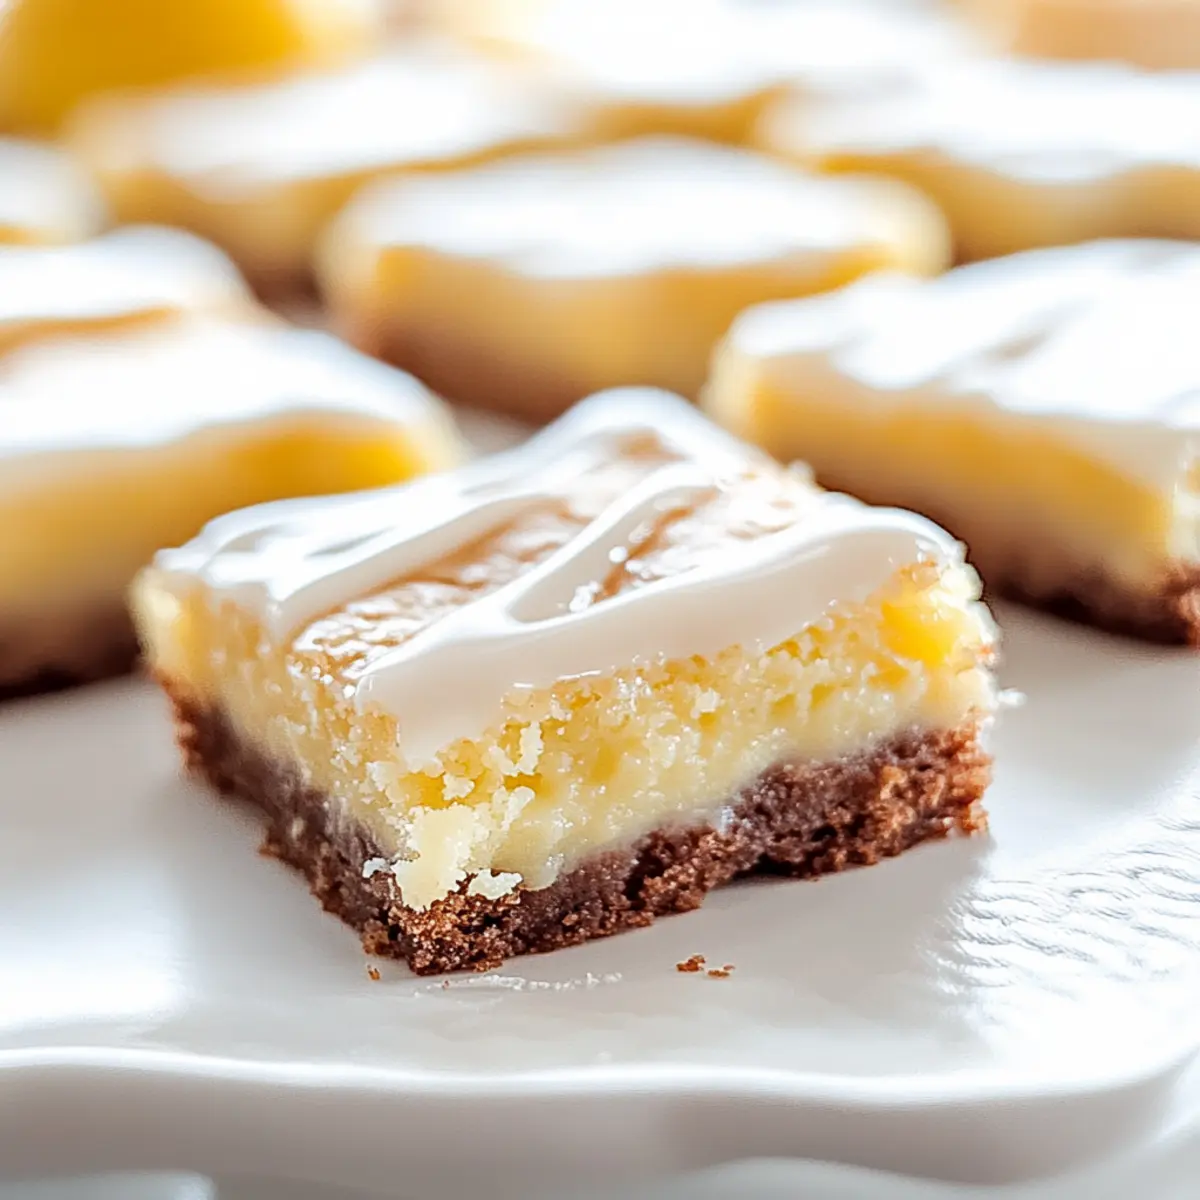
- Sweet Drizzle: Top with a sweet lemon glaze made of powdered sugar and lemon juice for a delightful finish.
- Berry Bliss: Serve these brownies alongside fresh raspberries; their tartness complements the lemon perfectly.
- Extra Moisture: For a fudgier brownie, try adding a bit of applesauce to the mixture—it’s a delicious secret!
- Chocolate Love: Sprinkle chocolate chips into the batter before baking to create a zesty lemon-chocolate surprise.
Whatever variation you choose, these lemon brownies are sure to be a hit! If you’re in the mood for more tangy treats, check out my recipe for Lemon Garlic Butter or the refreshing Salt Caramel Brownies. Enjoy!
Make Ahead Options
These Lemon Brownies are perfect for meal prep, allowing you to enjoy a delightful dessert without the last-minute rush! You can prepare the batter up to 24 hours in advance by mixing all the wet ingredients and folding in the flour, then cover the bowl and refrigerate. Just before baking, let the mixture sit at room temperature for about 15 minutes, then pour it into your prepared pan and bake as usual. For optimal freshness, store any leftover brownies in an airtight container at room temperature for up to 3 days. This way, you’ll be ready to serve these moist and zesty brownies whenever the craving strikes, ensuring they stay just as delicious as when they were freshly baked!
What to Serve with Lemon Brownies
Imagine a sunny afternoon where the zesty aroma of lemon brownies fills the air, inviting you to indulge in a delightful dessert experience.
- Fresh Berries: Juicy strawberries or blueberries add a burst of sweetness and a colorful contrast that pairs beautifully with tangy lemon flavors.
- Vanilla Ice Cream: A scoop of creamy vanilla ice cream melts over warm lemon brownies, creating a delightful balance of temperature and texture.
- Whipped Cream: Light and airy whipped cream drizzled on top enhances the brownies’ moistness and provides an indulgent touch.
- Mint Tea: A refreshing cup of mint tea cleanses the palate and complements the bright citrus notes of the lemon brownies perfectly.
- Lemon Glaze: Drizzling a simple lemon glaze on top intensifies the sweetness while emphasizing the vibrant lemon flavor for an extra zing.
- Almonds: Sliced almonds sprinkled on top before baking add a nutty crunch that contrasts delightfully with the soft, moist texture of the brownies.
- Coconut Whipped Cream: For a dairy-free option, coconut whipped cream adds a tropical touch and a creamy richness that pairs wonderfully with the zesty brownies.
- Sparkling Water: A refreshing glass of sparkling water with a squeeze of lemon will elevate your dessert experience, cleansing the palate with every sip.
- Pistachio Ice Cream: The creamy richness of pistachio ice cream complements the brownies’ tanginess, while the subtle nutty flavor enhances the overall dessert.
Lemon Brownies Recipe FAQs
What type of lemons should I use for the best flavor?
Absolutely! For the zestiest flavor, always opt for fresh, ripe lemons. Look for ones that are firm, bright yellow, and have a fragrant aroma. Avoid any that have dark spots or feel too soft as they may be overripe or spoiled.
How should I store my lemon brownies for optimal freshness?
For best results, keep your lemon brownies in an airtight container at room temperature for up to 3 days. If you want to prolong their freshness, store them in the refrigerator, where they can last up to 1 week. Just be sure to bring them back to room temperature before serving for that delightful taste!
Can I freeze lemon brownies, and if so, how?
Absolutely! To freeze your lemon brownies, let them cool completely. Then, wrap each square tightly in plastic wrap and place them in a freezer-safe container. They can be safely stored for up to 3 months. When you’re ready to enjoy, simply thaw them at room temperature for a few hours or overnight, and they’ll be just as delicious as the day you made them!
What should I do if my lemon brownies turn out too dense?
Very good question! If your brownies are too dense, it might be due to overmixing the batter after adding the flour, which can lead to gluten development. To prevent this in future batches, gently fold the flour into the wet mixture until just combined. Remember, a few lumps are perfectly fine! Additionally, make sure your eggs are whipped until fluffy to promote a lighter texture.
Are there any dietary considerations I should keep in mind when making lemon brownies?
When it comes to dietary needs, these lemon brownies can easily be adapted! For a dairy-free version, substitute butter with coconut oil or vegan butter. If you’re looking for a gluten-free alternative, use a gluten-free flour blend instead of all-purpose flour. Lastly, for those egg-free bakers, replacing eggs with flax eggs (1 tbsp ground flaxseed mixed with 3 tbsp water per egg) works wonderfully. Enjoy experimenting with these swaps!

Lemon Brownies That Brighten Your Day with Zesty Flavor
Ingredients
Equipment
Method
- Preheat your oven to 350°F (175°C) and grease or line an 8x8 inch baking pan.
- In a large bowl, combine lemon juice, lemon zest, sugar, and melted butter until well mixed.
- Add eggs to the mixture and beat until light and fluffy, ensuring no visible streaks of egg remain.
- Sprinkle in flour and fold gently into the mixture until just combined to avoid overmixing.
- Pour the batter into the prepared baking pan and smooth the top with a spatula.
- Bake for 25-30 minutes and check for doneness with a toothpick; it should come out clean or with a few moist crumbs.
- Allow the brownies to cool in the pan for 10-15 minutes, then transfer to a wire rack to cool completely before cutting into squares.
Leave a Reply