
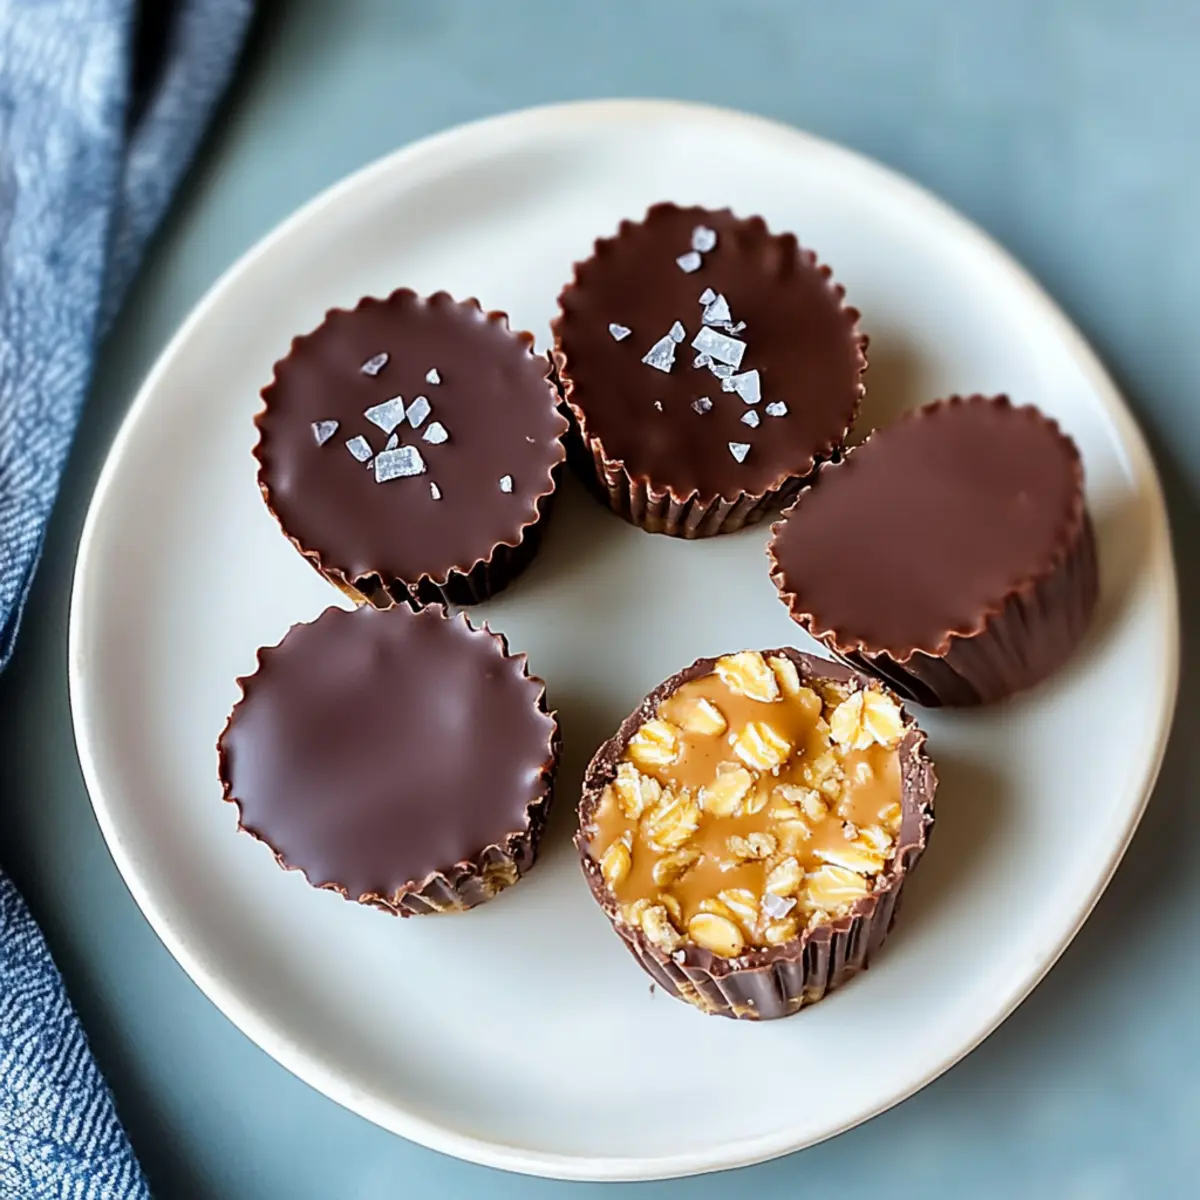
As I was brainstorming my next delicious creation, the thought of a sweet, guilt-free treat kept dancing in my mind. That’s when I decided to whip up these No-Bake Peanut Butter Oat Cups. With their creamy texture and delightful chewiness, they strike the perfect balance between indulgence and nutrition. These easy-to-make snack cups require no oven and come together in under 30 minutes—ideal for busy days or when unexpected guests drop by. Made with wholesome oats and rich peanut butter, they’re not only gluten-free but also open to variation with different chocolates or sweeteners. Whether you’re looking for a quick snack or a comforting dessert, these little cups are sure to satisfy your cravings. Ready to discover how to bring this treat to life? Let’s dive into the recipe!
Why Are No-Bake Peanut Butter Oat Cups Perfect?
Effortless to Make: These No-Bake Peanut Butter Oat Cups require minimal effort and no baking skills, making them a breeze for any home cook.
Guilt-Free Indulgence: The combination of wholesome oats and rich peanut butter offers a satisfying treat that feels indulgent without the guilt.
Customizable Options: Tailor them to your taste by swapping out chocolate types or using honey instead of maple syrup for variety. Check out our Cowboy Butter Chicken for another delicious recipe that embraces flexibility!
Quick Satisfaction: With just 30 minutes of prep time, these cups are perfect for last-minute cravings or unexpected gatherings.
Family-Friendly Fun: Get kids involved in making these delicious cups—they’ll love pressing the mixture and choosing their favorite toppings!
No-Bake Peanut Butter Oat Cups Ingredients
• Create your own delicious treats with these simple ingredients!
For the Base
- Creamy Peanut Butter – Provides richness and binds ingredients; opt for natural for a healthier flair.
- Rolled Oats – Adds texture and fiber, creating that chewy goodness—avoid quick oats for best results.
- Maple Syrup – Sweetens the mixture and can be replaced with honey for a firmer texture.
- Melted Coconut Oil – Essential for binding; can be swapped with a neutral oil if needed.
- Vanilla Extract – Enhances the flavor with a sweet aroma for that quintessential dessert taste.
- Flaky Sea Salt – A sprinkle helps balance the sweetness and adds a gourmet touch!
For the Topping
- Chocolate Chips – Forms the luscious topping; choose semi-sweet for sweetness or dark chocolate for a rich flavor—dairy-free chocolate makes it vegan-friendly!
These No-Bake Peanut Butter Oat Cups come together effortlessly with these wholesome ingredients. Enjoy!
Step‑by‑Step Instructions for No-Bake Peanut Butter Oat Cups
Step 1: Prepare Muffin Tin
Start by lining a standard muffin tin with paper or silicone liners. This will ensure easy removal of your No-Bake Peanut Butter Oat Cups once they’re set. Make sure each cup is adequately lined to prevent sticking, as you want a smooth release of those delightful treats later on.
Step 2: Mix Base Ingredients
In a large mixing bowl, combine the rolled oats, creamy peanut butter, maple syrup, melted coconut oil, vanilla extract, and a pinch of flaky sea salt. Use a sturdy spatula to stir until the mixture is well combined and sticky. The goal is to create a thick, cohesive base that holds together and is ready for packing into the muffin tin.
Step 3: Pack the Base
Next, take the mixed oat mixture and firmly pack it into each lined muffin cup using the back of a spoon or your fingers. Press down with some effort to ensure they hold their shape when unmolded. Pop the muffin tin into the freezer and let it chill for about 15 minutes, allowing the base to set correctly.
Step 4: Melt Chocolate
While the oat cups are setting, prepare the chocolate topping by melting the chocolate chips. You can do this in a microwave-safe bowl, heating in 30-second intervals until smooth, or use a double boiler over medium heat. Stir in a teaspoon of coconut oil to achieve a glossy finish and enhance its spreadability when topping the cups.
Step 5: Chocolate Topping
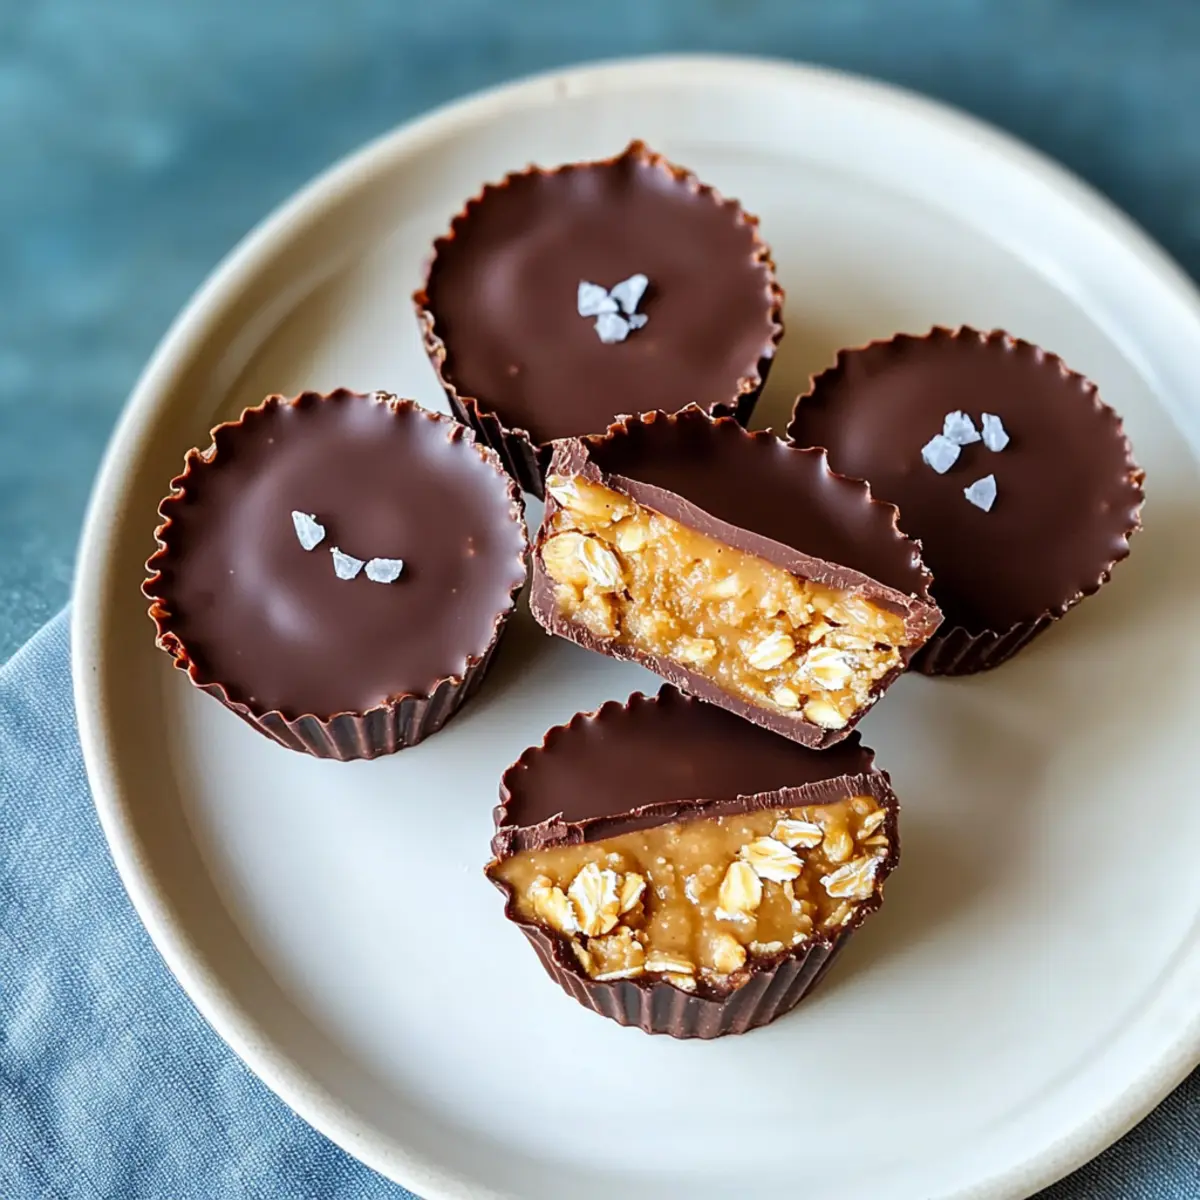
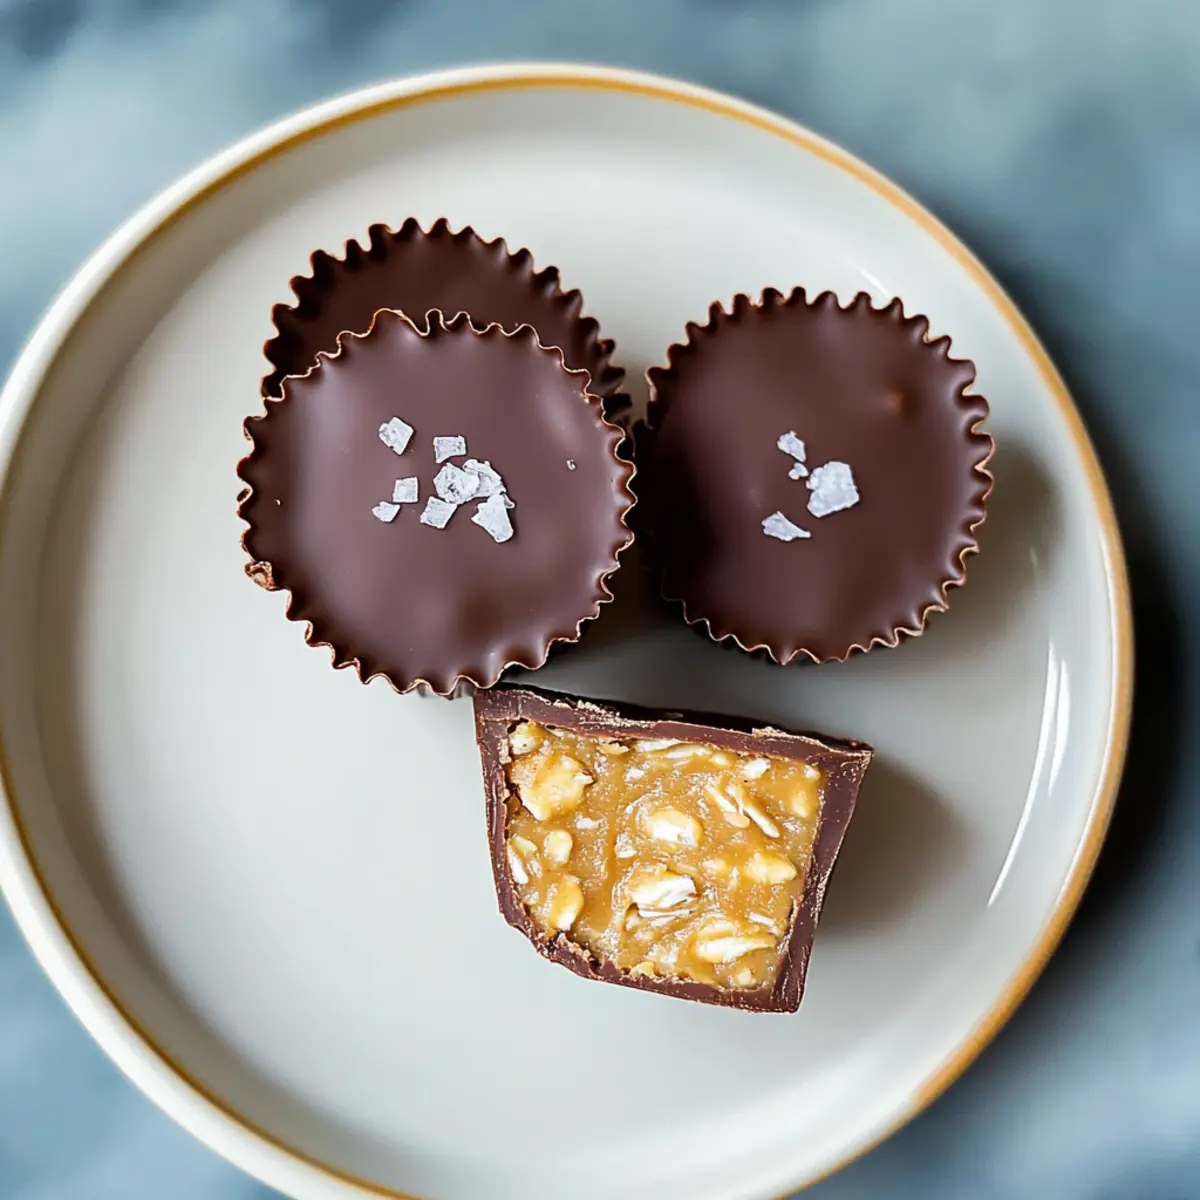
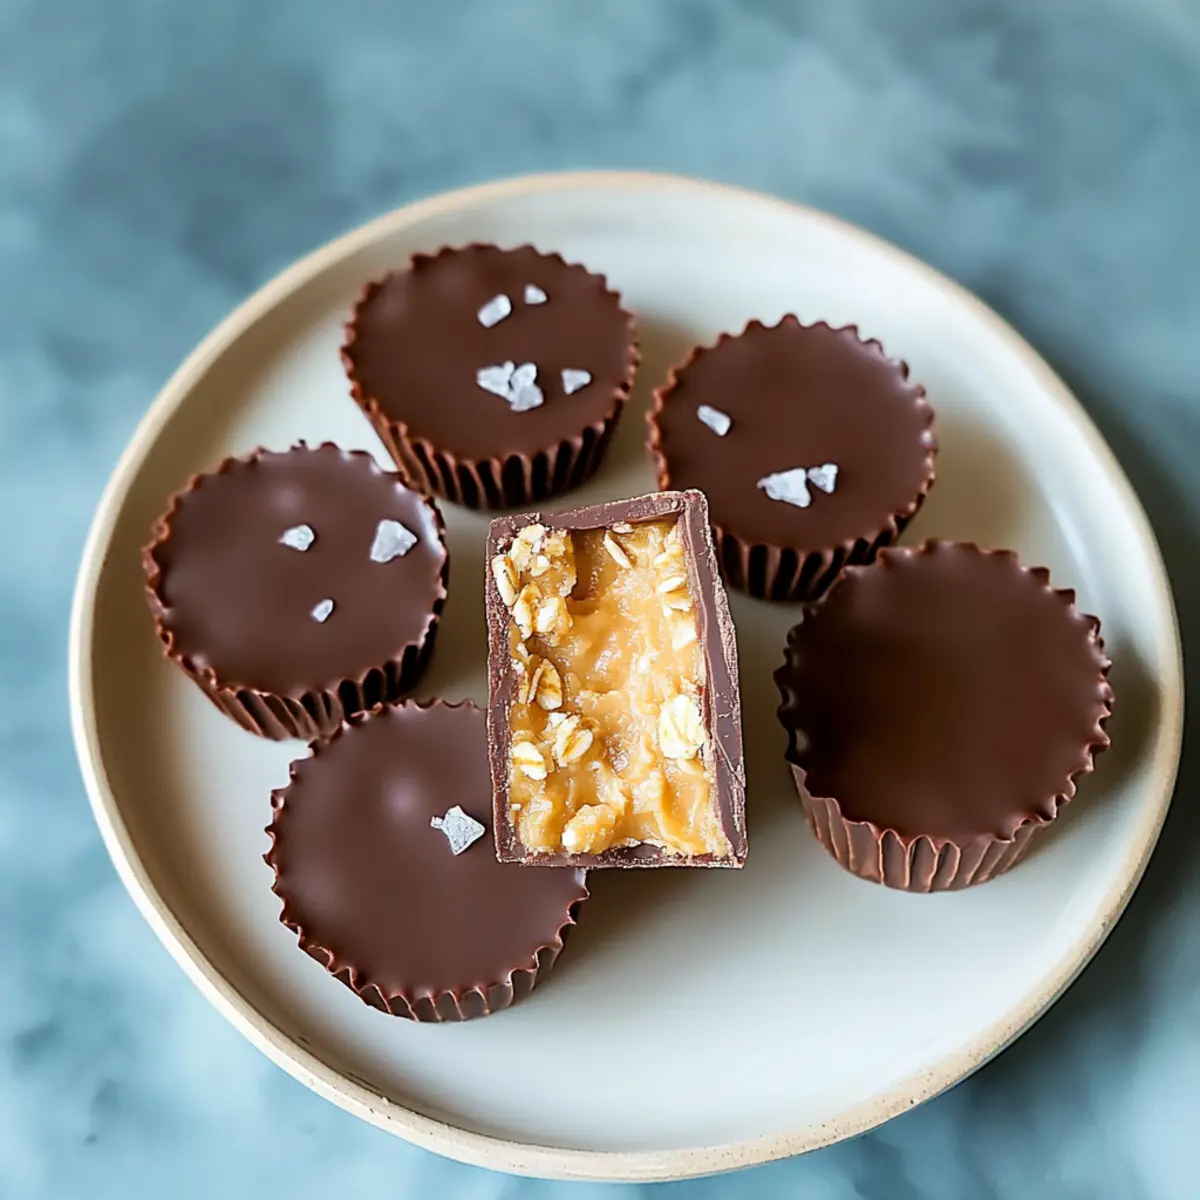
Once your oat base has set, carefully pour the melted chocolate over each cup. Use a spatula to spread it evenly across the top, covering the oat mixture completely. If desired, sprinkle a pinch of flaky sea salt over the chocolate to balance the sweetness of these No-Bake Peanut Butter Oat Cups with a touch of sophistication.
Step 6: Final Set
Return the muffin tin to the freezer for an additional 15 minutes to allow the chocolate to firm up completely. After this time, the chocolate should be set and your oat cups ready to be enjoyed. Once slightly firm, you can remove them from the liners and savor your delightful homemade treat!
Expert Tips for No-Bake Peanut Butter Oat Cups
-
Pack Tightly: Ensure the oat mixture is packed firmly in the muffin tin to prevent crumbling during removal. A tight base holds its shape better.
-
Chill Between Steps: If you’re working in a warm kitchen, chill the trays briefly to maintain texture. This helps the cups set properly before topping them with chocolate.
-
Serve at Room Temperature: Let the frozen cups sit out for a few minutes before serving. This enhances their chewy texture, making each bite of your No-Bake Peanut Butter Oat Cups truly delightful.
-
Choose Quality Ingredients: Using high-quality peanut butter and chocolate elevates the flavor. Look for natural nut butters without added sugar for a healthier treat.
-
Experiment with Add-Ins: Feel free to get creative! Adding chopped nuts or dried fruits to the base can introduce extra flavor and texture, making these No-Bake Peanut Butter Oat Cups even more enjoyable.
No-Bake Peanut Butter Oat Cups Variations
Feel free to get creative and customize your recipes with these delightful variations!
-
Chocolate Choices: Swap semi-sweet chocolate for dark chocolate for a deeper flavor. Each variety adds a unique twist while satisfying your sweet tooth!
-
Sweetener Substitution: Use honey instead of maple syrup for a chewier texture. The flavor will be just as delightful and a bit richer too.
-
Nut Butter Bliss: Try almond or cashew butter for a fun flavor twist. Each nut butter brings a different taste profile that can elevate your oat cups.
-
Fruit Flavor Boost: Mix in dried fruits like cranberries or raisins for extra sweetness and chewiness. They create a burst of flavor in every bite.
-
Nutty Crunch: Add a handful of chopped nuts, like almonds or pecans, for a satisfying crunch. The added texture makes these cups even more irresistible.
-
Spicy Heat: For a surprising kick, sprinkle in a dash of cayenne pepper or chili powder. The heat balances beautifully with the sweetness!
-
Theme It Up: Make a themed dessert platter by pairing these cups with Cheesy Garlic Butter or drizzling them over ice cream. The options are endless!
-
Decorate & Delight: Top with sprinkles or shredded coconut for a festive finishing touch. Kids will love to help with this fun customization!
What to Serve with No-Bake Peanut Butter Oat Cups
These no-bake cups are perfect for completing a delightful meal or snack time with family and friends.
-
Fresh Fruit Salad: A colorful mix of seasonal fruits brings a refreshing balance to the richness of the oat cups. The natural sweetness of fruits complements the peanut butter perfectly.
-
Greek Yogurt Parfait: Layer creamy Greek yogurt with honey and fresh berries for a protein-packed side that adds creaminess. The tanginess of yogurt elevates the treats beautifully.
-
Chocolate Milk: Indulge in a glass of rich chocolate milk for a cozy drink pairing that echoes the flavors of the chocolate topping. It’s a nostalgic twist that works wonders.
-
Nutty Granola: Sprinkle your favorite nutty granola over these oat cups for an added crunch. The textures unite in a delightful mix that enhances every bite.
-
Dipped Pretzels: A combination of sweet and salty with dip-worthy pretzels creates an exciting contrast. Their crunchiness and slight saltiness beautifully elevate the treat.
-
Coffee or Tea: Brew a warm cup of your favorite coffee or herbal tea to create a comforting moment. The warmth of the beverage pairs perfectly against the coolness of the oat cups.
Make Ahead Options
These No-Bake Peanut Butter Oat Cups are a fantastic choice for busy home cooks looking to save time during hectic weeks! You can prepare the oat base up to 24 hours in advance; simply mix and pack it into the muffin tin, then store it in the freezer until you’re ready to add the chocolate topping. For the chocolate, it’s best to melt it just before serving to maintain its glossy texture, but you can also melt and store it in the fridge for up to 3 days if needed. When you’re ready to indulge, pour the chilled chocolate over the pre-set oat cups, freeze again for 15 minutes, and enjoy a delicious treat without any last-minute fuss.
Storage Tips for No-Bake Peanut Butter Oat Cups
- Fridge: Store the No-Bake Peanut Butter Oat Cups in an airtight container in the refrigerator for up to 1 week. This keeps them fresh and ready for snacking!
- Freezer: For longer storage, freeze the oat cups for up to 3 months. Layer them between parchment paper in a freezer-safe container to prevent sticking.
- Thawing: Let frozen cups sit at room temperature for about 5-10 minutes before enjoying. This enhances their delightful chewy texture and flavor.
- Avoid Moisture: Ensure the containers are sealed well to prevent moisture from getting in, which can affect the texture and taste of your tasty treats.
No-Bake Peanut Butter Oat Cups Recipe FAQs
What kind of peanut butter should I use?
Opt for creamy peanut butter as it provides richness and binds the ingredients nicely. Natural peanut butter can be used, but it might not hold its shape as well due to fewer stabilizers. Just ensure you choose one without added sugar or palm oil for a healthier treat!
How long do No-Bake Peanut Butter Oat Cups last in the fridge?
You can store these delicious No-Bake Peanut Butter Oat Cups in an airtight container in the refrigerator for up to 1 week. This keeps them fresh and ready for snacking whenever a craving strikes!
Can I freeze No-Bake Peanut Butter Oat Cups?
Absolutely! For longer storage, you can freeze these oat cups for up to 3 months. Just layer them between parchment paper in a freezer-safe container to prevent sticking. When you’re ready to indulge, let them thaw at room temperature for about 5-10 minutes for the best texture.
What if my oat cups crumble when I take them out of the muffin tin?
If you find that your oat cups are crumbling, it’s likely that the mixture wasn’t packed tightly enough in the muffin tin. Make sure to press the base firmly before freezing! Also, using a silicone muffin liner can help to gently remove the cups without damaging them.
Are No-Bake Peanut Butter Oat Cups safe for allergies?
These cups can be made allergy-friendly with a few substitutions! For nut allergies, consider using sun butter or soy nut butter. As always, be sure to check labels for cross-contamination, especially with ingredients like chocolate chips that can contain allergens.
Can I make variations of No-Bake Peanut Butter Oat Cups?
Very! These treats are quite versatile. You can swap out maple syrup for honey or use different types of chocolate—like dark chocolate chips or even white chocolate—for a unique twist. Adding in nuts or dried fruits can also enhance flavor and texture; feel free to get creative!
No-Bake Peanut Butter Oat Cups for a Quick Sweet Fix
Ingredients
Equipment
Method
- Start by lining a standard muffin tin with paper or silicone liners.
- In a large mixing bowl, combine the rolled oats, creamy peanut butter, maple syrup, melted coconut oil, vanilla extract, and a pinch of flaky sea salt.
- Firmly pack the mixture into each lined muffin cup using the back of a spoon or your fingers.
- Pop the muffin tin into the freezer and let it chill for about 15 minutes.
- While the oat cups are setting, prepare the chocolate topping by melting the chocolate chips.
- Once your oat base has set, carefully pour the melted chocolate over each cup.
- Return the muffin tin to the freezer for an additional 15 minutes to allow the chocolate to firm up completely.
Leave a Reply