
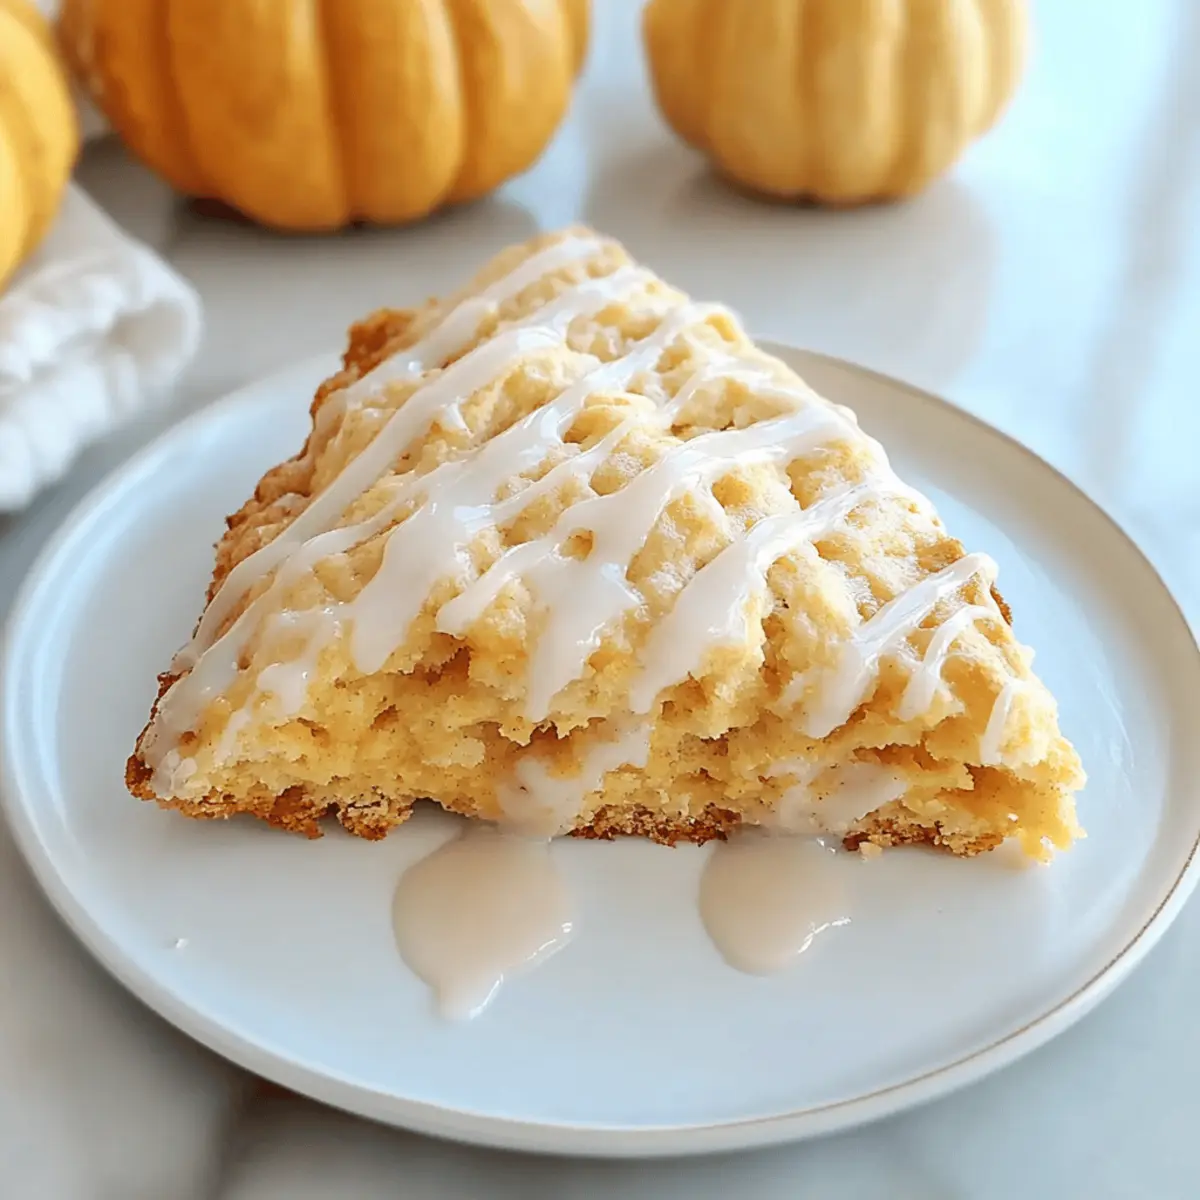
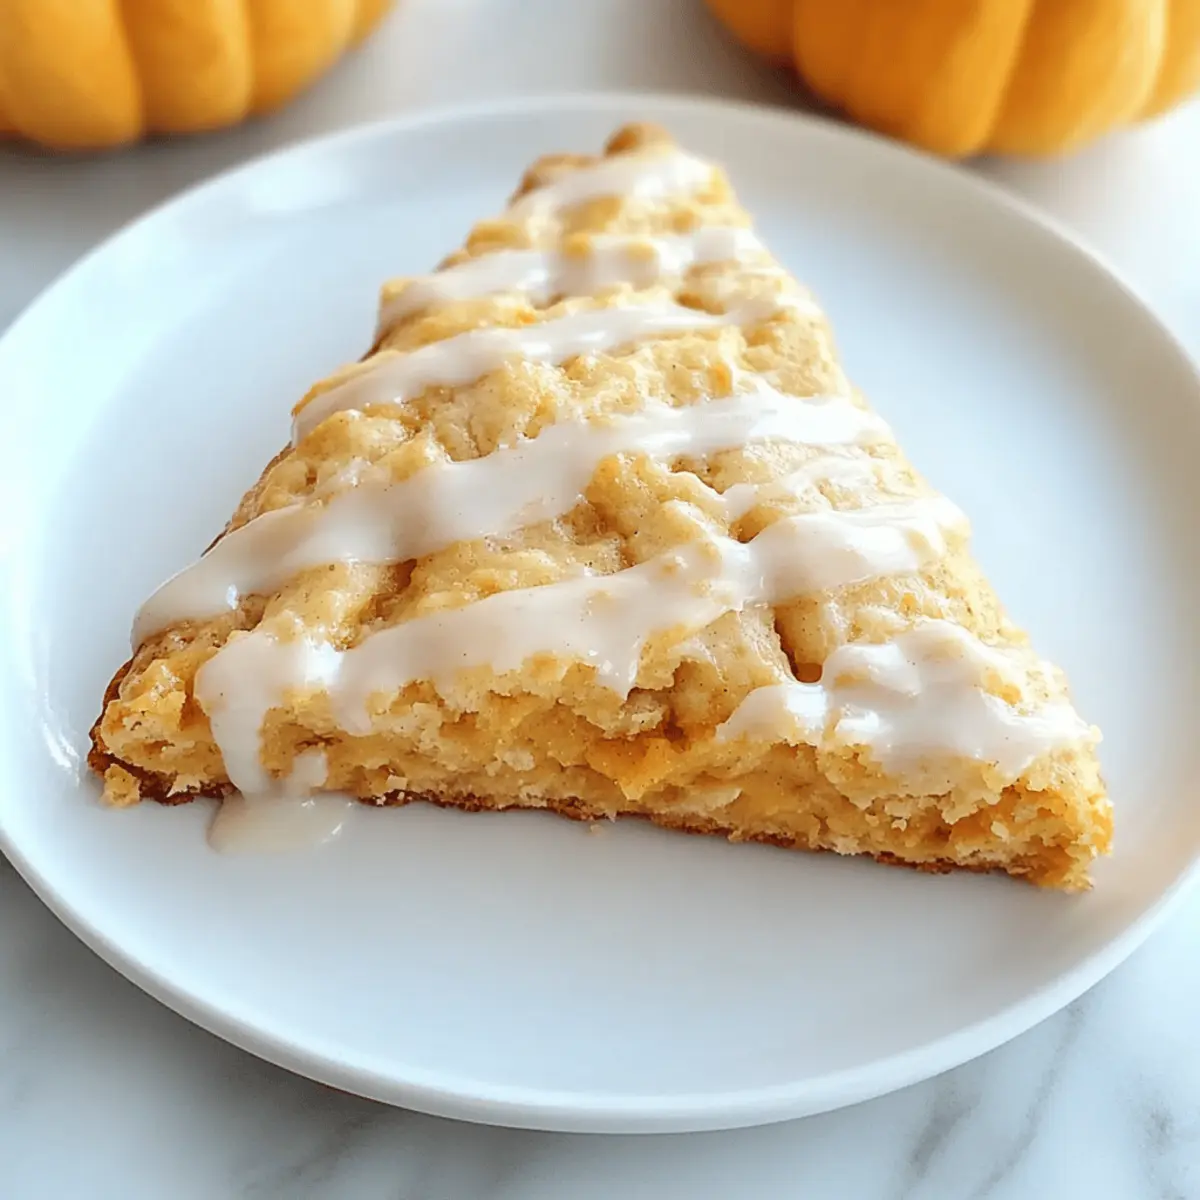
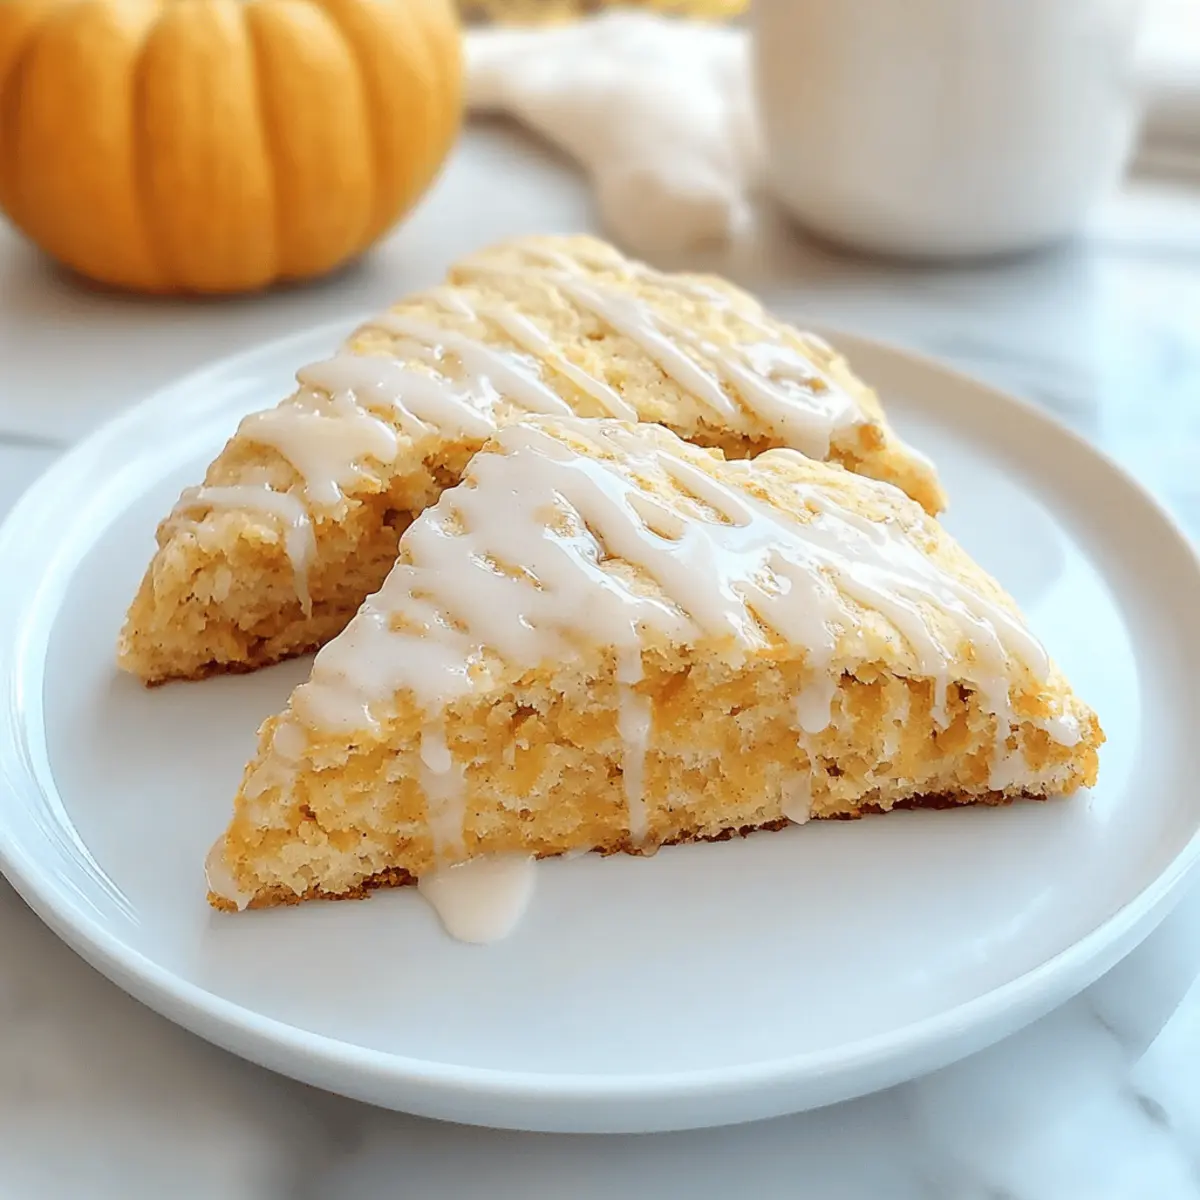
As autumn wraps its golden hues around us, there’s nothing quite like the allure of freshly baked goods warming the kitchen. These Classic Pumpkin Cinnamon Scones capture the essence of fall mornings, inviting you to indulge in their flaky, tender texture infused with rich pumpkin puree and aromatic spices. Perfect for a cozy breakfast or a charming brunch spread, these delightful scones offer the irresistible perks of quick prep and flexible ingredient substitutions, making them a go-to recipe for anyone looking to flee from fast food. Whether paired with your favorite coffee or presented alongside a pot of tea, these scones promise to fill your home with a comforting aroma that beckons everyone to gather around the table. Ready to bring the taste of fall into your kitchen? Let’s dive into this seasonal favorite!
Why Are These Scones a Must-Bake?
Simplicity at its finest: With only a few basic ingredients, these Classic Pumpkin Cinnamon Scones come together in no time, perfect for busy mornings.
Warm, Flaky Texture: Each bite melts in your mouth, offering a delightful contrast between tender scone and the buttery glaze.
Versatile Variations: Substitute ingredients easily—want to go gluten-free? No problem! You can even add in chocolate chips or nuts if you’re feeling adventurous.
Crowd-Pleasing Appeal: Ideal for brunch gatherings, these scones will impress friends and family, making them a star at your table next to Healthy Pumpkin Oat cookies or even Iced Cinnamon Whiskey.
Seasonal Flavors: Embrace the essence of autumn with spices that warm your heart and home, making every bite a cozy reminder of the season.
Get ready to savor the delightful taste of fall!
Classic Pumpkin Cinnamon Scones Ingredients
• Here’s everything you need to create the most scrumptious fall-inspired scones.
For the Scone Base
- All-purpose flour – Structure; substitute with gluten-free flour for a gluten-free version.
- Granulated sugar – Sweetness; feel free to use brown sugar for a richer flavor.
- Baking powder – Leavening agent; make sure it’s fresh for the best rise in your scones.
- Salt – Enhances flavor; don’t skip this crucial ingredient!
- Pumpkin pie spice – Flavor foundation; you can mix cinnamon, nutmeg, and ginger if you don’t have it on hand.
- Frozen butter – Flakiness; grate straight from the freezer for the perfect texture.
- Pumpkin puree – Moisture and flavor; ensure you use plain puree, not pie filling.
- Half and half – Moisture; milk or a non-dairy alternative works well if needed.
- Egg – Binding agent; use a flax egg as a vegan alternative if desired.
For the Glaze
- Confectioners’ sugar – Sweetness for glaze; this will give your scones a lovely finish.
Step‑by‑Step Instructions for Classic Pumpkin Cinnamon Scones
Step 1: Preheat the Oven
Begin by preheating your oven to 425°F (218°C). While the oven warms, line a baking sheet with parchment paper; this will prevent the scones from sticking and make for easy cleanup. Ensure your baking sheet is ready to go as soon as the scones are shaped.
Step 2: Combine Dry Ingredients
In a large mixing bowl, sift together all-purpose flour, granulated sugar, baking powder, salt, and pumpkin pie spice, blending them well to ensure even distribution. This step is crucial for achieving a uniform flavor in your classic pumpkin cinnamon scones.
Step 3: Incorporate the Butter
Next, grate the frozen butter directly into the dry mixture. Use a pastry cutter or your fingers to blend until the mixture resembles coarse crumbs. You want to see little pieces of butter throughout, which will create that delightful flaky texture when baked.
Step 4: Mix the Wet Ingredients
In a separate bowl, whisk together the pumpkin puree, half and half, and egg until fully combined. The colors should meld into a creamy mixture that adds moisture and flavor to the classic pumpkin cinnamon scones, preparing them for the next step.
Step 5: Combine Wet and Dry Mixtures
Gently fold the wet mixture into the dry ingredients using a spatula or wooden spoon. Be careful not to overmix; it’s okay if some flour remains visible. The goal is to combine until just incorporated, ensuring a light and fluffy texture for your scones.
Step 6: Shape the Dough
Transfer the dough onto a floured surface and gently pat it into a circle about 1-inch thick. Carefully cut the circle into 6 or 8 triangle-shaped pieces using a sharp knife. Avoid twisting the knife as you cut, as this can hinder the rise of your classic pumpkin cinnamon scones.
Step 7: Bake the Scones
Place your cut scones onto the prepared baking sheet, spacing them about an inch apart for even baking. Slide the sheet into the preheated oven and bake for 14-16 minutes, or until the scones are lightly golden brown and a toothpick inserted in the center comes out clean.
Step 8: Cool and Prepare the Glaze
Once baked, remove the scones from the oven and let them cool on a wire rack. In the meantime, prepare the glaze by whisking together confectioners’ sugar, a splash of milk, ground cinnamon, and pumpkin pie spice until smooth. This will add a sweet, spiced finish to your delicious classic pumpkin cinnamon scones.
Step 9: Drizzle Over Scones
After the scones have cooled completely, use a spoon to drizzle the glaze over the tops, allowing it to flow slightly for a lovely presentation. The sweet glaze will enhance both the flavor and visual appeal, making these classic pumpkin cinnamon scones irresistible.

Make Ahead Options
These Classic Pumpkin Cinnamon Scones are perfect for busy home cooks looking to save time during hectic mornings! You can prepare the dough up to 24 hours in advance; just mix all the ingredients and transfer it to a floured surface to shape. Wrap the formed scones tightly in plastic wrap and refrigerate. For optimal freshness, bake the scones straight from the fridge without thawing; this helps maintain their flaky texture. If you need to extend your prep, you can freeze unbaked scones for up to 3 months. Simply place them in a single layer on a baking sheet until firm, then transfer to a freezer bag. When you’re ready to bake, add a couple of extra minutes to the baking time for that just-baked goodness!
What to Serve with Classic Pumpkin Cinnamon Scones
Enjoy a cozy gathering with these delightful scones by pairing them with flavors that complement their warm, spiced essence.
-
Creamy Mashed Potatoes: These buttery potatoes add a silky richness that contrasts beautifully with the scones’ crumbly texture.
-
Warm Apple Cider: The sweet and spiced notes of apple cider enhance the fall flavors, making each sip a comforting treat that pairs perfectly with your scones.
-
Scrambled Eggs: Fluffy scrambled eggs provide a savory balance to the sweetness, creating a well-rounded breakfast or brunch option.
-
Maple Glazed Bacon: The smoky sweetness of bacon offsets the scones’ spices wonderfully, making for a mouth-watering breakfast experience.
-
Fresh Fruit Salad: Light and refreshing, a colorful dish of seasonal fruits like pears and pomegranates complements the richness of the scones beautifully.
-
Peppermint Tea: A soothing warm drink that pairs well with the pumpkin and cinnamon flavor, making for a comforting afternoon treat alongside the scones.
With these perfect pairings, prepare to impress your family and friends while embracing the charming, cozy vibes of fall!
Expert Tips for Classic Pumpkin Cinnamon Scones
-
Chill the Butter: Grate your frozen butter directly into the flour mixture. This keeps it cold, resulting in flakier scones.
-
Don’t Overmix: Fold the wet and dry ingredients until just combined. Overmixing can lead to tough scones, which you want to avoid.
-
Monitor Bake Time: Keep an eye on your scones as they bake. Every oven is different; check for a light golden brown color to ensure perfect baking.
-
Cut Straight Down: When cutting the scones into triangles, press the knife straight down without twisting to promote even rising and fluffiness.
-
Flavor Boost: For an extra burst of flavor, consider adding chocolate chips or chopped nuts to the dough. It’s a delightful twist on classic pumpkin cinnamon scones!
How to Store and Freeze Classic Pumpkin Cinnamon Scones
Room Temperature: Store your scones in an airtight container at room temperature for up to 3 days for optimal freshness.
Fridge: If you prefer, scones can be refrigerated to maintain their softness; they’ll stay fresh for up to 5 days in an airtight container.
Freezer: Freeze unglazed scones for up to 3 months. Just ensure they are wrapped well to prevent freezer burn.
Reheating: To revive scones, warm them in a 300°F oven for 5-7 minutes or microwave briefly to bring back their flaky texture before enjoying!
Classic Pumpkin Cinnamon Scones Variations
Feel free to get creative and adapt these scones to your taste and dietary needs!
-
Gluten-Free: Substitute all-purpose flour with a gluten-free blend for a delicious alternative.
This allows anyone to enjoy the warm flavors of fall without compromise. -
Sugar Swap: Use brown sugar instead of granulated sugar for a rich, molasses-like sweetness.
It not only adds depth but creates a lovely caramelized finish to the scones. -
Spice It Up: Replace pumpkin pie spice with freshly grated nutmeg or a blend of coriander and cardamom.
This will introduce a delightful complexity, making each bite uniquely aromatic. -
Dairy-Free: Swap half and half for almond milk or coconut cream for a creamy, non-dairy option.
Both alternatives will maintain the moisture while catering to a dairy-free lifestyle. -
Nutty Texture: Incorporate chopped walnuts or pecans into the dough for a pleasant crunch.
The addition of nuts adds both flavor and a satisfying texture that pairs beautifully with pumpkin. -
Heat It Up: Add a pinch of cayenne pepper or red pepper flakes for a surprising spicy kick.
The warmth will intrigue your taste buds and keep things exciting, especially for those who love heat! -
Choco Delight: Toss in some dark chocolate or pumpkin spice chocolate chips for a sweet treat.
This little twist transforms your scones into delightful indulgences, perfect for dessert! -
Savory Option: Omit sugar, add cheese, and fresh herbs for a savory version that pairs well with soups.
This creative take gives a whole new identity to your pumpkin scones, making them versatile for any meal!
Looking for additional pumpkin-inspired treats? Try making Homemade Pumpkin Bagels or these delightful Pumpkin Chocolate Chip cookies to extend your fall baking journey!
Classic Pumpkin Cinnamon Scones Recipe FAQs
What kind of pumpkin puree should I use?
Absolutely! Always opt for plain pumpkin puree instead of pumpkin pie filling, as the latter contains added sugars and spices that can alter the intended flavor of your scones. Look for 100% pure pumpkin in cans or make your own by roasting and pureeing fresh pumpkin.
How should I store my pumpkin scones?
For optimum freshness, store your Classic Pumpkin Cinnamon Scones in an airtight container at room temperature for up to 3 days. If you prefer them a bit softer, refrigerating them might help; they’ll stay fresh for up to 5 days in the fridge.
Can I freeze these scones, and if so, how?
Yes, you can definitely freeze your scones! To do so, wrap the unglazed scones tightly in plastic wrap and then in aluminum foil to avoid freezer burn. They will hold up well for up to 3 months. When you’re ready to enjoy them, simply thaw in the refrigerator overnight and glaze once completely thawed.
What if my scone dough seems too wet?
No worries! If your dough is too sticky due to the moisture in the pumpkin puree, gradually add more flour a tablespoon at a time until it reaches a more workable consistency. Be careful not to overmix as it can lead to tough scones. Just gently fold until everything is combined!
Can these scones be made dairy-free?
Absolutely! You can easily make these Classic Pumpkin Cinnamon Scones dairy-free by substituting the half and half with a non-dairy milk such as almond milk or coconut milk. Also, ensure to use a dairy-free butter alternative when grating for that flaky texture, making it suitable for all dietary preferences.
Classic Pumpkin Cinnamon Scones That Warm Your Fall Mornings
Ingredients
Equipment
Method
- Preheat your oven to 425°F (218°C) and line a baking sheet with parchment paper.
- In a large mixing bowl, sift together all-purpose flour, granulated sugar, baking powder, salt, and pumpkin pie spice.
- Grate the frozen butter into the dry mixture and blend until it resembles coarse crumbs.
- In a separate bowl, whisk together the pumpkin puree, half and half, and egg until fully combined.
- Gently fold the wet mixture into the dry ingredients until just incorporated.
- Transfer the dough onto a floured surface and shape it into a circle about 1-inch thick, cutting into 6 or 8 triangles.
- Place the cut scones onto the prepared baking sheet, spacing them an inch apart, and bake for 14-16 minutes.
- Remove scones from the oven and let them cool on a wire rack.
- Prepare the glaze by whisking together confectioners' sugar, a splash of milk, ground cinnamon, and pumpkin pie spice until smooth.
- Drizzle the glaze over the cooled scones before serving.
Leave a Reply